• Welcome to The Truck Stop! We see you haven't REGISTERED yet.

    Your truck knowledge is missing!
    • Registration is FREE , all we need is your birthday and email. (We don't share ANY data with ANYONE)
    • We have tons of knowledge here for your diesel truck!
    • Post your own topics and reply to existing threads to help others out!
    • NO ADS! The site is fully functional and ad free!
    CLICK HERE TO REGISTER!

    Problems registering? Click here to contact us!

    Already registered, but need a PASSWORD RESET? CLICK HERE TO RESET YOUR PASSWORD!

Possible Engine Build for my 93 Truck

No matter which oil pump you get- you can use the ol die grinder and burrs or stones and make some very nice improvements on the oil flow through it.
Search what was taught by Smokey Yunick. That guy lead the world in things like this. Copy how he showed to do it best you can and even your first time will make major improvements.
I was searching online but can only find the stories about his hot vapor engine, nothing about the oil pump!
 
I will have to pull the pump I have apart and have a look at it. see if there are improvements to be made! I have seen other videos explaining checking it for wear and when it's fubar and safe to run. this will be a fun endeavor!
 
geez time goes by fast!! it's been a whole 3 weeks since I have messed with the engine! I finally got out there today and finished up the heads. I had left them all apart on the bench and with the last couple of rain storms on top of the garage roof leaking, there was some surface rust on the heads, valve seats and the valves them selves. I had to re-do all of the valves I had already lapped. then I started on the other head.

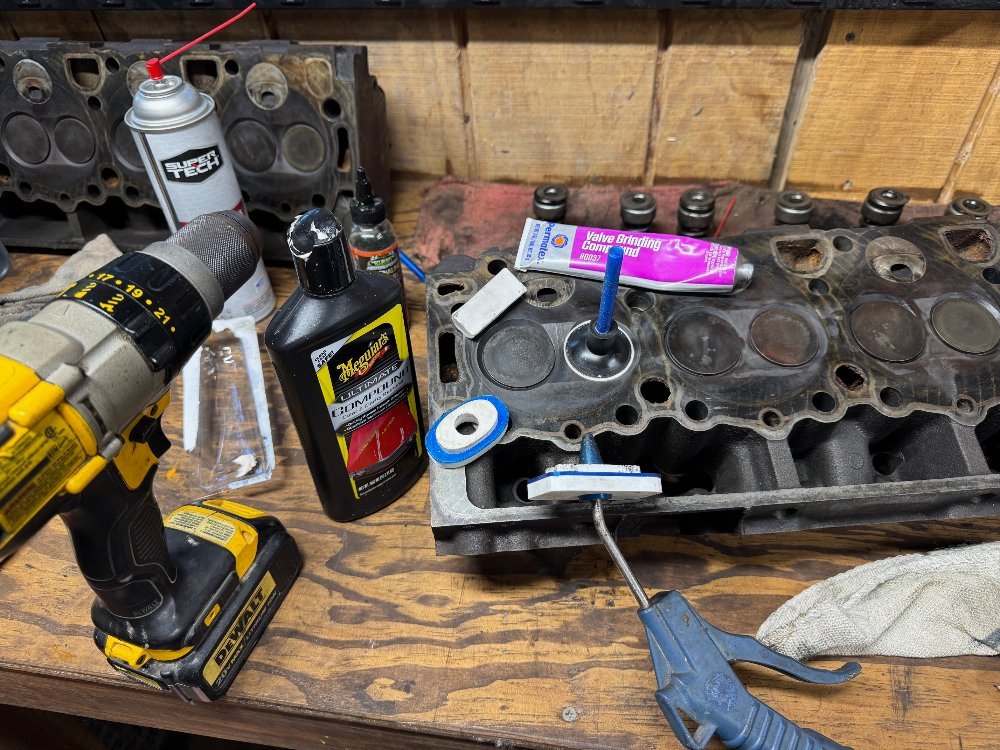
By now I have a system going that seems to work. I will start out with the lapping compound, then go to using the fine grade jewelers rouge mixed with some paint polishing compound to finish it up and give it a somewhat polished finish. (pic below of all my gear...) I had made some ends for my blow gun that fit into the intake and exhaust ports so I could use air pressure and some soapy water in a spray bottle to test each valve.

I had three valves that gave me some trouble getting them to seal, but I got a little more aggressive with the lapping and showed them who's the boss. Got them all sealed up, installed and even installed new valve seals.

This time I coated the heads with some WD-40 not knowing how long they will sit here until they get installed.

Now I can shift my attention over to the block, checking bearing clearance along with replacing the two piece rear main seal.

IMG_1487.jpg
 
Hey guys, question for you all. Marking the main and rod caps before removal... I was going to order a set of steel number stamps to mark each one, but was reading online and seeing some folks are saying not to use anything that requires a blow with a hammer, rather to use a metal scribe instead. I want to pull the crank and clean it all up and then look at bearing clearances.

What's the consensus on this?

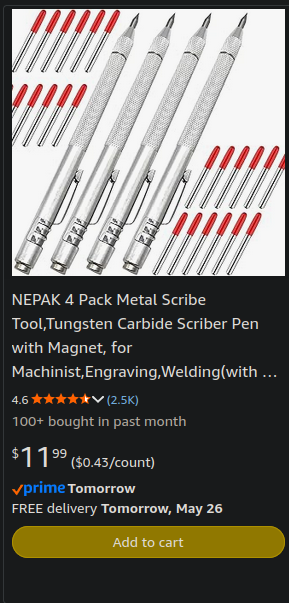
This is what I was going to order to mark each main cap and rod cap, the idea was to mark them in the orientation for direction and number then go over it with a paint pen.

1779730267765.png
 
The other side to this is should I leave them alone since I'm not having the block machined? I did take a screwdriver and attempt to move the crank back n forth. it did move but ever so slightly, not much. I know the rear main cap will need to come off to replace the rear main seal since it's a two piece.
 
The other side to this is should I leave them alone since I'm not having the block machined? I did take a screwdriver and attempt to move the crank back n forth. it did move but ever so slightly, not much. I know the rear main cap will need to come off to replace the rear main seal since it's a two piece.
I definitely would stamp the rods and caps if your taking the engine completely apart.Are you just going to reuse the pistons and go with new standard rings?Or planning with oversize?
 
Stamp them rods and caps and main bearing caps, but, do it wile they still are torqued.
Plastigauge is Your friend.
If there is no major scoring or wear on the bearings and they ppastigauge out okay then I’d not be afraid to reuse them.
Those bearings all are work hardened in and should last a very long time.
 
I definitely would stamp the rods and caps if your taking the engine completely apart.Are you just going to reuse the pistons and go with new standard rings?Or planning with oversize?
Don't plan on pulling the pistons. the bores are decent but do have a slight ring ridge. I would have to cut that ridge to pull pistons. I was losing all the compression through the valves. on the heads that were on it, I found one valve seat that was completely fubar and all the rest just didn't seal. I was getting up to 300 psi compression on the couple cylinders that valves were sealing decent but applying compressed air into each cylinder through the GP hole I could hear air escaping back through all of the intake ports. the few that had almost no compression, all the air came out the intake and never built up enough to push the piston down!!

I am using the heads off the junk 6.2 I picked up a couple years back that has cracked web mains. all the valves and seats looked good and no cracking between the valves. it really needs new valves since they are concave on the sealing surface, but I managed to get them all lapped in and sealing now. they should be good enough for a while I would think.

it's basically a poor man's rebuild or more like a refresh on the heads to make it last for a while just replacing what's really needed.
 
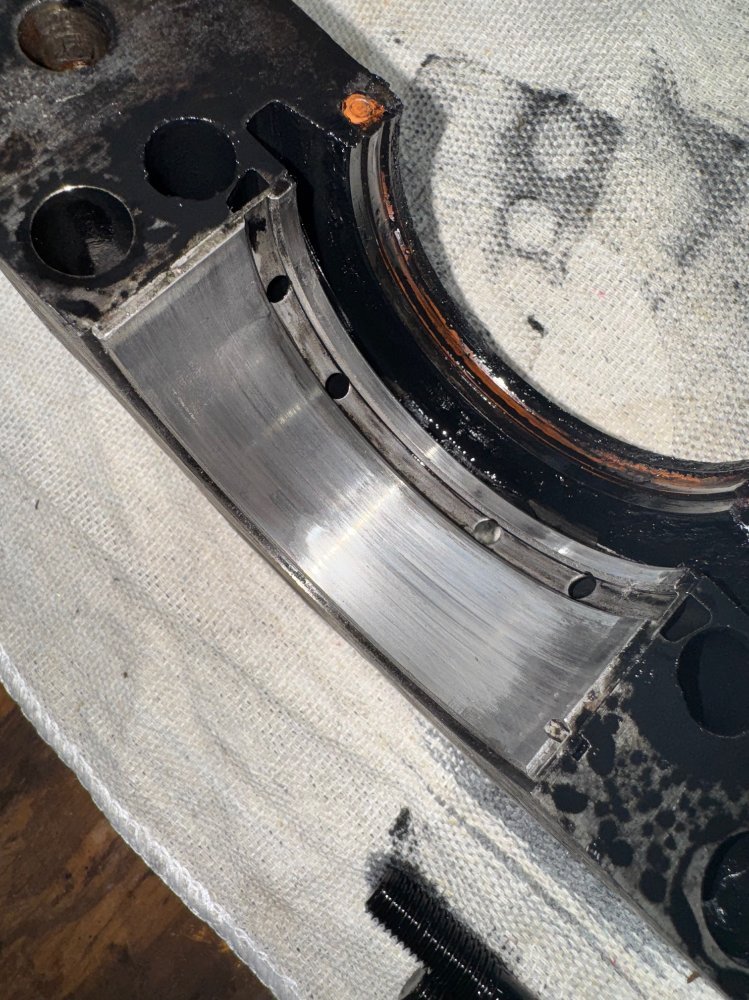
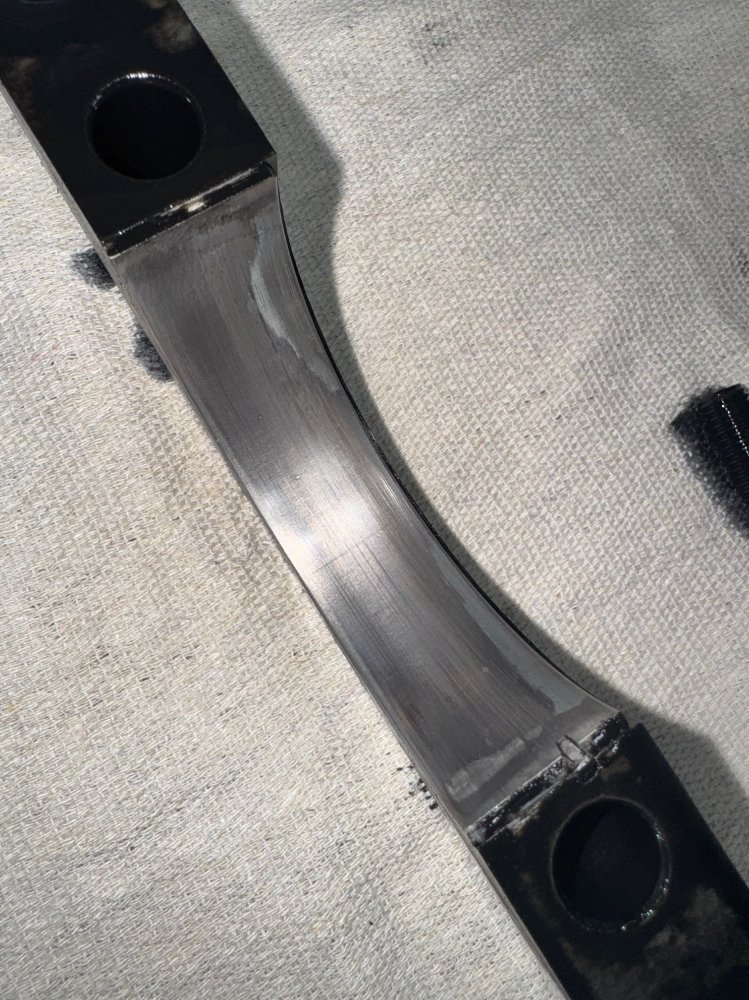
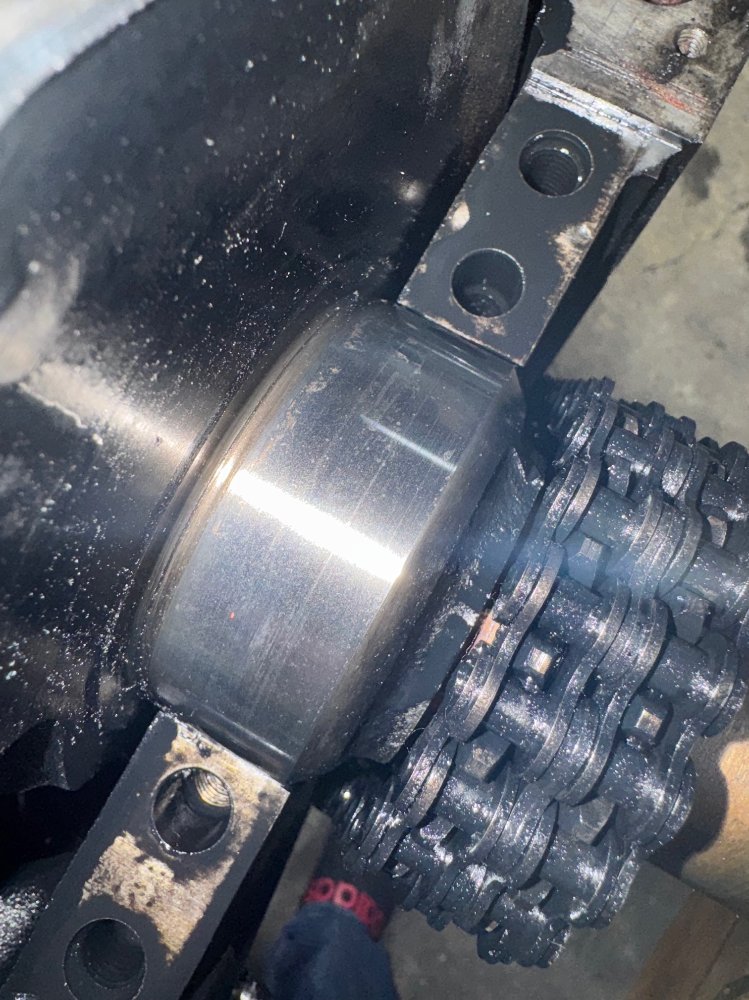
I did pull the rear main cap to just to looksee. there is some wear but not into the copper. I was going to see how difficult it would be to replace the two piece rear main, but haven't tried removing that yet. I would assume that the worst wear would be on the first main cap by the timing chain.

I need to pick up some more brake cleaner and wash up the mains and rod caps better before pulling them, I want that part as clean as I can get them before pulling it all apart. also need to get some rubber hose to put on the rod cap studs so I'm not scoring the crank when I go to pull it if I have to.

Thinking about it, it might be a challenge to get the crank pulled with the engine up-side down and getting the rods to move into place setting the crank back into place. something I have never done before.


Side note. I didn't look at it, but watched a video on how to replace the rear two piece seal. they talked about if there is a wear mark on the crank where the seal rides that I might need an offset seal. I didn't see one listed for this 6.2, does anyone know if one is made for these engines?
 
On the 2 piece you have to offset it yourself it's not one you buy.
Also if you have wear on the rear one check the front one it should be the worst
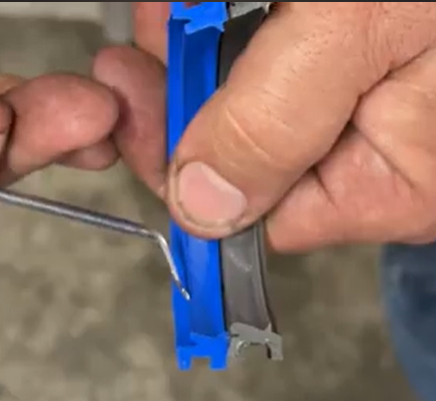
How does one offset it? not talking about the rotation of the seal, but the lip where it rides the crank. there is one that the lip is set back about 2mm for the gassers of this era. I didn't see one shown for the diesels.

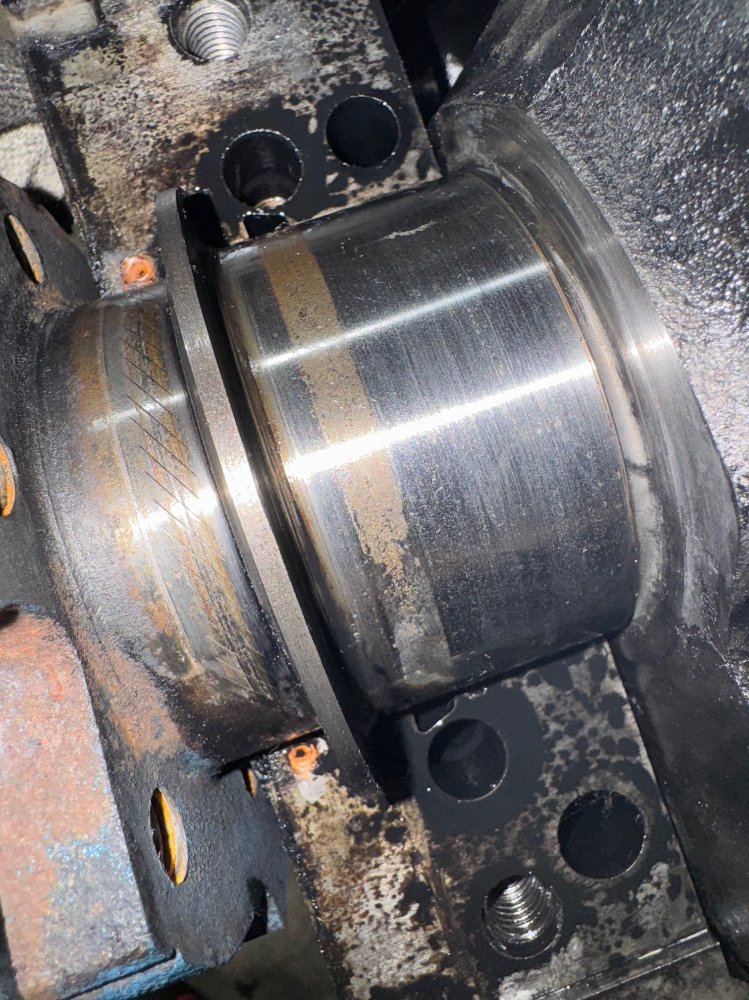
Here is a screenshot that I took on one of the videos I watched. if you look at the two, the blue is an offset seal. I linked this video too, watch it to see what he's talking about for the wear on the crank where the seal rides.
1779813489560.png


for the rotation offset this video is the other one I watched. he talks about offsetting the rotation about a 1/16 inch or so vs installing it flat across. whats the consensus on this? better to go in flat across or slightly rotated? watch at about the 13:00 mark to see him talking about it.

 
It's not been flat across as long as I can remember. Most I've seen are more than 1/16th closer to 1/8-3/16. That what I've always heard referred to as the offset
 
Back
Top