ak diesel driver
6.5 driver
They didn't change the oil pan when they went to squirter blocks

Follow along with the video below to see how to install our site as a web app on your home screen.
Note: This feature may not be available in some browsers.

I was searching online but can only find the stories about his hot vapor engine, nothing about the oil pump!No matter which oil pump you get- you can use the ol die grinder and burrs or stones and make some very nice improvements on the oil flow through it.
Search what was taught by Smokey Yunick. That guy lead the world in things like this. Copy how he showed to do it best you can and even your first time will make major improvements.


I definitely would stamp the rods and caps if your taking the engine completely apart.Are you just going to reuse the pistons and go with new standard rings?Or planning with oversize?The other side to this is should I leave them alone since I'm not having the block machined? I did take a screwdriver and attempt to move the crank back n forth. it did move but ever so slightly, not much. I know the rear main cap will need to come off to replace the rear main seal since it's a two piece.

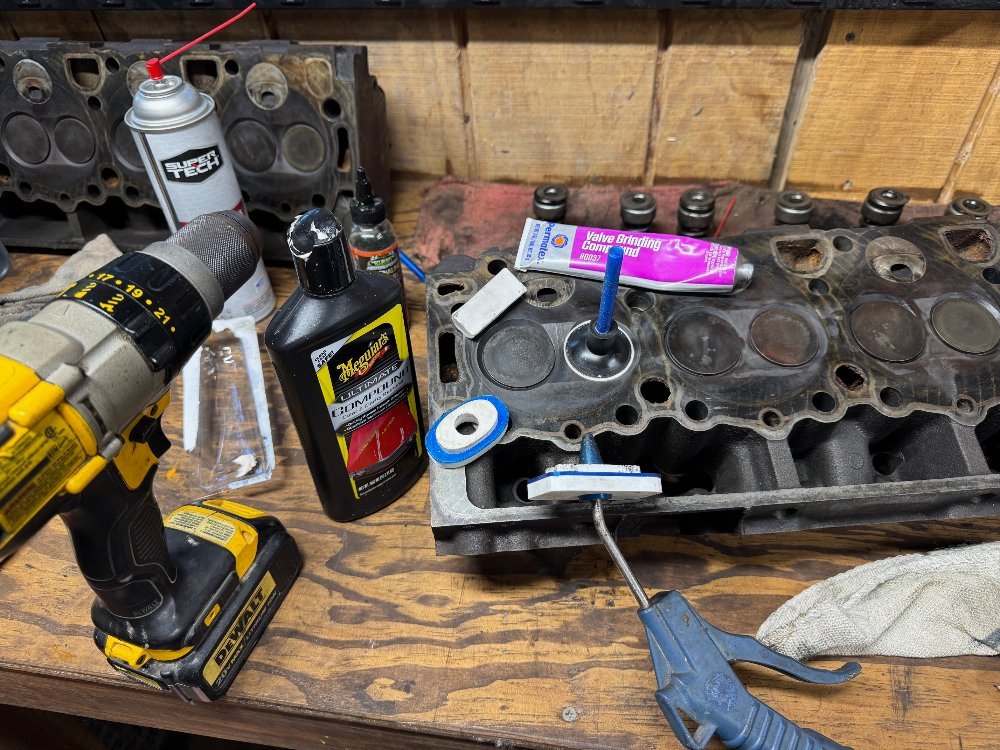
Don't plan on pulling the pistons. the bores are decent but do have a slight ring ridge. I would have to cut that ridge to pull pistons. I was losing all the compression through the valves. on the heads that were on it, I found one valve seat that was completely fubar and all the rest just didn't seal. I was getting up to 300 psi compression on the couple cylinders that valves were sealing decent but applying compressed air into each cylinder through the GP hole I could hear air escaping back through all of the intake ports. the few that had almost no compression, all the air came out the intake and never built up enough to push the piston down!!I definitely would stamp the rods and caps if your taking the engine completely apart.Are you just going to reuse the pistons and go with new standard rings?Or planning with oversize?
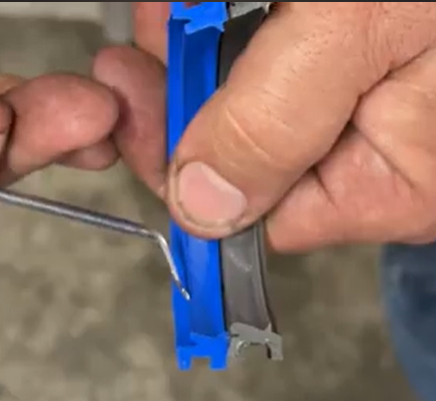
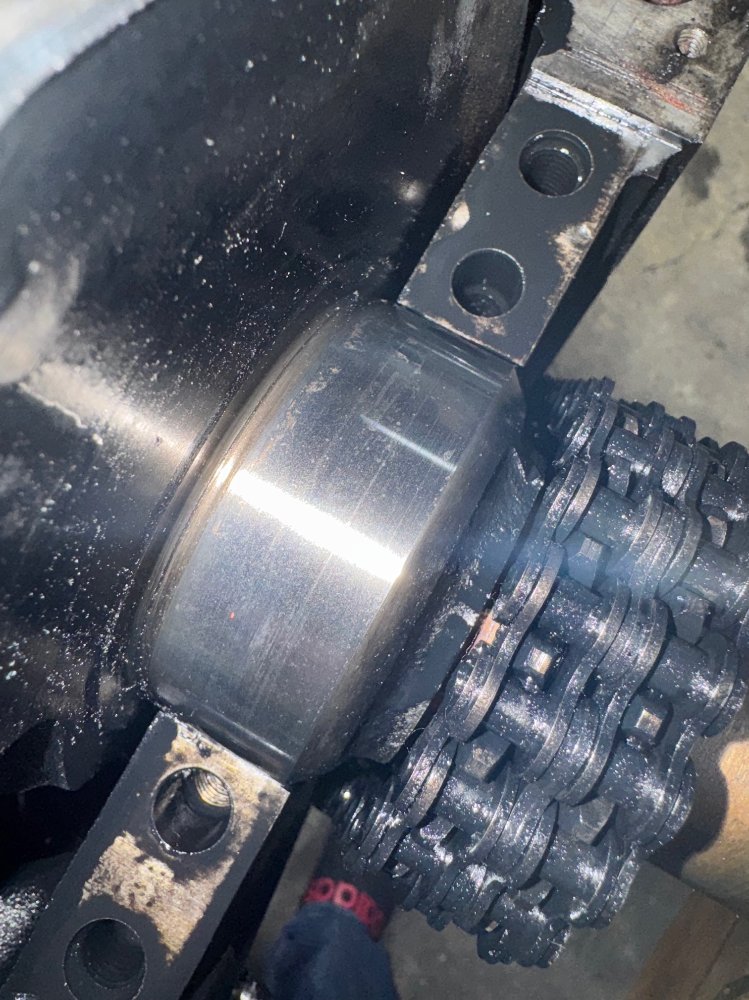
How does one offset it? not talking about the rotation of the seal, but the lip where it rides the crank. there is one that the lip is set back about 2mm for the gassers of this era. I didn't see one shown for the diesels.On the 2 piece you have to offset it yourself it's not one you buy.
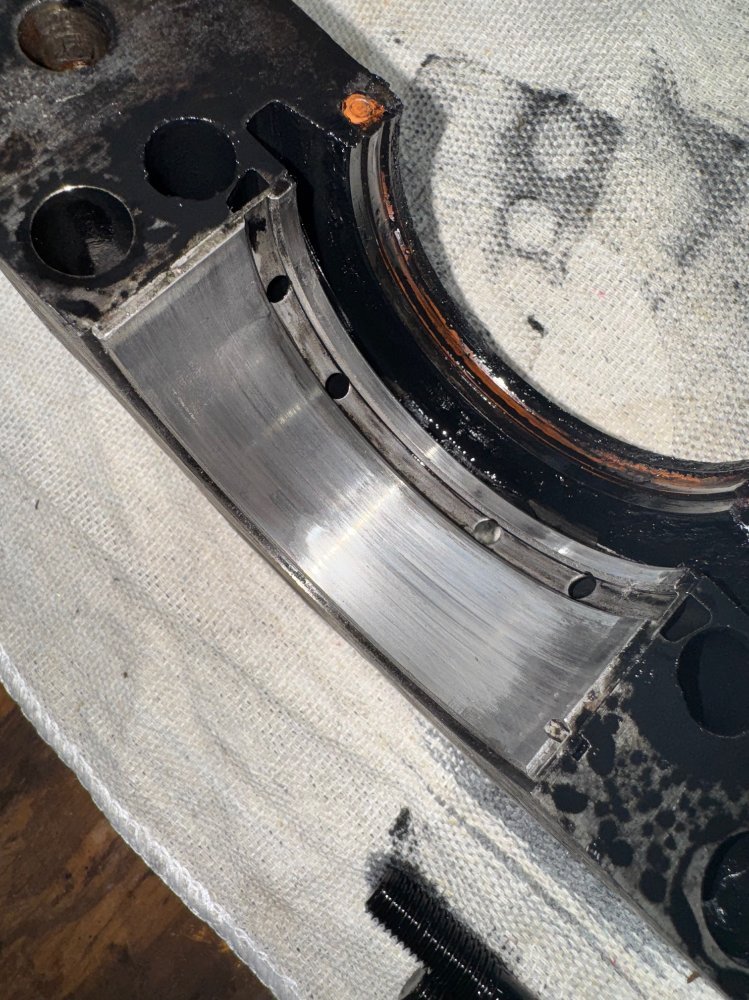
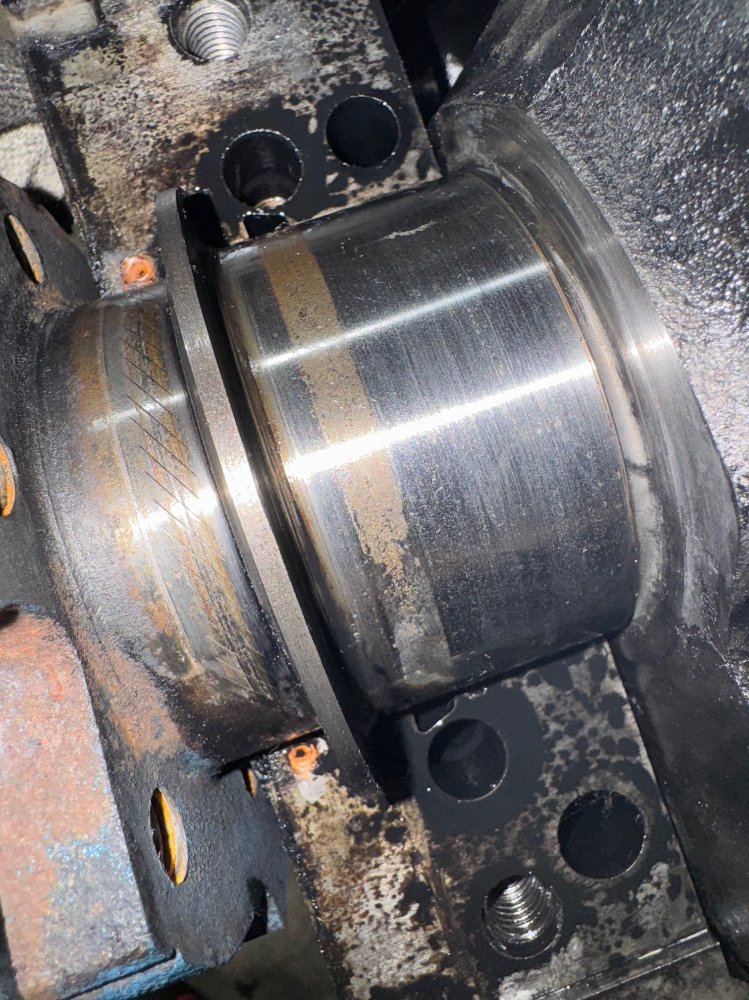
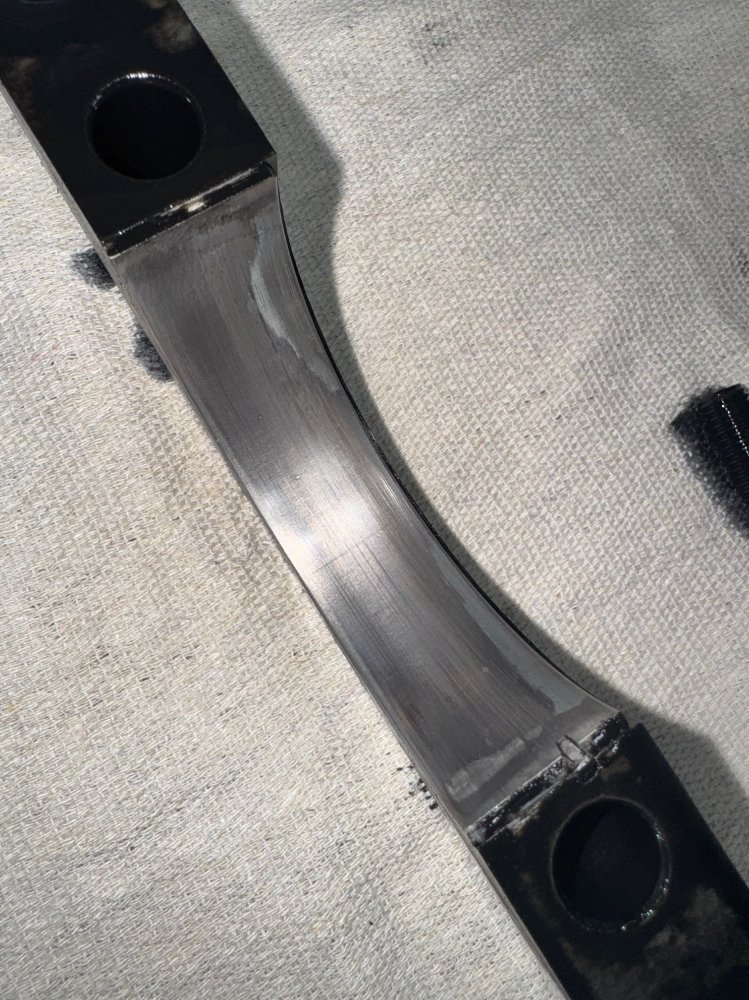
Also if you have wear on the rear one check the front one it should be the worst