• Welcome to The Truck Stop! We see you haven't REGISTERED yet.

    Your truck knowledge is missing!
    • Registration is FREE , all we need is your birthday and email. (We don't share ANY data with ANYONE)
    • We have tons of knowledge here for your diesel truck!
    • Post your own topics and reply to existing threads to help others out!
    • NO ADS! The site is fully functional and ad free!
    CLICK HERE TO REGISTER!

    Problems registering? Click here to contact us!

    Already registered, but need a PASSWORD RESET? CLICK HERE TO RESET YOUR PASSWORD!

My Water to Air intercooler install

Yeah sorry forgot about the connector. I think its the same as some import horns also like on a Volvo IIRC. Might even call GM and see if they have the pigtail for it.
 
What about installing a bleed screw at the high point?

Unfortunately the highest point that could cause an air pocket is in the intercooler itself. I'm not really set up to weld aluminum and even if I could I'd be a little hesitant to weld on it. Plus I've already insulated it with the Tunnel Shield and if I was to put a hole in that I think Leroy would cry :D
Loops or any "P" traps might need to be bled too.

Good point. I don't think there are any loops or unusual rises, but I will double check. Each time I check on it, the coolant level has dropped so it's slowly bleeding itself somewhat. I'm just over a gallon now.

Yeah sorry forgot about the connector. I think its the same as some import horns also like on a Volvo IIRC. Might even call GM and see if they have the pigtail for it.

Actually I did some more looking and that pump is only supposed to draw around 3-3.5 Amps, so the connector I found with the 16 gauge wire should be just fine.
 
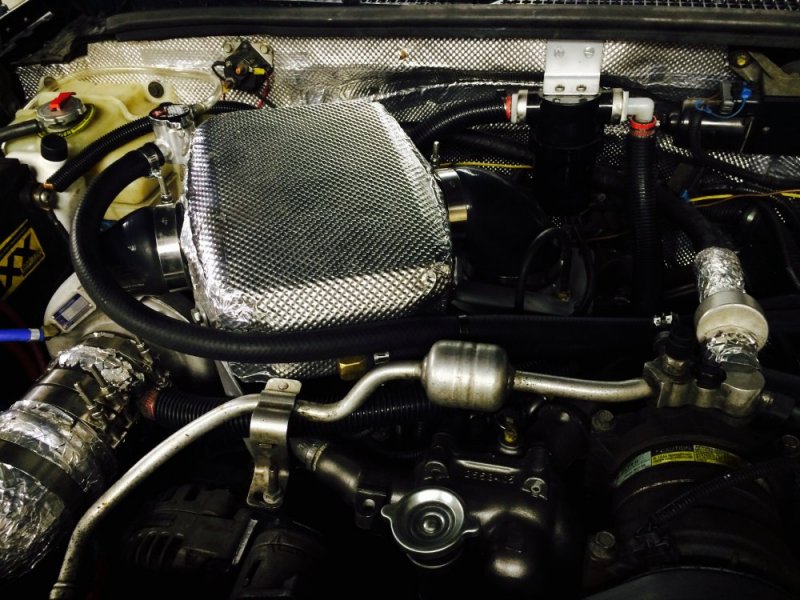
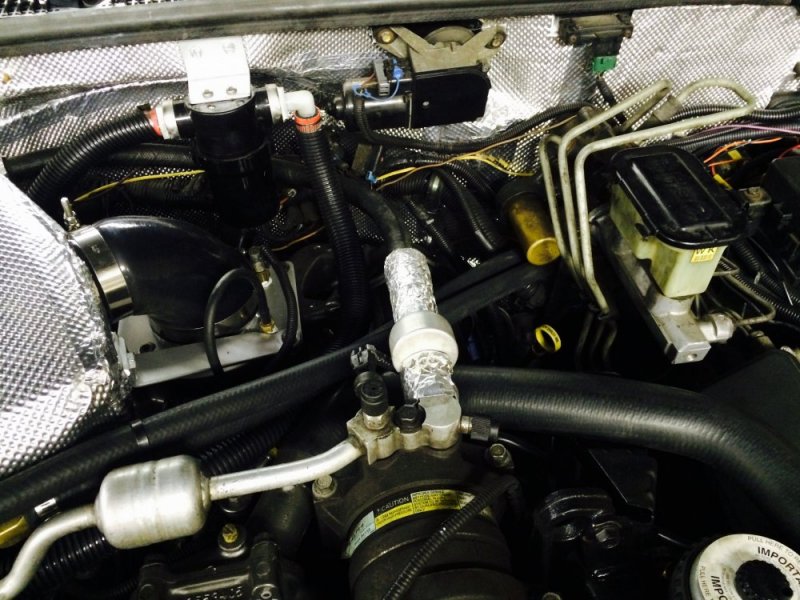
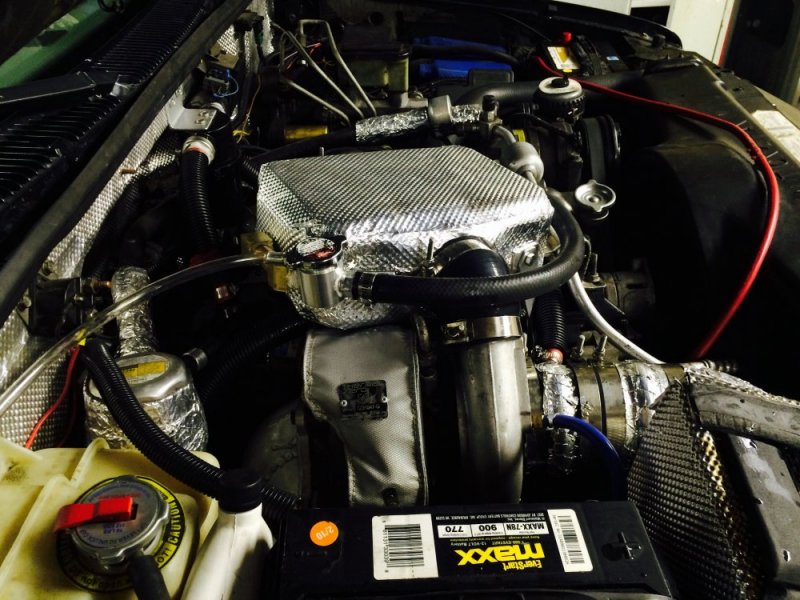
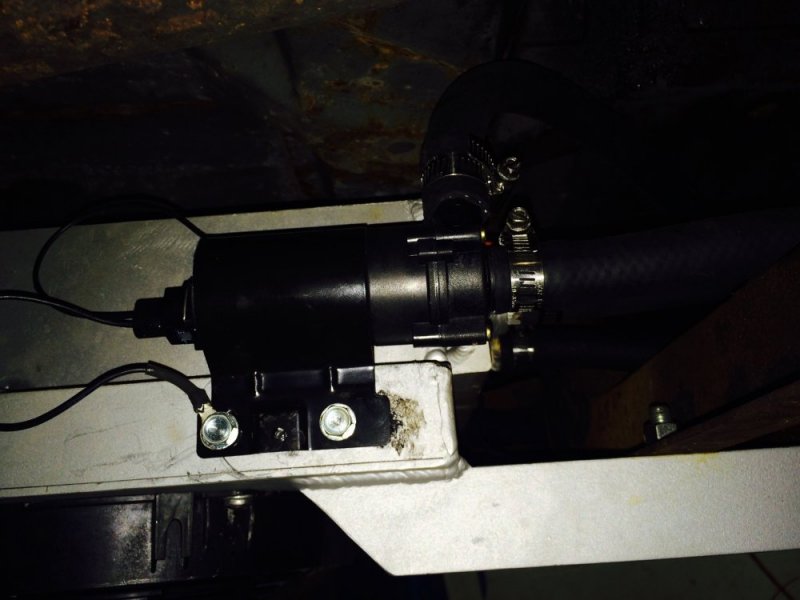
I finished the installation Friday night but I haven't been able to post before now. image.jpgimage.jpgimage.jpgimage.jpgimage.jpg

So far I've only driven it about 5 miles, but I did take some video of IAT to show the improvement. I had hoped it would run even cooler but I'm guessing my less than optimal radiator placement isn't helping. Even so it's a huge improvement over how it was before. The real test will be when I go camping next weekend.

Here is the first run I did. It was 82F ambient with 65% humidity. This is up to about 85mph. Normally I'd be well over 200 IAT. Also EGT didn't get over 1050 and it would have been 1200 before. Sorry it's so shaky.


Here's the second run just a minute or so later. Note that the initial IAT temp is higher due to heatsoak. This time I figured out how to hold my hand steadier. This was again up to about 85.


For comparison here is an IAT video that I took this spring. As I recall it was about 70F out when I took this and for sure it was raining. I think the highest I got here was 70mph.


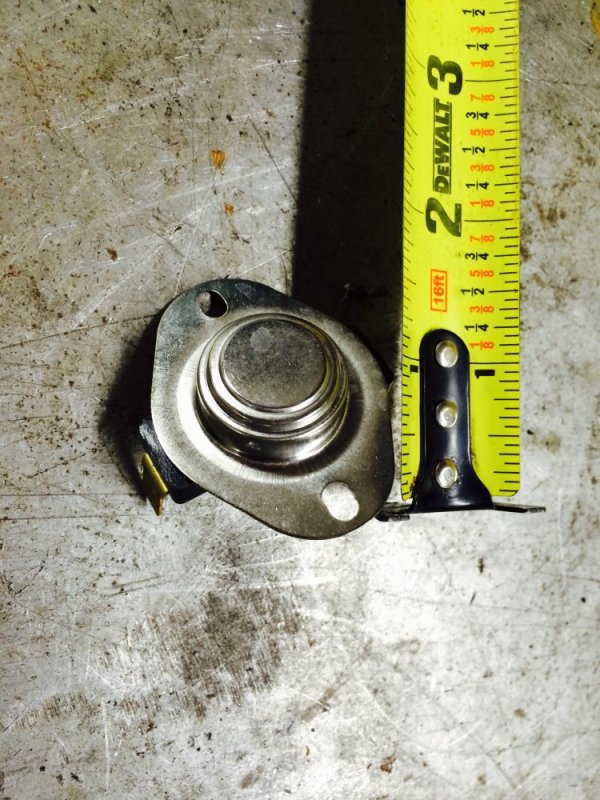
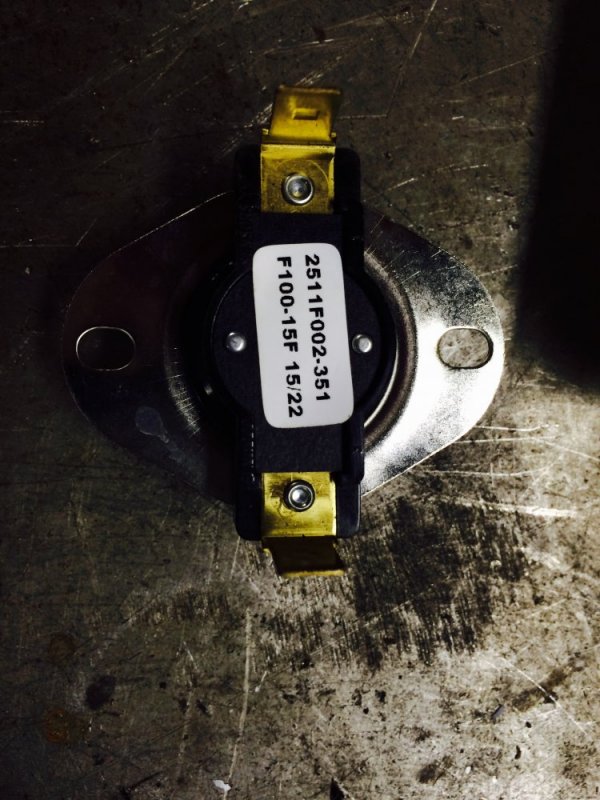
There's one more thing I'm doing to this for sure - it won't help cooling but it will refine the setup. I am going to install a temperature switch on the radiator that turns the fans on at 100F and turns them off at 85F. That should hopefully save a little wear and tear on the fans. I'll have the stuff for that Tuesday so hopefully I can get that installed before the camping trip.
 
Cool literally keep us posted. I think you will see the biggest improvement while at load when the delta T's will show up. Anything over ~185F IAT and its adding to the coolant rejection load. So in my mind under that is an improvement when boost is up.

Did you unhook the cooler and tilt it near vertical to bleed the last of the air out? Might have to fill it while loose at an angle to get all the air out and do a surge tank a bit higher on the firewall like the radiator for a little expansion room. But it looks like you must either have a bleed screw or fill while loose and move IC around and keep lines up to let air escape.
 
Did you unhook the cooler and tilt it near vertical to bleed the last of the air out? Might have to fill it while loose at an angle to get all the air out and do a surge tank a bit higher on the firewall like the radiator for a little expansion room. But it looks like you must either have a bleed screw or fill while loose and move IC around and keep lines up to let air escape.

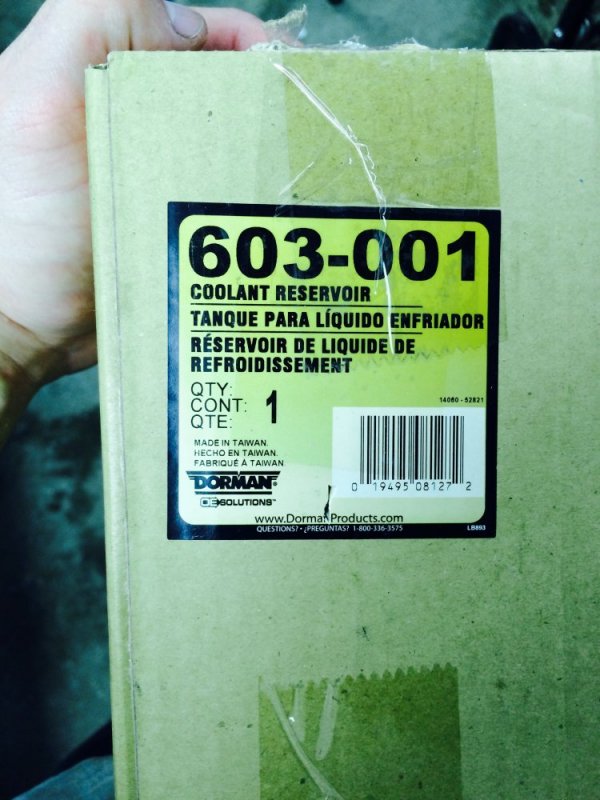
That's a good thought regarding tilting it while filling it, but it would take a lot of work at this point to remove it from the brackets and silicone couplers in order to do that. I think driving it around is shaking the air loose and getting it into the flow so it can be caught at the fill neck. So far I seem to be getting most of the air out. For a while, the level would be just a tad low each time I opened the fill neck, but now it is still full when I open it. I am noticing now too that the system is under pressure when I open it when warm....which does make sense. I'm not sure how much pressure it's under though...and so far I've only driven it on short drives, but if I use it hard while towing I wonder if I'll build enough heat and pressure to blow coolant past the fill cap? Because of this I am installing an overflow tank on the firewall as you have suggested. I found a Dorman universal fill bottle for $9 at O'reilly so I'm going to give that a go. I should be installing that and the temp switch tonight. I think I'll be in pretty good shape once those things are installed, however I would like to put some insulating sleeve over the hoses to keep extra heat out of the system and also to shield the cold line from the hot line.
 
What about the vacuum / refill tool. That makes it unnecessary to bleed any cooling system. Most of the high production flat rate mechanics here own them.
 
I don't know. Can a vacuum tool move an air bubble "downhill" I don't think so. I think a vacuum will expand a bubble so it can vent out of fluid??? I have seen a bubble get in a clear 2" hose with a "hill" or crest and 2 lower swells and watched as they would giggle a bit but never flowed through the hose no matter the flow rate through the tube (albeit it was laminar flow or at least not frothy white turbulent flow).
 

There are several companies that make this tool, or make one yourself. Makes life SSSOOO easy when dealing with any coolant system that doesn't like air pockets. Also keeps you from filling a system that has a tiny leak.

Guy in video says 25 psi- wrong 25 hg, but a good video otherwise.

Btw did you add any water wetter/ water soluble cutting oil to help it work better?
 
Dammit Will, now I need to get yet another tool! These 6.5s should come with a disclaimer . I didn't know those made the vacuum by using a venturi and shop air, that's pretty cool!

I'm sorry I forgot to share what I ended up using. I did a 50/50 mix of regular green antifreeze and added Water Wetter at the ratio of 1oz per gallon.
 

There are several companies that make this tool, or make one yourself. Makes life SSSOOO easy when dealing with any coolant system that doesn't like air pockets. Also keeps you from filling a system that has a tiny leak.

Guy in video says 25 psi- wrong 25 hg, but a good video otherwise.

Btw did you add any water wetter/ water soluble cutting oil to help it work better?
Is Water Wetter the same as water soluble oil?
 
Wait, you need an excuse to get cool new tools!?!
Here are 7 good ones. Today is... Sunday Monday Tuesday Wednesday Thursday Friday Saturday.

Funny thing about good tools, they outlast not just good trucks, but make a good thing to pass down a couple of generations.

My name is Will, and I'm a toolaholic.
 
Is Water Wetter the same as water soluble oil?

Yes,
It's a high grade one. All is does is modify the surface tension of the water so there is a tiny bit more contact between the liquid and the metal. That's why machinists use it on the equipment is to help the water do it's job.
 
Yes,
It's a high grade one. All is does is modify the surface tension of the water so there is a tiny bit more contact between the liquid and the metal. That's why machinists use it on the equipment is to help the water do it's job.
How much WSO would our cooling system need? I have it in 5 gal pails;)
 
Well I didn't get everything done that I hoped because I ordered the wrong stuff. I intended to order thermally conductive adhesive but instead ordered thermally conductive compound (basically stuff for heat sinks). I may see if I can borrow some of the adhesive from work so I can get the switch mounted tomorrow night.

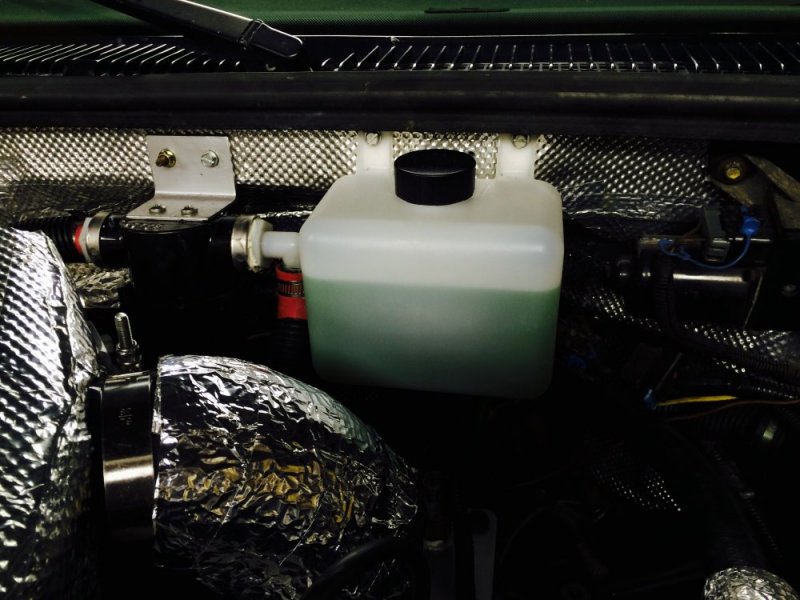
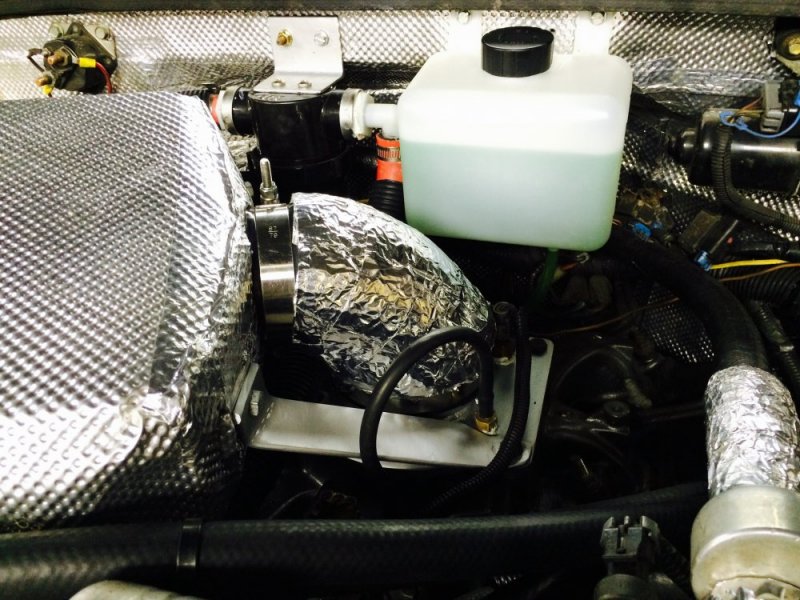
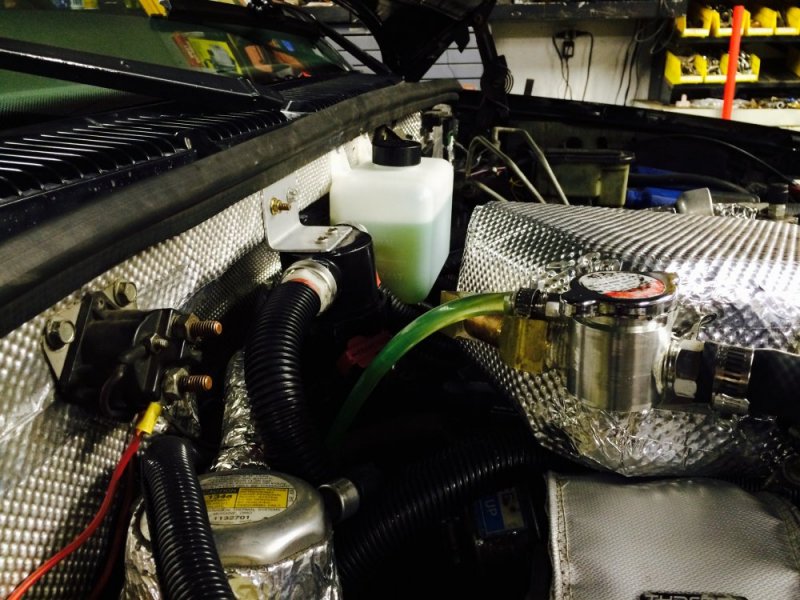
I did get the overflow reservoir mounted though. It still isn't the highest point in the system (it's surprising how far down the hood goes at the firewall) but at least now if the system gets hot enoufh to puke some coolant out it has a means to suck it back in after it cools. I had to move the oil catch can to mount the reservoir and I think I like the new location even better. While I was at it I also insulated the silicone elbow after the cooler just to try to keep a little more heat out. There's enough aluminum foil inder here now that I'm going to see if I can get some sponsorship by Reynolds Wrap! image.jpgimage.jpgimage.jpgimage.jpgimage.jpgimage.jpg
 
Back
Top