• Welcome to The Truck Stop! We see you haven't REGISTERED yet.

    Your truck knowledge is missing!
    • Registration is FREE , all we need is your birthday and email. (We don't share ANY data with ANYONE)
    • We have tons of knowledge here for your diesel truck!
    • Post your own topics and reply to existing threads to help others out!
    • NO ADS! The site is fully functional and ad free!
    CLICK HERE TO REGISTER!

    Problems registering? Click here to contact us!

    Already registered, but need a PASSWORD RESET? CLICK HERE TO RESET YOUR PASSWORD!

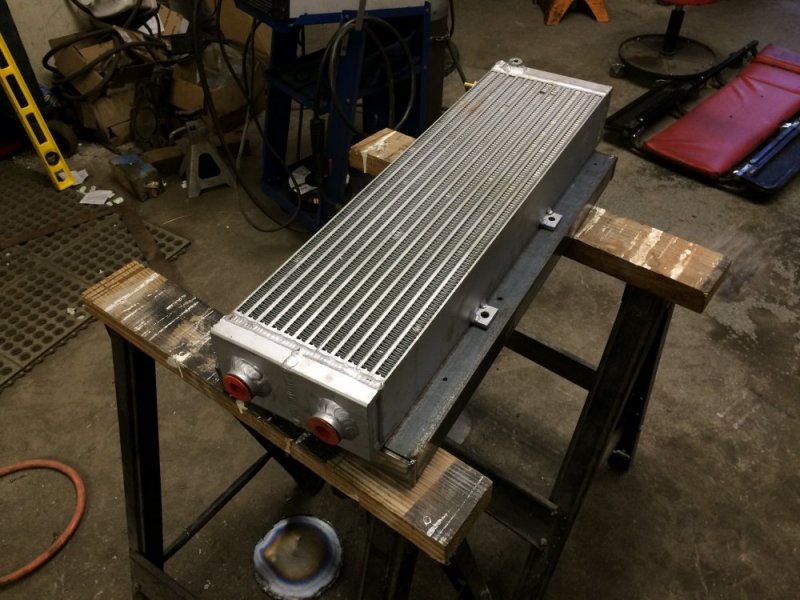
My Water to Air intercooler install

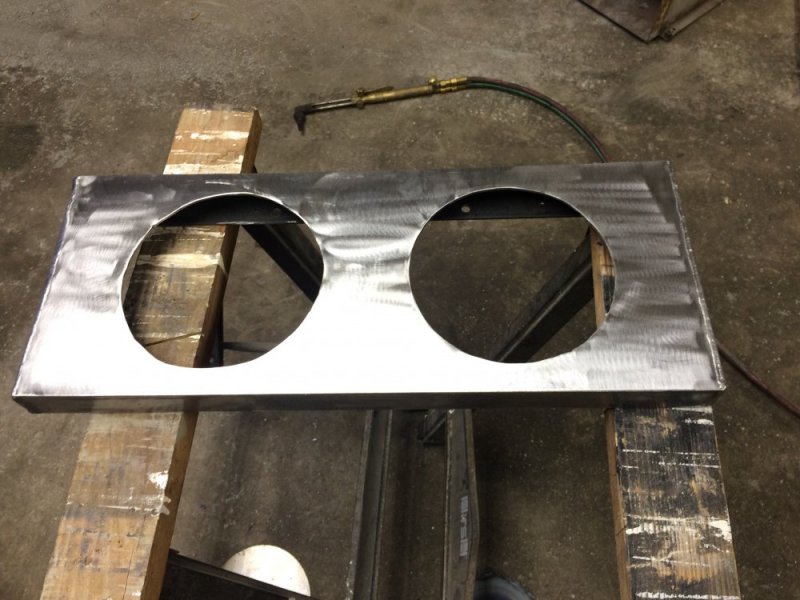
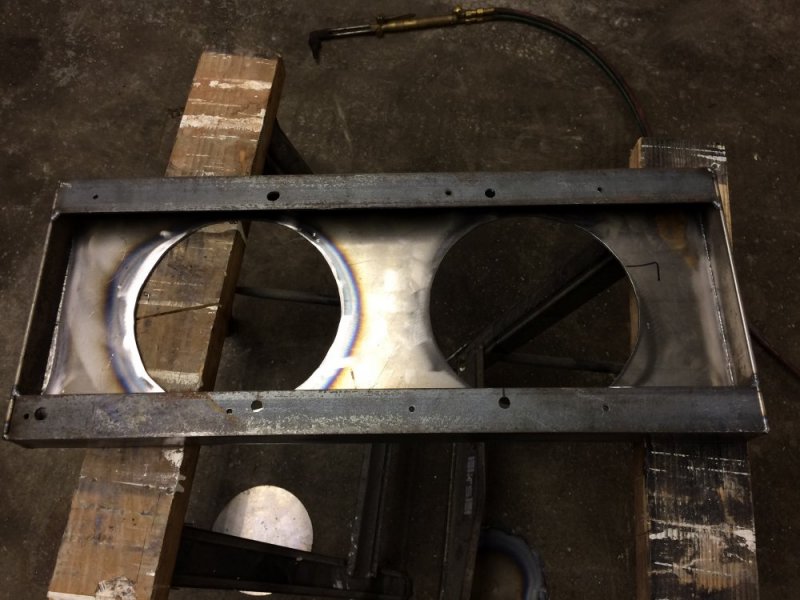
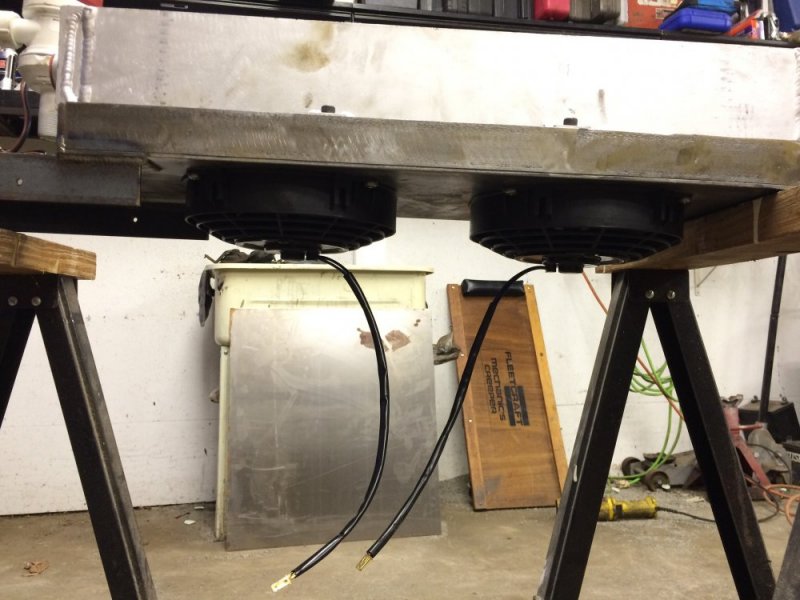
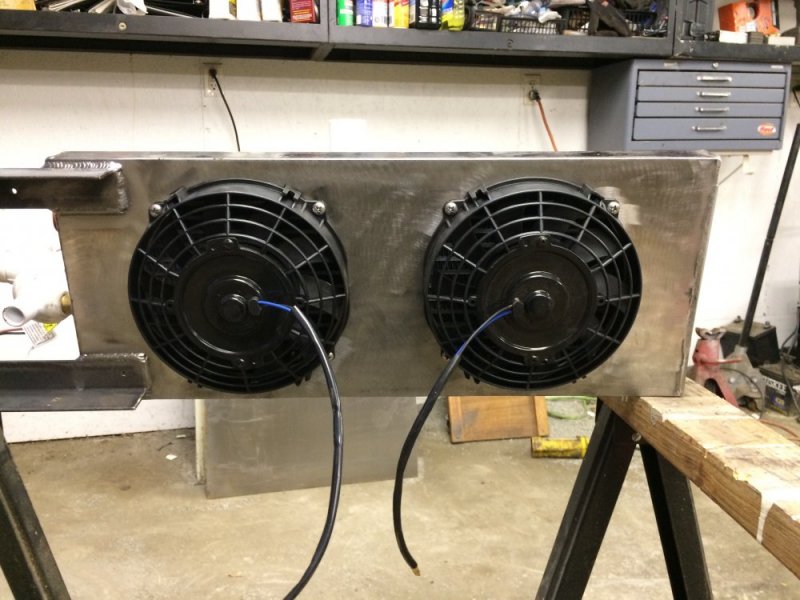
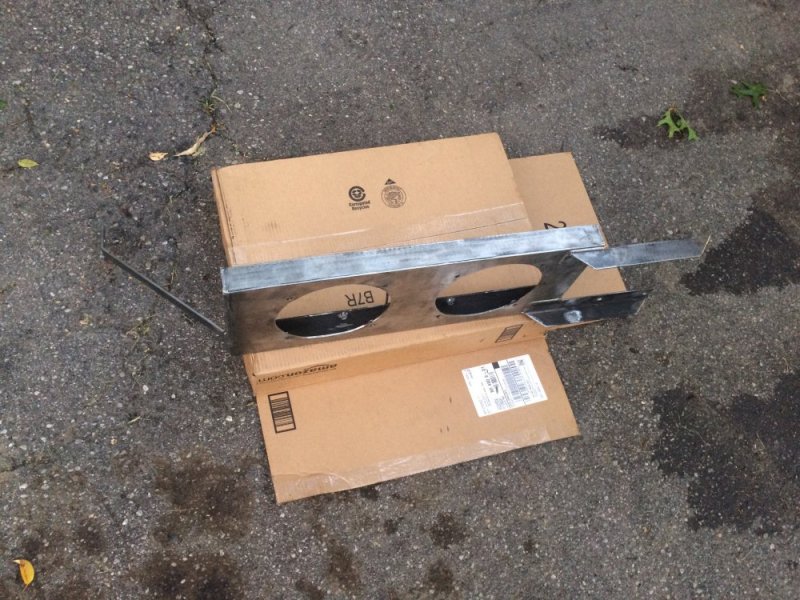
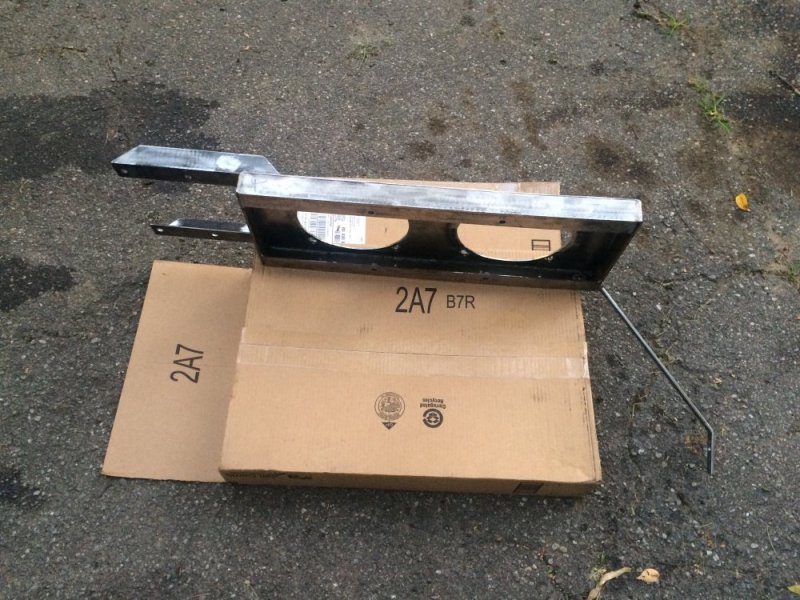
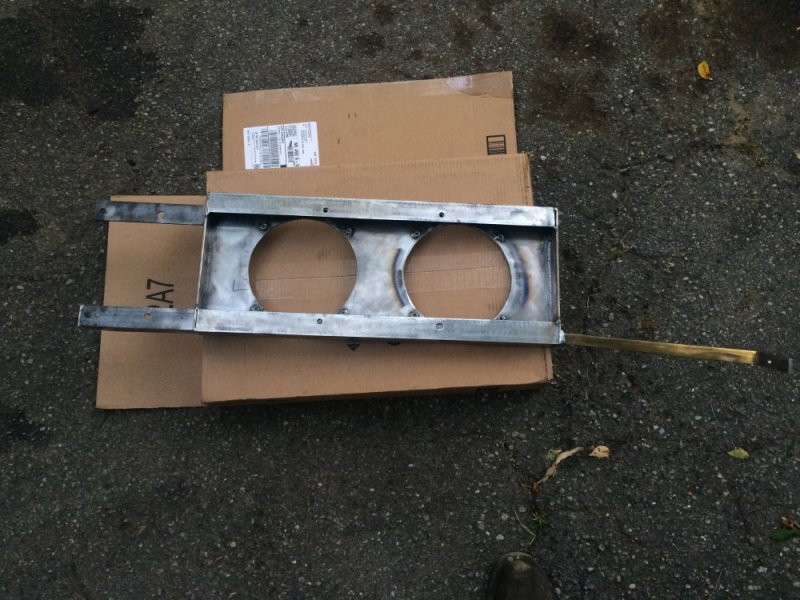
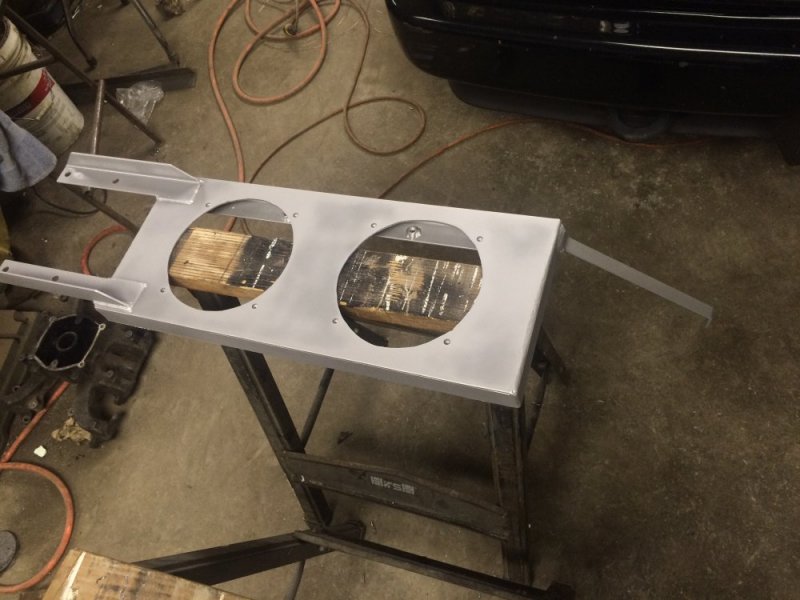
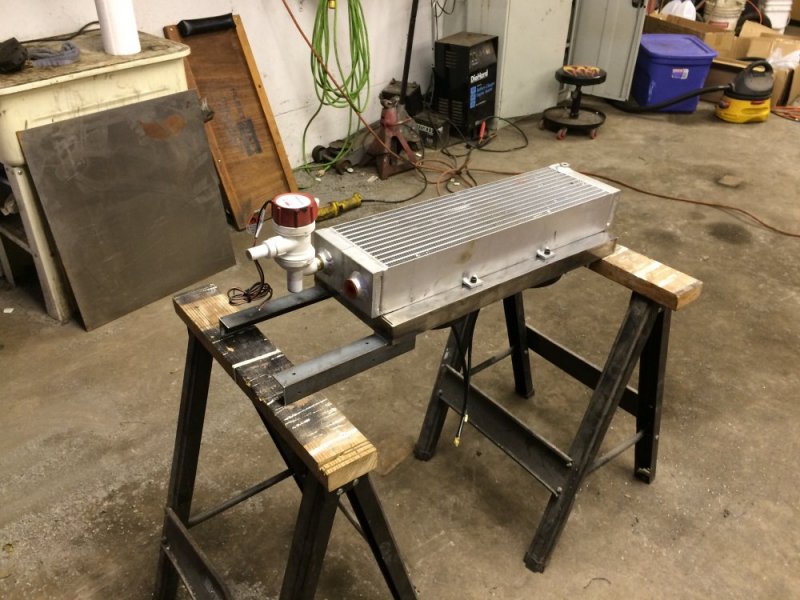
Ok I finally got to work on this some more. Originally I was just going to mount the radiator to some angle iron and then mount the fans to the radiators with the included straps, but I was inspired by NVW's comment about a shroud and realized that I could combine a mount and shroud all in one. I've been chewing on this in my head for days and couldn't wait to get started. I didn't get as far as I had hoped tonight but I did get the hard part done. The biggest PIA was cutting the holes for the fans and in fact I blew up my jigsaw while finishing the first one. I had to cut the second with the oxy acetylene and as you can imagine the clean up on that wasn't so hot. Overall it turned out pretty well though. The main supports are 1-1/2" x 1-1/2" x 1/8" angle and the sheet is 11 gauge steel, so it's plenty strong to weld struts off of for mounting to the frame. I should have the mounting all figured out and painted tomorrow night. I'm excited to get this thing all on there and working.

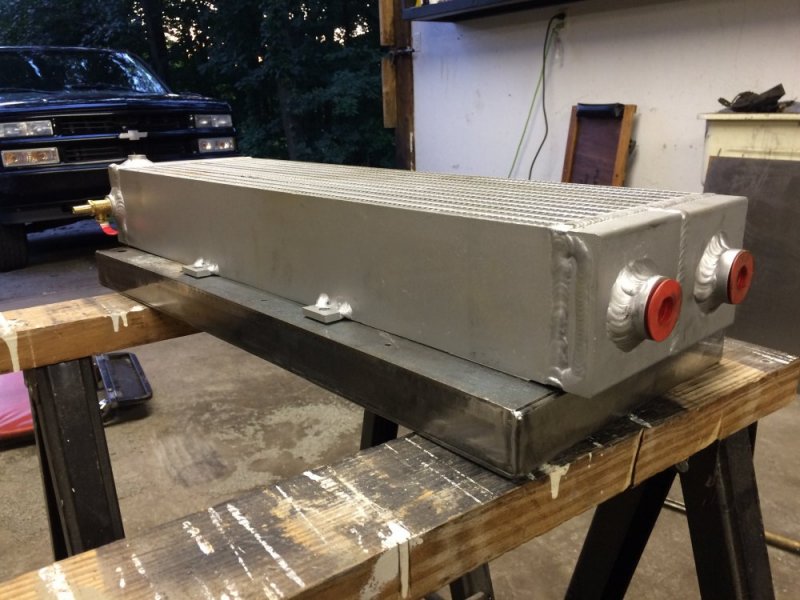
It's going to basically mount the way I'm showing it here - the radiator will sit on top and the fans will be underneath. The theory is that there will be cooler air passing by underneath while going down the road and the fans will hopefully pick that up and push it through the radiator. There's enough toom under there that I can change it if I need to if I find it isn't cooling enough. image.jpgimage.jpgimage.jpgimage.jpgimage.jpg
 
Is that Rule bait pump a cartridge motor pump? If so, you're going to need to carry a back up cartridge. I have two saltwater fishing boats and use the Rule pumps for both. They go out pretty regularly. I would not consider them for this use.
 
x2. I'd get the Cadillac pump. I think around 2005 forget the model, have to google "Cadillac electric water pump" or similar.

Shroud looks good, maybe make a mount for the pump on it too?
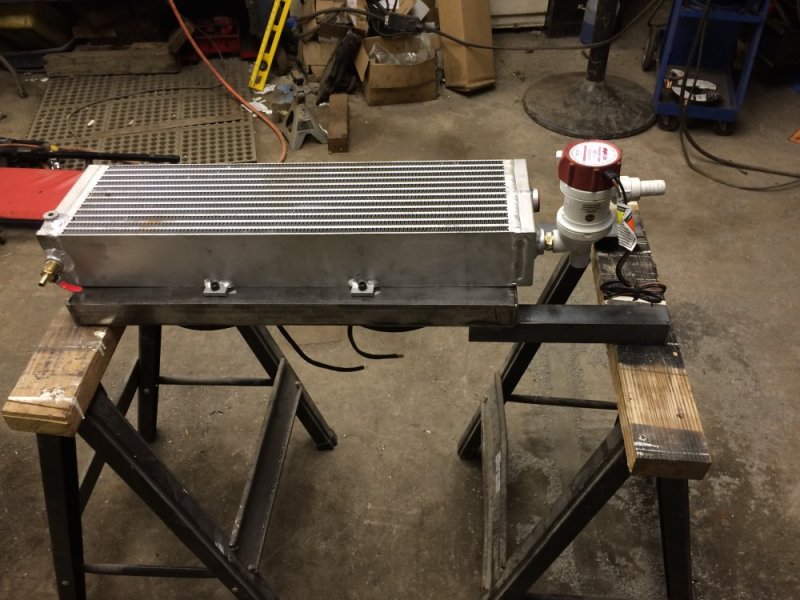
 
Yes it is a cartridge pump. Ok thanks for the feedback. I am planning on threading it directly into the radiator so it would be mounted off of that. I'll probably use that to start and then upgrade the pump. I'll look into this Cadillac pump.
 
x2. I'd get the Cadillac pump. I think around 2005 forget the model, have to google "Cadillac electric water pump" or similar.

Shroud looks good, maybe make a mount for the pump on it too?
I found the pump. I found it for a 2003 CTS. It's called the Auxiliary Water Pump. It's only $70 on Amazon (Cardone brand). I wish I had known about this sooner, dang. It even has a built in mounting bracket. I'll probably upgrade to that in the spring and just use the existing Rule pump for the rest of this year since I already have it. Thanks for the heads up, I'm sure that's a much more reliable pump.
 
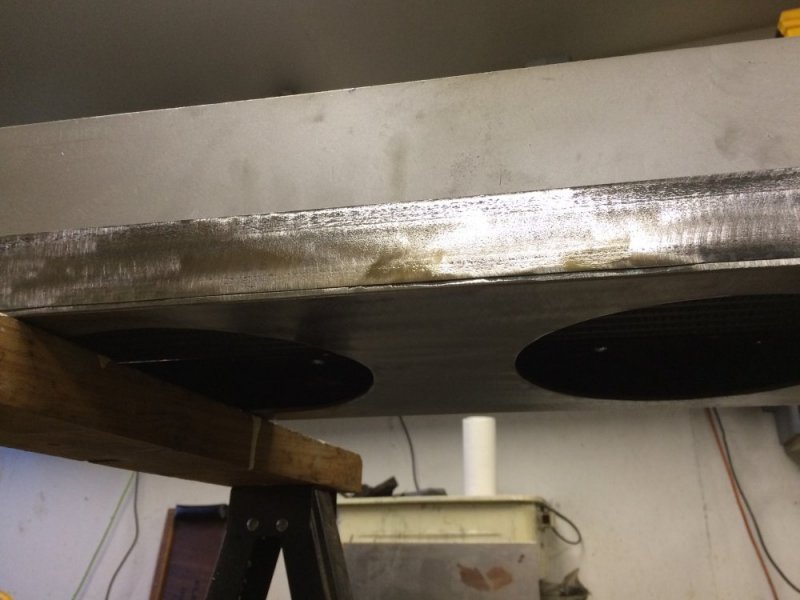
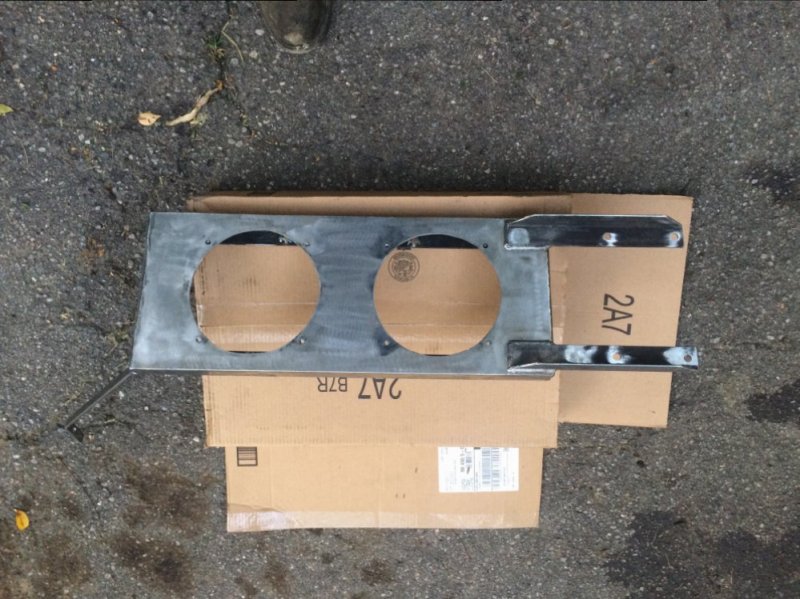
I didn't get to work it tonight as much as I had hoped. The fan mounting is done and the main supports are welded on though the need some shaping and holes drilled in them. Then I need to drill the crossmember so it can be bolted to the truck. Once it's in then I can see what other support it will need on the other end. The orientation with the fans facing down is how it will be sitting in the truck. The pump may or may not end up where it is now. It's a lot tighter in that location than I originally envisioned.image.jpgimage.jpgimage.jpgimage.jpg
 
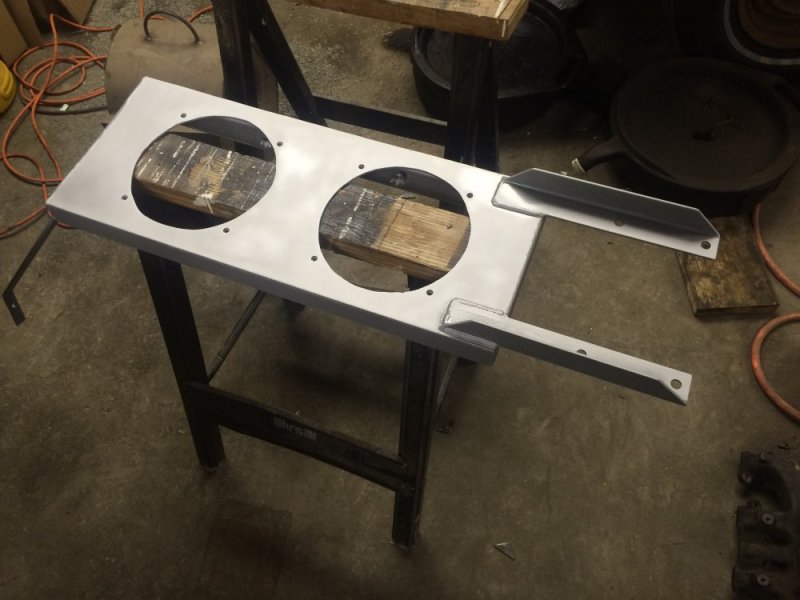
Ok the radiator mount/shroud is done and the frame is drilled. I started painting it with cold galvanizing compound but ran out so I used a can of high heat mate silver I found. Perfect color for it actually, hopefully it sticks. Tomorrow I start installing the intercooler tomorrow! Oh and I went ahead and ordered the Cadillac auxiliary water pump. I won't be able to finish this weekend because of that but I figured it made sense to put it together with a good pump and not have to take it again later rather than use a pump I'll more than likely have to change sooner than later. image.jpgimage.jpgimage.jpgimage.jpgimage.jpgimage.jpg
 
The angle iron brackets bolt to the last horizontal crossmember in the middle of the frame and the upright bolts to the upper body mount crossmember. I'll take pics of it installed once I mount it all up.
 
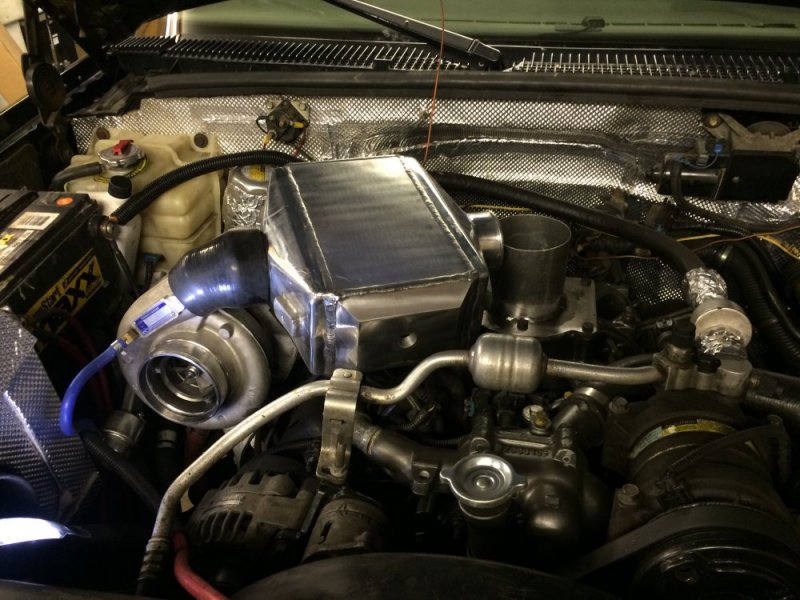
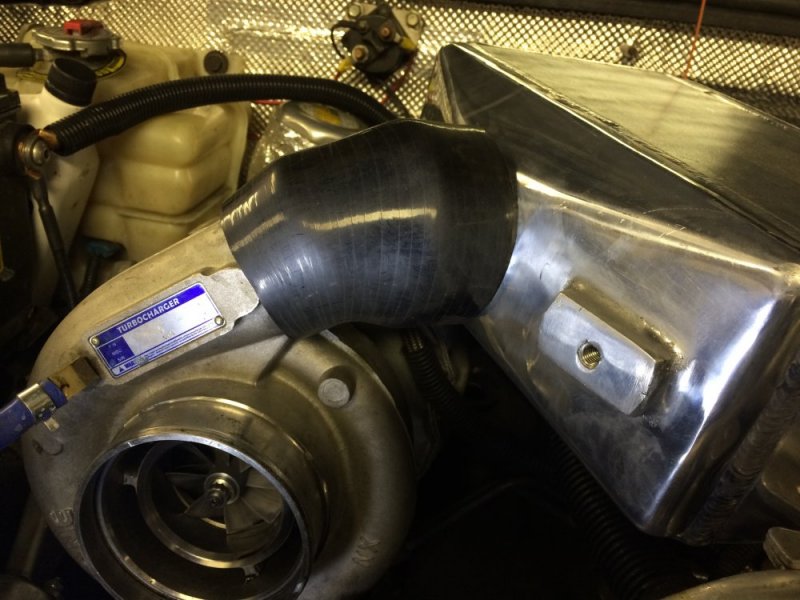
Mockup is going well. The 45* coupler turned out to be the right fit at the turbo end. I have the 90* for the intake end trimmed now I just need to take 2" off my upper intake. The hood closes fine even though it is a tight fit. Couldn't have chosen a bigger intercooler but I did want to err on the larger size when I ordered it so I got maximum cooling and minimal restriction. image.jpgimage.jpg
 
I wonder if you wraped it in same stuff as firewall if it would help keep heat out? Sure would look cool anyway. Those aluminium parts start to look bad real fast. Im not the type that is going to go polish my IC once a month ;)
 
It officially fits! I'm not in love with the fitment of the 3-4 elbow - it's tight on the 4" end. I even had to pie cut the intake so I could get it to go on. It will work for now but I may try to find a nicer one later that fits better. Time to make support brackets now. image.jpgimage.jpgimage.jpgimage.jpgimage.jpg
 
I wonder if you wraped it in same stuff as firewall if it would help keep heat out? Sure would look cool anyway. Those aluminium parts start to look bad real fast. Im not the type that is going to go polish my IC once a month ;)
Funny you say that, that's exactly what I had planned. I want the intercooler to focus on cooling the intake air and not have to struggle with engine compartment heat too.
 
Supports are made, this was the most time consuming part of this by far. It's nice and strong though - the whole truck moves when i push on the intercooler. Time to take it apart to drill the upper intake for sensors. Then it's paint and wrapping the intercooler in insulation. image.jpgimage.jpgimage.jpg
 
You're one of those people that flips to the end of a book to see how it ends aren't you Leroy? :p There is a fill neck included with the kit. The intercooler is the highest spot so I think I'm just going to thread that into the back side of the unit. And since I have it cocked at an angle to better match the hood line it will make the fill neck the highest spot. It's like it was meant to be:D. Plus easier than mounting to the firewall. And better access too. image.jpg
 
Back
Top