well, this morning my defrosters wasn't doing anything for my fogged up windshield and I noticed my ac compressor wasn't turning on! connected the gauges and ... nothing. everything had leaked out. vacuumed it down and charged a couple of cans only to find out the o-ring where the shaft seal housing bolts onto the body of the compressor is bubbling out oil and freon

this R4 compressor is only a couple years old, bought new and can't find my paperwork when I bought it. It was a kit that came with the dryer and orifice tube. looked up the price where I bought this one at and WOW, the price has trippled. I paid a little over $100 then. Now it's over $350!!
Watched a youtube video on how to re-seal them. there isn't very much to it.
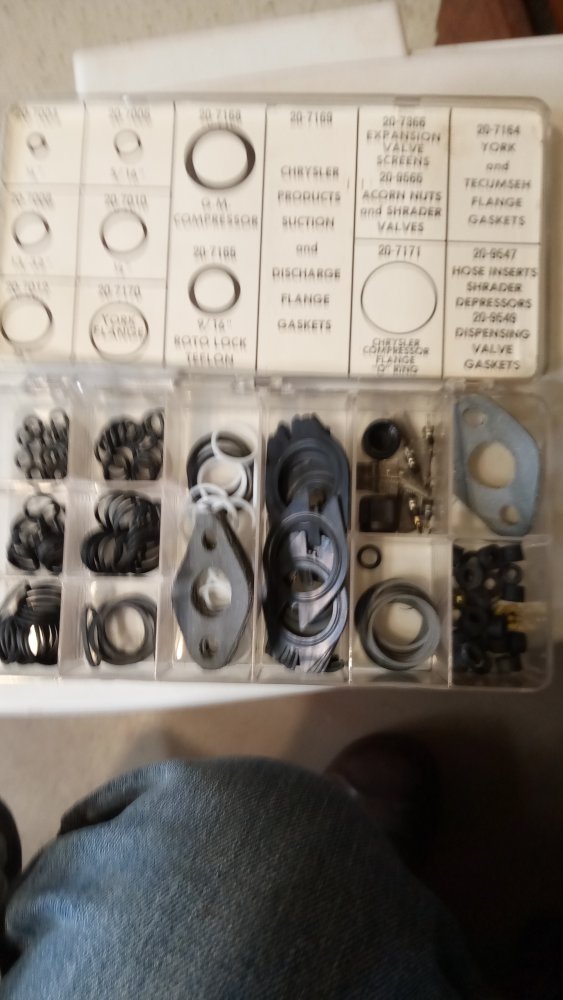
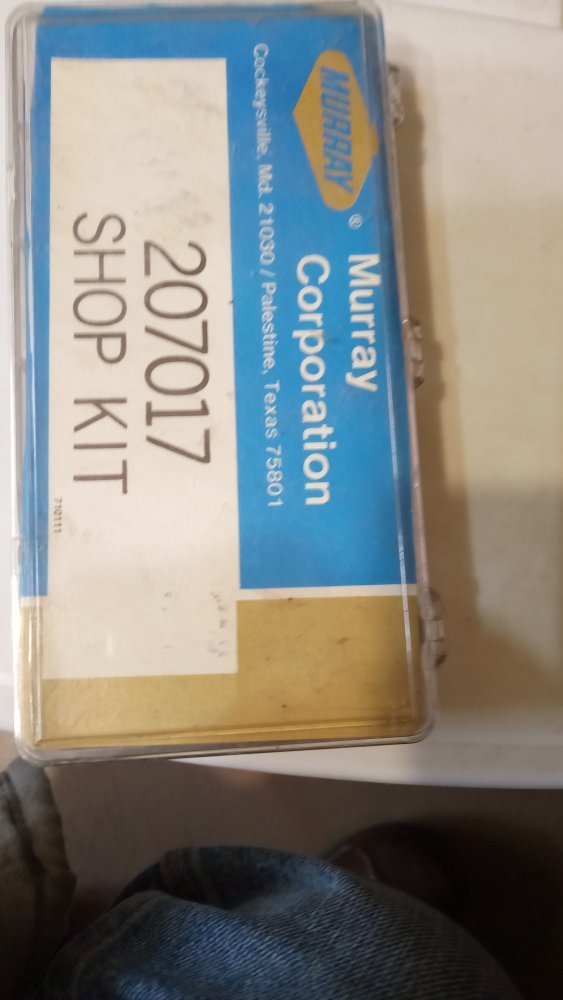
anyone know where I can get a o-ring and seal kit for an R4 compressor? I figure it would be worth a try to reseal it since it was blowing cold with only charging a couple of cans and not making any noise. Windshield instantly defrosted once it got to cooling.