• Welcome to The Truck Stop! We see you haven't REGISTERED yet.

    Your truck knowledge is missing!
    • Registration is FREE , all we need is your birthday and email. (We don't share ANY data with ANYONE)
    • We have tons of knowledge here for your diesel truck!
    • Post your own topics and reply to existing threads to help others out!
    • NO ADS! The site is fully functional and ad free!
    CLICK HERE TO REGISTER!

    Problems registering? Click here to contact us!

    Already registered, but need a PASSWORD RESET? CLICK HERE TO RESET YOUR PASSWORD!

99 TAHOE 2X4 gasser

Got a few more parts in today. I still have to place my rockauto order that I'm dragging my feet on, but I'm hoping to get started on the intake swap this weekend.

56586

You can use these fittings for hooking up to the factory fuel lines that use an oring seal and then connect them to an hose.
56587
 
Still pecking away on this project. After getting it torn down, I found the new ac compressor on it was already drenched in oil from the classic "belly leak" of the H6 compressor. After further digging, I found every connection in the ac was seized, so I have to replace the ENTIRE system to fix everything right. So I bit the bullet and placed a $1K+ order from rockauto for the ac parts, new electric fans, belt, hoses, gaskets, and all the rest.

Since I'm this far into it, I started doing some porting on the intake because I'm not that fond of how they designed the intake ports and injector bosses to increase swirl and bottom end pull. I also picked up a 454 throttle body so I didnt have to port mine and mess with the throttle blade. I'm also doing a 145 amp alternator, 05+ dual electric fans, relocating the battery to the drivers side, and upgrading the cables in the process. So I've got a BUNCH of work to get done now and parts EVERYWHERE in my shop.
 
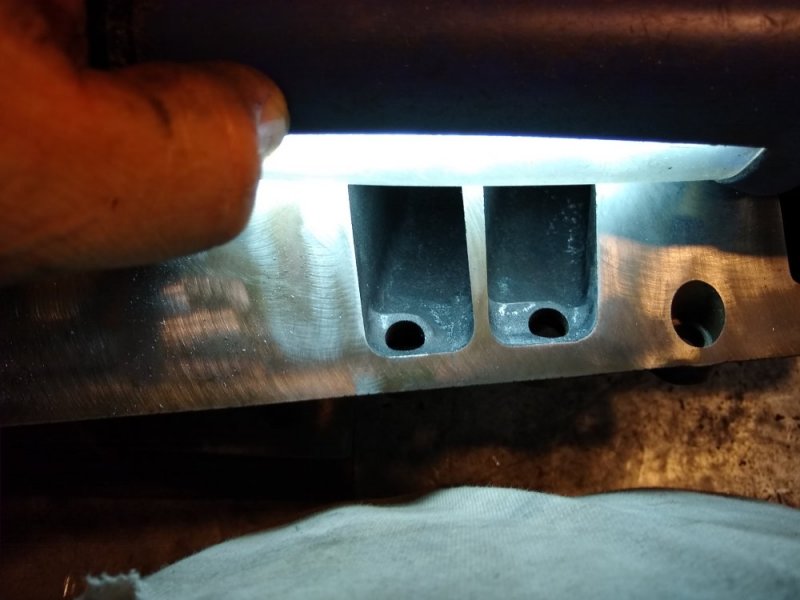
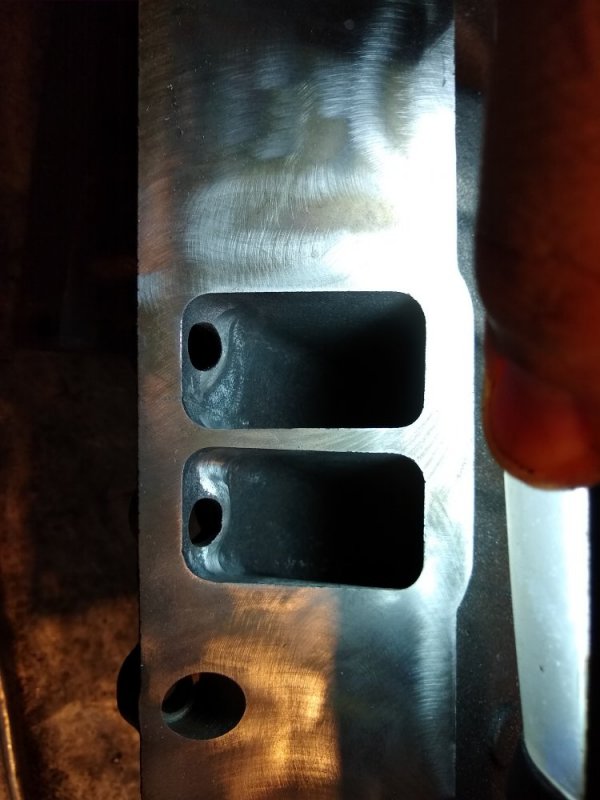
I wished I would have taken some before pics of the intake runners to show just how bad they looked. The 1st pic is after I tried beveling, rounding, and back smoothing the injector bung area. The 2nd pic is what I'm going to run. I know I could take some more, but this is for street use, so no reason to go hog wild yet. The only reason I can figure they made them this way was to have a downward ramp to create spiral where the fuel came out of the injectors to increase bottom end pull.

IMG_20190504_171517000.jpg
IMG_20190504_172933576.jpg
 
Still pecking away at this one. Finally got to hear it run tonight for a minute. Still have a fair bit of work left to finish fitting the electric fans(everybody who says they drop in is full of it, or hacking them in something awful, but mine will be mounted in right), running the harness, and wiring them up. Then I have to pull the dash out. The evap line is froze into the accumulator, lines are froze at the condenser, and the compressor is leaking, so I'm replacing it all.

Here's a couple of pics I took of the intake showing some of the mods I had to do. I'll try to get a few more of it to show what it took to fit the fans. In hindsight, a set of dual SPAL fans, and a custom shroud would have been cheaper if I figure in how much time I've spent messing with these.

The 2 bosses I had to drill and tap for the t-stat bypass and coolant temp sensor
IMG_20190504_173647944.jpg

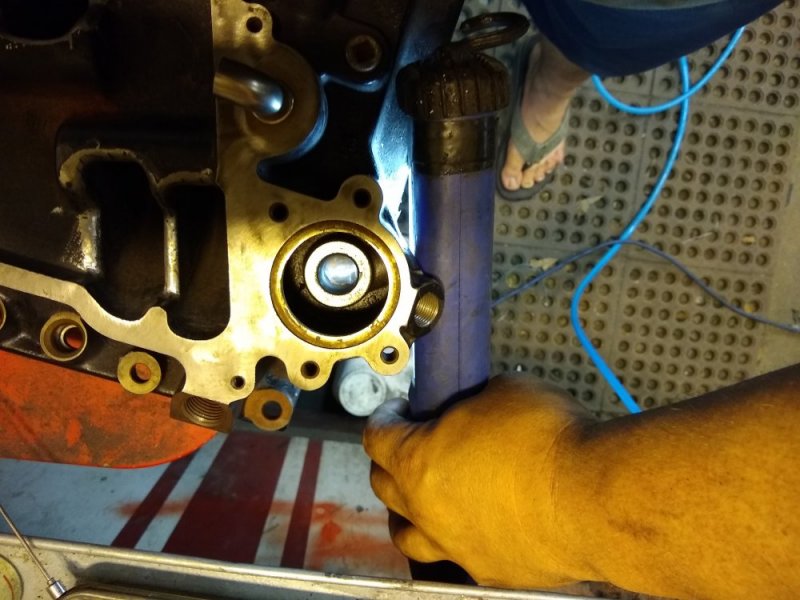
This gives you an idea of how deep I had to drill, through cast iron, and hit a certain spot while doing it. Then I took my dremel and ported the area out so it can flow better.
IMG_20190504_194537866.jpg

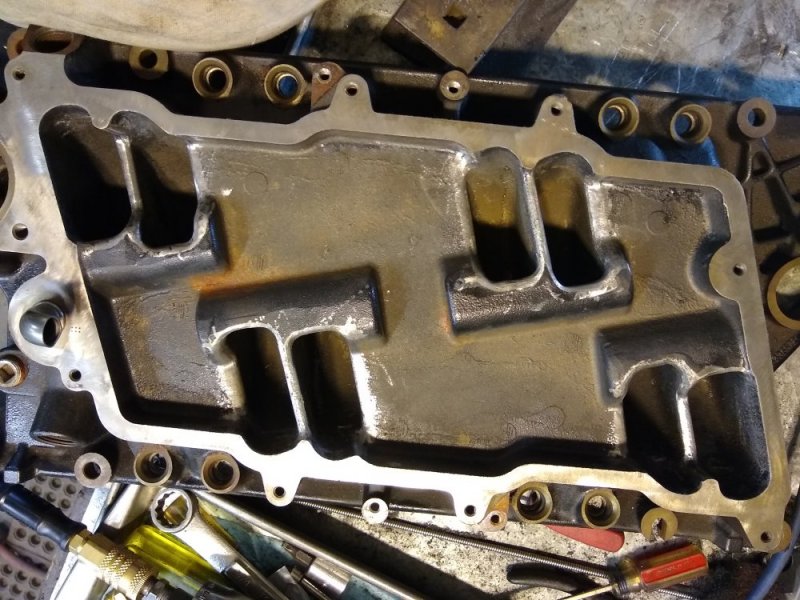
The inside of the intake plenum after I cleaned it up.
IMG_20190504_173640884.jpg
 
It was ice cold before, but not much airflow. The surprising part is this truck lived it's whole life near the beach with clean air, but he did have dogs he said.
 
Got a project ahead of me. My dash is AWFUL(Florida sun is rough, and it crumbled when I pulled it for the evap), I can't bring myself to not do something about mine, and I haven't been able to find one much better that they don't want a fortune for. So I picked up some plastic weld epoxy and screen mesh to put on the backside where I can get to it and I'm going to try and learn how to use my new gadget to try and weld the dash from the top. It will have a dash carpet on it so I'm not to worried about how it looks so long as it is together and solid.

From what I could find on the dash it is made of PC-ABS, I can't locate any pc/abs rods in the states, but polyvance says to use PC rods on it, so that is what I'll try.

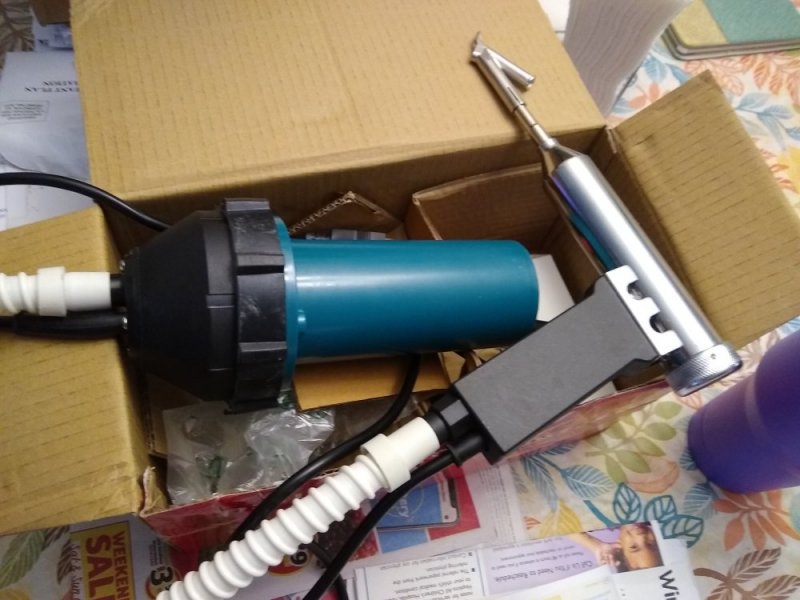
Most plastic welders are either an overgrown soldering iron, or a giant all in one unit that most say you can barely grab onto, so I decided to take a chance on one from amazon that uses a gun with a wire and hose running back to the main pump unit. The only drawback to it I can find is it's only 1080 watts where most are 1600 watts, but it said free returns, so I figured I'll give it a shot.
IMG_20190718_132001272.jpg
 
We have that style at work (ours is bigger) and when soldering plastic duct or pipe together it’ll look just like a tig, stick, or mig weld bead kinda. You’ll have to sand it flat when your done unless somehow the tip is different than ours.
 
is that hot air?
Yes, it's the same as the big hand held ones, just set up with a 4 foot hose between the air pump and heating element portion. There was alot of positive feedback on them for ease of use which worried me with how bad my joints in my hand has gotten.

It's like one of these, but in 2 pieces instead of 1 big one.

 
As an Amazon Associate we earn from qualifying purchases.
A plastic welder I am not. Got it all back together, but it aint pretty. Ran into 2 problems. The 1st problem I was expecting, and that was the welder puts out way to much air. It was blowing so hard it would blow the plastic all over the place. So I found an orifice to choke it down to about half. The 2nd problem wasn't so simple. Turns out the dash is made of 2 different layers, there's the top layer that is very soft, and is the color layer, then you have a harder layer underneath of just black. So it would blow off the top before it would get the bottom warm or the rod would melt. And with these multiple layers, i also found it changed plastic from section to section. So I did the best I could with it, but it isn't pretty.
 
Got the dash back in it today, buttoned back up most of the way, fired it up, and charged the ac. Looks like I'm going to have to put an ac control head in it. No matter what I do, it will not trigger the solenoid for the heater control valve to close, so I have to dig into that, but I have a feeling it's the control head as it looks ROUGH! I'm also having an issue with the fans. They run as soon as the ac kicks on, but don't kick out at the set pressures. They turned on and off(at least on low speed) for the 1st fan stage no problem, but I set them to kick off at 175 psi on the high side, but they were staying on down to 155. Hopefully it's just a setting I goofed up in the tuning, but it RUNS! Another day or 2 and it's on to the next project(got a th400 to 4l80e swap to do in an 88 square body).

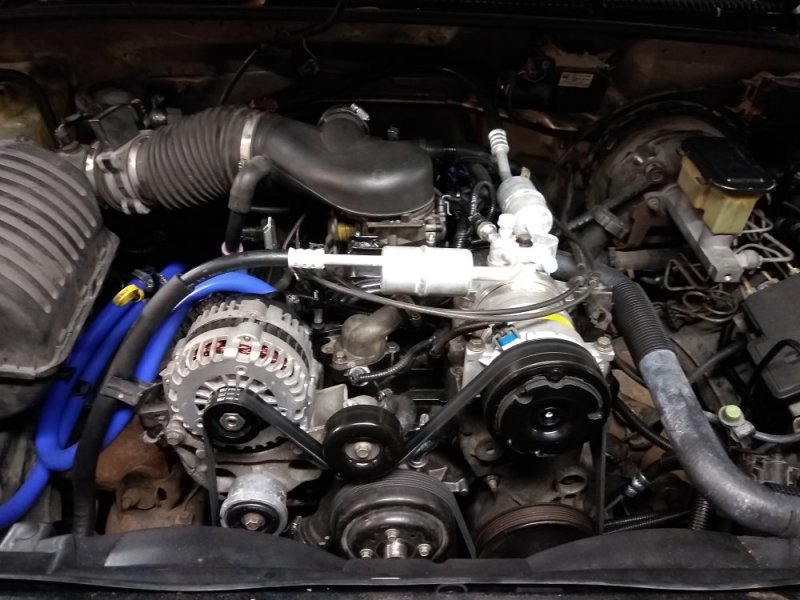
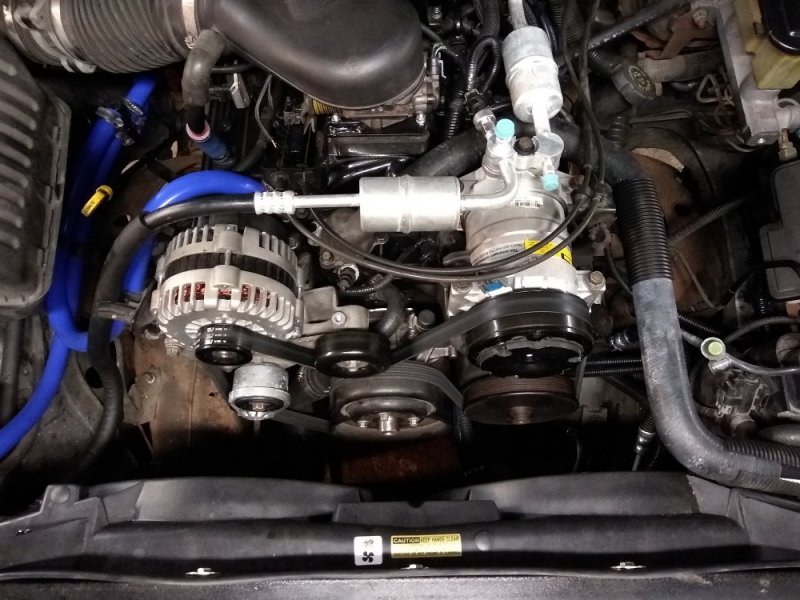
Marine intake all buttoned and egr deleted(wasn't worth the extra hassle to put in). Installed silicone heater hoses and routed the return to the radiator instead of the water pump like GM used to(it keeps coolant moving across the trans cooler at all times to maintain more consistent trans temp). Relocated the battery to the drivers side(future plans for a true cold air intake to go where the old battery was).
IMG_20190722_210708060.jpg

Cleans it up a bit without the engine driven fan. These electric fans move an INSANE amount of air. I put them on high and holy crap at the air moving.
IMG_20190722_210700007.jpg
 
Back
Top