• Welcome to The Truck Stop! We see you haven't REGISTERED yet.

    Your truck knowledge is missing!
    • Registration is FREE , all we need is your birthday and email. (We don't share ANY data with ANYONE)
    • We have tons of knowledge here for your diesel truck!
    • Post your own topics and reply to existing threads to help others out!
    • NO ADS! The site is fully functional and ad free!
    CLICK HERE TO REGISTER!

    Problems registering? Click here to contact us!

    Already registered, but need a PASSWORD RESET? CLICK HERE TO RESET YOUR PASSWORD!

What did you do with your GMT400 today...or yesterday....

Well the kit showed up yesterday afternoon and it was the right on this time :) I compared the sector shaft bearing on the shaft, the old one probably had at least 20 thousands wobble play where the new one has very little play. Got the gearbox all put back together. took me a few tries getting all the little ball bearings in the worm gear with the input shaft centered!! took the input shaft nut to work to see if one of the welders can scab together a spanner wrench so I can torque the nut.

something I did notice was the sector shaft bearings, the old one has a plastic cage holding the rollers and each roller is spaced out. the new bearing has all the rollers side by side, no spacing between each one similar to how a u-joint cap has the needle bearings. a much better design. the kit I get is a Plews Edelmann 8781 kit, same brand of box I will be ordering if this rebuild doesn't work out. only thing that was not included was the sector shaft cover gasket. I can re-use that one.
 
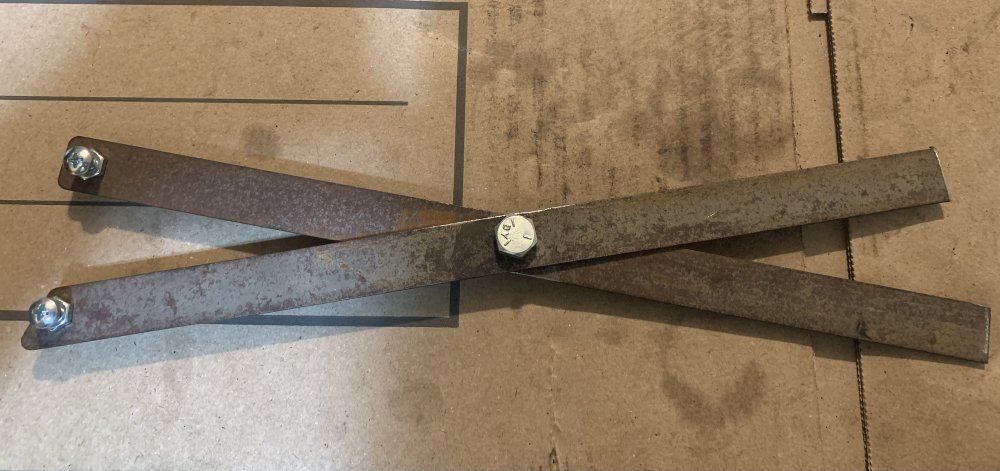
And it was a success! Thanks to my buddy in the welding shop at work. He came up with a simple spammer I mean spanner wrench lol! I followed the thread @THEFERMANATOR had posted sometime back on how to adjust the box. Got it installed and all I can say is WOW. What a difference. It steers much easier, even the brake pedal somehow feels better too. Maybe there was a flow restriction in the old box idk 🤷‍♂️. There is very little play in the steering wheel now although it’s off center just a bit. Time for me to get an alignment. Hehe 😉

Here’s a pic of the wrench he made for me.

AFD79CCF-C00E-49E4-A062-9C889B18F998.jpeg
 
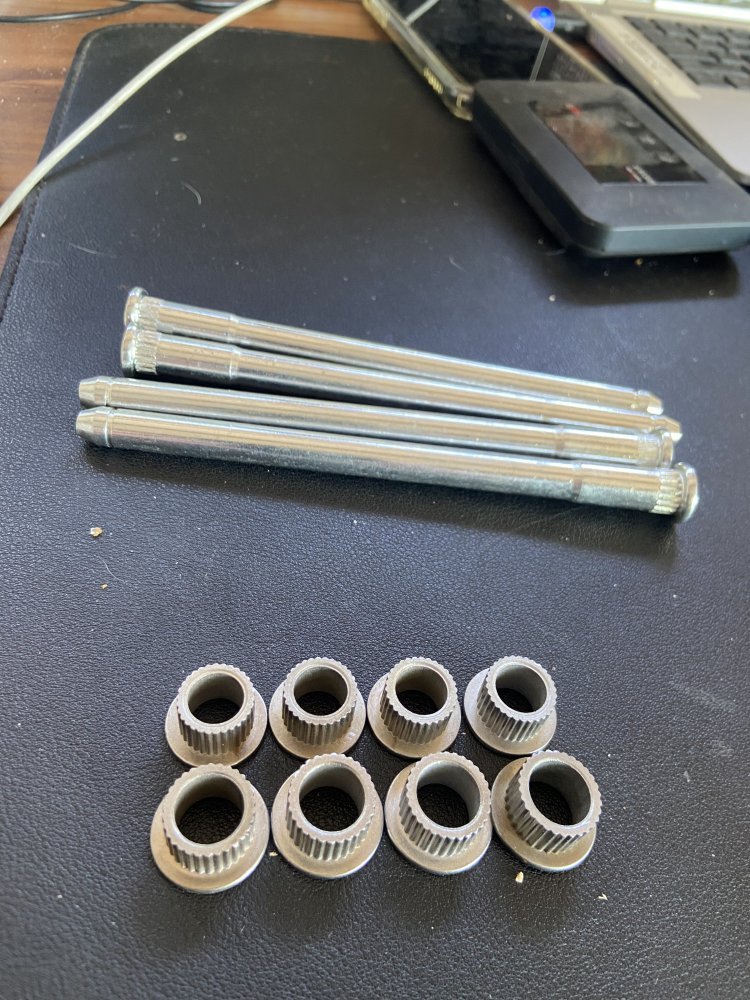
I had these door hinge pins ordered off Amazon ($11.99) before I found the Cunningham sintered self-lubricating bronze bushings. I intended to return these, but read some of the reviews while waiting. Notably, some commented that the bushings were way better than the Dorman garbage.


Well they arrived and right off I can tell the bushings indeed are way better than the Dorman versions:

5F0A0A2F-61FF-43CB-AC52-C0F59325F4EF.jpeg
So for those who might balk at the more expensive bronze bushings from Cunningham, these might be a much cheaper option.
 
As an Amazon Associate we earn from qualifying purchases.

Brian T

4.0 out of 5 stars Work good.
Reviewed in the United States on March 25, 2022
Size: OT270Verified Purchase
Much much sturdier than the bronze ones from the parts stores. Have elongated holes from prior damage, these are holding up well! It’s been a few months and have a bit of a sag going, but the bronze were destroyed in this amount of time!
 
As an Amazon Associate we earn from qualifying purchases.
And it was a success! Thanks to my buddy in the welding shop at work. He came up with a simple spammer I mean spanner wrench lol! I followed the thread @THEFERMANATOR had posted sometime back on how to adjust the box. Got it installed and all I can say is WOW. What a difference. It steers much easier, even the brake pedal somehow feels better too. Maybe there was a flow restriction in the old box idk 🤷‍♂️. There is very little play in the steering wheel now although it’s off center just a bit. Time for me to get an alignment. Hehe 😉

Here’s a pic of the wrench he made for me.

View attachment 76420

Now replace the lower steering shaft with the rag joint with one that has a solid universal joint and you will be amazed over how tight the steering becomes.
 
My guess is they are bronze but powder that is pressed together but not heated! or bronze infused with aluminum shavings or some such.

Ya know it never occured to me that if the hinge area that the bushings are sitting in was thicker where the bushing would make full contact with the hinge and not stick out an 1/8" of an inch on the back side, they might have lasted longer.
Most likely either they're cast bronze (which lacks the micro pore spaces of scintered bronze, and thus won't hold oil to "self lubricate") and/or a cheaper, softer alloy of bronze (which is made of mainly varying ratios of copper and tin and sometimes traces of phosphorus or aluminium thrown in). The Dorman bushing could also use less bronze in them by making the bushing walls thinner and making the "teeth" around the outside finer and taller so the bushing still presses into the hole in the hinge stamping.
 
Now replace the lower steering shaft with the rag joint with one that has a solid universal joint and you will be amazed over how tight the steering becomes.
Already done ;) made my own steering shaft using a part from a jeep. some of the older jeep cherokee's use a similar steering shaft that has the u-joint where ours would have the rag joint.

I think my column might need the bearing in it though, when I'm on a rough patch I can hear a rattle coming from the bottom of the column and when grabbing the steering shaft up by the firewall under the hood I can move it slightly up down and side to side, but not much.
Yup! There was a thread on here about that very conversion using the Jeep part! Iirc, my Oldheimer's not withstanding, I believe it was @THEFERMANATOR who wrote the conversion thread on it. Yeah, sounds like the shaft bearing on the column may be wearing out, another of those lubed for life (til failure) bearings.
 
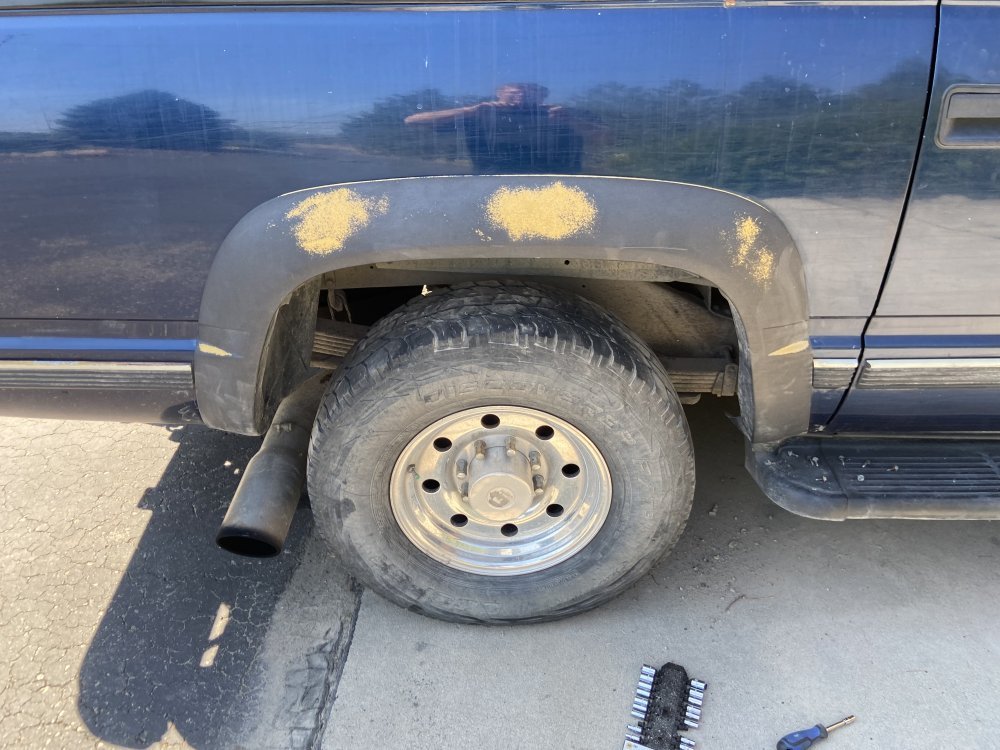
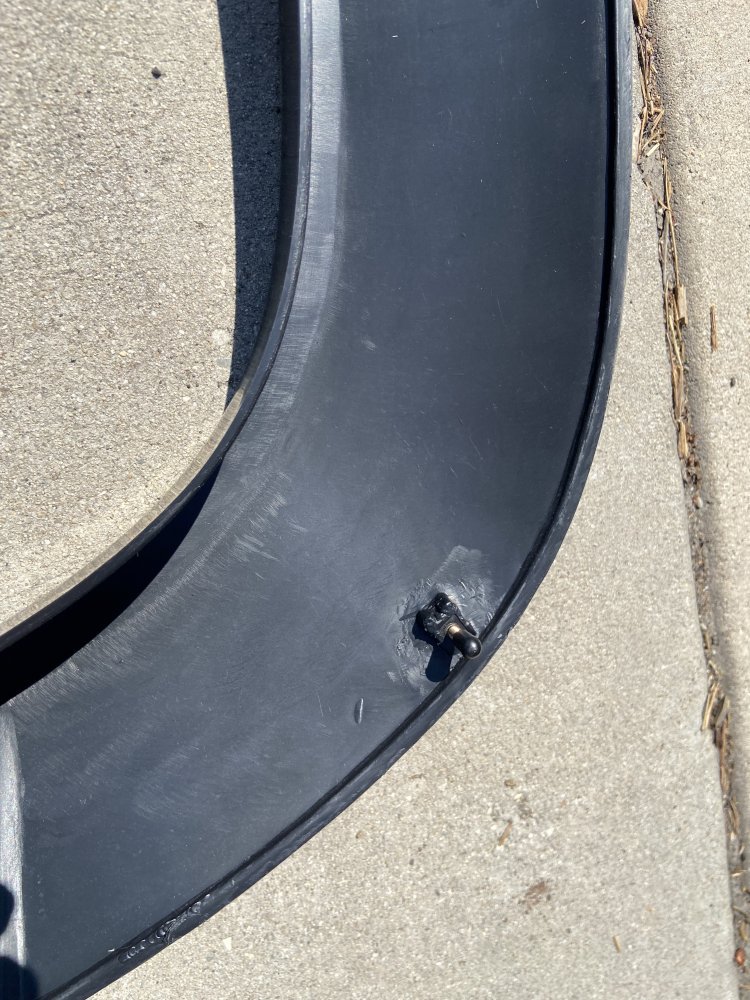
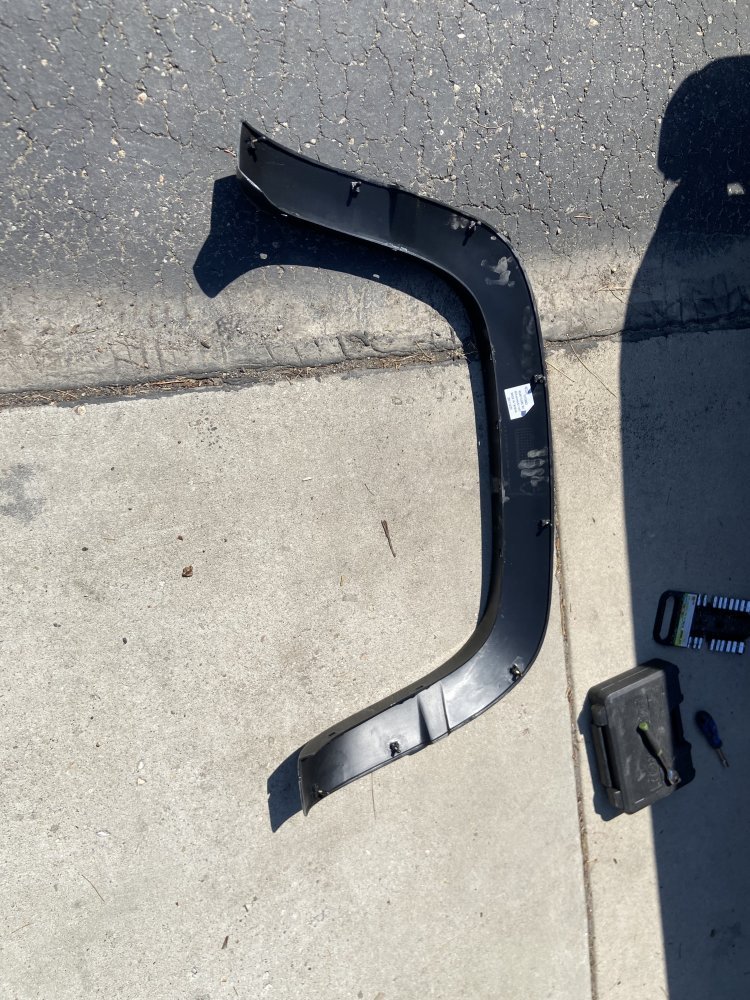
Trying to replace the fender flares on the ‘99 Suburban. The attaching bolts around the innner lip are easy, but how do you access and remove the nuts on the bolts that are perpendicular to the body panels?

View attachment 76461View attachment 76462View attachment 76463
There not easy to get to. There is a cover on the rear side of the inner fender that has to come out the you have to snake your arm up in there to access the 10mm nuts.
 
Driving my truck late last night and today I noticed a wired noise when I turn my wheel to the right and then begin to turn it back to center!

It happens as soon as I start to turn the wheel back to center from a right side turn I hear a “tink” It is rather higher pitched like a lite dink from a ball pien hammer. Tried it in the driveway and it does it almost every time! Nothing was touched under there other than installing the box I rebuild!!

For what ever reason my first thought was those tiny ball bearings in the worm gear!! I know I put them in alternating grey and silver. Took me two tries to get that right. It still steers smooth and much easier than the old box did
 
There not easy to get to. There is a cover on the rear side of the inner fender that has to come out the you have to snake your arm up in there to access the 10mm nuts.
I can’t even see a way to get at the ones on the front or upper side, so did not bother with the rear. I reinstalled the bolts around the lip. This will have to happen when I have more time. Have to replace all 4 fender flares.
 
Got the new Cunningham bronze bushings installed and they are nice. I cut out the roller pin with a Sawsall, but I could not get the new Dorman roller pin installed the lower flared rib section was just too big. Worse yet, one last shot at it with the bfh and I dropped the pin down into the body panels and can’t see it, nor fish it out with a magnet. I can confirm that Dorman bushings stick to a magnet.
 
When I did those roller pins I had to beat the 💩 out it lol. I have heard others having to just barely touch the hole in The hinge area with a drimel tool for it to go in properly
I will try pulling the inner fender, but I did order another one. I was thinking of hitting the hole with a round file, or a dremel tool.
 
Back
Top