Pruittx2
Been around a bit
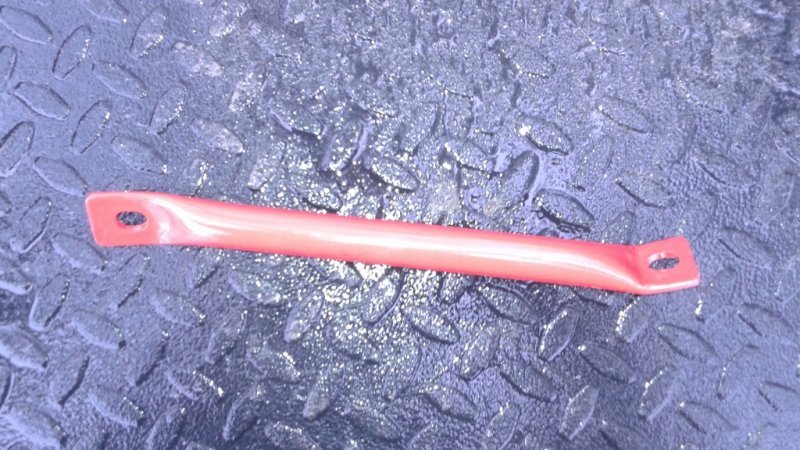
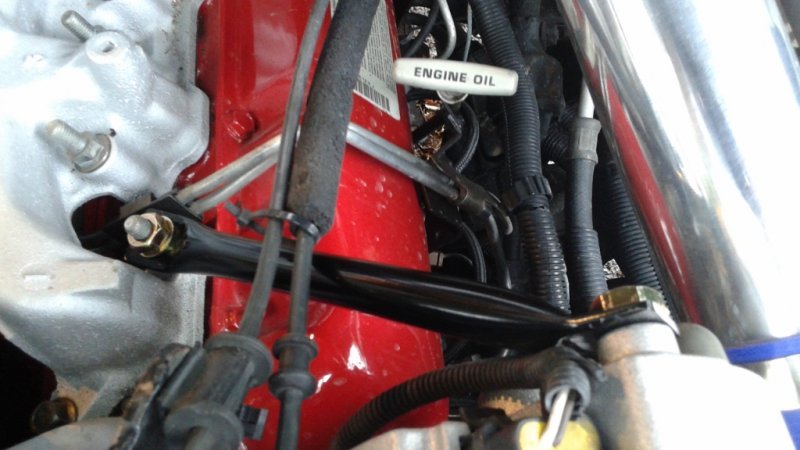
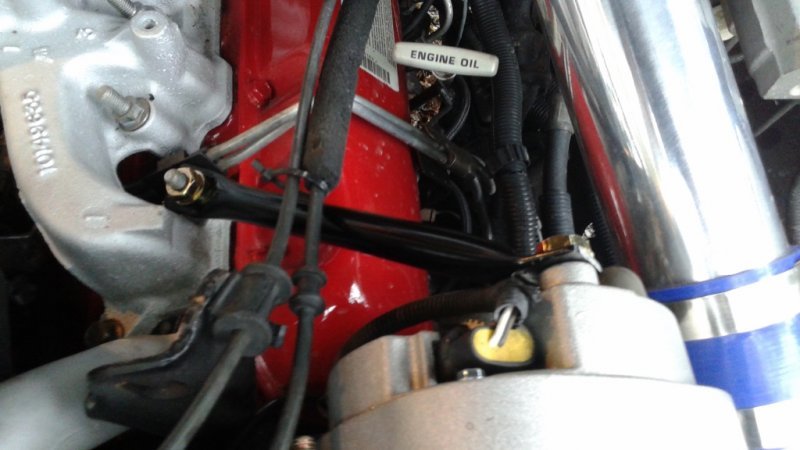
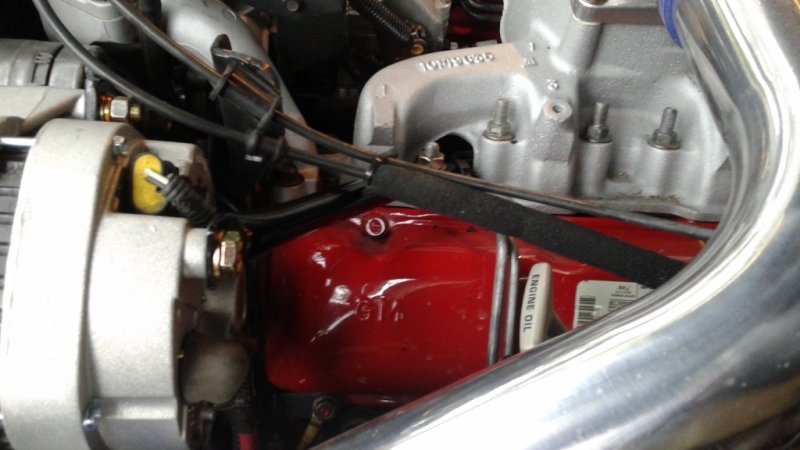
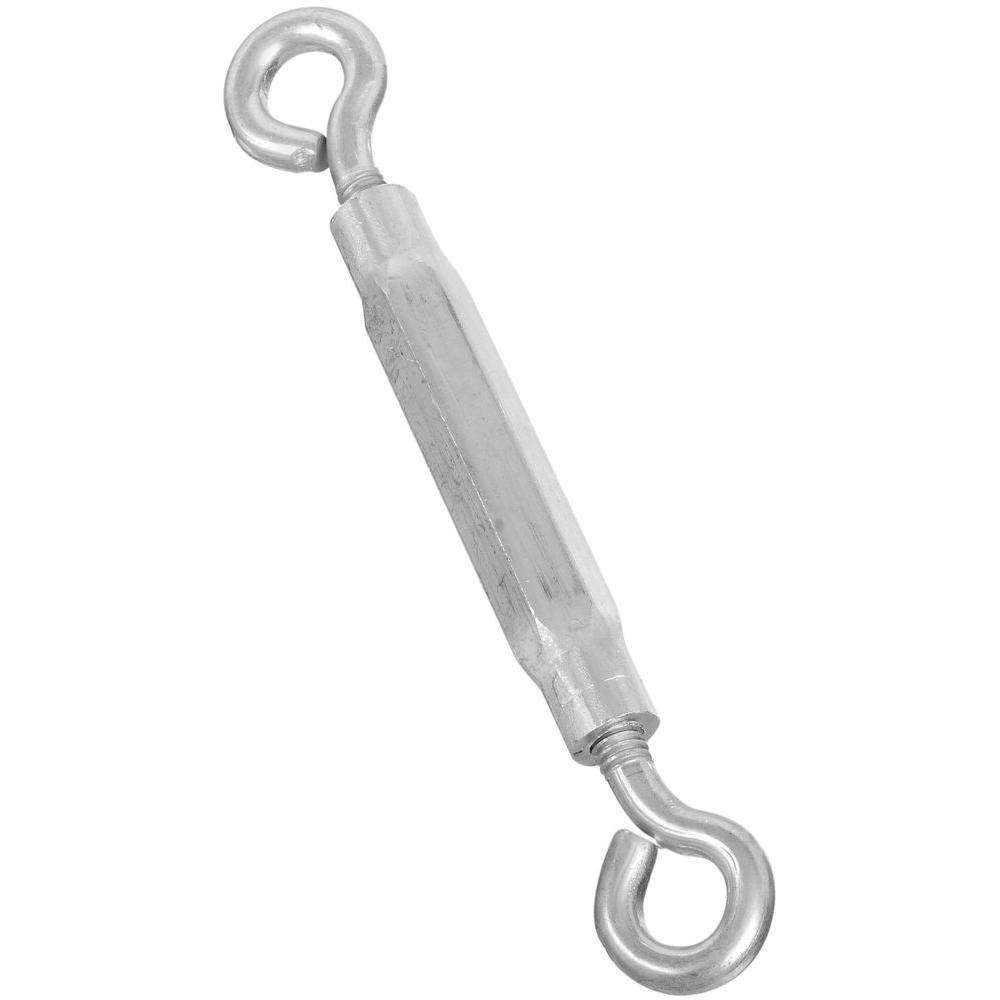
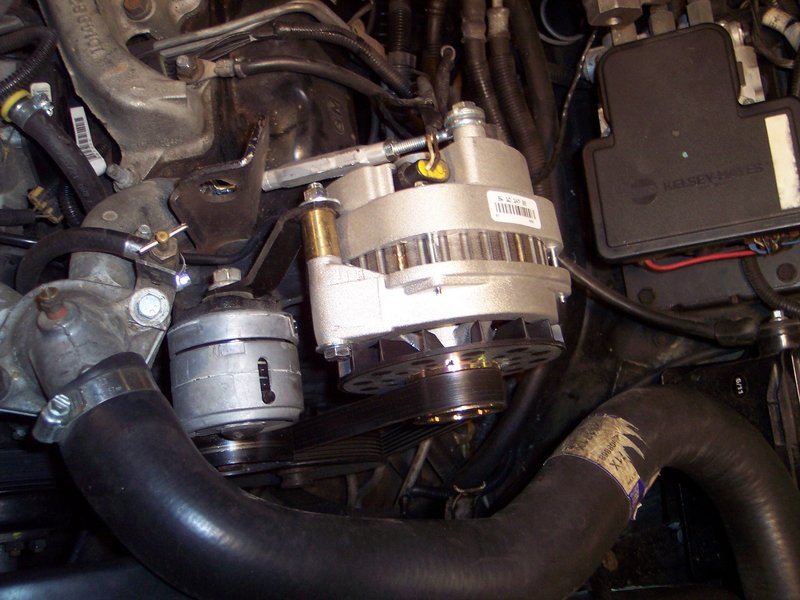
Heres a pic of mine finished,,, done last year,, it is Always, on 14v and I love it,,, I used a fence type turn-buckle for a rear bracket. Bent both ends a bit,, to match the manifold/alt angles,, and used turnbuckle and jamb nuts, to adjust the belt riding angle till it all lines up, then tightened it all down.
")