• Welcome to The Truck Stop! We see you haven't REGISTERED yet.

    Your truck knowledge is missing!
    • Registration is FREE , all we need is your birthday and email. (We don't share ANY data with ANYONE)
    • We have tons of knowledge here for your diesel truck!
    • Post your own topics and reply to existing threads to help others out!
    • NO ADS! The site is fully functional and ad free!
    CLICK HERE TO REGISTER!

    Problems registering? Click here to contact us!

    Already registered, but need a PASSWORD RESET? CLICK HERE TO RESET YOUR PASSWORD!

Project for the boys and i

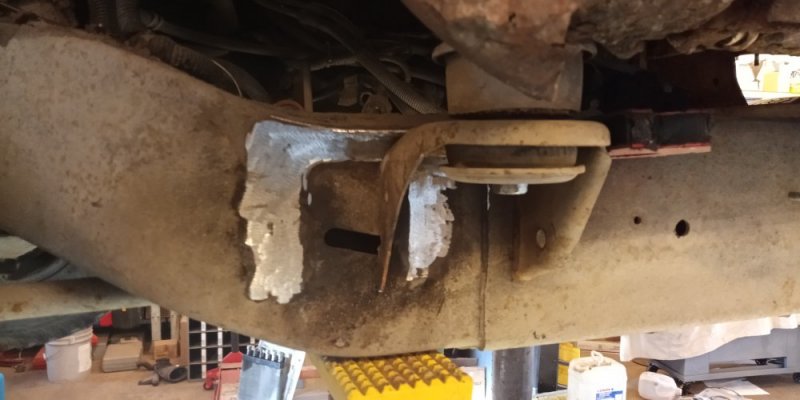
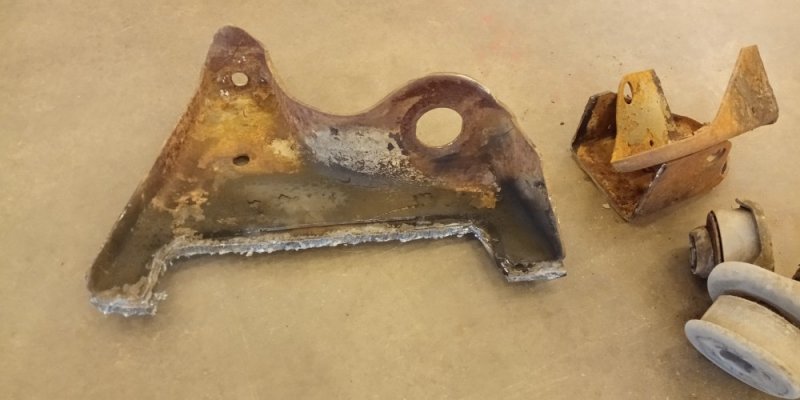
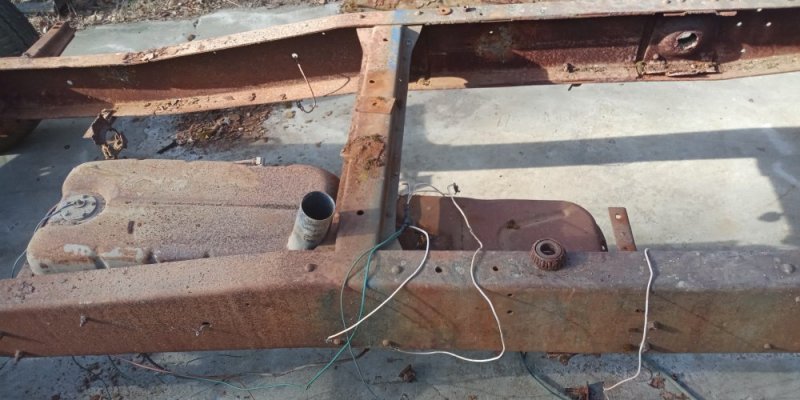
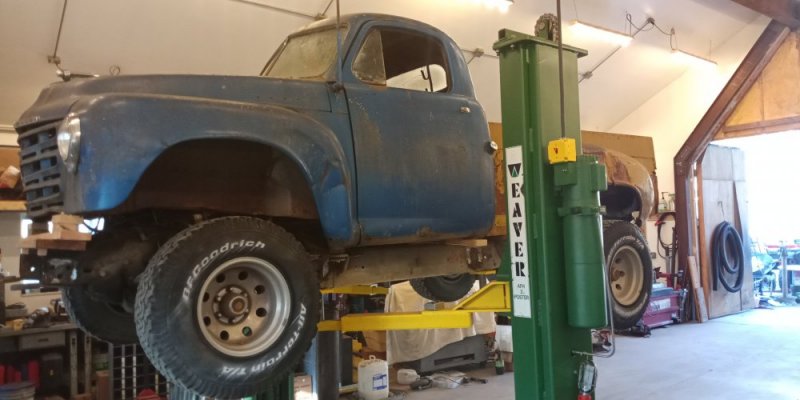
So I finally managed to get to cutting the old body mounts off and I did it outside on the concrete, what a pain. I guess I'm getting spoiled with the 2 post. Anyway I didn't want all the cutting and grinding sparks in the shop just yet, too many flammable things in there. So I got it pushed in and on the hoist. I think it's the first time the Studebaker has been on one ever. LoL.
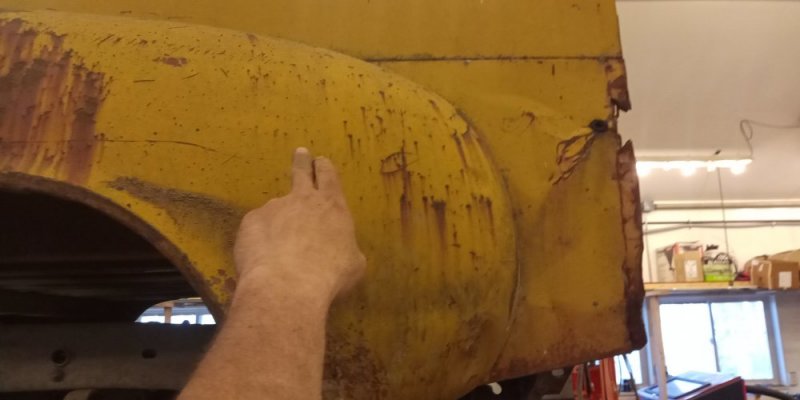
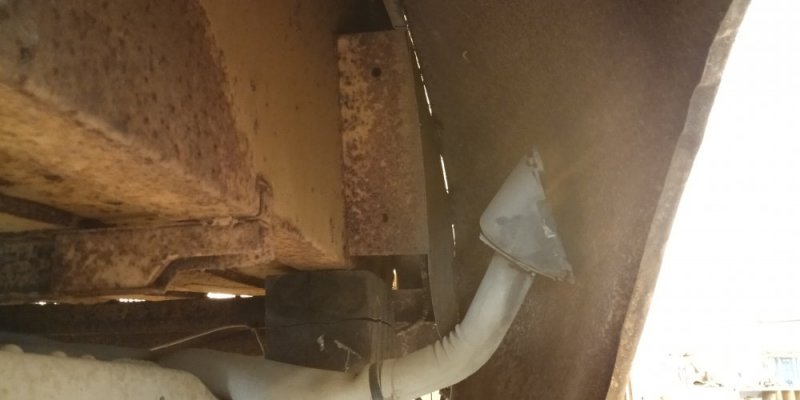
Much easier to get at things and decide how I want to do thing. So at this point I'm planning on using the stock Tahoe body mounts just moved to a different position. I think I'm going to use the combo mount for the back of the cab/ front bed mount off a 1 ton chassis I have. I also am looking at putting a gas door in the rear fender.IMG_20200515_191735.jpgIMG_20200515_191749.jpgIMG_20200515_194427.jpgIMG_20200515_193204.jpgIMG_20200515_193152.jpg
 
What, you're not wild about having twenty gallons of gasoline sloshing around behind your seat and the fill cap just hanging out there in space off your left elbow ready to be torn off on impact? 🤔 ;)
 
Probably too late now, keep that filler pipe on a down hill run into the tank. other wise You`ll be a day and a half getting a full tank without a lot of slosh back. :banghead:
 
Now see, if you were going to put a diesel in it, you could keep the cab tank without fear of an explosion and then add a Tahoe driver's side frame mounted fuel tank with fender fill and have dual tanks with over 40 gallons total capacity.
 
@MrMarty51
I think he will raise it, there isn’t anything to support it yet is all.

I like the plans - I would reinforce the fuel door and the door frame withba second layer of steel and put the hinge/ latch into the reinforcement plate. On ones we did before ai used 1/8” plate. Shape it to fit and weld it to the panel before cutting. Plug weld the door area to the reinforcement plate also before cutting. Only decision is do you do a push to latch/ unlatch or do you want it locking with a key.
 
Nah, the factory in cab fuel tank if it’s salvageable needs to go to someone else’s restoration project. Someone out there is dreaming of finding one, and I don’t see tok much rust on that rig.
 
Nah, the factory in cab fuel tank if it’s salvageable needs to go to someone else’s restoration project. Someone out there is dreaming of finding one, and I don’t see tok much rust on that rig.
Fright, I mean freight, from Alaska would be frightful. It cost 300 bucks to ship a palette from My house to Anchorage, I think the weight limit was 300 pounds, might have been 500, IDR.
 
I once did restoration on a 1920 Overland Whippet. The owner wanted everything possible to be authentic. The rear bumper we had to make ourselves, but one of the brackets that was just bent flat bar we could have also made for $200 including labor- He instead bought a real one for $900, then paid $250 in labor to fix it.
Price isn’t the concern for many people. (Not me, I’m always broke! Haha)
 
2R5 series Studebaker trucks are a lot more common than you may think. Check a Hemmings Motor News or FleaBay, always several listings in all conditions from field hulk to full restoration to street rod.
 
I'm going to use a gmt400 fuel door. Also even though it fills from the cab hole the original Studebaker tank was under the body.
Duh, again! I had my old '72 Death Dodge D100 Adventure Sport on my brain! Hard to believe that in the 1970's Big Three pickups still had their fuel tanks in the cab behind the seat with the filler right behind the driver's door on the side of the cab. The fuel gauge quit working on mine so instead of replacing the sender (PITA), I got so I could tell the level in the tank by the differences in the sound of the sloshing fuel behind me!

Of course Studebaker had the tank between the frame rails under the body - another one of their way ahead of the times safety features - like the Hill Holder they had since the 1930's that Subaru "reinvented" for their 1980's stick shift cars, standard seat belts in 1962 and the first production cars with standard disc brakes in the US.
 
That crossmember in the middle is the back of the cab support
Well, at least it was just a sort of a blow torch behind the cab instead of the entire bomb. LOL
I must say though, I have never seen a behind the seat fuel fire because of the tank back there, and, during those times that the tanks was mounted behind the seat, was a time when smoking was cool.
 
My Dad was a fan of the Studebakers. I learned to drive a 1954 Studebaker station wagon, six cylinder and manual transmission.
He always said that Studebakers was way ahead of their time and I never ever heard anyone disagree with his statement. Most everyone would agree to that fact too.
 
The danger wasn't from a stray lit cigarette butt landing on the behind the seat in cab tank, the danger came from anything that could rupture the tank/filler neck and spill gasoline, like a T-Bone impact into the driver's side of the cab from another vehicle or a sideswipe that would/could tear off the filler cap and/or filler neck, and let gasoline loose in the cab.

The deadliest of all were tip overs and slides on the driver's side, like in an accident where the truck was knocked onto its driver side and slid on the pavement - the filler cap would be ripped off, gasoline would gush out unimpeded with no way to stop it because the spill from the damaged filler is underneath the truck and one little spark from the steel sliding on the pavement or an electrical issue or a hot exhaust/engine part and FOOM! Raging inferno and a crispy pickup driver and passengers!
 
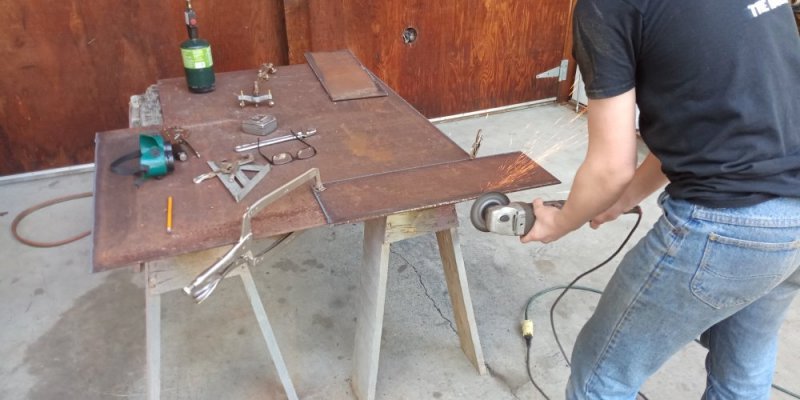
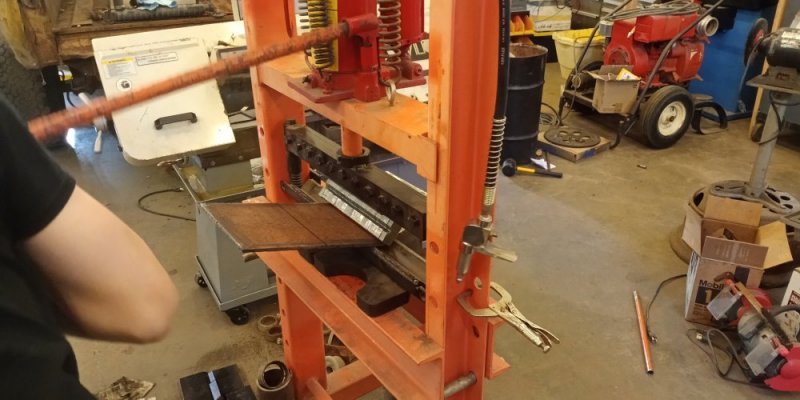
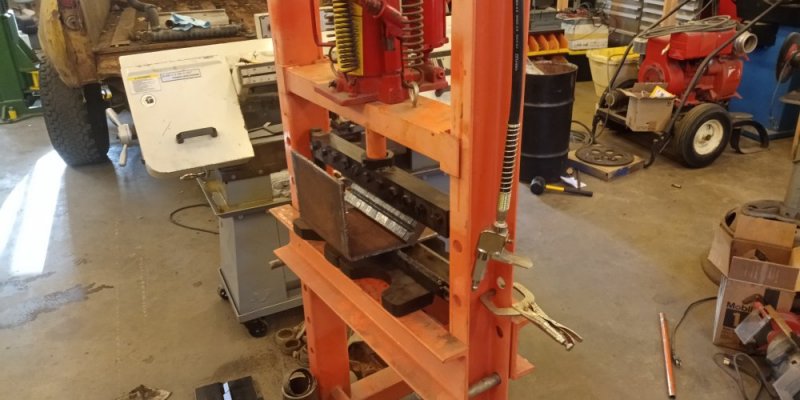
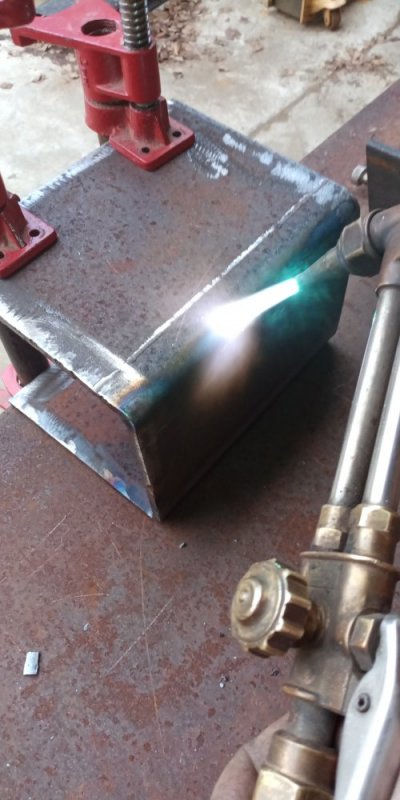
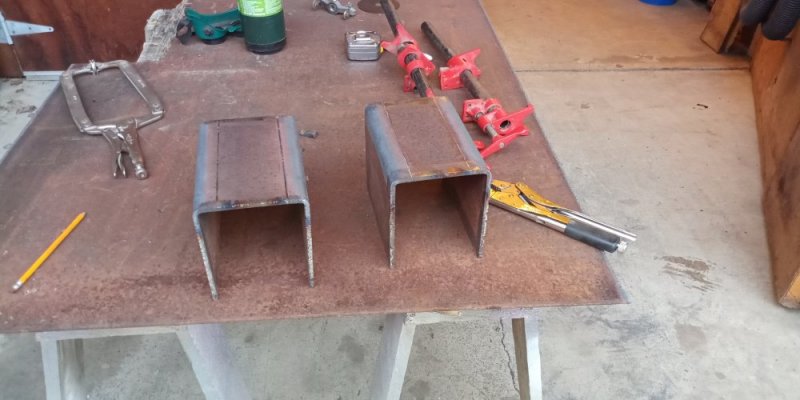
So I thought I was going to be able to reuse the stock mounting brackets but alas no. Checked around and couldn't find anything I liked at least not cheaply, so I decided to make them. Took some 1/4 plate I had lying around and cut an 8" wide strip out it. Cut it in half for 2 pieces and then bent them as much as possible with my Swag press break. Then I heated the corners and used some pipe clamps to bend them. I thought they turned out pretty good. Once I get them trimmed to fit the frame I'll cut some angles on them and bore a hole for the factory body mounts off the Tahoe.
That brings me to a question maybe you guys could help me with , the stock mounts have a fairly large hole for the body mount but it's not 100% round. It has two flat sides ,I guess to keep it from turning, can you think of why I can't just go totally round? The flats are pretty small.IMG_20200519_184721.jpgIMG_20200519_200238.jpgIMG_20200519_200641.jpgIMG_20200519_201818.jpgIMG_20200519_204319.jpg
 
Nice work fabbing those C channels.

How do you like that SWAG press brake? I’ve been looking at those for a while, but haven’t needed one enough to pull the trigger yet....it would sure come in handy sometimes though.

Are you talking about the Tahoe mounts or the Stude mounts? I didn’t see any flats in the holes of mine, but they could have just rusted round on mine 😄 It did look like mine weren’t 100% round though. It looked to me that the hole was round in the initial flat state and then deformed slightly when they formed it into its final state, but that was just my guess, I don’t know that for sure.
 
Back
Top