• Welcome to The Truck Stop! We see you haven't REGISTERED yet.

    Your truck knowledge is missing!
    • Registration is FREE , all we need is your birthday and email. (We don't share ANY data with ANYONE)
    • We have tons of knowledge here for your diesel truck!
    • Post your own topics and reply to existing threads to help others out!
    • NO ADS! The site is fully functional and ad free!
    CLICK HERE TO REGISTER!

    Problems registering? Click here to contact us!

    Already registered, but need a PASSWORD RESET? CLICK HERE TO RESET YOUR PASSWORD!

My 2005 Yukon XL

Maybe the best practice metal would be from an auto salvage. Take along a battery powered right angle grinder, a few cut off disks and see if the salvage yard would allow You to saw off a few pieces, or a dozen.
Unless they have a no spark policy.
Yea, no power tools at my local yard. Tin snips, or a hack saw is all you got. It sucks.
Ok, I started watching that video. At the 15-16 minute point where he is showing to just tack a bunch of times, then when he tried welding, he blew through it. Then turned his heat down some and didn’t turn down his wire speed at first. Then he turned down the wire when he couldn’t weld at all with it. And was still blowing through it. He was running too hot still, and still had way too much wire speed.

There is thousands of guys out there who turn the heat down and weld beads all day long on metal that thick with no problems.
True, you wouldn’t run an non stop bead that is 12” long without using a heat sink and not warp it. But absolutely should weld 2” stitches and have no warp.

See how his heat was so high it blued the metal way bigger than his weld area?
Way too much heat.
See how after he adjusted his speed he still ended up with wire jammed clear through the other side when he turned it over? Crazy too much wire speed.

When I owned the truck equipment shop- we built truck bodies all the time. Wether stretching a body making a limo, or making 2 door trucks into 4 door extra bodies, we had to do this stuff daily. Fighting your way through it with flux core/ inner shield is doable - but harder. But still, I am telling you, set up scrap metal of proper thickness on a table and get to where you weld a bead. Then go tack it together. A 0.1 second zap he is doing is not a tack. That guy would be fired on day one working in a production shop.

I can’t even bare to watch the rest of the “how to welding” video. Its like someone saying they are a Christian, then bragging how much fun they just had at the strip club. In my world- the law of non contradiction still is true.
I definitely did see he was struggling, but I chalked it up to he acting as a "novice" would. I definitely have watched a ton of videos some tailored to the trainer being a novice, and others coming from professional backgrounds using their video as a commercial. Its definitely going to be painstaking with flux (I am finding that out quick). Called on the FP130 yesterday and still 20 plus units ahead of me. So ridiculous, they have had the unit since November!!

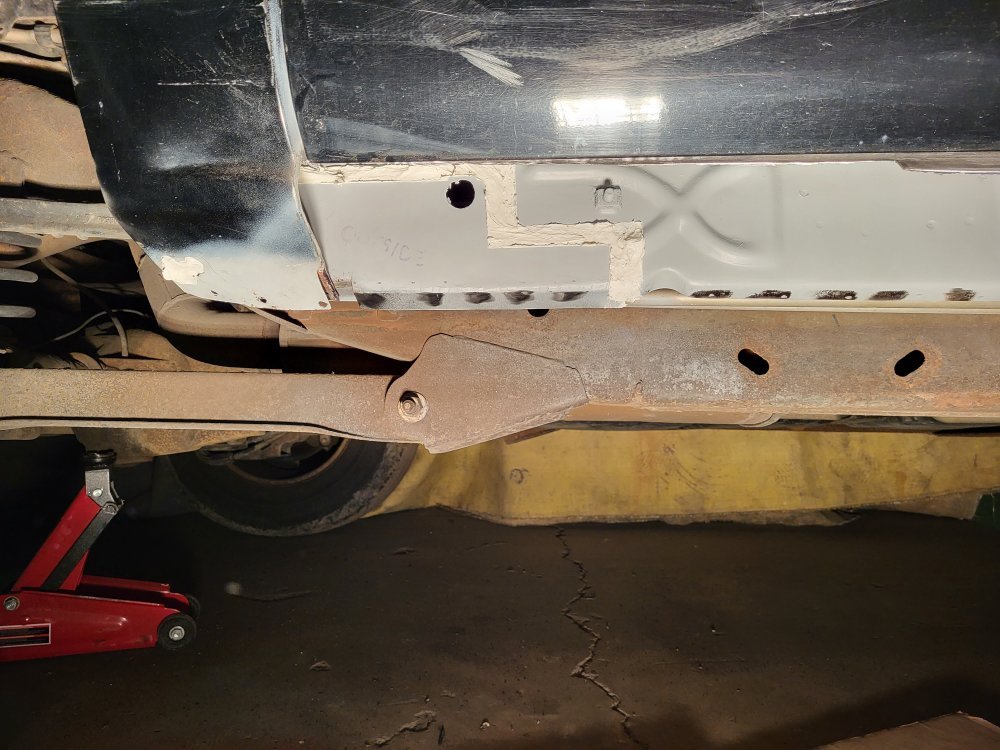
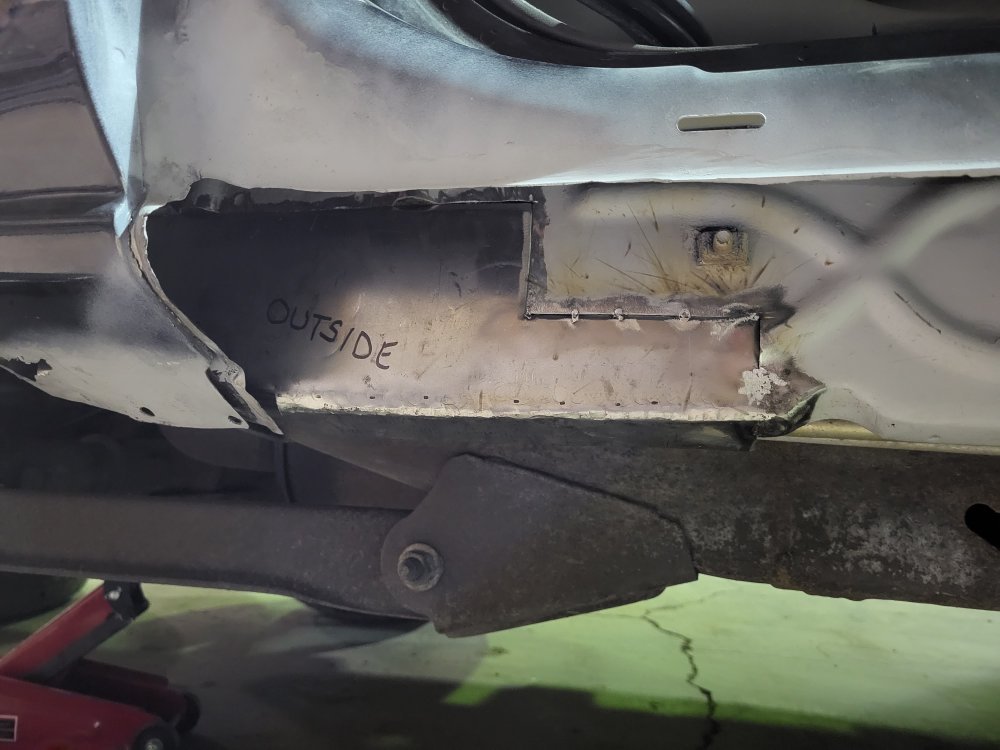
I have gone through another small sheet of material from Tractor Supply to practice on. The bead is getting better looking, but still ugly as expected with my novice ability. I dialed the setting back to .5v, 101A. This seems to be better for the consistent bead. One thing I am seeing is that the "old" metal is better matched with 18ga., I have been working with 22ga, and 16ga as it is readily available locally. I cut some scrap off the "best looking" part of the rocker and threw some tacks to it, and blew through. Settings will need to be lower for butting up those pieces for sure.
I've been messing around with outer rocker fitments for now, grinding, cutting, fitting, etc. Our trip for TN the first week of April has been booked. I need to get moving to get this unit done for the trip. This year we were planning on not going, but the entire family wanted too. Kinda has me in a time crunch.
 
Yea, no power tools at my local yard. Tin snips, or a hack saw is all you got. It sucks.

I definitely did see he was struggling, but I chalked it up to he acting as a "novice" would. I definitely have watched a ton of videos some tailored to the trainer being a novice, and others coming from professional backgrounds using their video as a commercial. Its definitely going to be painstaking with flux (I am finding that out quick). Called on the FP130 yesterday and still 20 plus units ahead of me. So ridiculous, they have had the unit since November!!

I have gone through another small sheet of material from Tractor Supply to practice on. The bead is getting better looking, but still ugly as expected with my novice ability. I dialed the setting back to .5v, 101A. This seems to be better for the consistent bead. One thing I am seeing is that the "old" metal is better matched with 18ga., I have been working with 22ga, and 16ga as it is readily available locally. I cut some scrap off the "best looking" part of the rocker and threw some tacks to it, and blew through. Settings will need to be lower for butting up those pieces for sure.
I've been messing around with outer rocker fitments for now, grinding, cutting, fitting, etc. Our trip for TN the first week of April has been booked. I need to get moving to get this unit done for the trip. This year we were planning on not going, but the entire family wanted too. Kinda has me in a time crunch.
Tractor supply, sounds like an expensive place to buy steel.

Do you have any fab shops around that you could buy scrap from?
 
Last edited:
Tractor supply, sounds like an expensive place to buy steel.

Do you have any fan shops around that you could buy scrap from?
It is about $15 per 8x24 inch sheet. $20 for 16ga. We have a steel shop we deal with at work but they are only open during my work hours. Not entirely sure without research of any duct work for fan places where I could get it second hand. My work hours kill practice and material aquisition abilities! Just easier to hit the local box store.
 
It is about $15 per 8x24 inch sheet. $20 for 16ga. We have a steel shop we deal with at work but they are only open during my work hours. Not entirely sure without research of any duct work for fan places where I could get it second hand. My work hours kill practice and material aquisition abilities! Just easier to hit the local box store.
Yep. Work seems to be problematic in relation to projecting.
 
Easy to blow through rusted part that you will keep is what make me think you need to practice actually welding short beads first.

If you blow through the original metal- the easiest technique is start the weld on the new metal and roll into the old stuff when welding them together. If you are running so hot that you can only bump the trigger- you can’t do that.
 
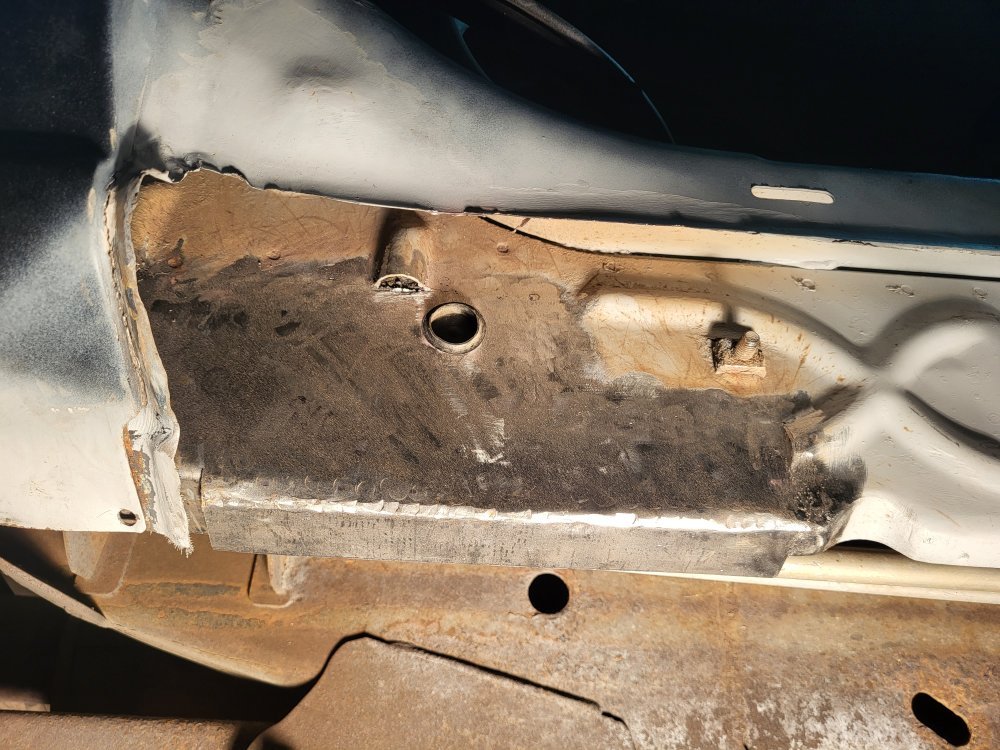
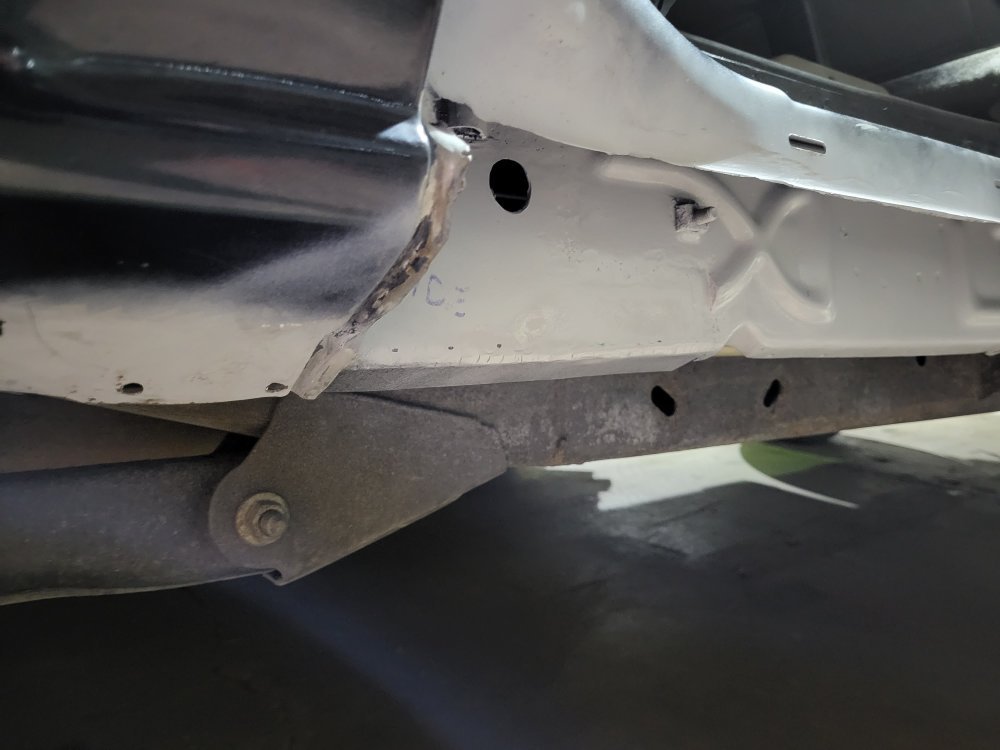
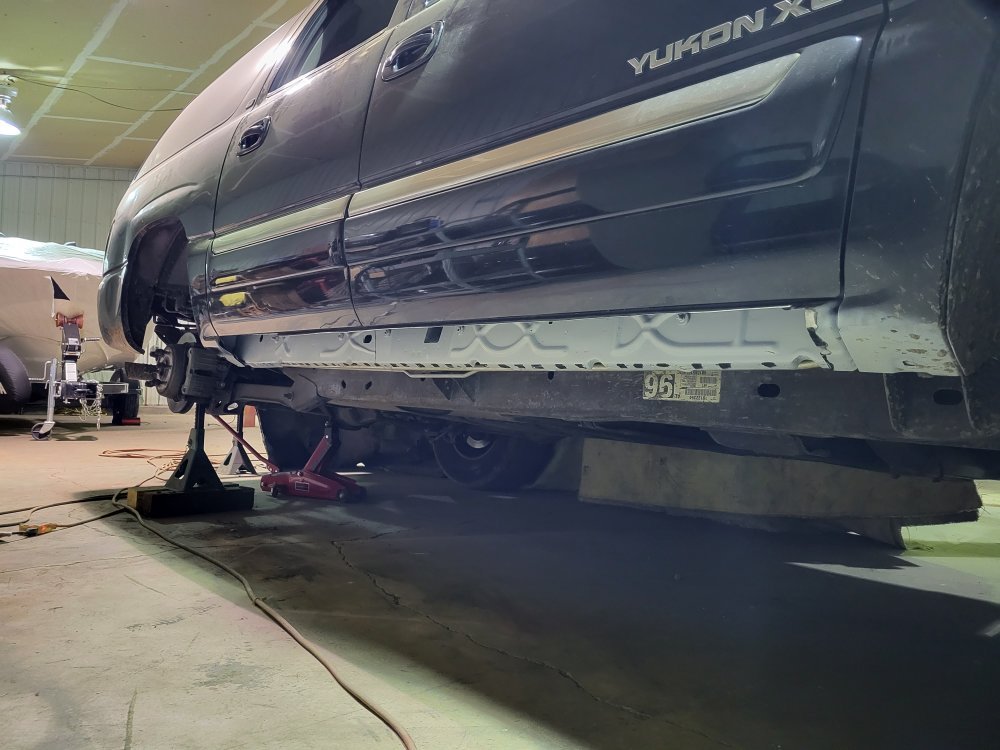
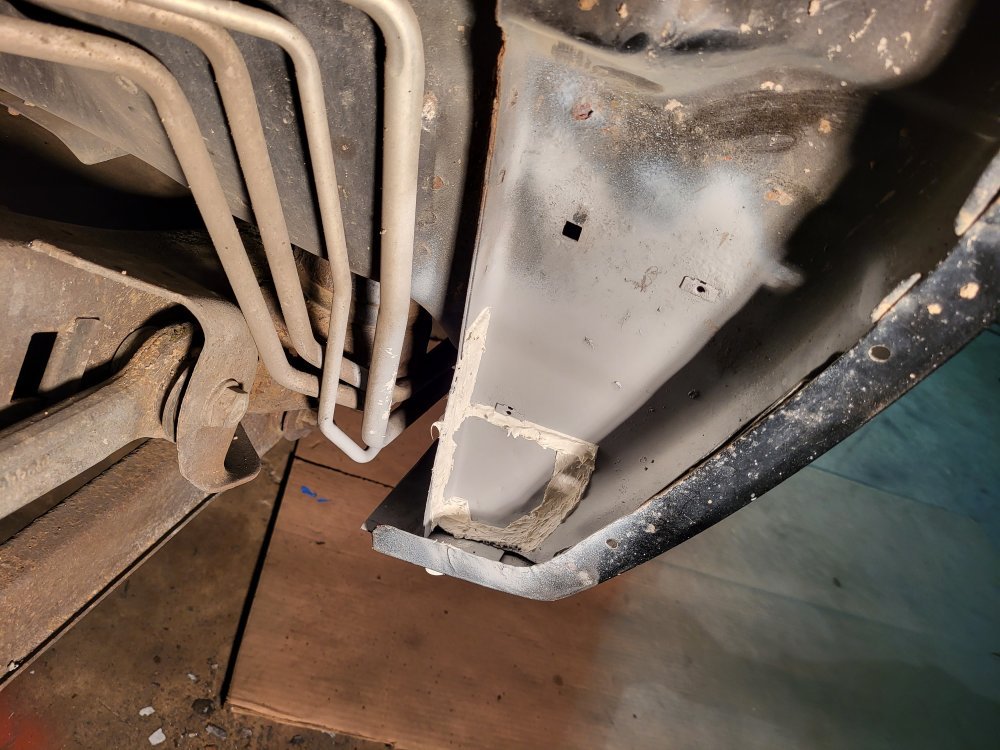
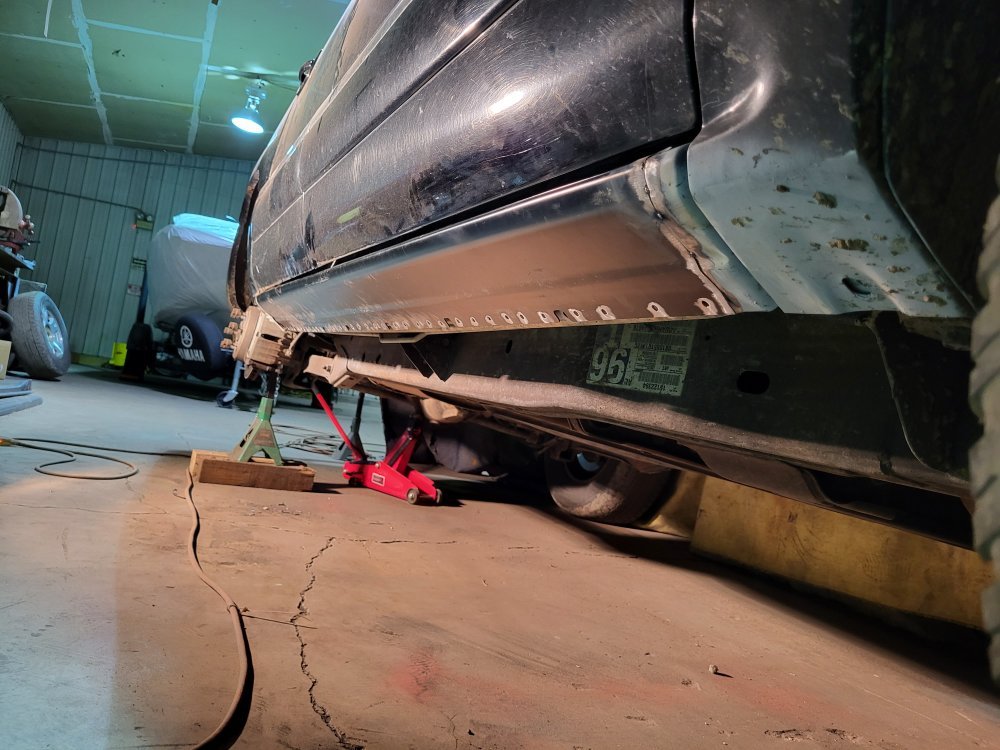
Been messing with the welder here, and there over the last few weeks. Getting better throwing down a straight line. At the point where I am going to give it the send on the Yukon. Been spending most of my time prepping the outer rocker, cutting, fitting, trimming, pondering, trimming, and finally wondering what I am going to do in the passenger rear corner of the outer as the rusty metal extended past my new rocker boundary.
 
Made a trek about 1.5-hours south to a different junkyard. Ended up finding many things that came home with me:
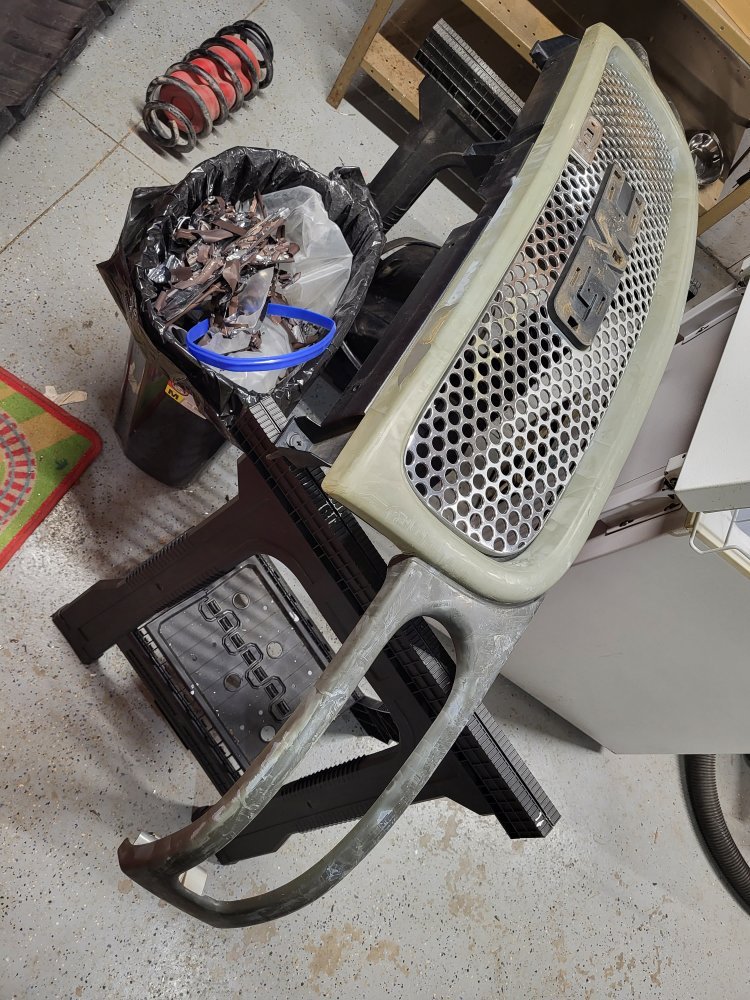
  • Black front denali bumper with fogs.
  • Black denali rear bumper.
  • Denali license plate bracket.
  • Drivers headlight bracketry to core support.
  • Airlift 1000 coil bags.
  • OEM 2500hd cab lights.
  • OEM GM cab light wiring harness.
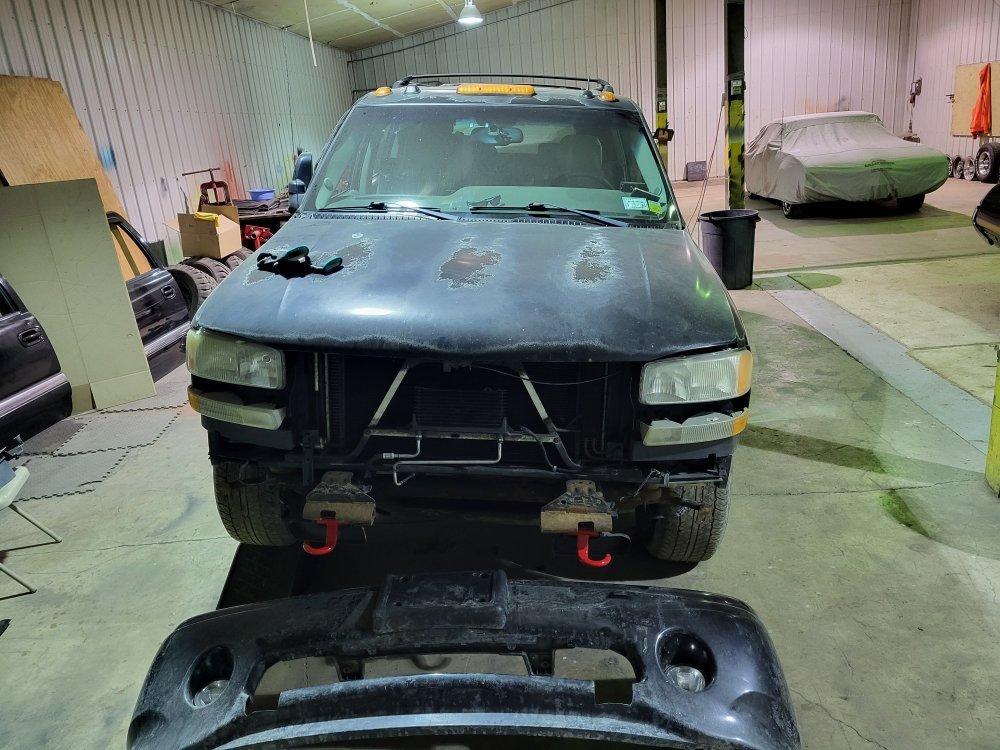
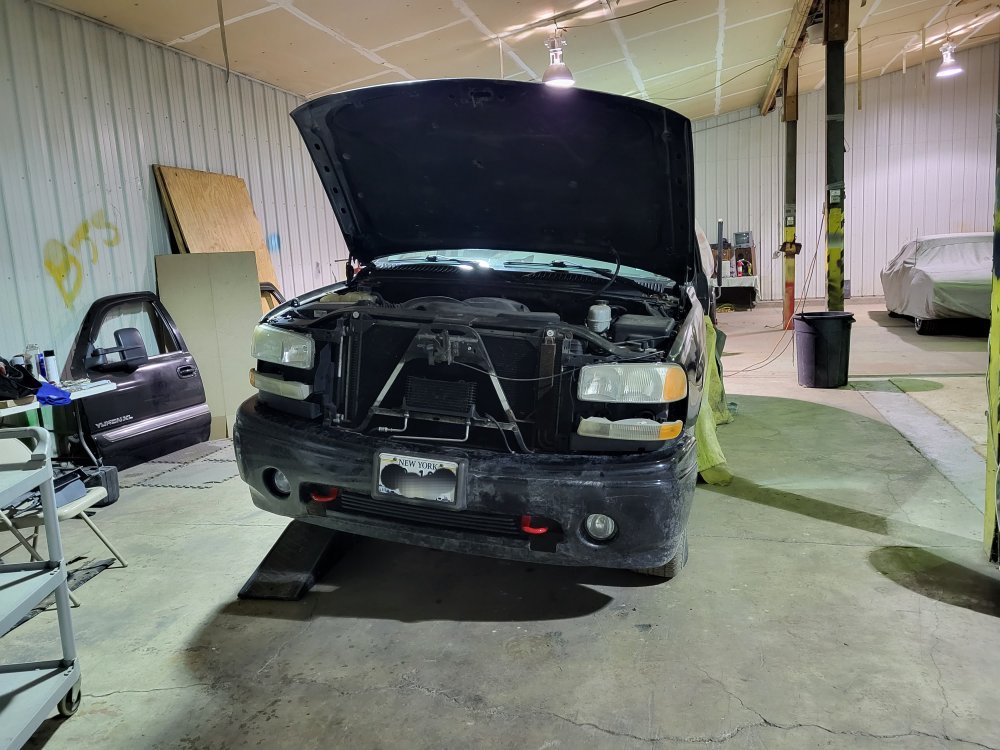
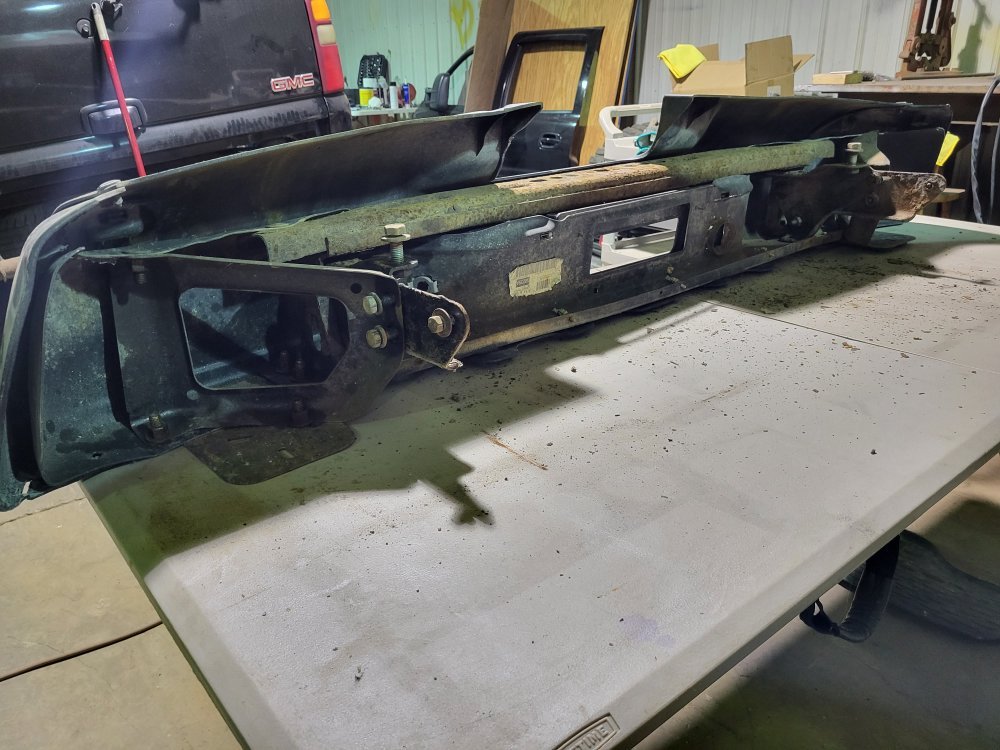
Bumpers have cosmetic issues, but solid. Rear does have heavy scale on the framework but will keep eyes out for eventual replacements. Looks like denali conversion it is.....
 
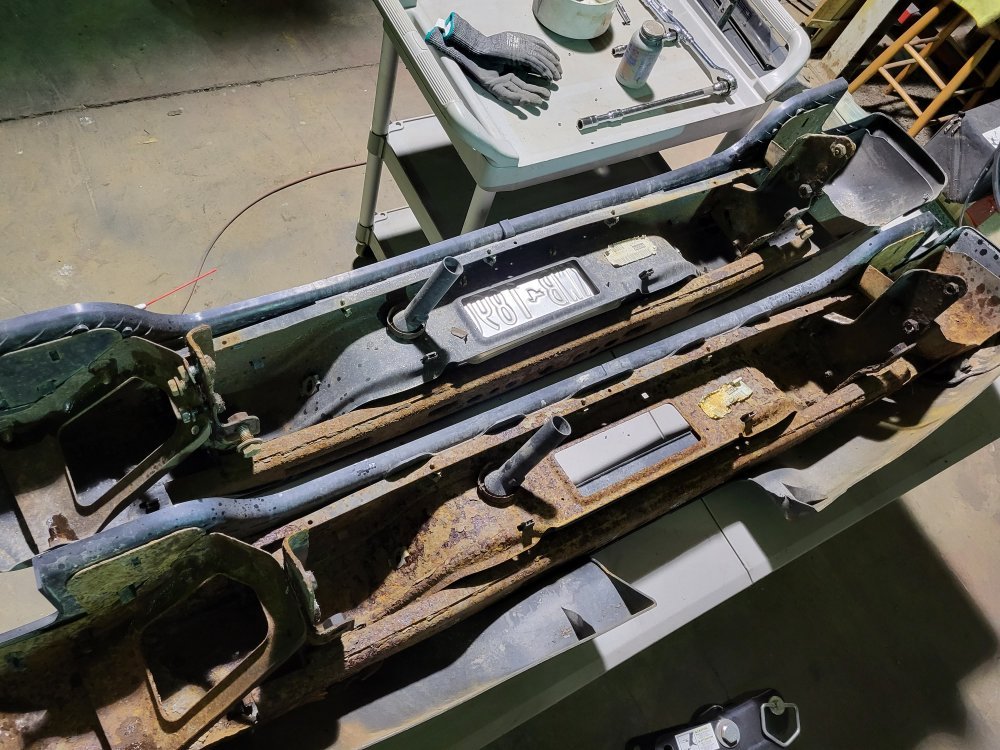
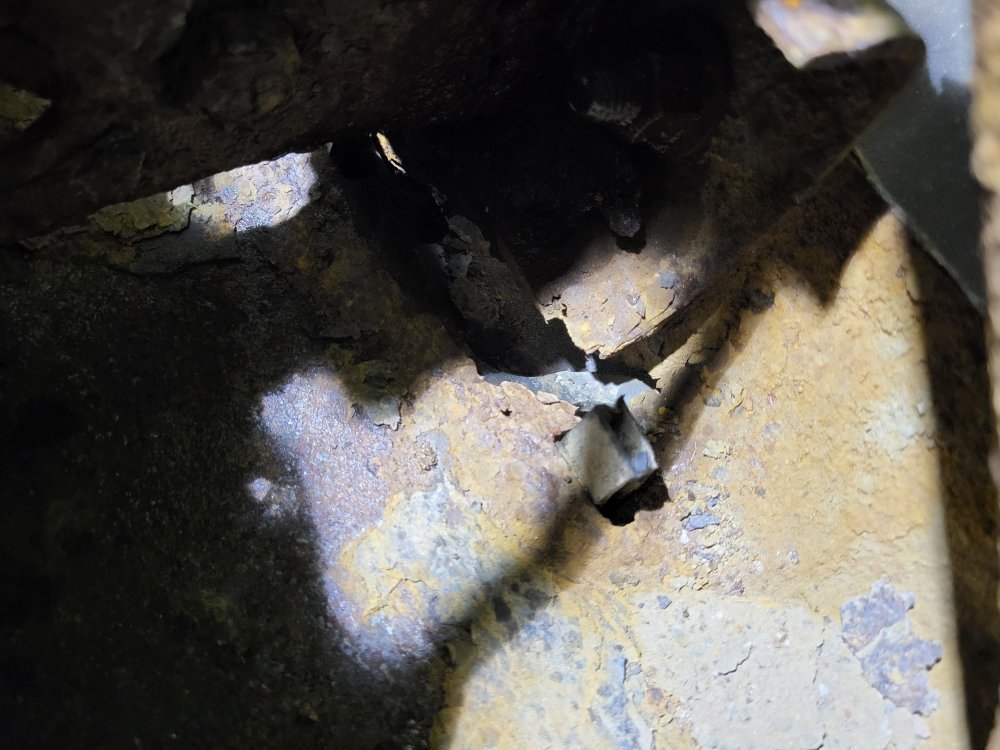
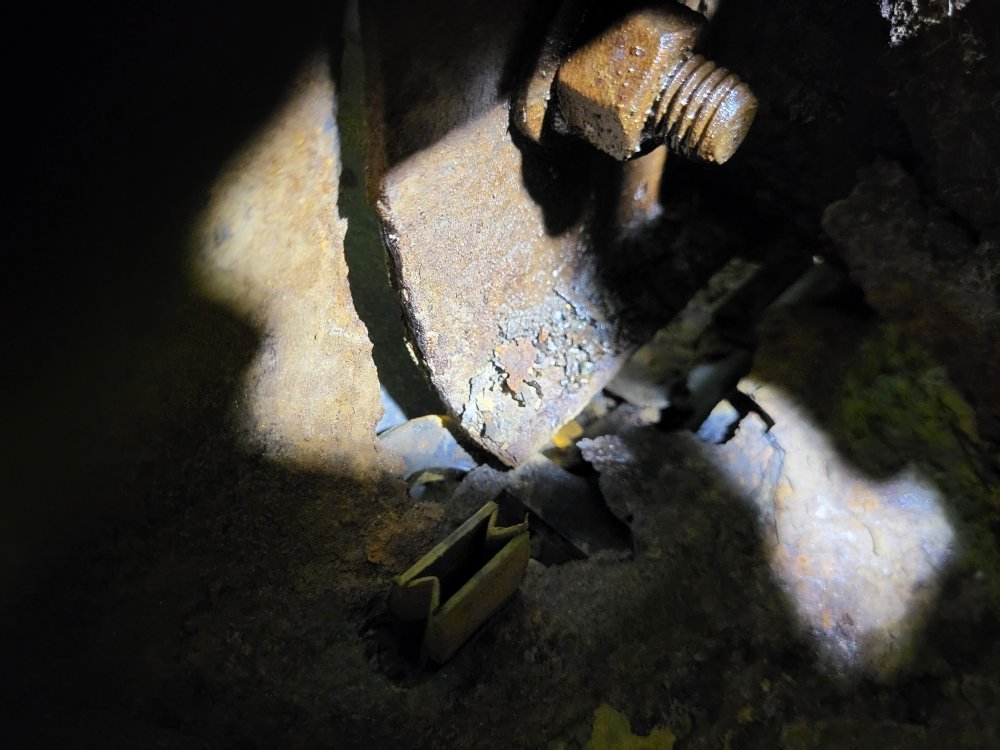
Learned a lot today about rear bumpers. Specifically interchangeability of the SUV bumpers. I am very disappointed with the rear denali bumper I bought off a FB marketplace sale. Its my fault, I should have inspected it more closely, but 0-degree temps I gave it a rough look, and loaded it into my truck. The inner supports were severely rotted.
20230208_131139.jpg20230208_131155.jpg20230208_131216.jpg

Went back to LMC trying to locate the inner pieces. After further research I found out the bottom hitch/step support is identical on all bumpers. But the issue is the inner shell was the rotted off part. Inspecting my bumper closer I couldn't help but realize how similar they were.

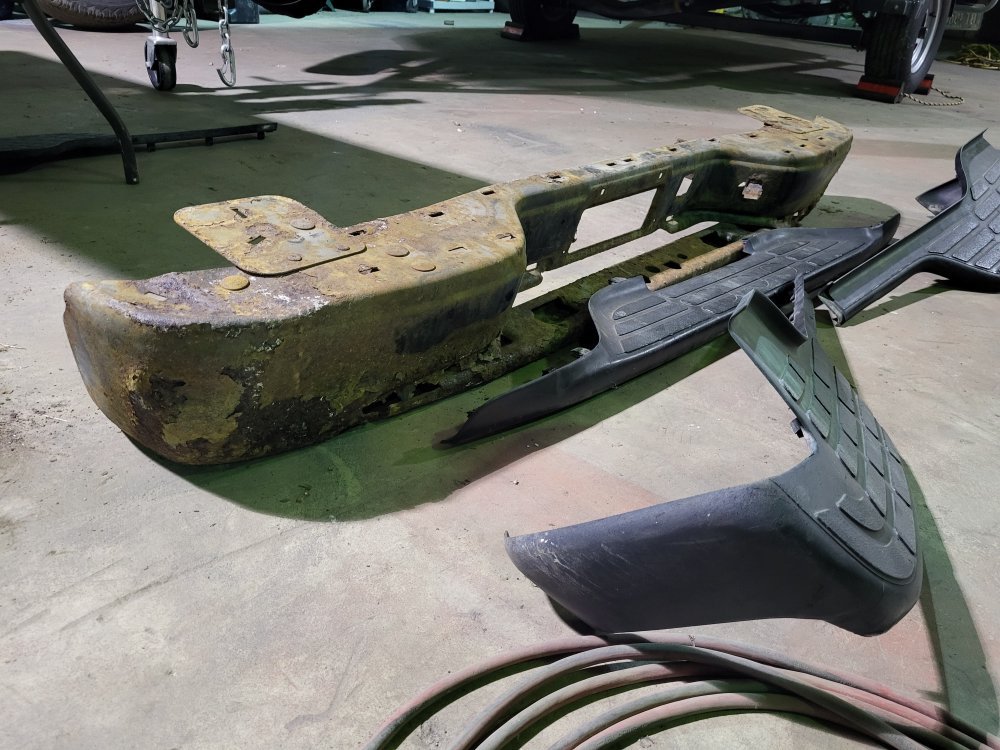
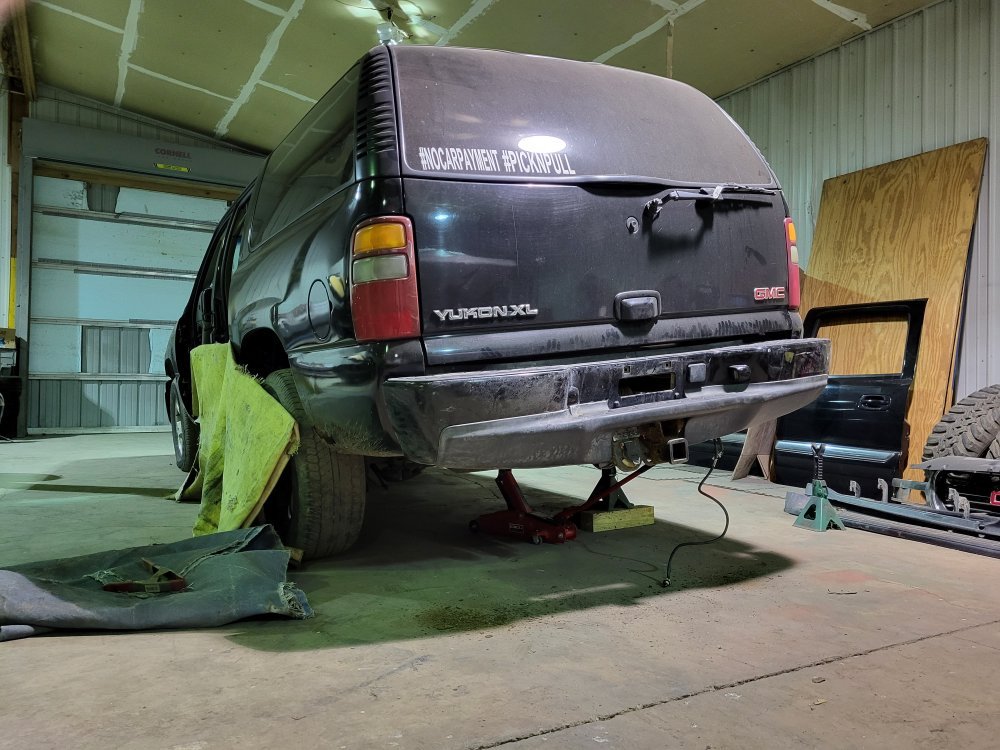
I proceeded to remove the denail bumper cover and exposed what seemed to be a GM Z71 package painted steel bumper.20230208_162417.jpg

I removed the pastic trim pieces from my chrome dented up bumper and slid that into the denali cover, amazingly everything lines up!!!
20230208_162359.jpg
This saves me from needing the $130 steel bumper to insert.
20230208_130342.jpg
 
Last edited:
spray all the surfaces with Fluid Film and it will last quite a while. All original chrome rear bumper on our 2005 Tahoe with 294,000 miles still rust free.
I do like using fluid film! Might try PB Blasters new surface shield too.
Maybe give it a rust converter bath first.
My original plan was to sandblast the internal parts, paint, and install into the denali cover. Upon further inspection my chrome one is actually in decent shape just all dented up from jack-knifed trailers. Worst part is the hitch reinforcement piece. I'm quickly realizing I need to get moving faster on this project. It needs to be ready for our family trip to TN first week of April.

I had hoped to do the rear quarters now too, but that just isn't going to happen. That will be a summer project or next winters project. Plan is to spray some fluid film in those areas for now with a quick rattle can black on the outside.
 
That wouldn't hurt my feelings, but it's rare for me to find a day in the winter when it is warm enough to do the work, since I do it outdoors and to find time. It takes me 2-3 hours to do a truck in the fall, but I suppose I wouldn't have to hit everything just as a touch-up. I have certainly learned that the best time to do it if a guy has to do it outside is after dark with a headlamp. SOOOO much better than trying to see everything in the daylight.
 
Back
Top