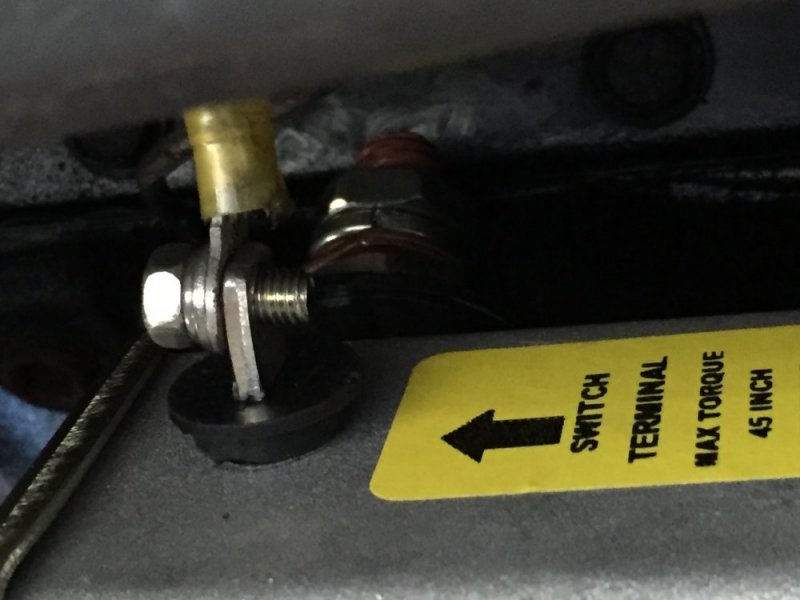
Okay guys, I need to use my 6.5td burb today so I had to install my new power master starter with out my new cables but I will only be using it today with out my new cables. Once my cables come I will redo the install with my new cables.
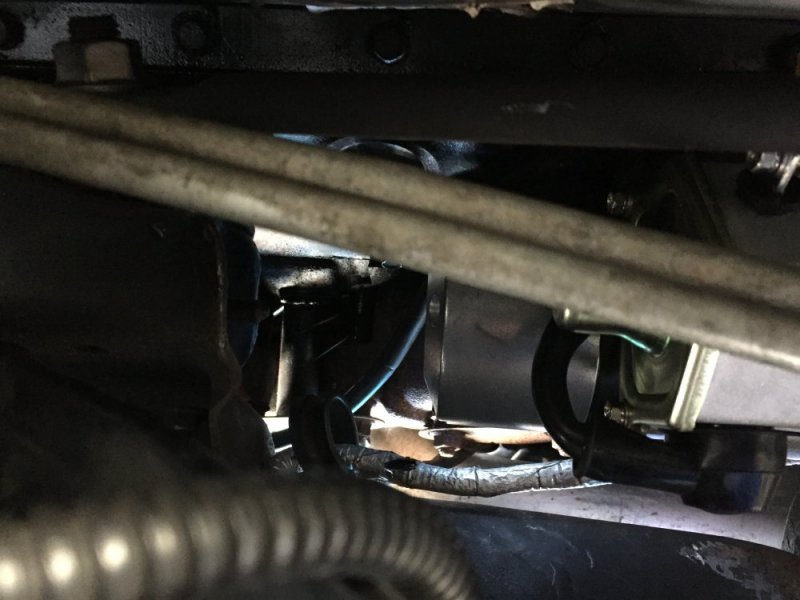
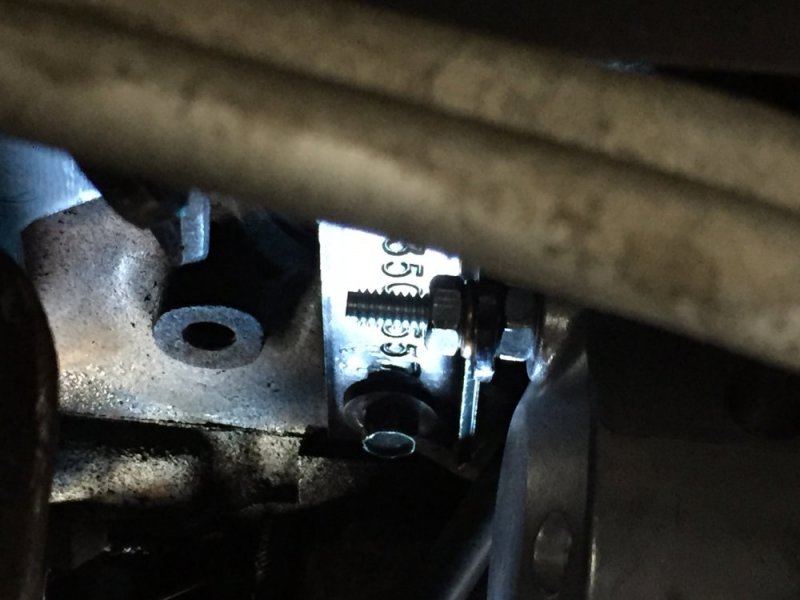
I'm not sure if how she sits matters. So before starting her I want to share my pics of how she sits right now. There is a small space where road dirt and debris can actually get up into the starter gear. I was able to close this gap or space with out using the support bracket but I know I need the bracket and this is how she is with the bracket after toying with trying to close the gap for about 25 minutes.
Am I safe with her sitting this way with the gap or can this create issue in the future?
View attachment 49175