• Welcome to The Truck Stop! We see you haven't REGISTERED yet.

    Your truck knowledge is missing!
    • Registration is FREE , all we need is your birthday and email. (We don't share ANY data with ANYONE)
    • We have tons of knowledge here for your diesel truck!
    • Post your own topics and reply to existing threads to help others out!
    • NO ADS! The site is fully functional and ad free!
    CLICK HERE TO REGISTER!

    Problems registering? Click here to contact us!

    Already registered, but need a PASSWORD RESET? CLICK HERE TO RESET YOUR PASSWORD!

Has anybody tried glass lensed headlights for 94 to 99 GMT400's ?

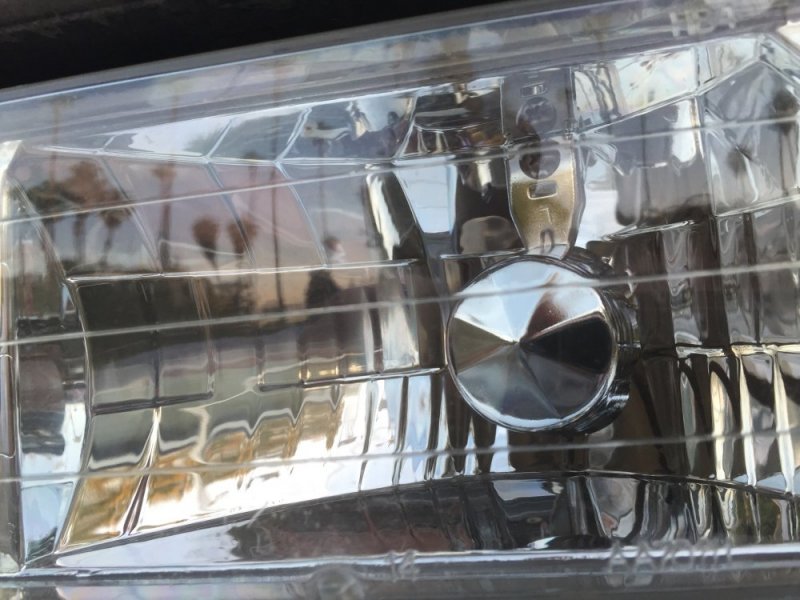
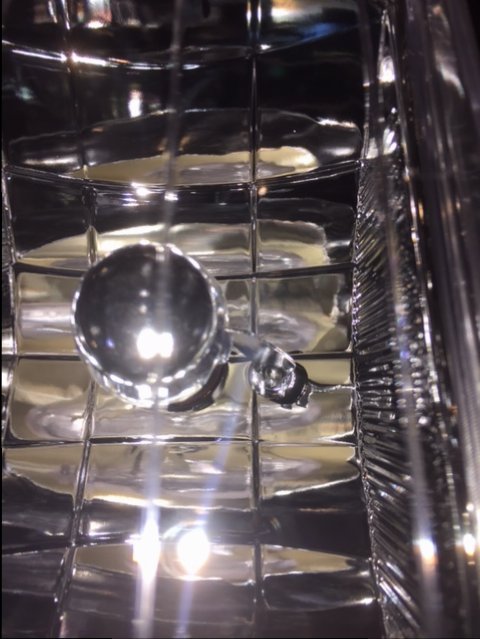
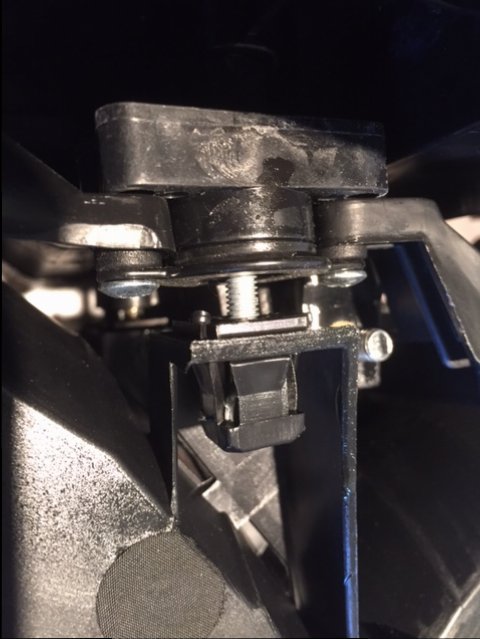
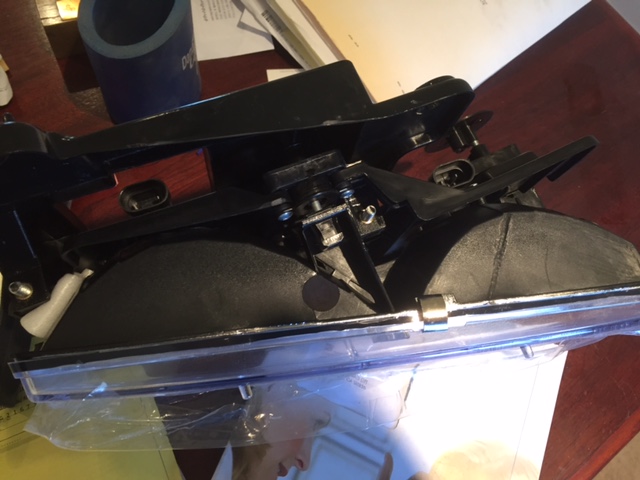
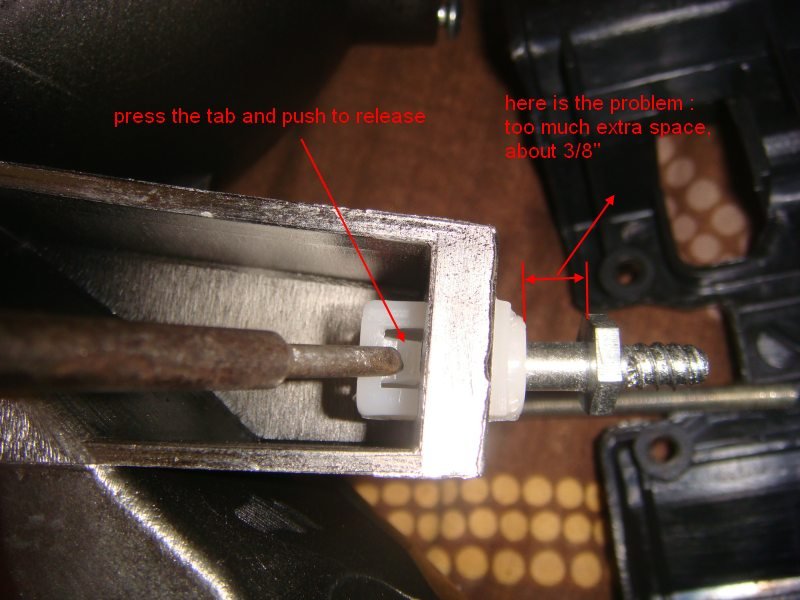
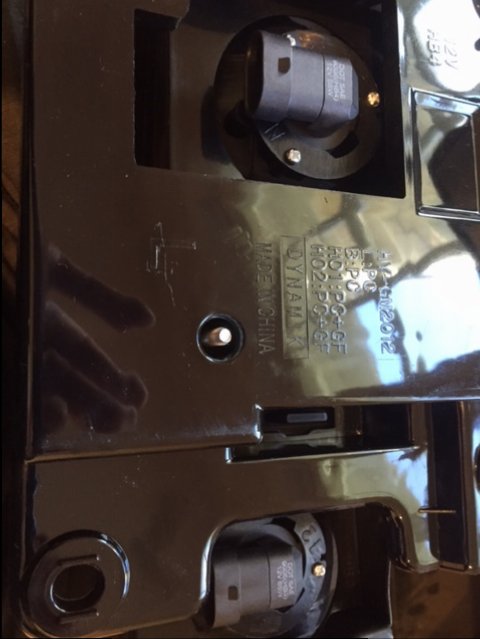
How do you get the little square plastic pieces from the adjusters out of the headlight itself?

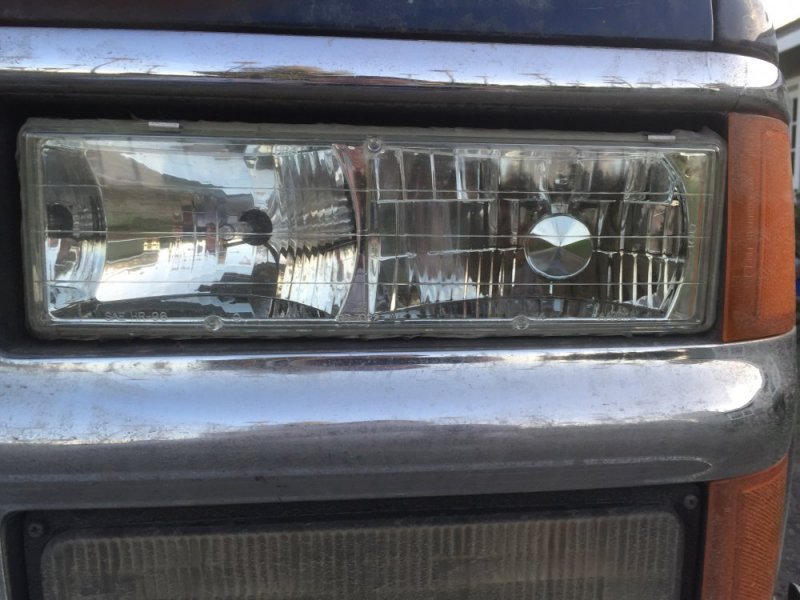
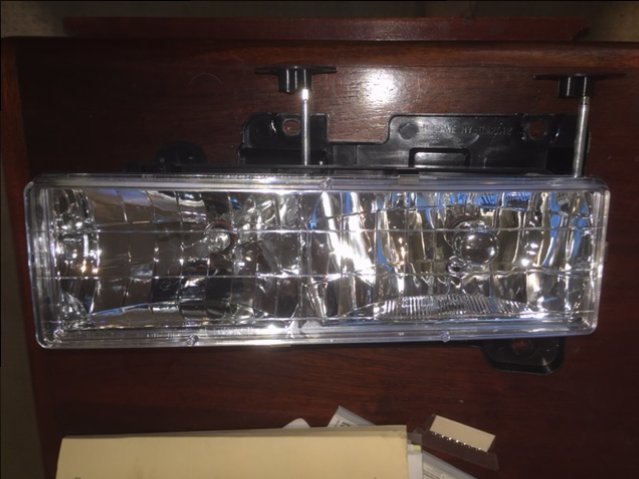
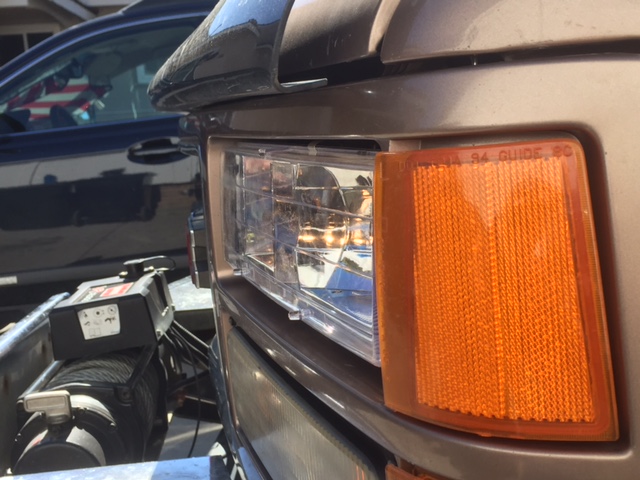
The brackets on the glass headlights I bought are crap along with the headlights not fitting in the grill. I took a belt sander to the ends of the headlights to make them fit

I fought for a while and gave up.
 
The 4 triangle looking parts o the back side compress together. I use hose pliers that gets pressure on all sides at once. Expect them to break about 50-50.
 
I found a set of the Euro Crystal Clear Composite for my HIDs. There are many out there, but they're junk. They usually have the metal delflector attached to the top on the LO. The heat from the HID will cause those to droop down.

I can't find the ones I got anymore. The LO deflector is more robust and attaches to the back. They also had many vertical lines in the mirror with no cross hatching. They've been in there several years and work great with no drooping deflectors. Wish I had bought another set or two for Colby and I. I still have the vendor links in my e-mail. Can check to see if they have them again. I put posts on it here, but that was awhile ago.
 
Here's some pics of the housings I'm using with HIDs on my '99 Suburban. Note the robust deflector cup that's mounted to the back and the number of vertical lines in the mirrors.
 

Attachments

  • image.jpg
    image.jpg
    123.2 KB · Views: 31
  • image.jpg
    image.jpg
    120.5 KB · Views: 31

OK I ordered a set of these for my son Colby, because the housings on his '94 were basically yellowed over and produced such a worthless light spread it was like driving without lights.

The lights arrived and I am very encouraged by what I see. The most important thing is the design of the deflector cup on the LO beam. Bad designs have a flimsy cup attached to the roof of the housing. Heat from the bulb eventually causes these to droop down. Better designs have the deflector cup attached to the rear wall/mirror of the housing. Even better, in this design the bracket metal is positioned vertically making it very unlikely for the deflector cup to droop down in the face of bulb heat. There's not as many vertical hatching lines, but I can live with that. They came with halogen bulbs in them, but we have a HID kit ordered. I will do the "Matuva Mod" so the housing sits flush with the grill.
 

Attachments

  • Suburban Headlight 1.JPG
    Suburban Headlight 1.JPG
    48.4 KB · Views: 15
  • Suburban Headlith 2.JPG
    Suburban Headlith 2.JPG
    53 KB · Views: 15
OK I ordered a set of these for my son Colby, because the housings on his '94 were basically yellowed over and produced such a worthless light spread it was like driving without lights.

The lights arrived and I am very encouraged by what I see. The most important thing is the design of the deflector cup on the LO beam. Bad designs have a flimsy cup attached to the roof of the housing. Heat from the bulb eventually causes these to droop down. Better designs have the deflector cup attached to the rear wall/mirror of the housing. Even better, in this design the bracket metal is positioned vertically making it very unlikely for the deflector cup to droop down in the face of bulb heat. There's not as many vertical hatching lines, but I can live with that. They came with halogen bulbs in them, but we have a HID kit ordered. I will do the "Matuva Mod" so the housing sits flush with the grill.
Do you have a link to the Matuva Mod?

I don't remember that thread
 
Do you have a link to the Matuva Mod?

I don't remember that thread

I searched all over for it. I found my own threads referencing it, but could never find the actual thread. I think it was lost (like most of the photos) when the site switched over to the new software.

Basically the mod involved switching out an adjuster screw to a shorter one. Many of these housings came with a depth adjuster screw that had a stop preventing the housing from being adjusted or set any closer to the mounting bracket, which left the housing protruding out from the grill assembly. So Matua Mod involved removing the stock screw and you installed a new shorter one. As I recall, I had to grind the head of the new screws to fit into the plastic receiver on the housing.

I've attached pics of this screw from the New Housings that we just purchased and it would appear that they do not have this problem. I'll let you know after we test them later today.
 

Attachments

  • Adj 1.JPG
    Adj 1.JPG
    48.6 KB · Views: 21
  • Adj 2.JPG
    Adj 2.JPG
    38.8 KB · Views: 21

Thanks, that''s the thread and it came with photos. I've uploaded photos comparing the adjusting screw in the housings I just bought to ones that Matuva was modifying. First photo is of the New Housing and photos 2 and 3 are of Matuva's Housing. The photos clearly show the "stop" that was setting the incorrect depth on Matuva's housings. The photos of the new housing we just bought clearly show that "stop" is not there and thus these are fully adjustable. Now I'm really excited.

In Matuva's thread he stated that the gap must be reduced to 0". As I recall, that was not the case and you need to play with it. The gap ended up about half way between the old stop and 0". The new housing looks to be set about right. Even better, the depth is now fully adjustable as that screw goes all the way through the housing mount and the mount has room for additional adjustment (Photo 4). Worst case, you could adjust the screw fully into the mount and grind off the excess protruding from the back.
 

Attachments

  • Adj 1.JPG
    Adj 1.JPG
    48.6 KB · Views: 13
  • Matuva Mod 1.JPG
    Matuva Mod 1.JPG
    65.2 KB · Views: 13
  • Matuva Mod 2.JPG
    Matuva Mod 2.JPG
    68.9 KB · Views: 13
  • Adj 3.JPG
    Adj 3.JPG
    40.8 KB · Views: 12
If it is not too much trouble, any possibility of posting night time pics with the halogen bulbs and then the HID so that we get a good impression for the beam pattern for each bulb?
 
If it is not too much trouble, any possibility of posting night time pics with the halogen bulbs and then the HID so that we get a good impression for the beam pattern for each bulb?

Not a problem. We'll install as is with the halogens. HID are enroute.
 
OK headlights installed and as suspected, they're flush without any modifications. We'll adjust them later tonight. Had son wrenching help from grandson Jackson. Looks like the turn signal lamps need to be replaced now.

Also, the deflector cup arm or bracket attaches to the back wall from below the cup, not above. I'm liking this version a lot.
 

Attachments

  • Burb lights.JPG
    Burb lights.JPG
    54.8 KB · Views: 26
  • Burb Headlight side.JPG
    Burb Headlight side.JPG
    51.7 KB · Views: 26
  • Jackson.JPG
    Jackson.JPG
    47.5 KB · Views: 22
Back
Top