• Welcome to The Truck Stop! We see you haven't REGISTERED yet.

    Your truck knowledge is missing!
    • Registration is FREE , all we need is your birthday and email. (We don't share ANY data with ANYONE)
    • We have tons of knowledge here for your diesel truck!
    • Post your own topics and reply to existing threads to help others out!
    • NO ADS! The site is fully functional and ad free!
    CLICK HERE TO REGISTER!

    Problems registering? Click here to contact us!

    Already registered, but need a PASSWORD RESET? CLICK HERE TO RESET YOUR PASSWORD!

A military rebuilt 6.5

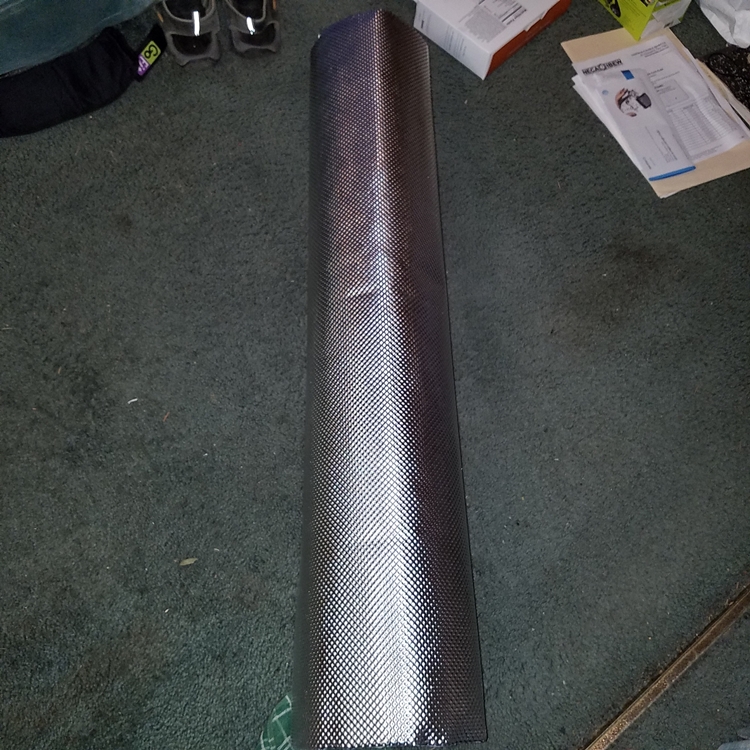
Basically intake for now. I'm still unhappy with the ECT performance on my last trip towing. I need to start figuring out how to get them down. Just the basics for now, cooling the intake charge, venting the hood and getting cool air to the intake.

I'l put this around the S&B intake and all the way to the plenum as far as I can get it. Any suggestions?
Hmmm, I don't know that I have any suggestions for where to apply the Tunnel Shield beyond what you have already suggested.

I do have an application tip though: the adhesive on the stuff is really sticky, so it really helps to only remove just a little of the backing at first until you have it where you want it, and then pull the rest of the backing out from behind it. Once it's stuck, it's pretty well stuck, so you don't get too many chances to apply and re-apply. Something else I did when going around corners was cut a slit in the Tunnelshield and then overlap the layers, rather than try to make a perfect pie cut and have the edges meet up perfectly. The stuff overlaps nicely and I reasoned that it was just extra insulation. I found that a good pair of regular scissors works well enough for cutting the stuff, but you may want to try a couple different shears to see what you're happy with.

I did just have one idea: what if you put the Tunnel Shield on the tanks of your radiator on the engine side? That would help to keep radiant engine heat out of the radiator. I'm guessing it would be minimal help, or maybe not any at all, but it's a thought.

Will you be starting a new thread to document what you're trying? I'm interested to see what you do to vent the hood and what results you have.
 
Good info Nate, thanks. And that's a good idea on the radiator. If I have enough, I'll give it a try. With all the projects that I'm buried in, I don't know when I'll get to it, but I hope soon.

I'll try to get a thread started and do my best to log everything too. I saw the other day where someone said "So, your project car is your daily driver... you're a braver man than I am". So true, trying to dink with this thing and keep it on the road every day is fun enough and I already try to write up, video and take pics of everything for my 6.5 web site so I'll keep trying to get as much here as I can. After all, you all taught me most of what I know about my truck so hopefully I can add something that will help the next poor soul.
So true! I love getting to enjoy the work I've done to my Tahoe every day since I use it as my daily driver, but then when things need improvement/tweaking/love/etc, or if I've just decided on what the next project needs to be, but I can't get it done yet, then it becomes annoying. I've been wanting a different vehicle as my daily driver, but it will likely have to wait a bit. I look forward to seeing more of your progress, I've been enjoying how you document your work and tell stories.
 
I usually have another vehicle as a backup but it got taco'ed by a tree when I was away on my last job. So one of my projects now is to get my '76 Mercedes 240D back on the road.

I've been enjoying how you document your work and tell stories.
That's good to know. Like you said yourself, it's hard to tell how you come across on the other end of those stories.
 
Now as far as build details go, I was able to mock it up and verify pushrod lengths and valve-to-piston clearance.

My modded lifters that I tack welded to make solid didn't work. I had to keep the tacks small to make sure everything still cleared and using a MIG it just wasn't enough weld. If I had a TIG this would have worked, but I haven't reached that level of cool yet.

So Plan B: I had read of people disassembling lifters and installing small washers to take up most of the internal space and then filling the rest of the void with JB Weld before reassembling the lifter. Once the JB Weld set the lifter was solid. I figured this would be the way to go. I disassembled a lifter to start figuring out what size and how many washers I would need. For some reason I decided to put the piston in the lifter upside down just to see what that did clearance-wise....to my amazement, it was the perfect configuration to make a solid lifter!!! With the spring and shim removed from the lifter and the piston installed upside down, the lifter cup JUST fit back in and the clip just barely fit back in the groove! This is amazing to me and hopefully helps other people out when trying to check cams.

View attachment 44543View attachment 44544View attachment 44545

So I talked to Nate on this and he agreed that I should report this to everyone.

Nate is a smart guy. Me, not so much.
You see... when he did this mod to his lifters, he used some old lifters he had lying around and then proceeded with his build using his good lifters.
I just twisted my good lifters to use as solid, then expected to convert them back and move on.

Oops.
When I did the mod, they were really difficult to get back together. And when I took them apart to convert back, I noticed a little something.

56111

56112

56113

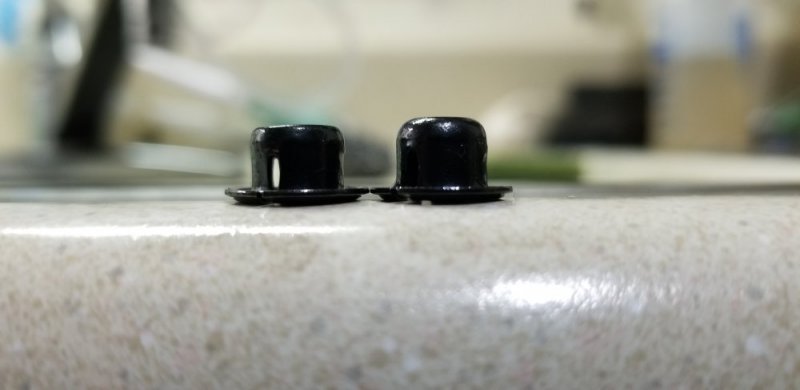
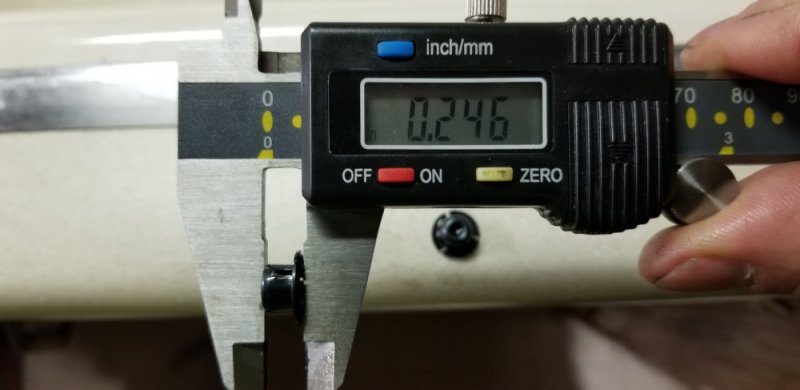
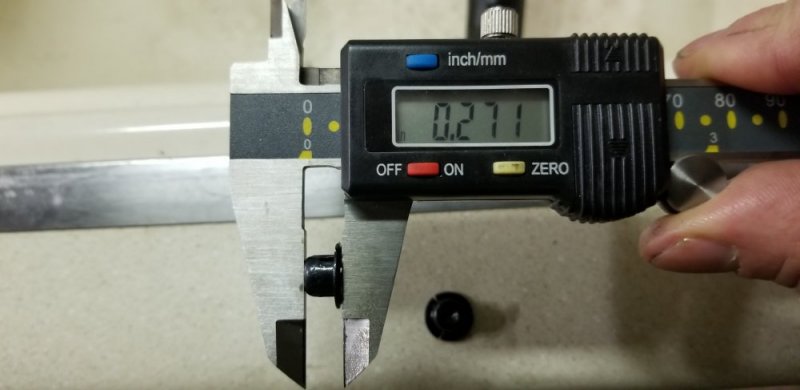
As you can see, I smashed the crap out of the spring retainer.

The takeaway here... Be smart. Be Nate. Use old lifters. : )>
 
Back
Top