• Welcome to The Truck Stop! We see you haven't REGISTERED yet.

    Your truck knowledge is missing!
    • Registration is FREE , all we need is your birthday and email. (We don't share ANY data with ANYONE)
    • We have tons of knowledge here for your diesel truck!
    • Post your own topics and reply to existing threads to help others out!
    • NO ADS! The site is fully functional and ad free!
    CLICK HERE TO REGISTER!

    Problems registering? Click here to contact us!

    Already registered, but need a PASSWORD RESET? CLICK HERE TO RESET YOUR PASSWORD!

2008 GMC Envoy Denali

That reservoir is most likely polyethylene. I work in a plastic injection molding plant.
Pvc will not weld to PE and solvents do not bond well with PE .
I wish I had this info earlier. I installed the reservoir Monday night. Tuesday morning there was a puddle of windshield washer solvent on the garage floor. I did more research into gluing Polyethylene and yeah, it's going to be tough getting the joint between the PE and PVC to seal. I'll try some more things to see if I can get it to seal, but I'll likely be making a new attempt at it after I find some PE pipe to use instead of the PVC and then weld the 2 together.
 
In other news, I'm working toward the 14 bolt/4.10 gear installation. While it's apart I'd like to do some upgrades that make sense. I've been looking at all new AC Delco suspension parts. I've also been looking at the aftermarket control arms and panhard bar that are available for the TBSS. Since it's a daily driver and a vehicle we'll do some road tripping in, I don't want it to be a harsh ride, so I need to keep that in mind, too. And then this really shouldn't have been the project it turned into, so I need to keep budget in mind too, because at some point I need to get back to getting the Tahoe back on the road and I need to save money for that.

I rolled under the truck last night to do an inspection and give me inspiration for what to do. The lower arms look plenty strong to me design-wise and the bushings still look and feel good. The upper arms have good bushings, too, but the design looks really flimsy. The panhard bar looks ok, strength-wise, but it has rubber bushings that will allow a bit of movement side-to-side. After looking at everything my current plan is to:

1. Reinforce the factory upper control arms by boxing them in.
2. Clean and paint the upper and lower arms.
3. Get Bilstein shocks.
3. Get an aftermarket panhard bar with polyurethane bushings.
4. Get an aftermarket anti-sway bar.

The thought with these upgrades is to keep things somewhat compliant and stock-feeling in the up-and-down direction since it feels pretty good right now, but then add stiffness in the side-to-side motion to make it feel more planted in the corners. I can always change the control arms later, but I'd hate to spend money on aftermarket arms now and end up hating the way it rides because of them. It's a plan anyway...

This weekend I'll begin prepping the axle for installation and ordering the rear suspension parts. I'm planning on swapping the axle the weekend of the 13th.

To accompany these upgrades I'll be doing upgrades to the front. Most of the front suspension has to come apart to change the front differential, so it's a good time to replace those parts. So far I'm thinking new AC Delco lower control arms and aftermarket upper arms. The lowers will help maintain the ride quality and the uppers will help with the camber alignment - with the extra weight of the iron block, it sits a little lower in the front.....actually giving me the stance I want in the front, but because of that my camber is off a little. I'm not sure if there's enough adjustment for that in the stock suspension, but they do make aftermarket upper arms to compensate for the camber from lowering a GMT360, so I need to find out if I'm at a point where I need those or not. The aftermarket upper arms also come with poly bushings of course, so that would help firm the front end up a bit, but not go full harsh since I'd still have rubber in the lowers. And then I need to look into the front sway bar some more, too. I am hoping to do the front stuff right after the rear, so that would be the weekend of the 20th......lots of planning to do before then so I can get the parts I need and have them prepped for install by then.....
 
I don't know in your area, but around here the best source for larger diameter PE pipe would be gas line contractor, if you have the leftover pieces you cut out, cut a narrow strip and heat the pipe (if you find some) and see if it will bond before spending a lot of time on it. Sometimes even two pcs of PE won't weld , depending on fillers used (UV inhibitors etc) Then there is LDPE, HDPE, UHDPE and more I have forgotten! lol
 
I don't know in your area, but around here the best source for larger diameter PE pipe would be gas line contractor, if you have the leftover pieces you cut out, cut a narrow strip and heat the pipe (if you find some) and see if it will bond before spending a lot of time on it. Sometimes even two pcs of PE won't weld , depending on fillers used (UV inhibitors etc) Then there is LDPE, HDPE, UHDPE and more I have forgotten! lol
Thanks for the tips!
 
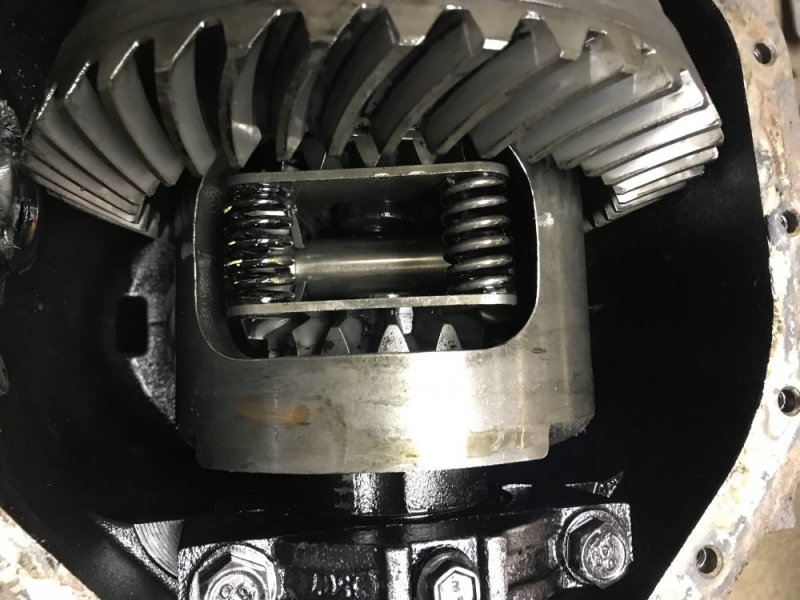
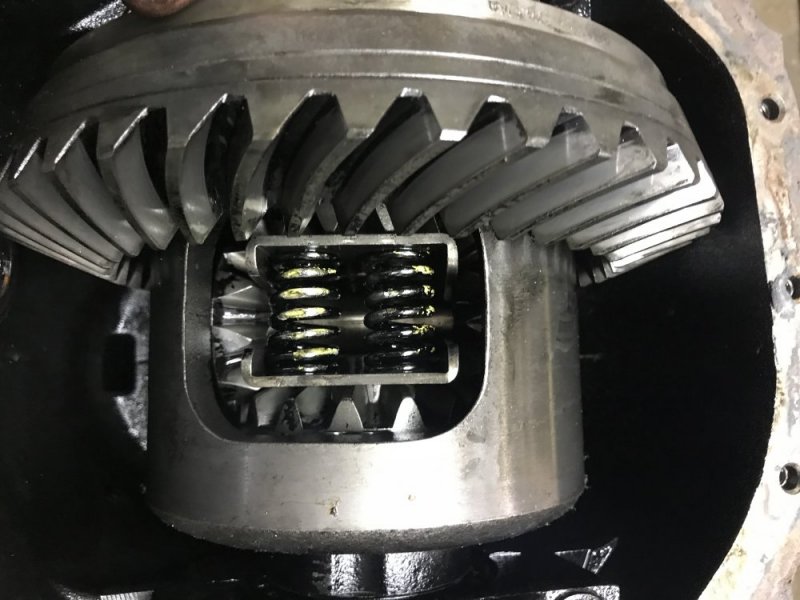
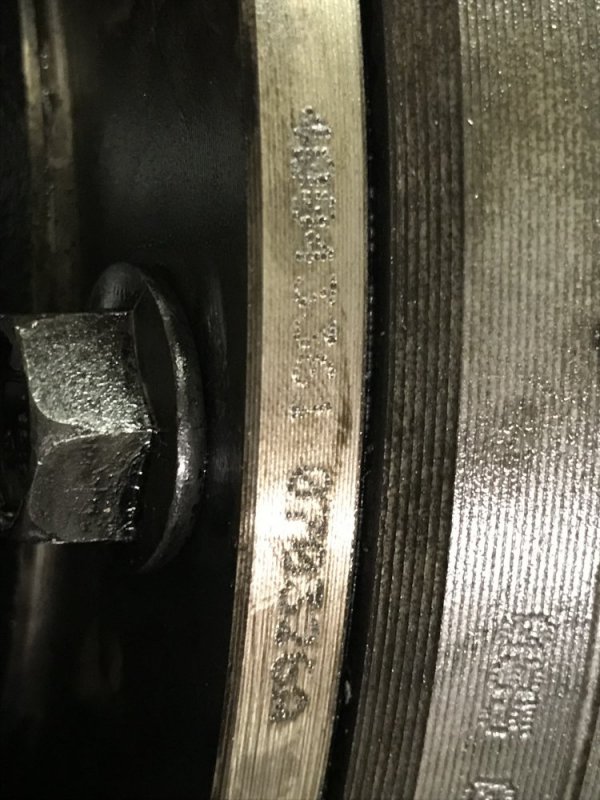
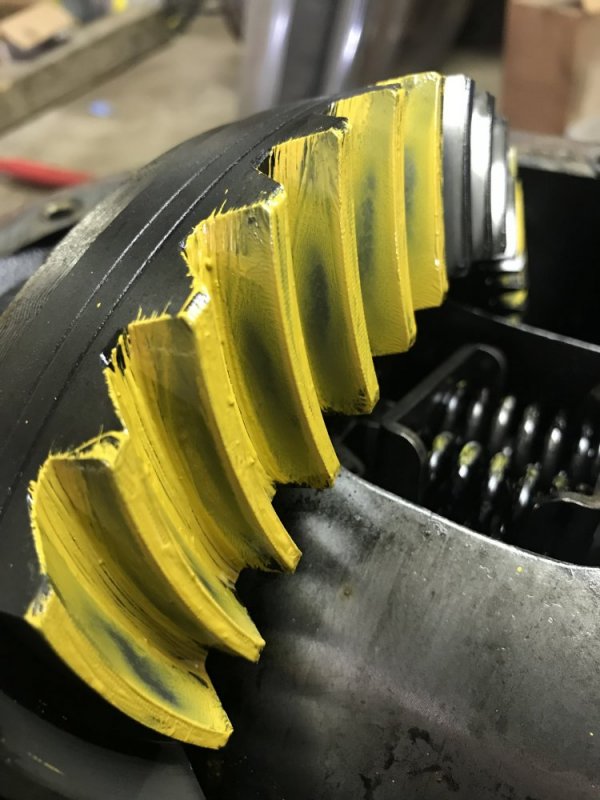
I decided to look at my 14 bolt closer and see exactly what I have. Well it looks like it’s just a factory G86 limited slip and not an Auburn. I thought that a TBSS would have had a Gov-Lok from the factory, so I was just looking to see if it had the centrifugal weight or not. Today I couldn’t find any identifying marks that would tell me what the diff is, but from what I can tell an Auburn has a 2 piece case and this definitely doesn’t have that. The part number I can find looks like an AAM number to me even though nothing comes up in a search. That’s ok, it was still a fair deal and it looks to be in good condition. It actually makes me a little happy that it’s all factory....that means chances are better nobody has been in it and fiddled with it. The clutch in the diff has good holding power so I’m tempted to put it in as-is as far as the diff goes. I’ll do new axle seals though. I haven’t seen where people are having to replace the clutches in the TBSS diffs so I think it’s an ok path. I can always do a TruTrac later on if I need a more aggressive differential.

7910AF1C-E5AD-4E8D-B42B-CAE061283D72.jpegAA0F0B88-EDBD-4C29-9ECF-5DBC6DD570AF.jpegC17D45CD-32A0-4DF2-BFEA-C6C10D7E5898.jpegF63727AF-106B-4FB1-8195-52AD9DE82AFD.jpeg82723AC9-BAA5-44C2-B5C8-F449E78245F4.jpeg
 
Yesterday I messed around with the 14 bolt some more. First I disassembled it further. I pulled the axles so I could remove the crumpled brake backing plates. After that I decided it wasn’t that much further to pull the diff and inspect the bearings. All of the bearings feel and sound good, so I’m just going to put new seals in it.

After that I put the diff cover back on and plugged all the holes. Next was a couple hours of wire wheeling. Not fun, but it looked a whole lot better. After that I did step 1 of KBS: KBS Klean.

93ADD8A4-3594-4915-9E30-5BB26A4DB4CA.jpeg

Today it will be getting step 2: Rust Blast.
 
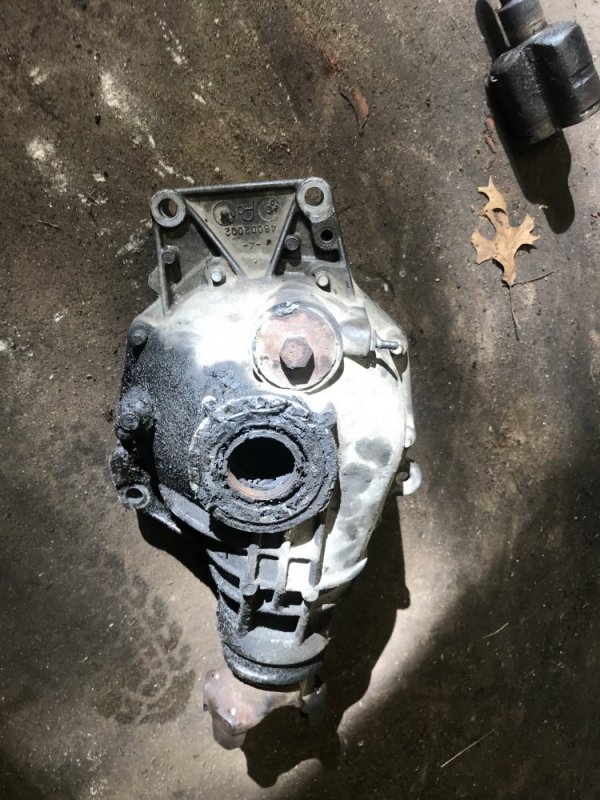
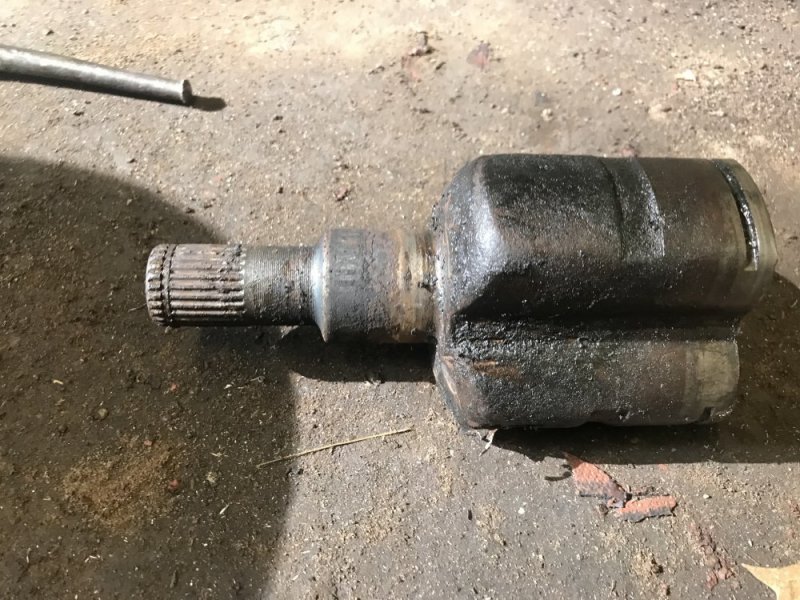
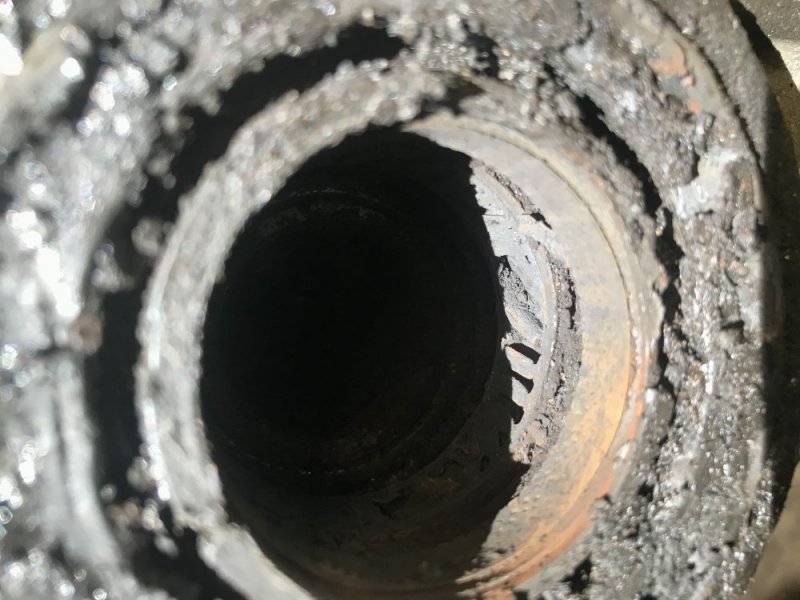
Today has been a day of part procurement. Today the local yard had a 50% off sale. So I got there right at 8:00 to try to beat the heat of the day (no luck, it was humid as balls and I still ended up soaked in sweat). But I did get a front diff out of an Envoy with 4.10 gears. I had it pulled in an hour and 20 minutes, which I didn’t think was too bad....though I did cheat because I cut part of the frame out that was in the way of letting it drop out. For the life of me I could not get the driver side CV axle out, so I just left the stub in the diff. When I got home I worked on it some more and finally got it out.....and I also found out why it didn’t just pop out. Nasty.

EB0BDA25-2CBA-4A56-9222-9ABBFE9B50F0.jpeg43421764-1CD6-4ADD-A95F-81E10A80976C.jpeg04906333-7A62-472F-B9A3-6C945232C992.jpeg

So I guess I get to open this diff up and see if it’s rebuildable. If not, I’ll take it back. Unfortunately it was the only GMT360 out there with 4.10 gears.

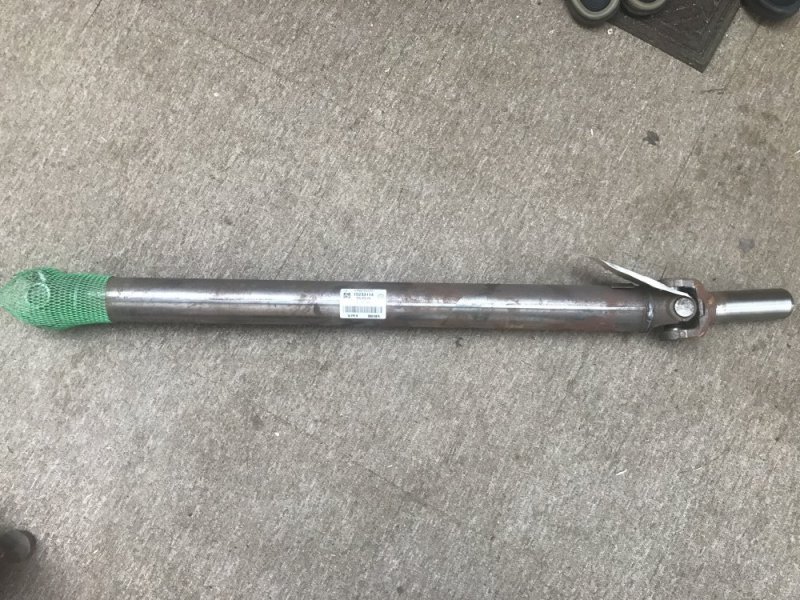
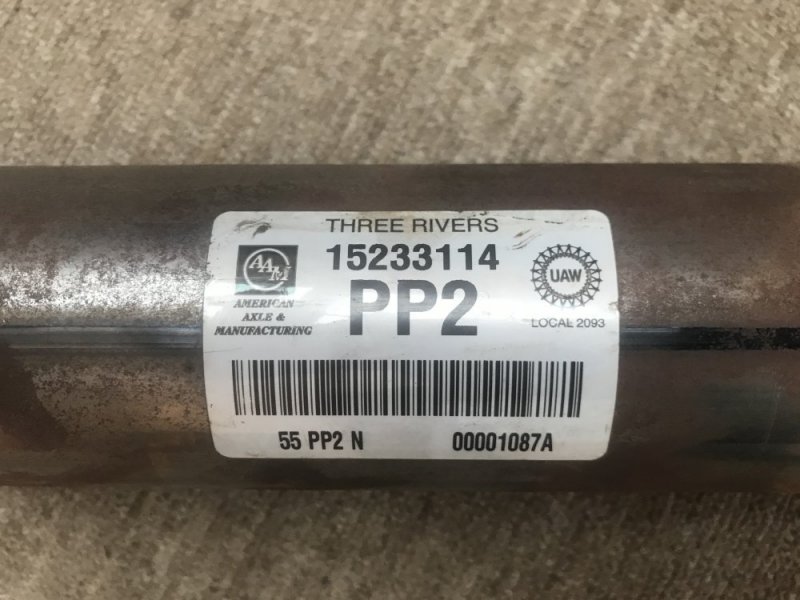
Then I found a Trailblazer SS AWD rear driveshaft at a parts supplier about an hour from me. I found it using the car-part.com website/app. If you haven’t used that site yet, I recommend checking it out. You can find some really good deals on used parts. Yards list parts for sale on that site. Anyway, the listing said it was a new shaft with u-joints and a yoke for $200. It would cost me that much to buy a used driveshaft and have It balanced and put new u-joints in it. So I drove to check it out and hot dog, it was a brand new American Axle driveshaft! And for some reason they only charged me $185 including tax! I think even a Dorman driveshaft is over $340.....so I was VERY pleased with that buy.

9C1F315D-8C77-4165-A1E5-468D59CC538C.jpeg11A4F5D1-96D5-464D-954E-40D14A7A4FC8.jpeg

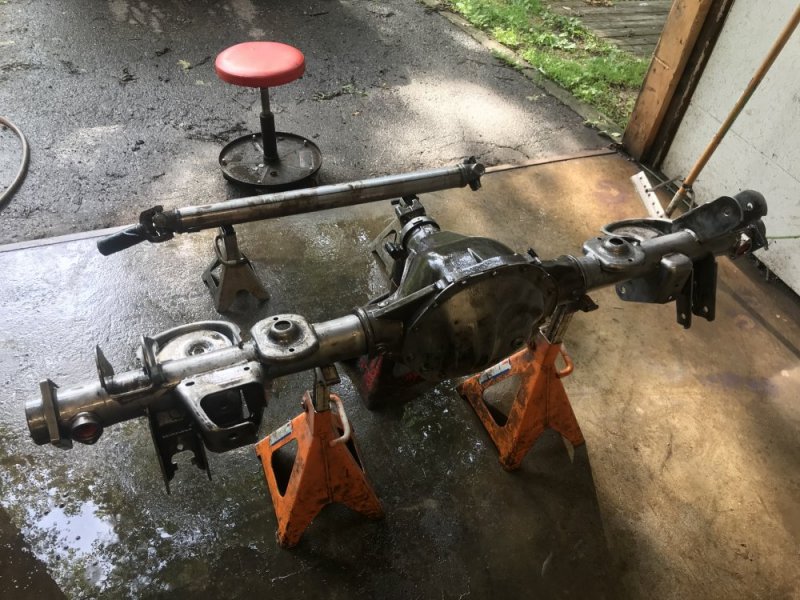
I scraped the sticker off and hit it with the KBS Klean. And now both the axle and the driveshaft are getting Rust Blast applied to them. Sunday they should be getting painted with Rust Seal.

6D412B3B-F44E-4185-AE6E-732E7DCA2811.jpeg
 
Last night I had a slightly scary moment with the Envoy. We were on our way back from a day trip when it started raining about 5 miles from home....a pretty heavy rain, but no big deal. In fact I was happy about the rain because I am still without a washer reservoir and I had some nasty bug splats on the windshield. Anyway, getting off the highway and on local streets I hit some puddles - again, no big deal.....normally. All of a sudden the engine started bucking and getting unresponsive, but then was fine. At the moment I thought, “hmm, that was weird”. It wasn’t until about a mile down the road that I realized what happened - my cold air intake had become a cold water intake! Luckily it hadn’t been able to suck in enough water to do any damage, but it was a serious warning to me. When I got home I told my brother what happened and he told me to look at the air intake bypasses that AFE makes. I looked them up and found that they make a part designed to prevent the exact situation I was in last night.


Unfortunately, they only make them for up to a 3” intake pipe and mine is 4” (I mean.....I don’t want to brag about size, but.......😊). My initial thought for a solution is to weld a 3” tee onto my 4” pipe and then put one of the bypasses on that. Then plug the end of it off. I THINK it should work, buy I’m not 100% certain. I plan on calling AFE tomorrow to talk about the idea, and who knows, maybe they have a 4” bypass valve that isn’t in the catalogs?

Does anyone else have any ideas besides the bypass from AFE? I still plan to run the water-repellant Outerwear as well as a first line of defense, but I think the bypass is a really good idea for a fail safe. Thanks in advance for any suggestions!
 
I guess I don't understand how that is supposed to work. Does there need to be a tee in the piping that it goes on? I assume it opens with increased vacuum from a wet filter?
 
I’m a little unsure of how it functions. The intended installation of it is to be inline in the intake so if the filter gets full of water the extra vacuum in the intake forces the air to be drawn through the bypass valve instead. What I don’t know is if there’s some kind of a flapper inside so it won’t draw any air through the bypass until it’s needed or if it always draws a little air through the bypass and it’s just more that gets drawn in under a high vacuum situation. I’ll definitely keep monitoring my IATs to see if they go up any, which would indicate that it’s drawing some hot air from the engine compartment. I’d like to find something like a reverse blow-off valve, but I’m not sure if that exists.
 
I panic from low mounted air intakes. When I was the Mac tools guy going to different shops and dealerships, I saw it all the time where people did major damage because of splashing a puddle too hard or crossing a bit of water.

Being into off roading, and the road flooding that used to be common place in Vegas, I always thought it was only from people crossing water that was deeper than the height of the air intake. Not so! Most of the people cross 6” to 8” of water but the enough of a splash gets to the intake.

So my preference is a high intake. And I also don’t understand why so many of the cold air intakes don’t correct the level air is pulling from. Your driving on asphalt which is sending a lot more heat upwards. Go out and place a thermometer at 18” off the asphalt, then move it to 40” off the asphalt. The farther off the ground, the colder it is. Also better for fine dirt and dust up higher, so cleaner colder air.

On the valve, I am confused also. Like it is a bladder that collapses and blocks airflow maybe?

You are plenty good enough fabricator to create something to bring in cold, clean air from somewhere better than the factory planned it out. I don’t think a vertical snorkel like hummer/hmmwv uses is the best answer, but I would be tempted to do something near the top of the hood line. Any cowl induction that looks good maybe?
Yeah maybe a cowl type induction is the ultimate answer. As far as temps are concerned, monitoring the IAT with a scanner, the most I have seen is 5 degrees above ambient air temps. I thought maybe it would be higher too, but so far I haven’t seen it. I’ll see what AFE says and let everyone know.
 
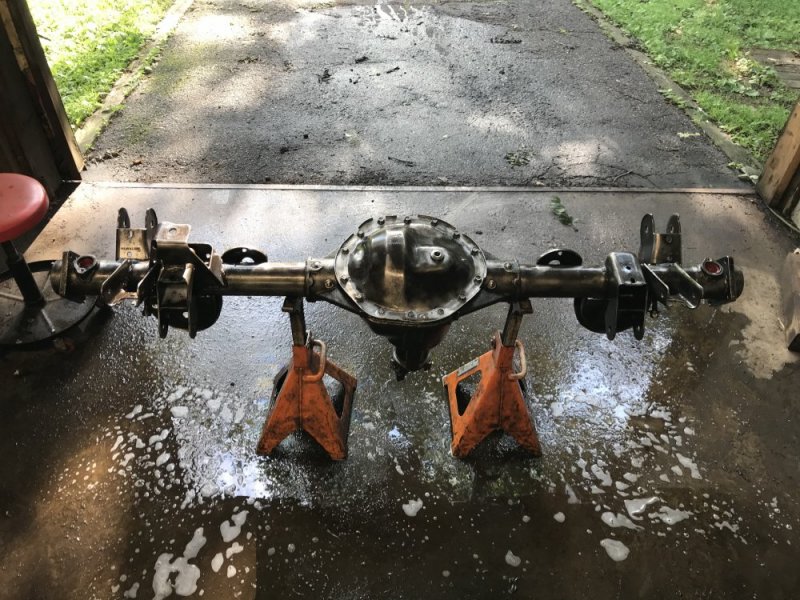
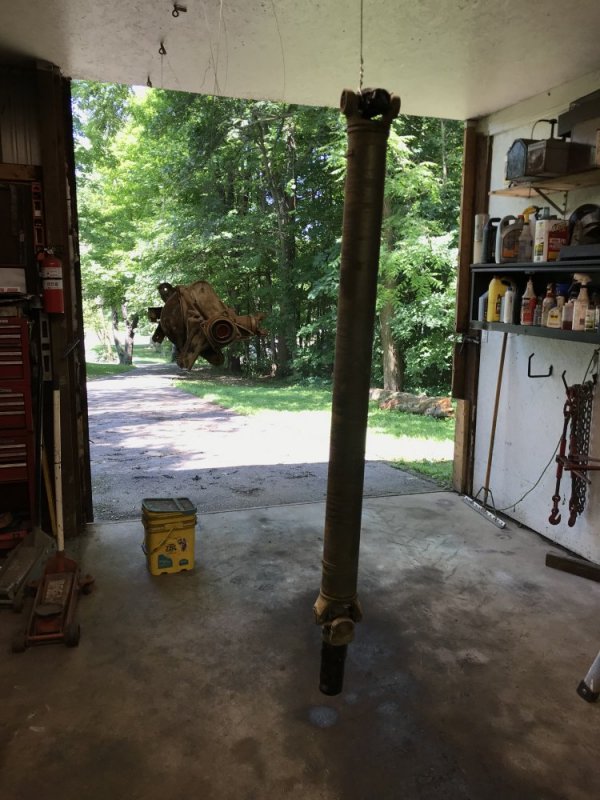
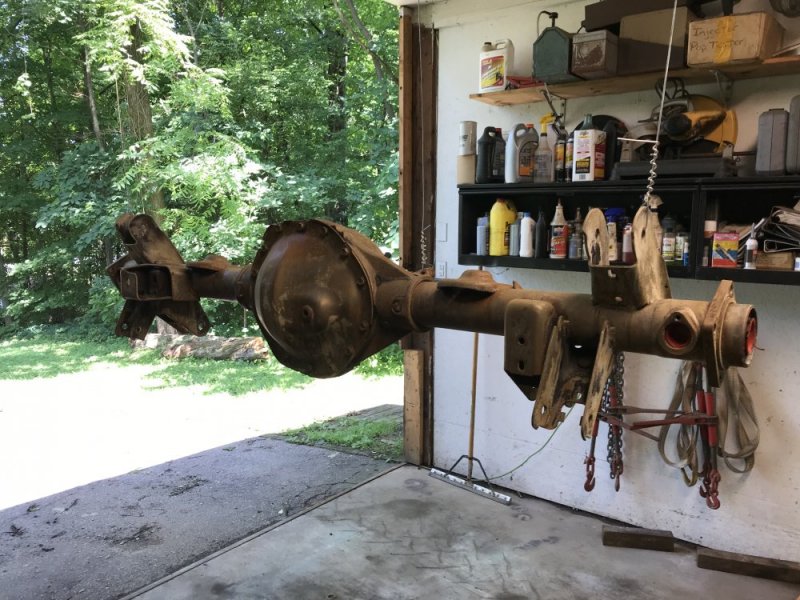
Today I got the rear axle and driveshaft hung with steel wire to paint. You can see the finish the Rust Blast leaves on them.

F230D93C-9793-4941-A3F3-9ED79E013D42.jpegCC597CED-35FD-4292-83E5-9290CAD8AF1F.jpeg


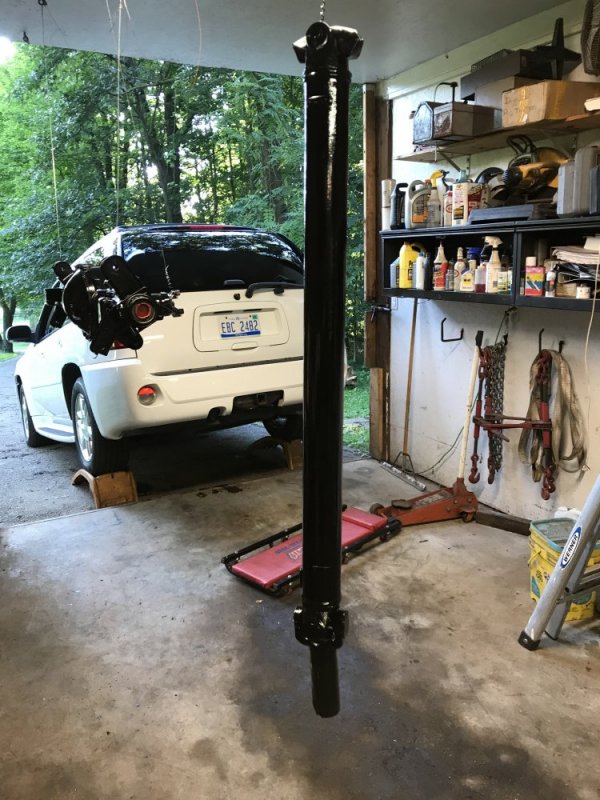
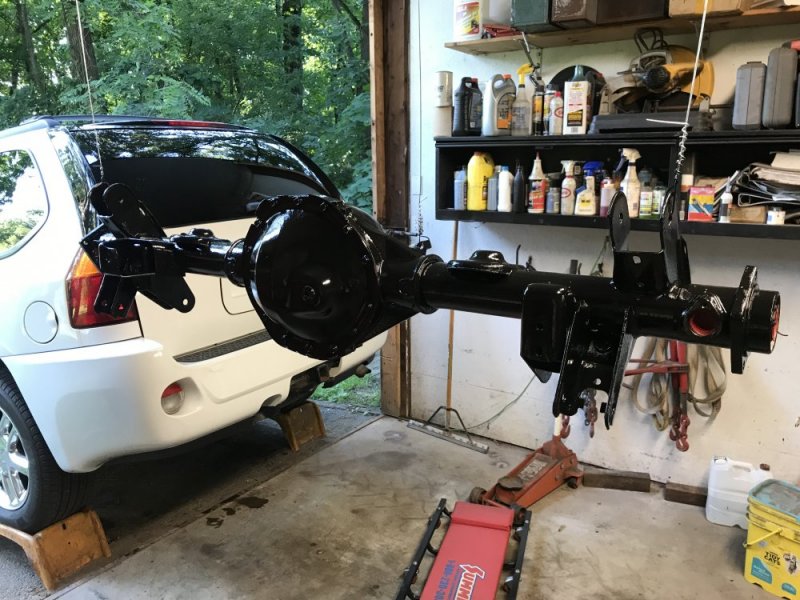
I put 2 coats of Rust Seal on them.

28EE3B54-FF91-4F87-BABB-122B162FA266.jpeg


Is it just me or does an axle hanging from the ceiling look cool?

4243A603-B4C2-44AC-AB51-97A03A7CE485.jpeg

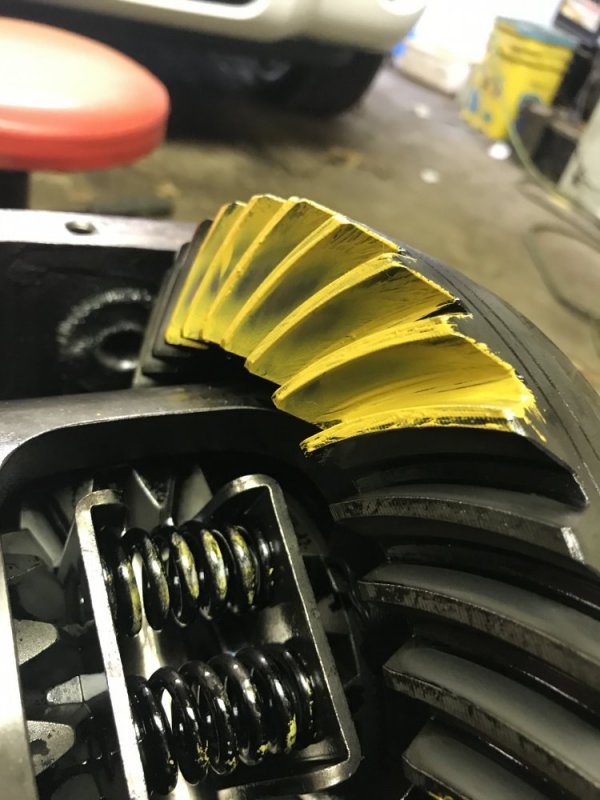
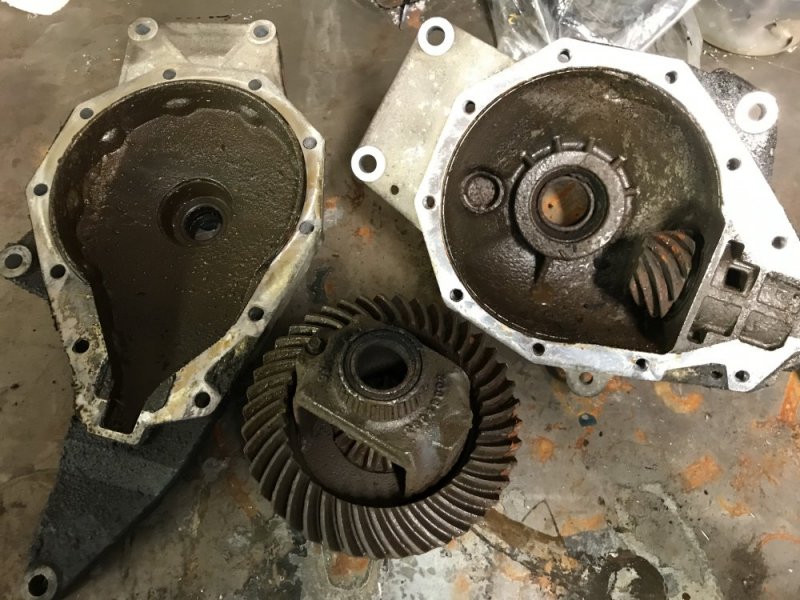
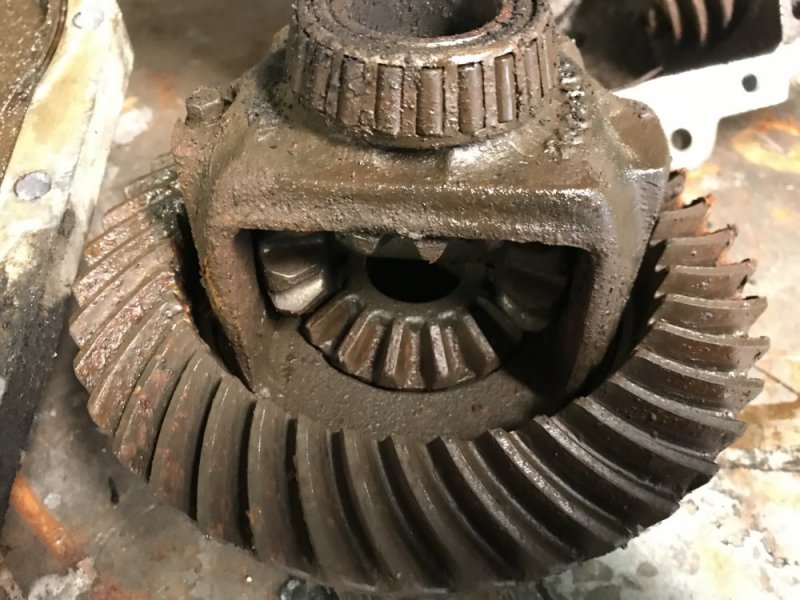
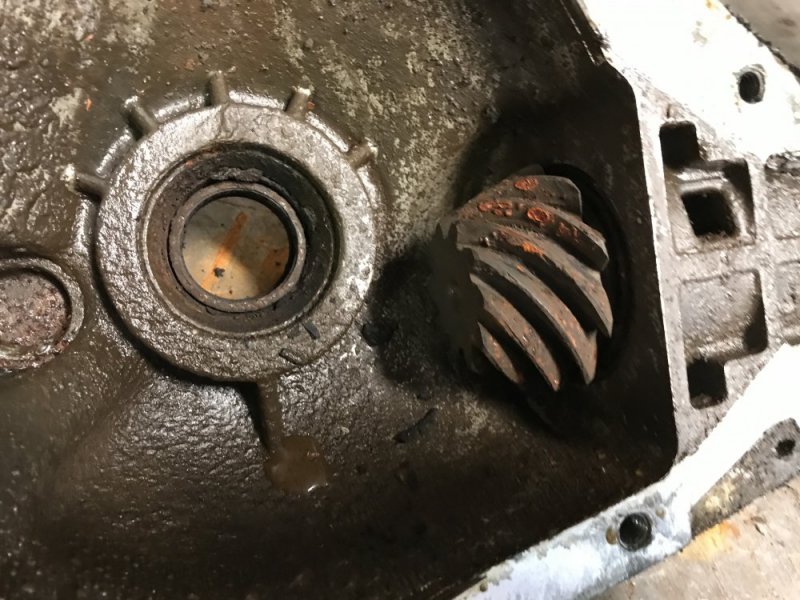
Then I decided to open up the 4.10 front diff to see what I had to work with. This thing is nasty.....I won’t be using it. I wonder when the last time was that this had a hint of oil in it? So the hunt is back on for a 4.10 front diff.

B83F479A-EE6A-4183-8A24-0AB76434A55B.jpeg3840605F-791F-47A7-A496-0E6270D007F6.jpeg29119898-6164-408A-8C51-C74816E2433B.jpeg
 
The hangin parts are always cool.

Maybe try cleaning the gears with electrolysis?
Or can you already see bad pitting? Cant tell on my phone
I didn’t look at them that close to see if they were pitted bad, they just looked like they would be. I’ll keep that option in my back pocket, thanks for the suggestion.
 
I just called AEM (I misspoke earlier when I said AFE) to ask about the intake bypass valve. They don't offer one larger than 3". When I asked about the idea of adding a 3" tube teed into the 4" tube the answer was that they don't recommend an alternate installation. The best installation advise they could offer was to neck the intake down to 3" to install the valve. The guy didn't sound very competent honestly. I don't see why the 3" tee idea wouldn't work, but I also don't want to spend $70 on an experiment. So I have start looking into more options. I found this page.....they're suggesting that the filter gets water-logged starving the engine of air before it can actually suck water up into the engine.


That does sound like what I experienced. That gives me more confidence in the idea of the Outerwear on the filter, but of course it would only take one big oops for me to wish I had done more. I will keep looking into options, but I just wanted to share that AEM's tech support wasn't so helpful....
 
I called to talk to AEM about their filter for the hummer after folks here recommending them and better numbers than the k&n. I spoke to 4 different people not counting receptionist and all of them were lost. I had more knowledge than all 4 combined. I was correcting them on their specs even. So no AEM filter in my rig at the moment. Not surprised your results were what they were.
They are all about the sell and thats it imo.

On the little article. They are saying water has to be deep enough to put the filter in the water. Yes, if the car is in park. When the car is in motion even going slow enough that it isn’t splashing water to the sidewalk, look at how much it builds up in front of the bumper. Understand it will it same or worse in the engine compartment. Then pulleys throws water, fans really throw water, etc.

Way too many of the people writing articles get their paychecks supported by advertisers of the parts companies.
 
I agree with you, the filter doesn't need to be submerged in water for water to be a problem.

I talked to LowRam last night, because he has lots of experience in different arenas. The first thing he did was look up the patent on the bypass valves. There's lots of good info there. It's actually more sophisticated than it looks, or than AEM tells you it is. It sounds like AEM needs to get better at sharing product knowledge...…….or maybe they're just content selling to ricers? Anyway, here's the patent:


He gave me some good ideas to explore, but also validated my original idea, which is to make a spring loaded poppet valve for the 4" tube. However, after looking at the AEM piece more, I think I'll just get that as a stop-gap measure for now. I also need to get with Outerwears and get the water-repellant filter sock installed. I emailed them last week because they make an Outerwear for the filter I have, but I need some kind of a grommet put in it for the IAT sensor I installed in the end of the filter - unfortunately I haven't received a response yet, so I guess I need to hit them up again.
 
Back
Top