• Welcome to The Truck Stop! We see you haven't REGISTERED yet.

    Your truck knowledge is missing!
    • Registration is FREE , all we need is your birthday and email. (We don't share ANY data with ANYONE)
    • We have tons of knowledge here for your diesel truck!
    • Post your own topics and reply to existing threads to help others out!
    • NO ADS! The site is fully functional and ad free!
    CLICK HERE TO REGISTER!

    Problems registering? Click here to contact us!

    Already registered, but need a PASSWORD RESET? CLICK HERE TO RESET YOUR PASSWORD!

1978 Nomad Trailer Restoration/Project: 88GMCtruck is at it again.

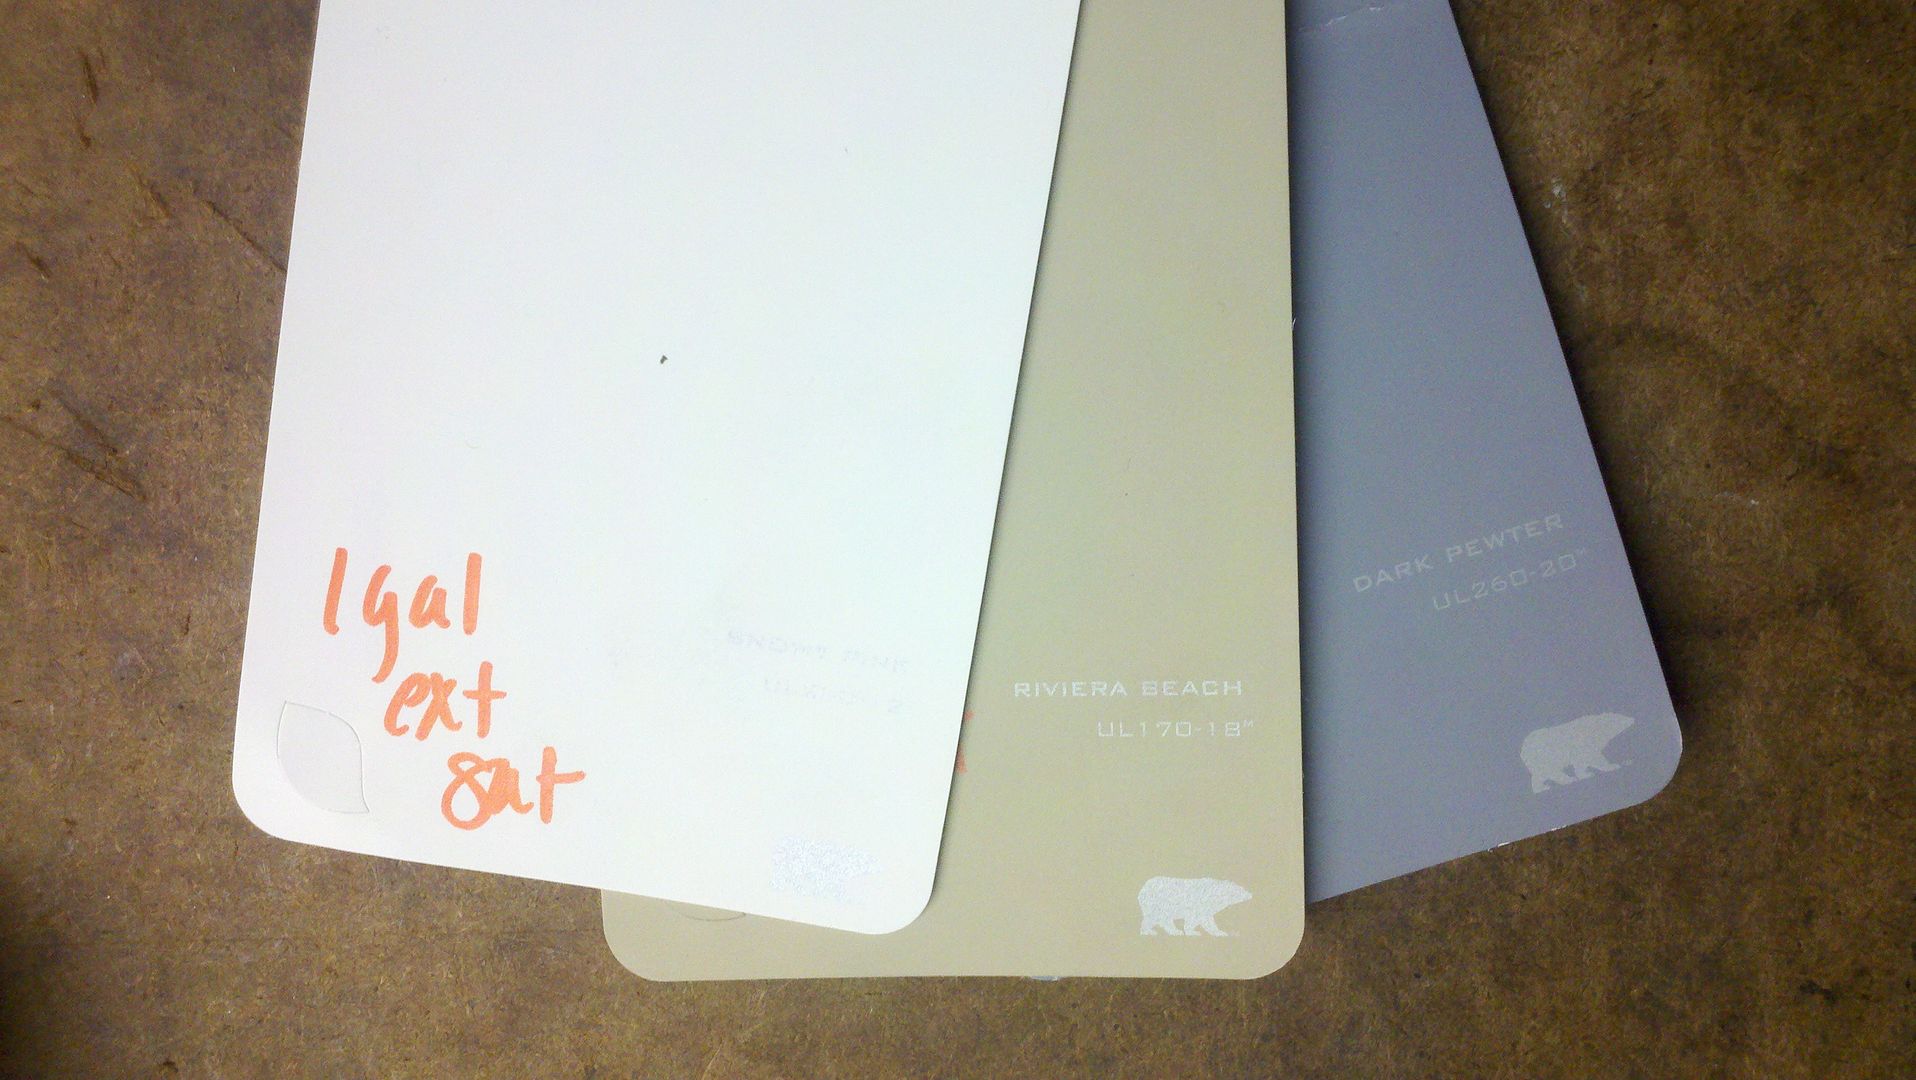
Just keep in mind that summer sun beating down on a trailer heats them up a lot in their stock white/cream colors. A dark color will be even worse.

Don

Same thing I was thinking.

There's a reason roof membranes and trailer sides are mostly white...or a light grey, or a light beige, or polished aluminum, or ...... ;)
 
Well my trailer actually does really well in the summer, and if i were to do a color scheme it would be something similar to the stripes it has now, and leave the rest white. I have been thinking about painting the window frames black though to help them blend in.
 
I've been REALLY busy working on this thing. Got all the 120V lighting out, and all the 12v stuff wired in with a converter/charger as well. Re-routed some of the power wires, etc.

LOTS of insulation. I can see why this thing didn't hold much heat, they did a very poor job fitting the insulation. I've fixed that :D
P1110972.jpg

P1110974.jpg


Installing new paneling and insulating. Made sure everything was insulated, then attached the paneling with liquid nails and a brad gun. They aren't ever going to move....
P1110976.jpg

P1110978.jpg

P1110979.jpg

P1110980.jpg

P1110982.jpg

P1110981.jpg

P1110983.jpg

P1110986.jpg

P1110988.jpg

P1110988.jpg


Bathroom. There was only about 1/4" of insulation in the ceiling.... Not nearly enough.
P1110991.jpg

P1110992.jpg


Puttied the marks from the brads.
P1110993.jpg

P1110994.jpg

P1110995.jpg

P1110996.jpg
 
Fridge enclosure
P1120004.jpg

P1120008.jpg

P1120009.jpg


Put rigid insulation around the wheelwells, instead of the fiberglass batting.
P1120005.jpg

P1120006.jpg

P1120007.jpg


More to come.
 
I am a bit shocked you didn't replace all that soft copper tube plumbing with PEX or Quest plastic. The RV OEM's have been using it for years. No bursting from freezing, or fatigue cracks, rarely a fitting leak, and of course no corrosion inside or out.

There is also a ribbed polymer covered stainless tube for gas out now also, the big box stores are stocking it now. Its a lot tougher than the soft copper and more bendy. Some older trailers used black iron pipe (commonly use din houses) for the main gas line with soft copper feeds off that. I have a trailer that has that and if given a little excuse I am going to rip it out and home run in the stainless lines.

Nice job BTW
One step at a time. Thought about replacing the water lines, but in light of cost and the "don't fix what ain't broke" i'm concentrating on the other issues that need attention.

-------------

Decided I'm going to take it out this weekend since it was re-paneled. It's been sitting in my main driveway since around thanksgiving, with lights, paneling, etc ripped apart. Only had to throw a few things back together to get it in useable shape.

Little mod I did. Made a cubby under the hamper cabinet, since it was wasted space originally.
P1120011.jpg

P1120012.jpg


Got the appliances painted (heater, fridge, oven and range hood) with the accent color: charcoal hammered finish rustoleum. With the exception of the fridge door, I took all these pieces to my dad's and mediablasted them to remove rust and the old paint. The only item that wasn't painted after media blasting was the stovetop, as it was stainless and flame would have hurt the finish obviously. The sink, stovetop and fridge trim are all staying brushed metal.
P1120014.jpg

P1120015.jpg

P1120016.jpg

P1120017.jpg


Also painted up the plastic bathroom accessories (towel holder, soap dish and TP holder) in the same rustoleum finish.
P1120013.jpg
 
Ended up not taking it out camping, due to some bad scheduling of things with the family on my part, which turned out just fine because I had a good weekend otherwise and we got hit HARD with snow followed by freezing rain followed by more snow and more freezing rain. I've been working from home this week, but I've managed to get a few more things done in the evenings.

The power was out today, so once my laptop died I had no more work I could do. The house was getting cold so I fired up the propane heater in the trailer. The batteries were also low as I've been running the radio a good amount lately... So my solution: I started the grey truck, set it on high idle and connected a set of jumper cables. I then proceeded to hook the airhose up to the onboard air so I could use the brad nailer in the trailer and finish the remaining trim up. My plan worked flawlessly.

Been caulking, puttying, and finishing the quarter round and flat trim between panels. A few misc shots.
P1120081.jpg

P1120082.jpg

P1120083.jpg

P1120084.jpg

P1120085.jpg


Found one more place the paneling wasn't quite up to my standards, so I replaced this section as well.
P1120086.jpg


The next step is to putty a few remaining brads, and then paint. Ceiling will be white, walls a beige/tan color?
 
Looking good. I see that massive amount of snow in that last picture. You guys got hit hard. Stay dry and warm, maybe the weather will get better for you.
 
Welp, everything inside is down to the bare minimum, and will be taped and painted this weekend.

In the mean time, I built some LED boards for the taillights.
P1120159.jpg

P1120160.jpg


Mounted to the backing plate.
2012-01-25_23-52-38_693.jpg


It's really hard to get the actual effect of these things, but here is the parking light. It uses 2 of the 5 rows of lights, plus 7 facing out the side as a marker light, and 8 white facing down for the licence plate.
P1120166.jpg


Brake/Signal illuminates the remaining 3 rows, for 5 total.
P1120168.jpg


Super bright licence plate light.
P1120167.jpg
 
Yeah they are wired in series. It makes for a very simple setup, and allows them to fluctuate when the voltage drops and keep working overall.
 
Well, I finally gained my motivation back and started painting. Went to the store and picked out some paint colors. The white is for the ceiling, tan for the walls and the grey is close to what the floor is.
2012-02-02_22-10-01_401.jpg


Got a coat on the ceiling.
1328246070503.jpg

2012-02-02_21-56-29_990.jpg

2012-02-02_21-55-24_190.jpg

2012-02-02_21-55-09_246.jpg
 
It's been a busy weekend. Seeing this come together has really made all this hassle worthwhile. I finished up all the interior painting Saturday. After that was done, I removed all the cabinet hardware and painted it all hammer grey and re-installed. Really happy with the outcome thus far. Starting to think about curtians and new fabric for the cushions.

Ignore the clutter, obviously this is a work space :D
P1120177.jpg

P1120178.jpg

P1120180.jpg

P1120179.jpg

P1120189.jpg

P1120185.jpg


Some of the details. Added more 12v outlets near the bed, from a 95 GMT400 complete with "pull" caps.
P1120176.jpg


83-87 S-Series tailgate sticker I had laying around. Decided the fridge was a decent place to use it.
P1120182.jpg


Painted the waterpump switch trim and thermostat to better match the outlets
P1120174.jpg

P1120188.jpg


Hammer grey clock, door pulls, etc
P1120183.jpg
 
Back
Top