• Welcome to The Truck Stop! We see you haven't REGISTERED yet.

    Your truck knowledge is missing!
    • Registration is FREE , all we need is your birthday and email. (We don't share ANY data with ANYONE)
    • We have tons of knowledge here for your diesel truck!
    • Post your own topics and reply to existing threads to help others out!
    • NO ADS! The site is fully functional and ad free!
    CLICK HERE TO REGISTER!

    Problems registering? Click here to contact us!

    Already registered, but need a PASSWORD RESET? CLICK HERE TO RESET YOUR PASSWORD!

1978 Nomad Trailer Restoration/Project: 88GMCtruck is at it again.

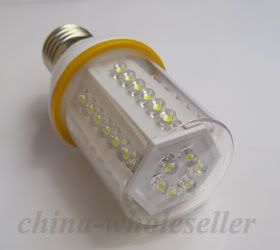
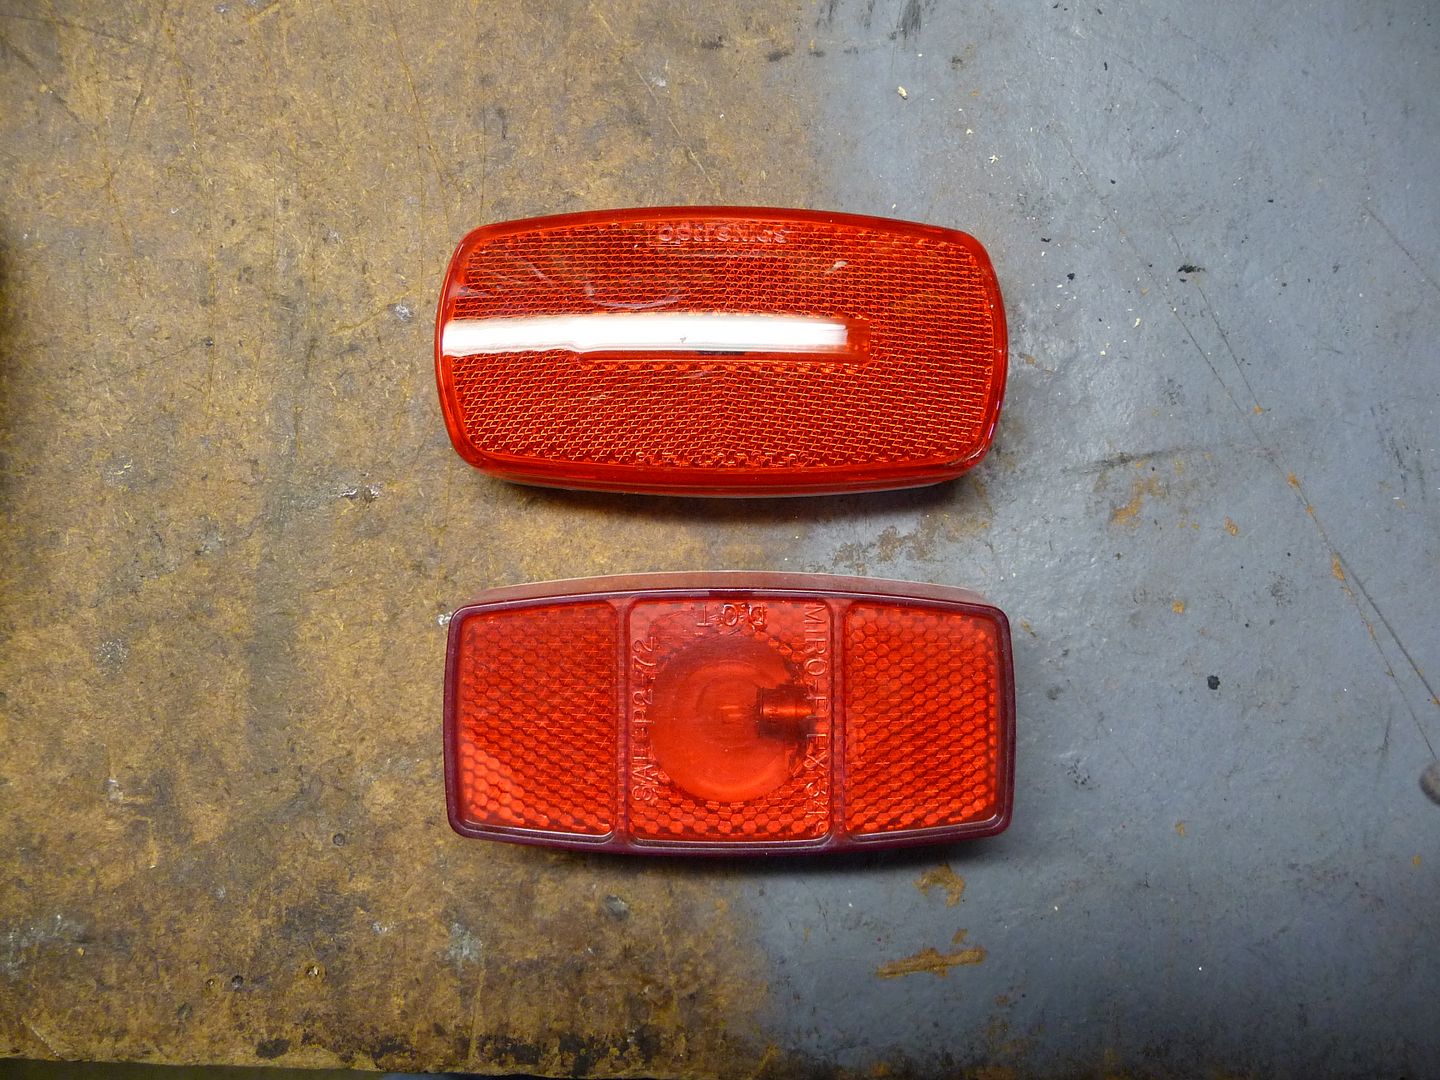
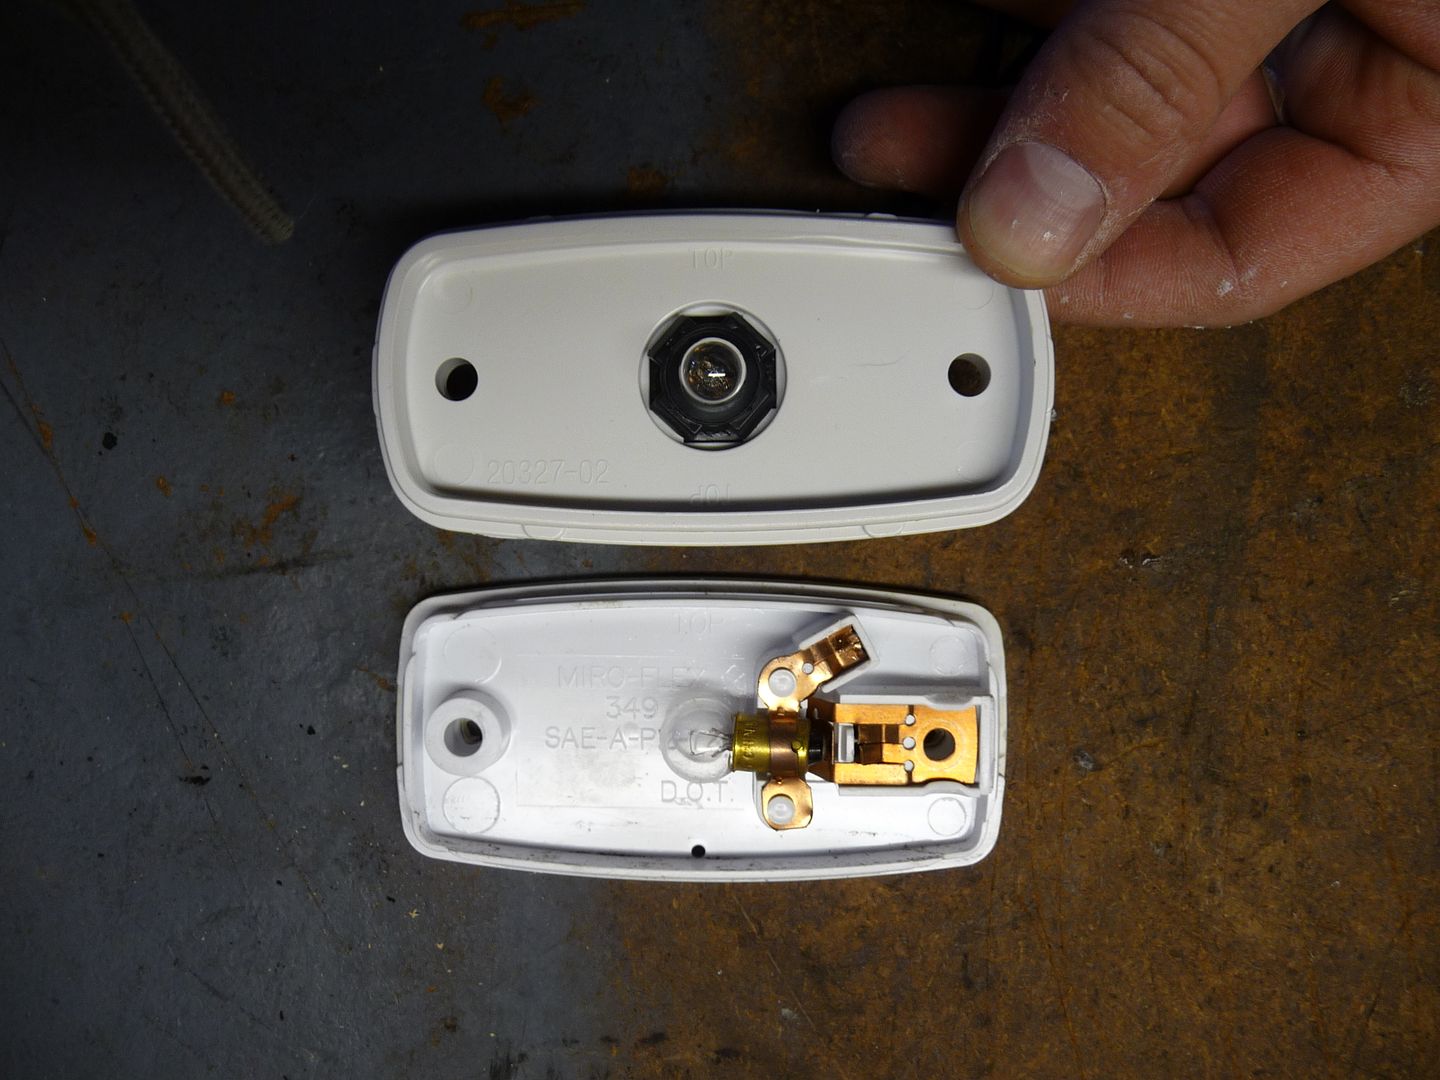
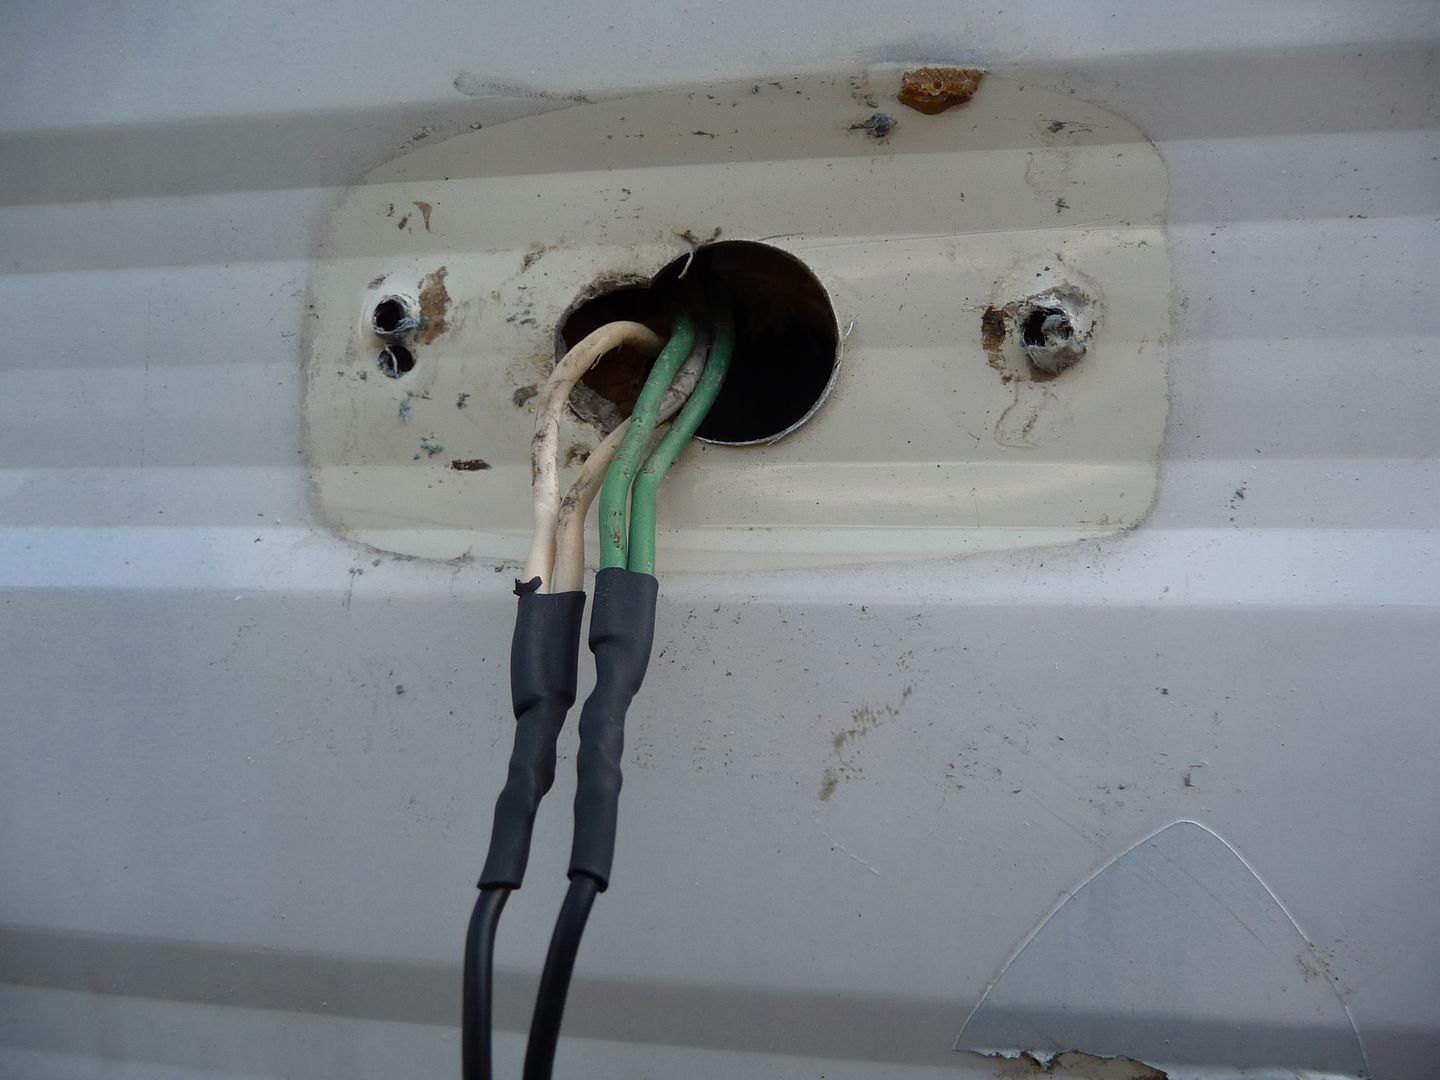
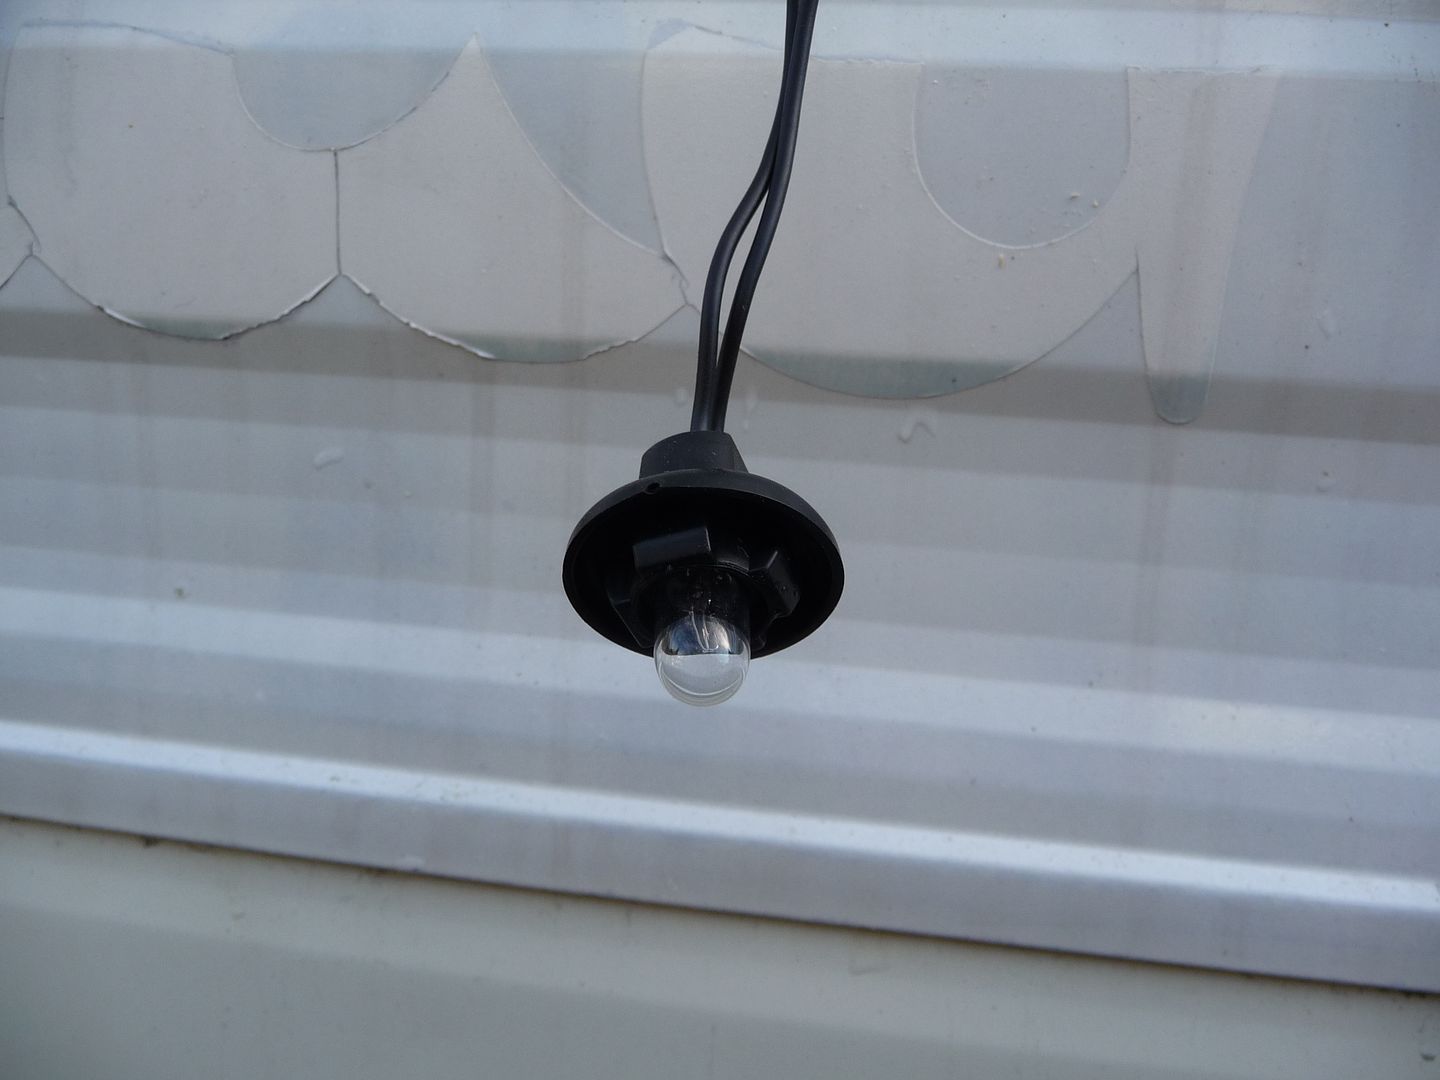
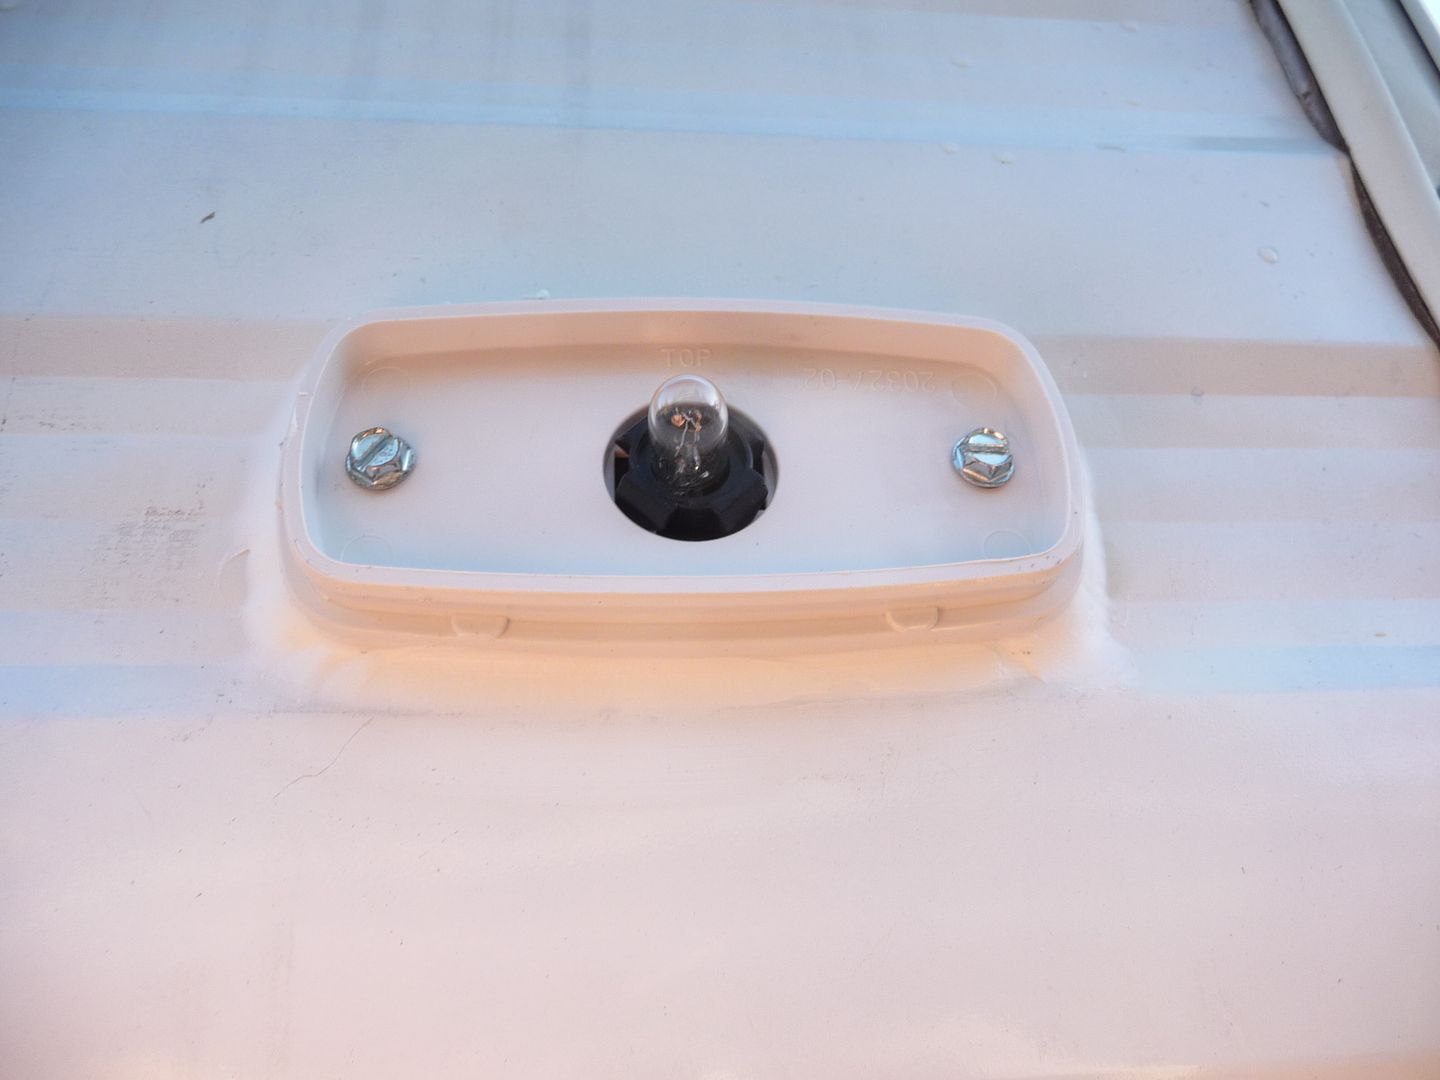
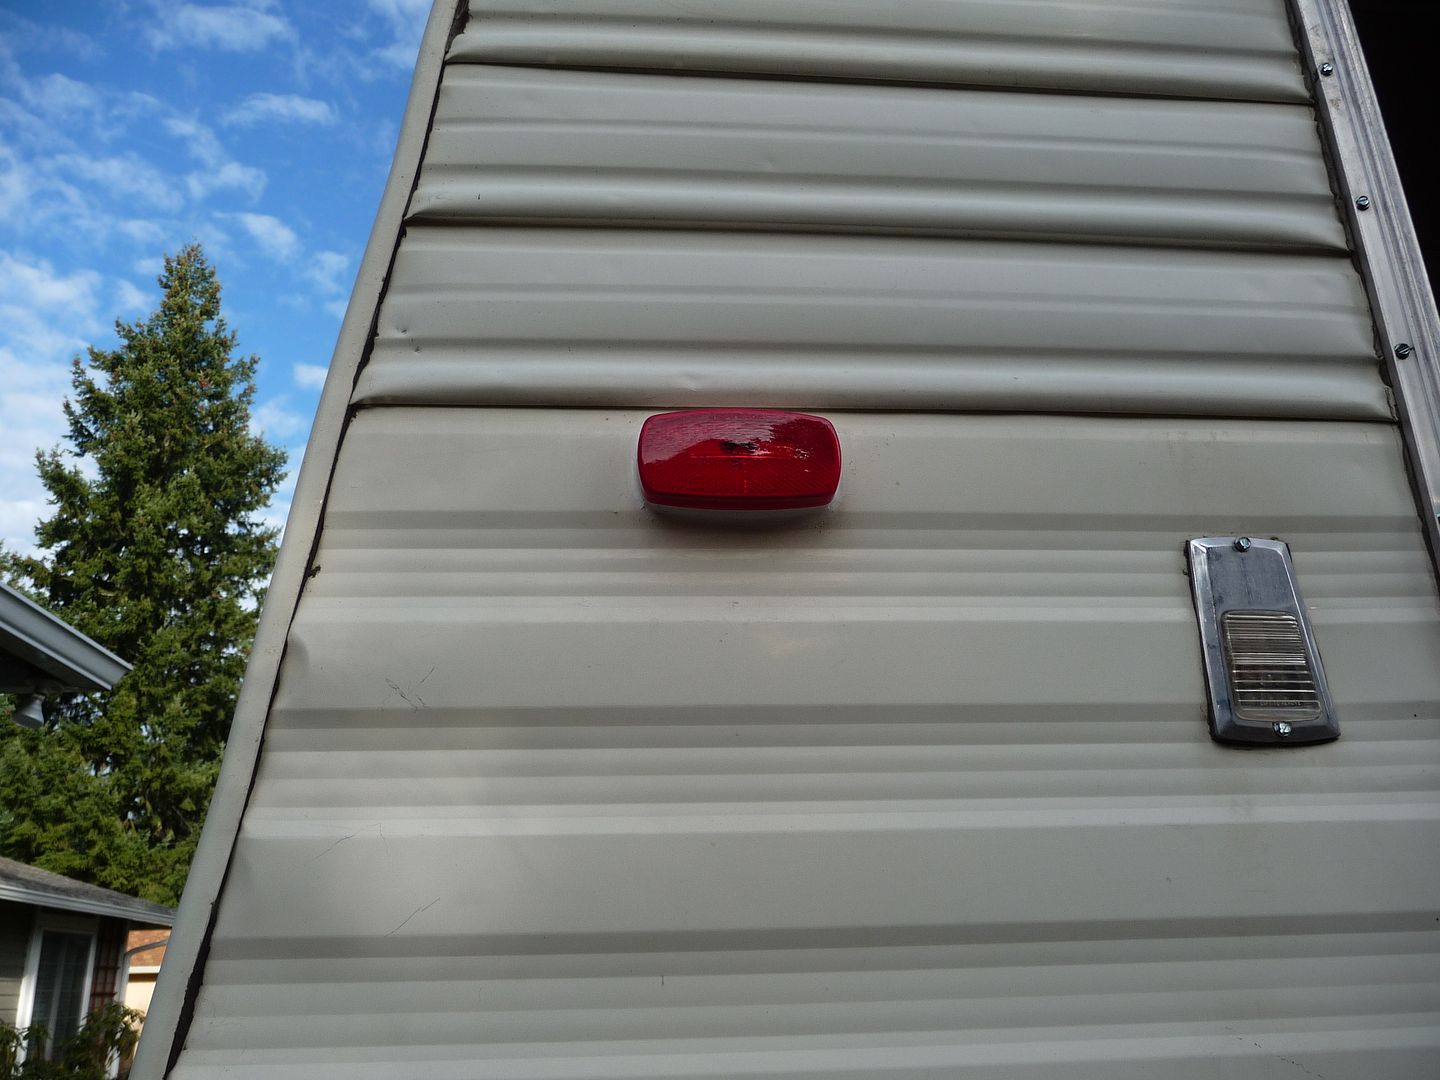
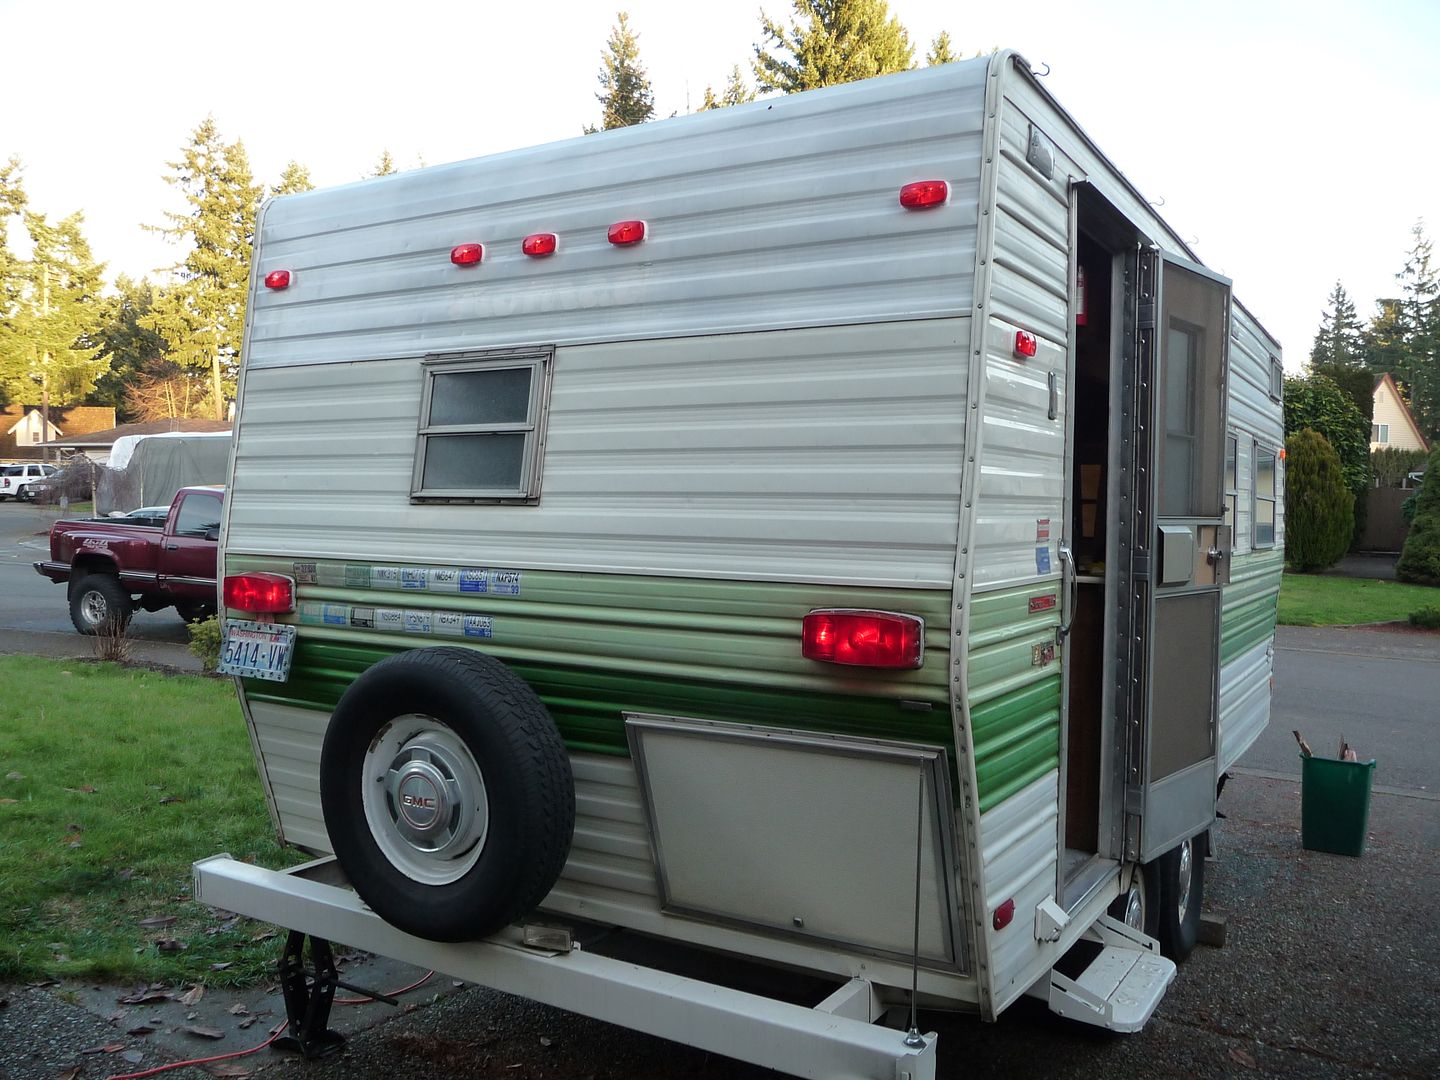
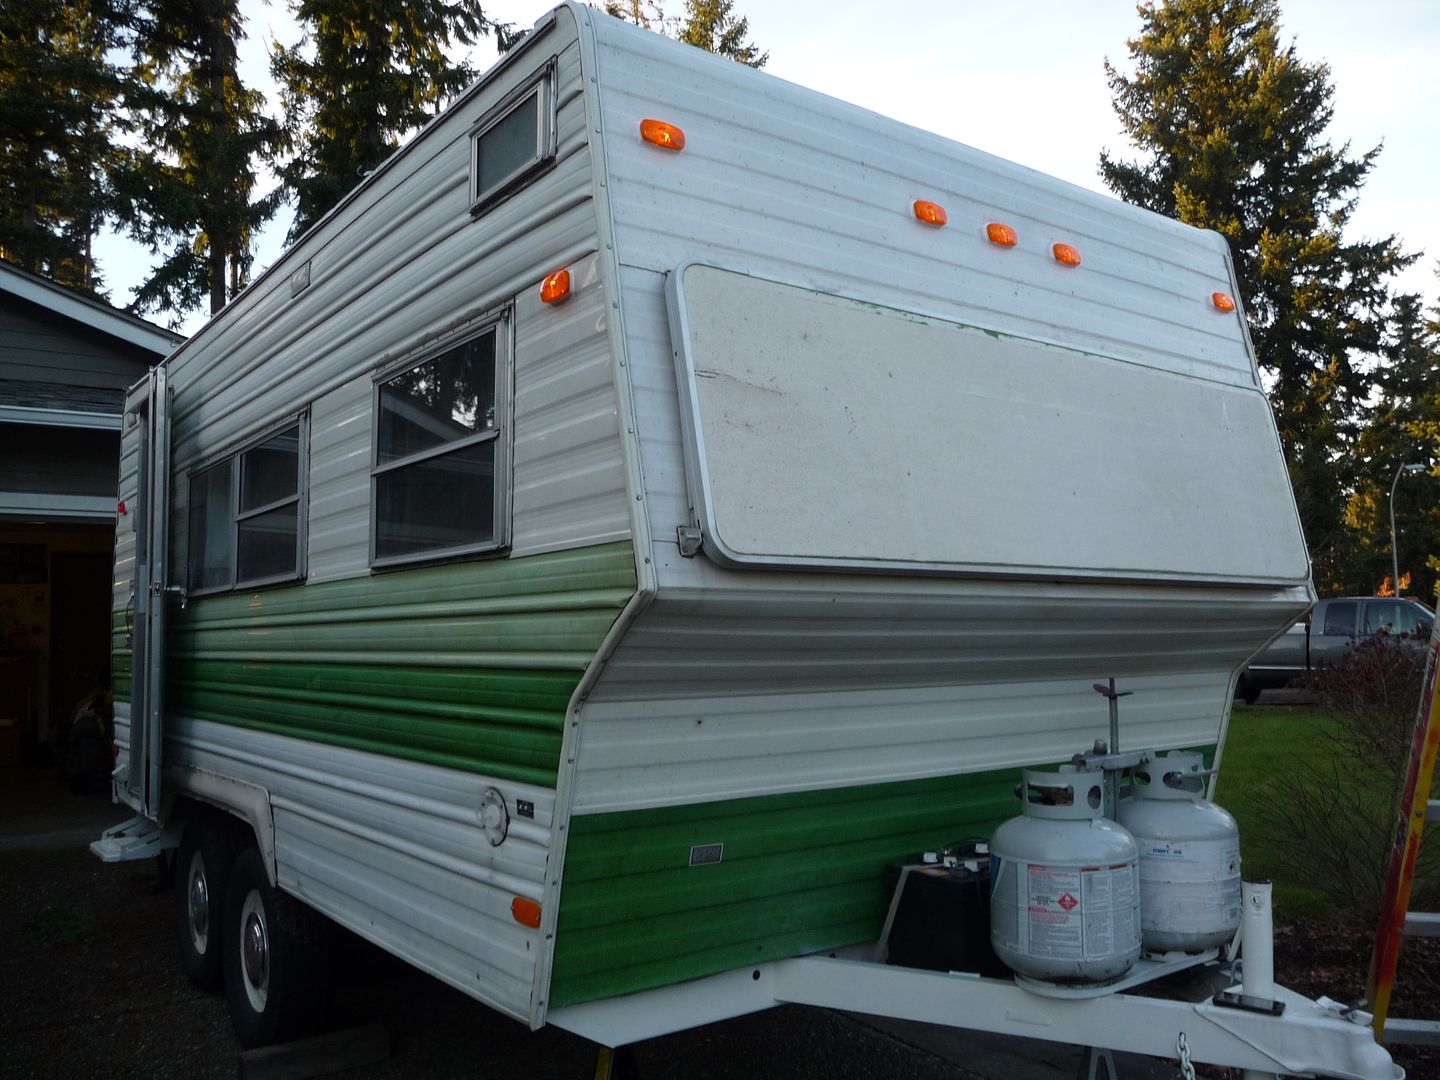
Pepp, your current bulbs are a 921, which has the same base as a 194 auto bulb. Using a replacement 194 like linked above isn't going to give you much light output being as the light is straight out the tip. You want something like this. Still going to run you a few $$ http://www.ebay.com/itm/White-12-LE...11-2-578-194-Ba9-194-/180689488034#vi-content

This is why I built boards for myself; so I could get the dual intensity and because they are outrageously priced. All in, I have about 4 hours of beer drinking time and $20 into the supplies that made 14 boards.

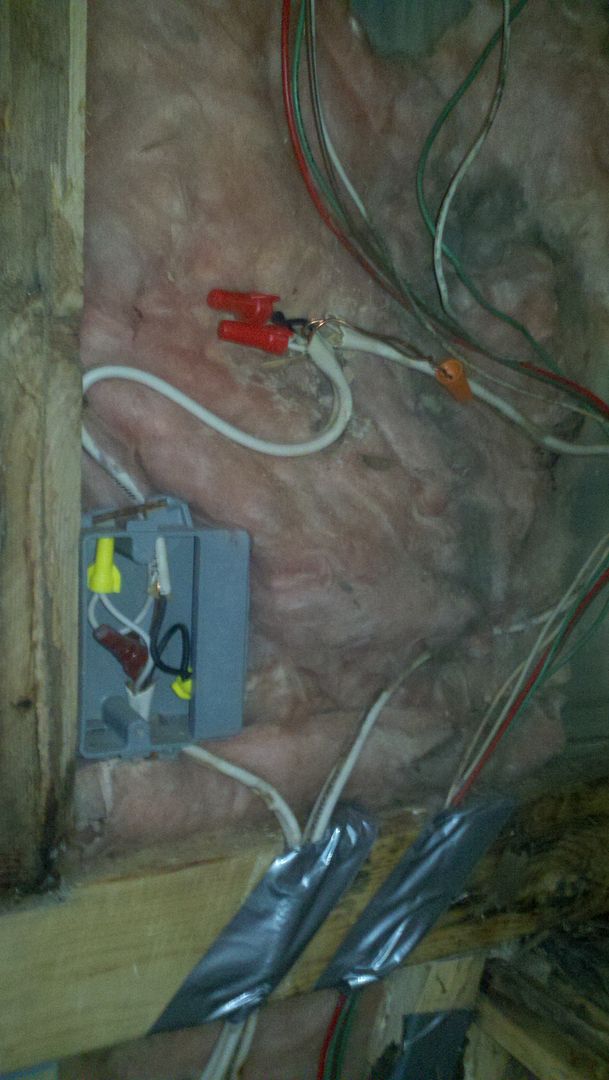
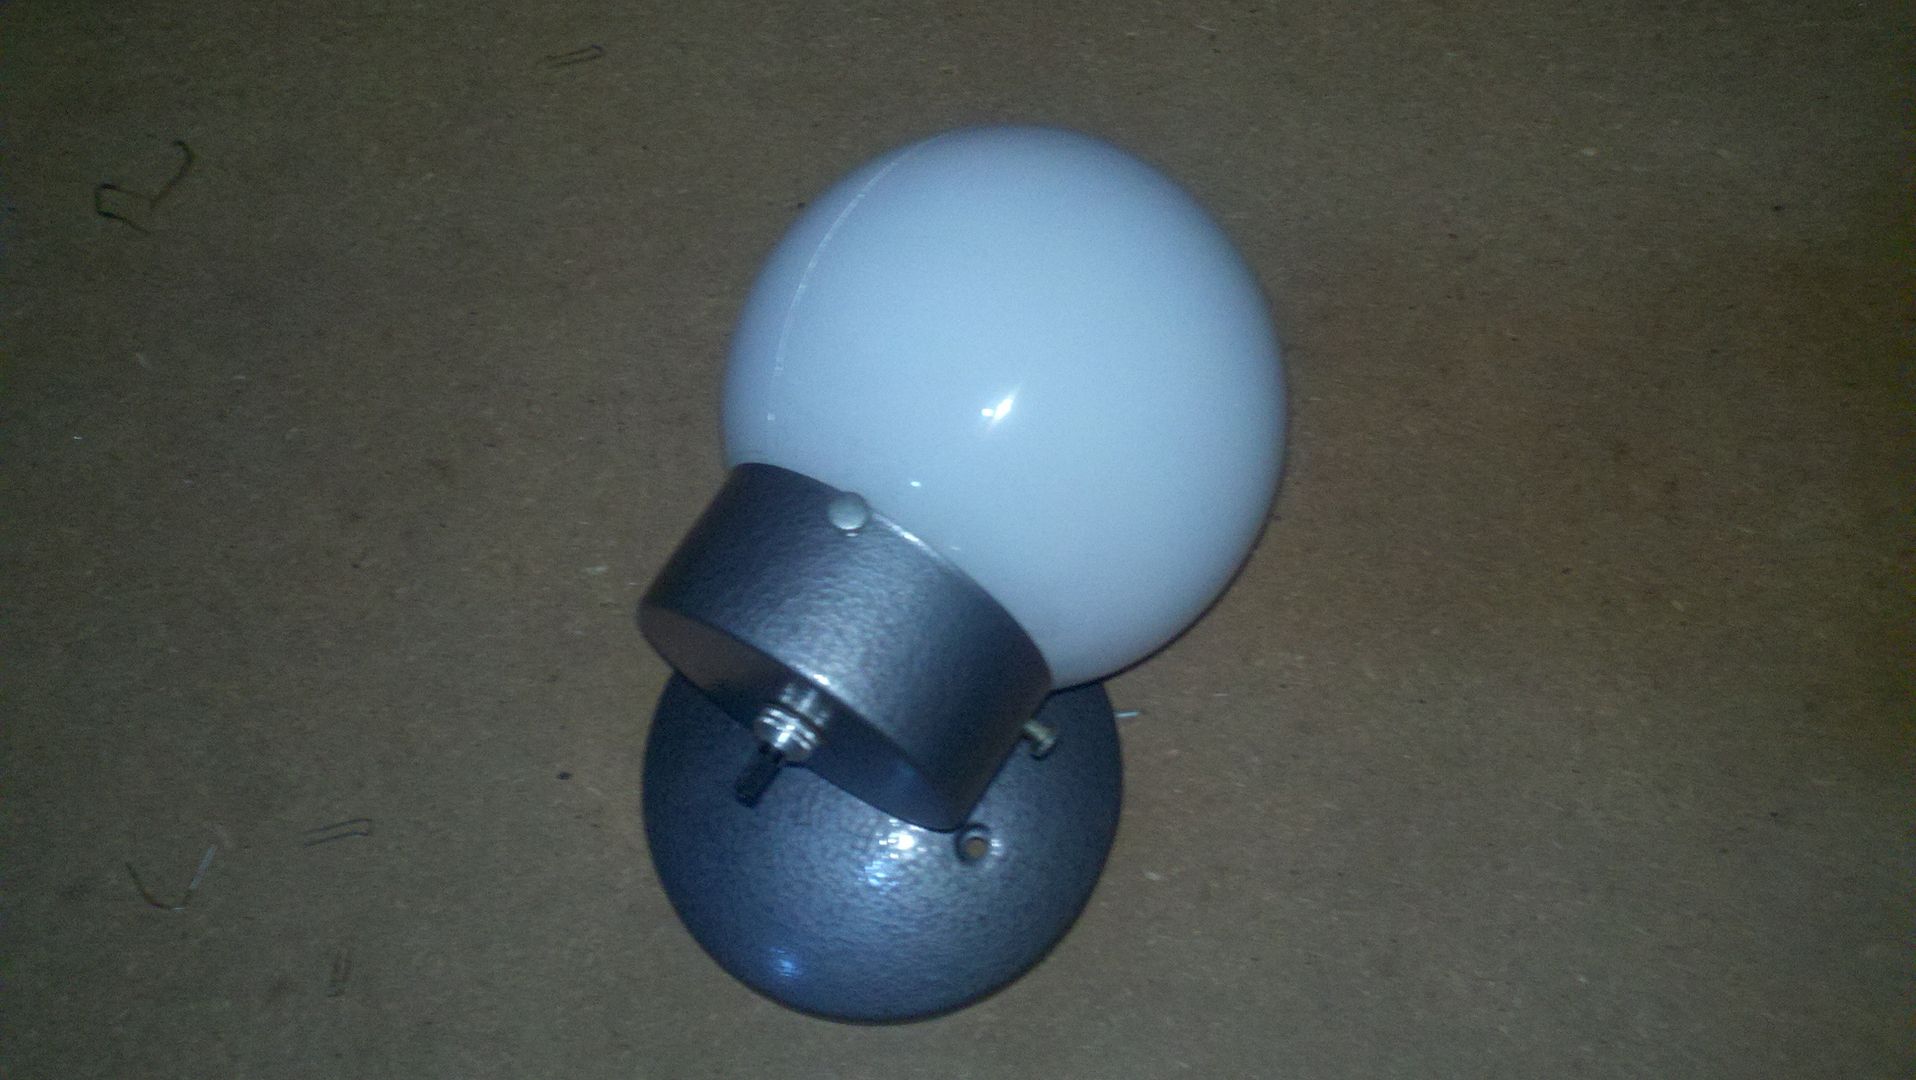
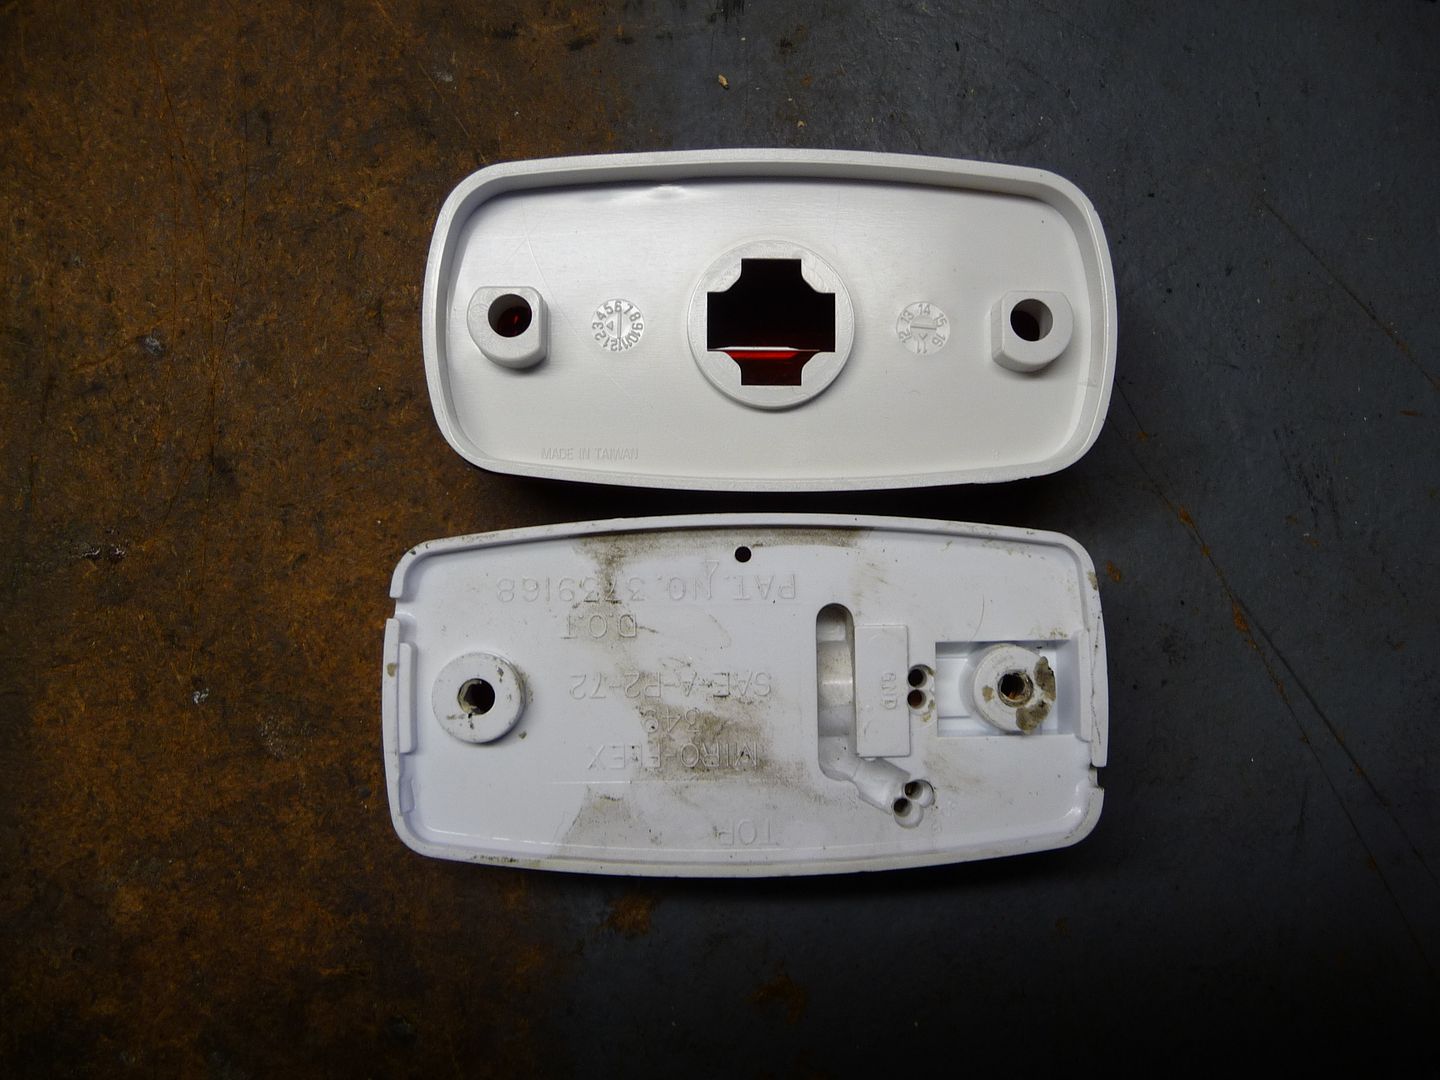
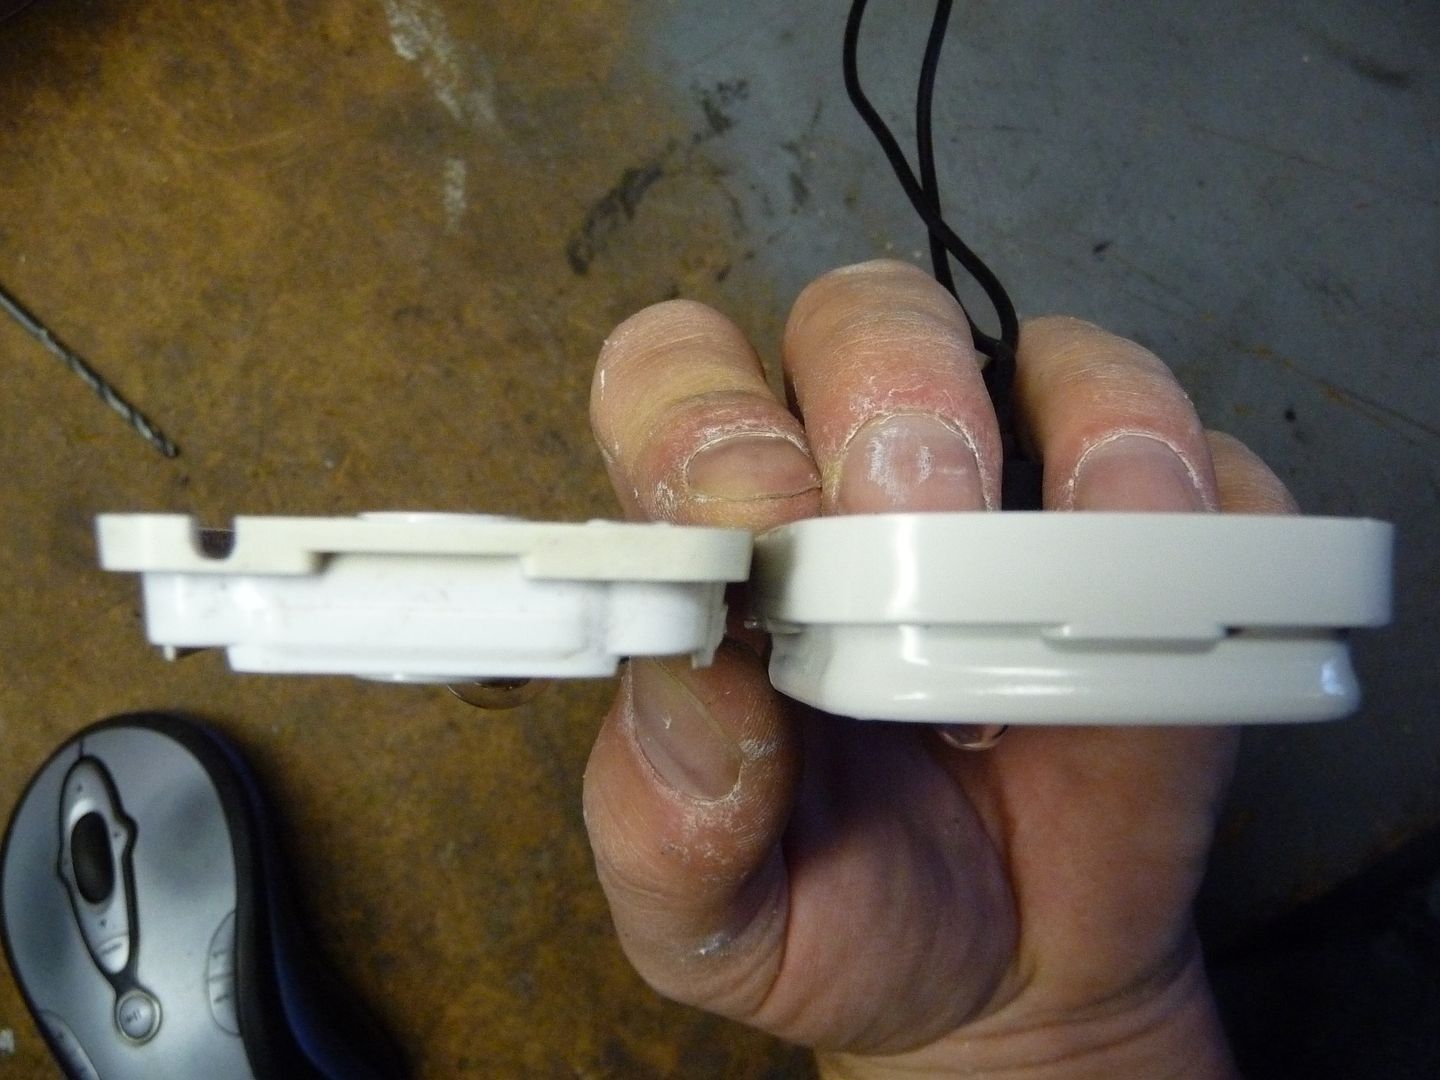
not sure about needing a dual intensity...in my case I figure thats why you can turn off one side of the light...I'm horrible at circuit board soldering...and I don't want to eliminate the factory bulb socket in case I need to switch back due to a failure...I'd like to buy whatever board would fit in my housing and some sort of plug in adapter similar to that auction...I'd give it a try myself with something like this and a socket adapter, but that board is $16...if you could help me come up with a parts list that wouldn't require too much soldering(even less and if at all possible none on the board) I might give it a try...
 
Well, the only reason I did the two stage light was because it gives a much larger pattern than using a single side. In my old lights I left the incandescent sockets, but I never actually had a LED fail, and seeing as the new sockets were in the way, I simply removed them for simplicity.

Unfortunately, you'll probably just have to buy pre-made boards if you don't want to solider them...
 
I like what you did David. I want to go to LED's, but like Pepp, I don't fully trust new technology. I've seen too many LED items (flashlights, etc) that don't hold up very well for any length of time. Since pre-made LED's are so expensive I can't afford to experiment on battery saving devices if I have to buy them. Consequently, I'm up for putting together some boards like you did if I can do it for the same, or similar cost as you reported.

I have dual 12V light fixtures very similar to your new ones. I'd like to change one side in each fixture to LED for now. In your pic of what you did your board has 40 individual LED's. Would one board per fixture equal, or come close to, the light output of one of the 1073's that I currently have in there? When dry camping I only use one light per fixture anyway and changing out one of the two bulbs to LED's would leave me one backup 1073 per fixture in case of a failure.

I would like to encourage you to share part numbers, construction details, and where you purchased them so that others, me included, can duplicate your results.

Don
 
Don, I used boards like these http://www.ebay.com/itm/10pcs-DIY-P...ultDomain_0&hash=item2315f053ff#ht_500wt_1413
and LEDs like these http://www.ebay.com/itm/1000-pcs-5m...ltDomain_0&hash=item1c16f55050#ht_3565wt_1163

I just shopped around on ebay for the quantity you need. You could easily put one LED per side of the light without problem, a friend of mine has done just that. I would say a single LED board like mine is close to comparable to the original incandescent lights. The only problem is they are more directional unless you have a cut lens like my lights.

The boards are very simple if you only do a single stage, they are rows of 4 LEDs wired in series. Essentially you have a positive row and negative down the sides, connected by 4 LED lights.
 
They are very simple. 4 standard LEDs wired in series. No resistors or diodes. They aren't too difficult to make, just time consuming.
 
Thanks for the info David. I do have the same lens you have, and almost the exact same fixture, just slight differences in the exterior shape.

I went ahead and ordered the boards and LED's.

I'm really stretching my horizons this year. I've never done anything like these LED's before. Thanks to you and bk95td's sharing of info I have installed mirrors with power heat and lights. I had no wire loom in my pickup for this and did a complete and as close to stock wire loom as possible. Along with the mirrors I also changed the rear quarter windows in my extra cab to electric operation controlled from the drivers door.

Don
 
Don, they are pretty darn easy. Let me know when you get ready to tackle them and I can get some more info / pictures up to help out.
 
David, your help is much appreciated.

The boards will arrive sometime before the end of Nov. and the LED's sometime early to mid Dec.

I have a notebook and page sleeves that I am filling with info anytime I come across interesting stuff. So anytime you have time go ahead and post the info. It will be printed and added to my notebook. I'm one who likes to mull over things in advance of getting started on projects. Your description so far has given me a mind picture, although I don't know yet how correct it is.

Don
 
Spent quite a few hours tracking down what wiring did what. Finally determined what 120v lighting I could decommission and convert to 12v use. I was originally planning on having to run new 12v wiring all over, but as it turns out it couldn't have been more perfect. The front lights were tied in with a set of outlets up front and the kitchen light. These were at the end of the 120v run. This outlet was removed and the wiring converted to 12v for the lighting. I will be utilizing the box for a set of 12v outlets for phone chargers and the like.
2011-11-21_20-59-41_381.jpg


Wall lamp converted to 12v
2011-11-21_20-59-10_396.jpg


Did a bit of spray can work with the wall fixtures. Much better than the brushed bronze color IMO. I think i'll be doing more of the hardware and accent pieces in this color. They will be fitted with these E27 based 42LED lights.
2011-11-21_20-59-27_540.jpg

e27-42led-12v02.jpg


Kitchen light replaced with 12v fixture after wiring convert.
2011-11-21_20-58-21_652.jpg


While I was tracking wiring down, I learned that the kitchen, fridge and converter outlets were on their own circuit and not hooked into the GFCI the other circuit had. Figured since I had this laying around what the heck.
2011-11-21_20-59-53_455.jpg


Also found some 5mm 3-ply plywood that I will be using to replace the bad paneling. Price is just right.
2011-11-19_13-39-17_879.jpg

2011-11-19_13-38-48_321.jpg


Plan to try getting a majority of the panels back in during the thanksgiving holiday.
 
Been a long time since I've actually done much on this beast. Everything inside is all tore up still, and after some heavy rain i kept finding small leaks inside that I never saw when the walls were together. After lots of detective work, it turns out the clearance lights were the culprit. The bases are thin, and flex upon attachment to the trailer. The lenses don't seal, and the way the wires connect allow water to travel down them into the trailer. Coupled with them beaing sealed with putty (as they were in 1978 as well) they just don't seal up well. So the solution was to take them off, clean and silicone the hell out of the backs of them. Well that

That plan quickly fell apart, as the light bases were so old and brittle many of them cracked or snapped in half. So the next solution, was new lights, with a sealed socket and tight fitting lens! You can see the obvious differences all around.
P1110920.jpg

P1110922.jpg

P1110921.jpg

P1110923.jpg


Out with the old. Notice the grime behind the bases, obviously where water was getting in.
P1110924.jpg

P1110925.jpg


The wiring hole behind many of the lights needed re-drilled/enlarged to be able to accept the new light socket. Also wired them in with solder and heatshrink, no crimps here!
P1110915.jpg

P1110916.jpg


Sealed up with some paintable elastomeric caulking.
P1110918.jpg

P1110928.jpg

P1110913.jpg


All new lights, well except for the tails. Debating on swapping those out in the future.
P1110927.jpg

P1110926.jpg


Now that the outside should be sealed up (honestly i've been waiting for a dry day to get this done), I will be starting to work on the inside again after work on night. Also been thinking about a new paint scheme later this year.... Might camo the entire trailer....
 
Nice work on the lights. I never could stand to have a light that is not burning.

Hey, the grass looks real green. You had much snow yet?
 
Just keep in mind that summer sun beating down on a trailer heats them up a lot in their stock white/cream colors. A dark color will be even worse.

Don
 
Back
Top