• Welcome to The Truck Stop! We see you haven't REGISTERED yet.

    Your truck knowledge is missing!
    • Registration is FREE , all we need is your birthday and email. (We don't share ANY data with ANYONE)
    • We have tons of knowledge here for your diesel truck!
    • Post your own topics and reply to existing threads to help others out!
    • NO ADS! The site is fully functional and ad free!
    CLICK HERE TO REGISTER!

    Problems registering? Click here to contact us!

    Already registered, but need a PASSWORD RESET? CLICK HERE TO RESET YOUR PASSWORD!

2008 GMC Envoy Denali

I take it your only polishing the exhaust

Yes sir, I am leaving the intakes with the finish the burr leav es

KInda brave to get the valve job done, then more polish work afterwards. One slip makes for a bad day

Yeah, it's not ideal, but I did do a second round on the valve bowls so I'll probably leave those alone. I mostly want to work in the ports which I can get from the port end and in the chambers and those I'll do with the valves installed.
 
I just dropped the heads off. This time I took them to a different machine shop because the one I've been going to is swamped. This time I took them to Force Engineering, which is the same place I dyno'd the Tahoe. I told him I would have done more polishing, but I ran out of time. He said it looked great and it wasn't worth messing with any further. He said he's done lots of testing with different textures and the polishing doesn't do anything for you. He said that after you run the engine one time it gets a coating of carbon, which makes sense, but I was hoping the polishing helped to reduce that. He also said that he's noticed that when a surface is polished it's a lot harder to clean the carbon off as opposed to one with a texture. He said the burr texture in the intake ports was perfect - and that above all else, keeping the fuel atomized was the number one priority. Of course after I left I realized that I forgot to ask him what the ideal surface for the exhaust and chambers is.....I'll do that when I pick the heads up. On a positive note, he did say my guide work looked good, so that's good to hear.

Also, this the same shop that spec'd my cam & converter and will be doing the tune. I asked him for the latest ETA on the cam and he said that they told him next week. If so, that weekend will be a busy weekend....hopefully I can get it close to, if not, running. I have plenty to keep me busy in the meantime though.
 
How exciting to turn the key on a new engine, just wondering what it's going to sound like...:)👍

I really can't wait! I've watched a couple videos with similar cam specs and they sound healthy. I can't wait to roll through the parking lot at work with a slightly lopey idle....🆒

I bet after he gets it going the next upgrade will be the exhaust and then the .......... LOL
I'll have to resists the temptation to continue to modify... I have enough other projects that need my time and money! I'm keeping the stock cat-back in place for now and I'm hoping I'm happy with that, but we'll see..... I want it to sound good and not sap power, but I also don't want it too loud inside the truck (gah, I must be getting old!). I will do a 14 bolt upgrade sooner rather than later though just to make sure the rear axle doesn't blow up on me.
 
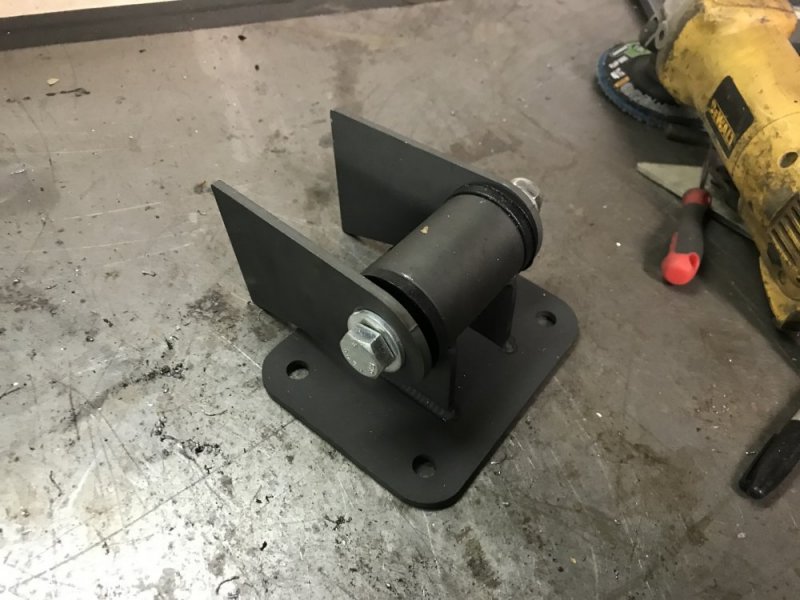
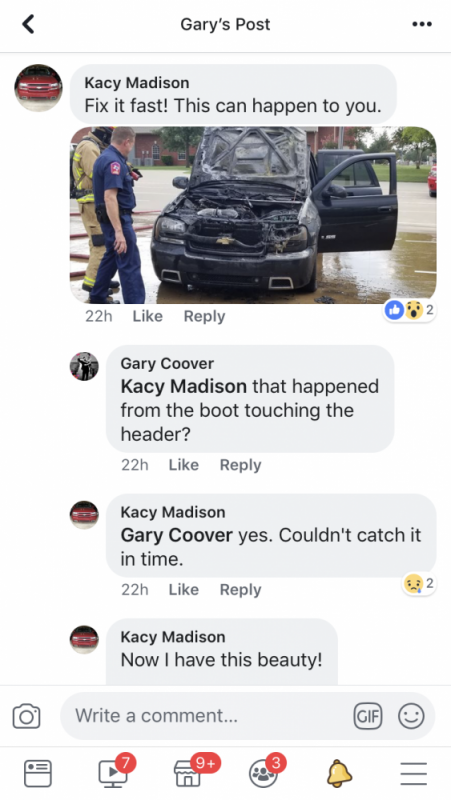
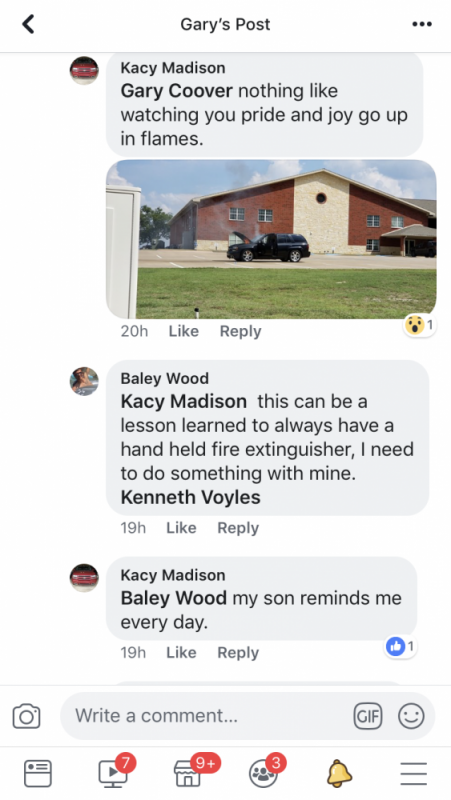
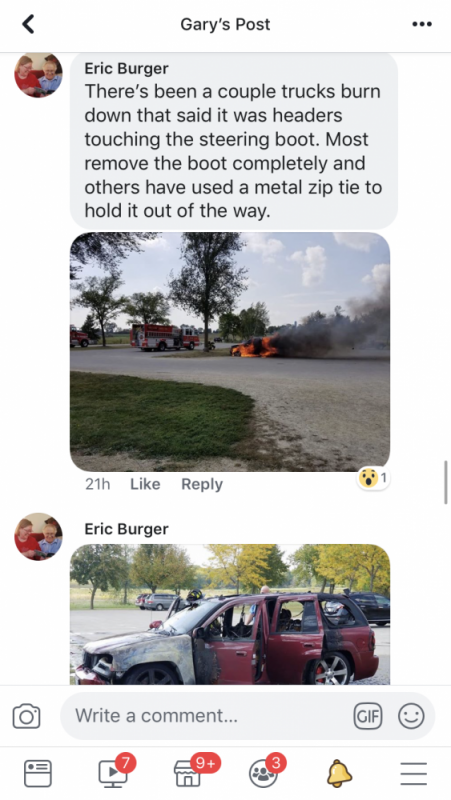
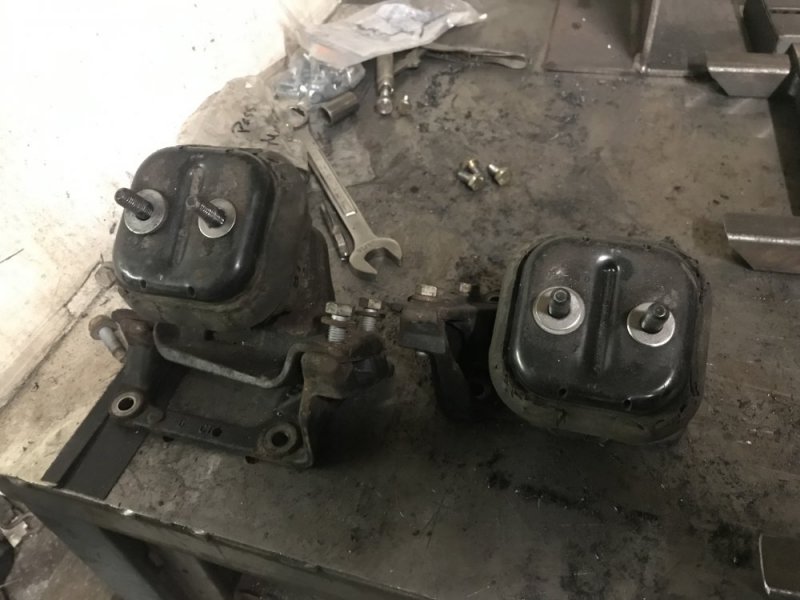
This week I was busy every night and didn’t get a chance to work on the Envoy. Yesterday I started working on new motor mounts for it. I am in a couple Trailblazer SS groups so I can pick up some tips. I saw a post about a guy complaining about a burning rubber smell after his header installation......people told him to take care of it right away and then showed pictures of TBSS’s burnt to a crisp!! Yikes!! There’s a rubber boot around the steering column and some headers are too close to that and it melts it and even sets it on fire. The solution is to put a heat shield on the boot, which I am going to do, but this problem can be made worse by old, sagging motor mounts. When I started tearing it apart I wanted to replace the mounts due to the mileage of the truck (147,000 miles), but didn’t want to spend the money. So now I was looking for mounts again.....both new OEM and aftermarket polyurethane mounts are $300, dang!! The aftermarket ones are really simple so that inspired me to make my own. I bought a set of universal mounts from the same company that made my headers (Speed Engineering) for $50. Then I spent another $20 on fixture materials and started going to town.

I found the measurements for new mounts. Then I measured how much my mounts had compressed over time. I made up the difference with washers of the correct thickness.

52D8A84C-E3FE-4D6B-96D5-D142B8833D14.jpeg

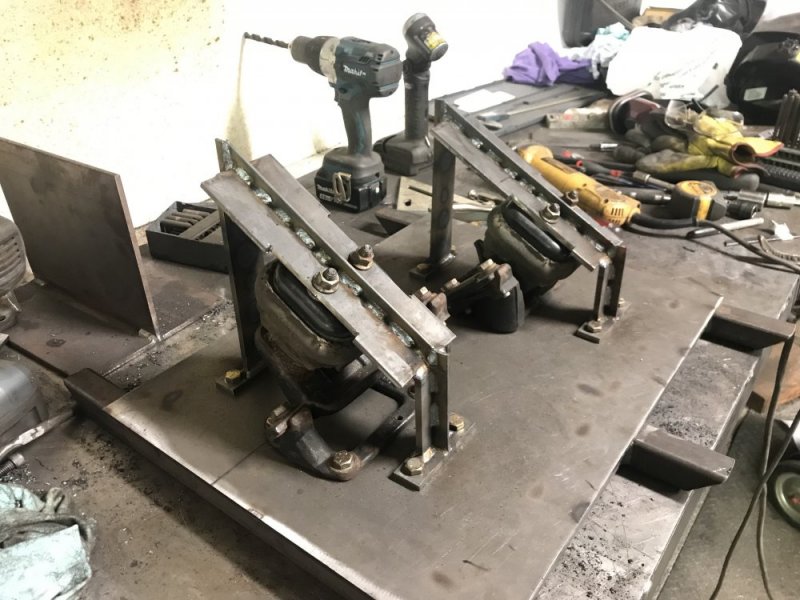
Then I mounted them to a 5/16” plate I got from work.

Of course, while welding reinforcements to the plate I ran out of shielding gas, so I just tacked things together from here on with the little gas I had left.

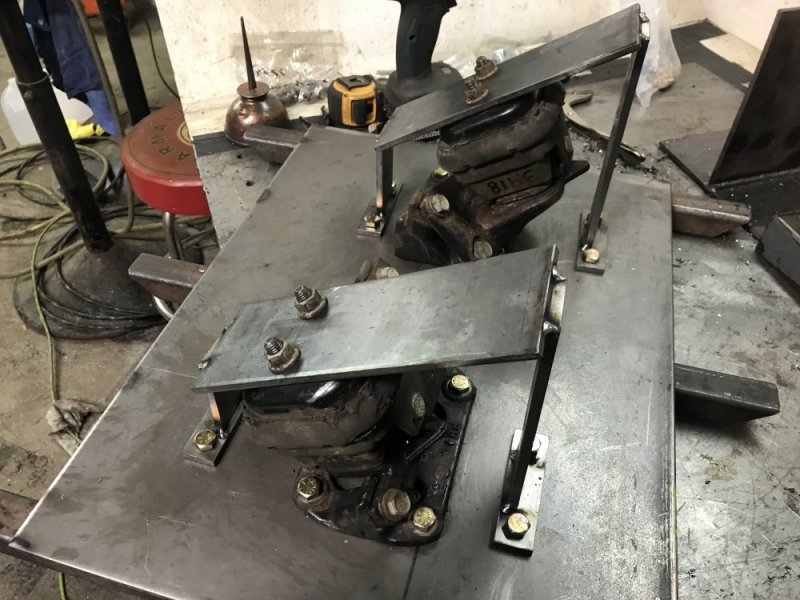
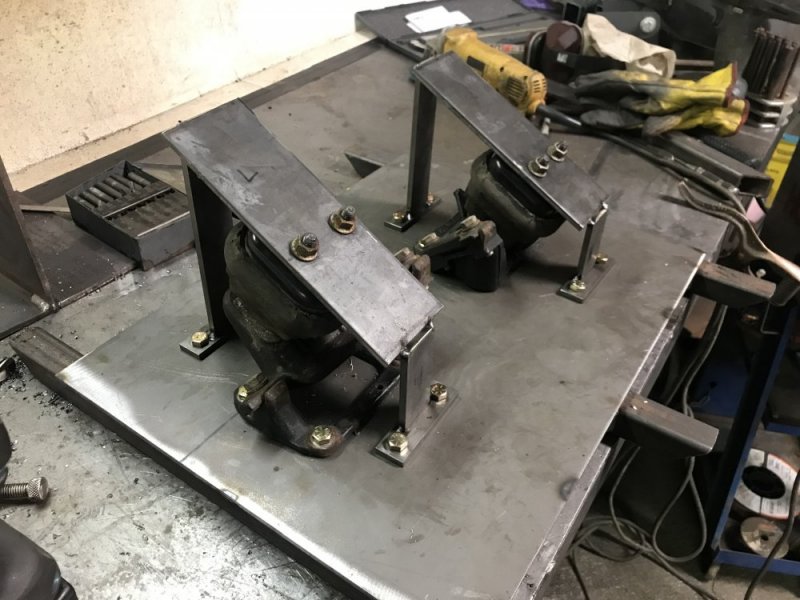
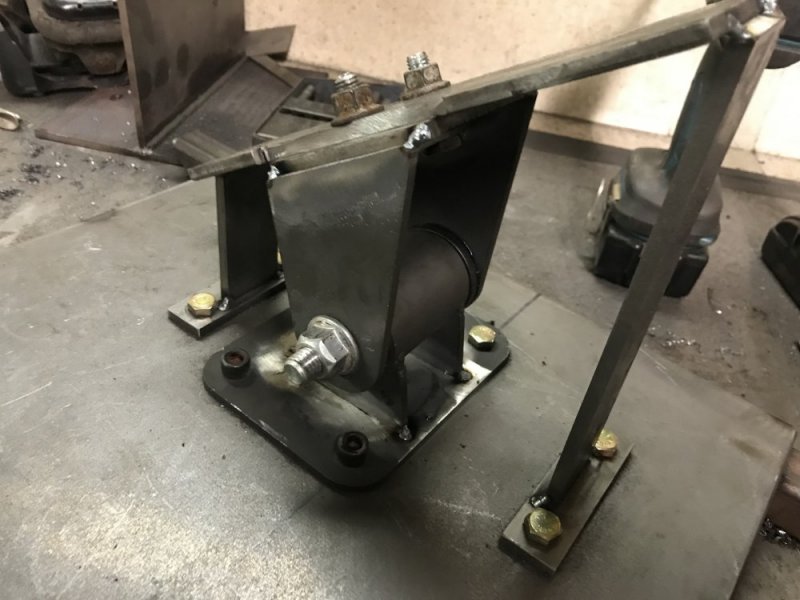
I made pieces that bolted to the plate that would locate the top of the mounts.

31BE35D0-423B-4358-901B-A7CA64ABF025.jpeg085F66A8-F53E-488B-9904-D8CCD889E6F2.jpeg

Unfortunately I had to cut the SE mounts apart because the Envoy mounts weren’t centered. Once they were cut apart I put them in the fixture so I could mark where they needed to be cut.

D82EA12E-2F85-4EAE-8CB5-A5FE2D07388F.jpegF46B58DA-EF98-4AC4-92FE-9523C727EE88.jpegC346363B-98DD-4A88-8C2B-93B7C9F1A45F.jpeg

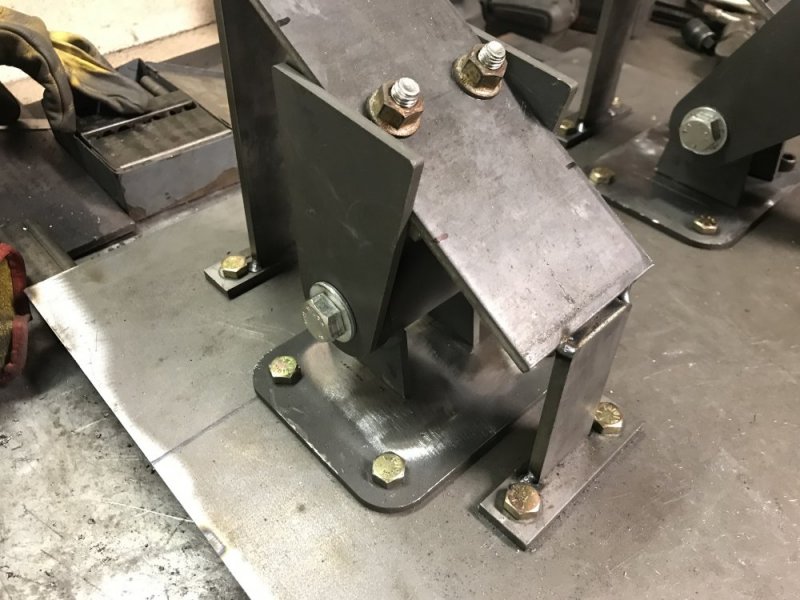
So I cut the brackets down and then tacked them in place.

03731B3C-FCBC-424C-AC2B-E5D9F0F127CB.jpeg984D116C-4598-48D1-96CC-9A0F0DFB6F3D.jpeg4C9CF4A8-7030-4729-81B7-795426ADF117.jpegE9745363-24C3-4109-B9BE-8CCE13608E2F.jpeg

Tomorrow I’ll get more gas and then I can finish welding the fixture which will then allow me to finish welding the mounts.
 
Last night I finished welding up the fixture.

3331A132-2D35-4430-832F-B627EC128891.jpeg

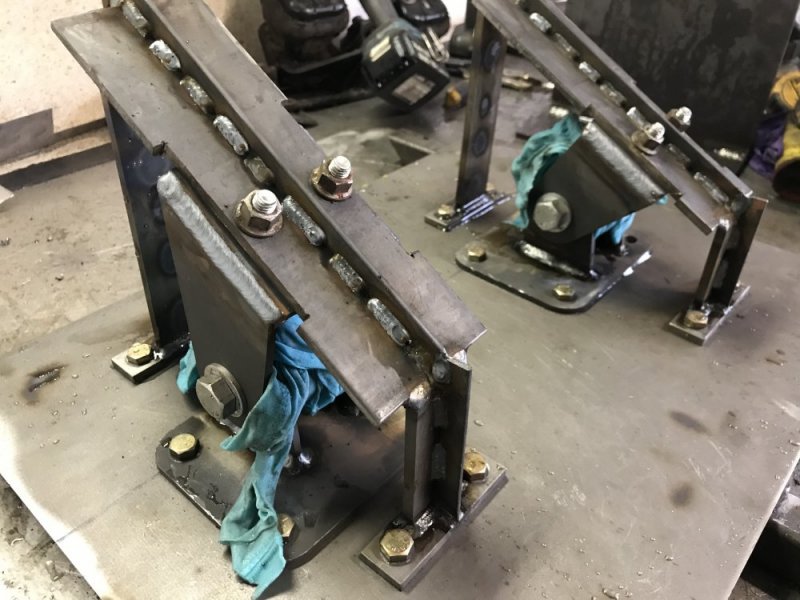
Tonight I welded up the mounts. The rags are soaked in water to keep the bushings from getting too hot. I also poured water on the legs of the mount after each weld to further keep it cool.

FB19E526-FC5E-4EC0-A28F-6F71FAEBCAC1.jpeg

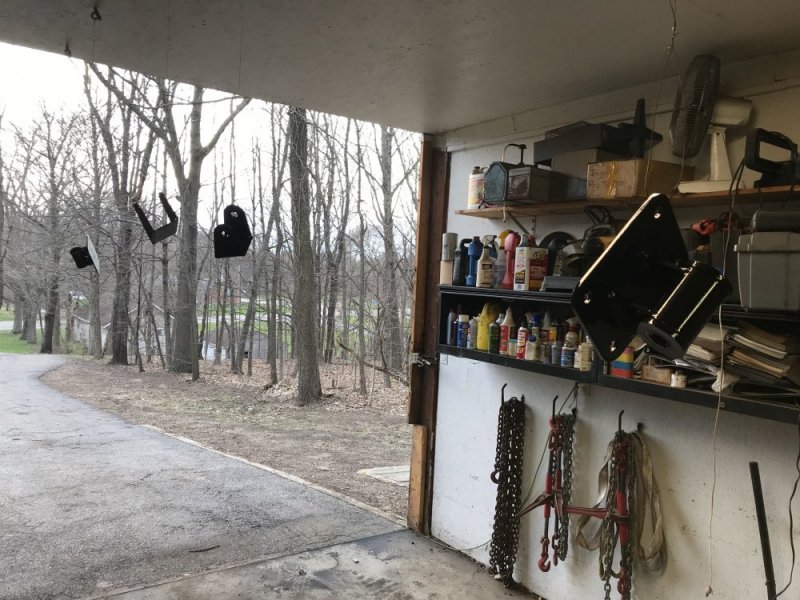
Then I hung and painted all the pieces parts.

D0C665D9-158E-43F1-A7DD-571EEE7AAF23.jpeg

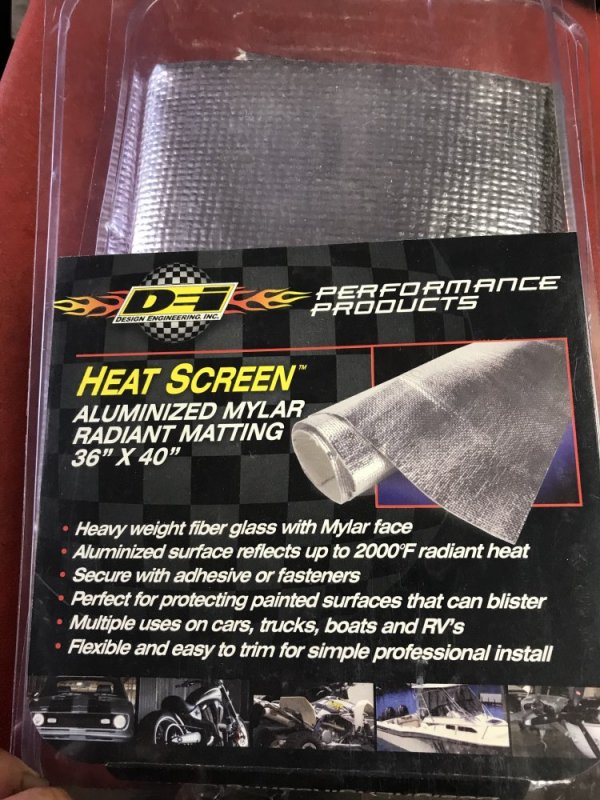
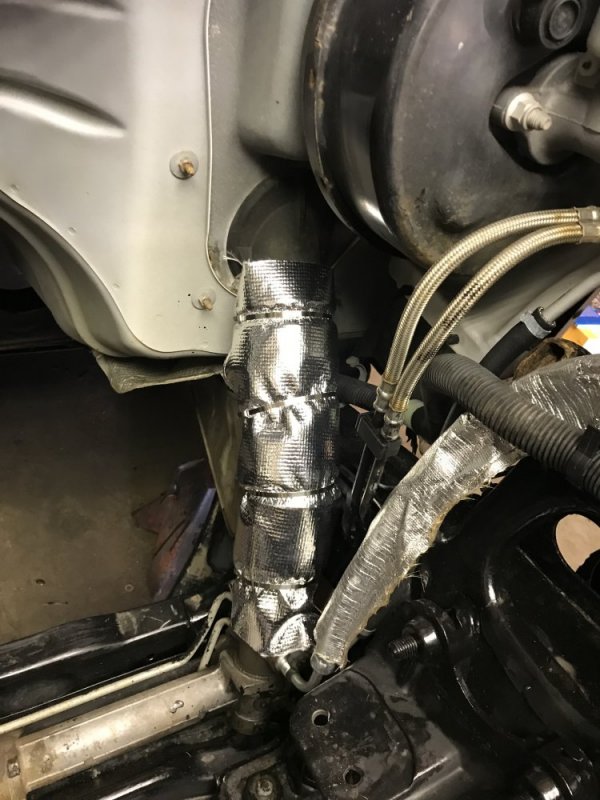
In between coats of paint I started working on the rest of the heat control project. First I wrapped the steering column in DEI Heat Screen.

6AEA64B8-9652-49AB-B48D-06D2BBFF912C.jpeg9E1B21CB-A1ED-48D7-84BC-F4DE72FA4B40.jpeg

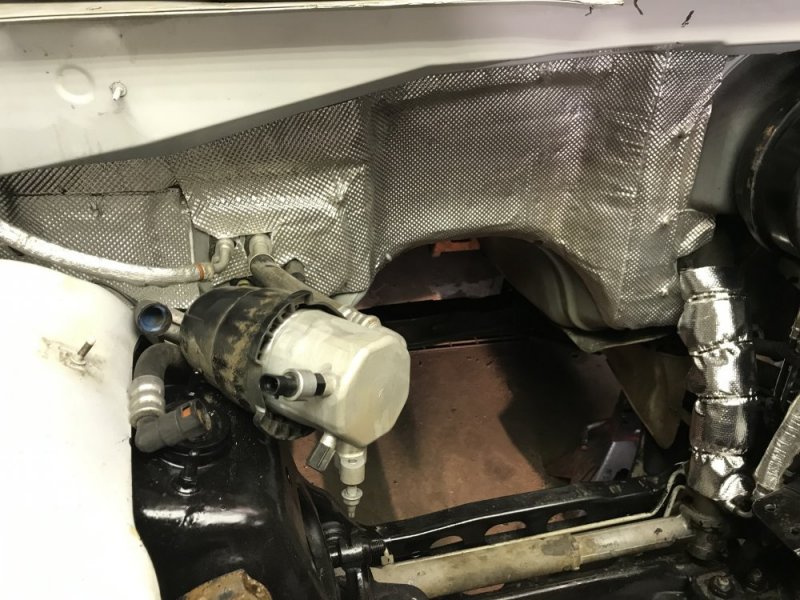
Then I started applying DEI Tunnel Shield 2 to the firewall since it’s easy to do right now with the engine and trans out. That should help keep the additional heat and noise from the headers out of the cab.

F4C09522-CAED-4699-B444-BD70155138B6.jpeg

And here was what led me to start on this motor mount and heat shield sub-project.

7C52A4B5-A74A-4537-94E9-4564112A0942.pngAB92139E-DC08-468E-AAB5-CE2174508897.png968C8019-C08D-45E1-865A-05E7A70495A4.png
 
Speaking of which, what about your skid steer project from last winter?
When the Envoy is on the road, the skid steer is getting pulled back in the barn and finished. Then I have a retaining wall project to do with the skid steer. When the retaining wall project is done, then I'm back on the Tahoe.
 
I get the feeling when Nate was growing up, the phrase that was said to him most often was -
“Son, no matter what- do your very best, don’t go half way.”
Nah, I think when he was growing up it was, "Son, remember. Finish what you're working on now before starting to work on something else." And like every rebellious kid, he's done the exact opposite of what his parent told him not to do!
 
Back
Top