• Welcome to The Truck Stop! We see you haven't REGISTERED yet.

    Your truck knowledge is missing!
    • Registration is FREE , all we need is your birthday and email. (We don't share ANY data with ANYONE)
    • We have tons of knowledge here for your diesel truck!
    • Post your own topics and reply to existing threads to help others out!
    • NO ADS! The site is fully functional and ad free!
    CLICK HERE TO REGISTER!

    Problems registering? Click here to contact us!

    Already registered, but need a PASSWORD RESET? CLICK HERE TO RESET YOUR PASSWORD!

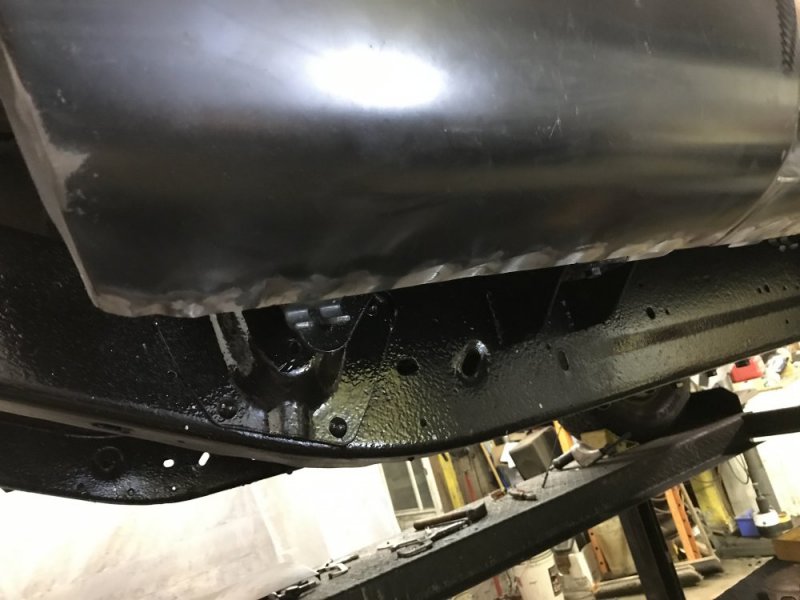
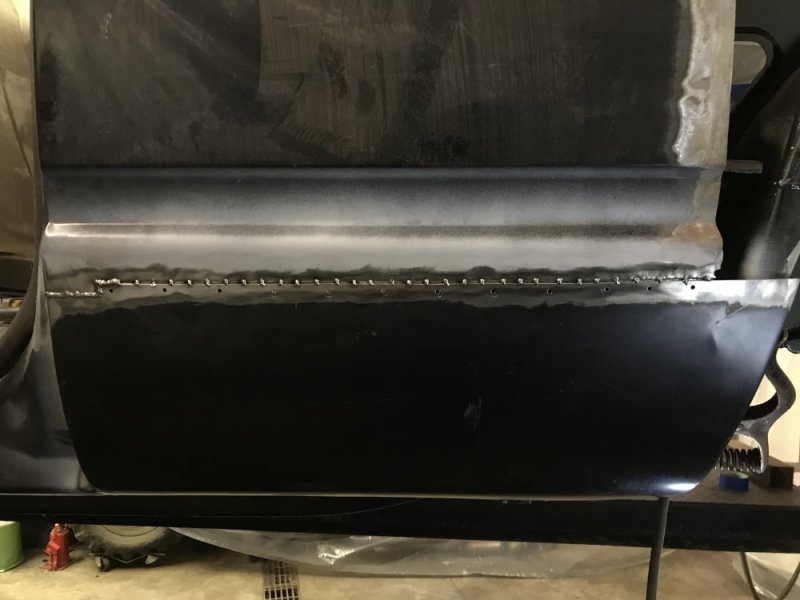
Time for some rust repair on the Tahoe.

Then I plugged the Cleco holes.

3FA4419E-99AF-4690-A8CD-AAD78AF4BD0F.jpeg

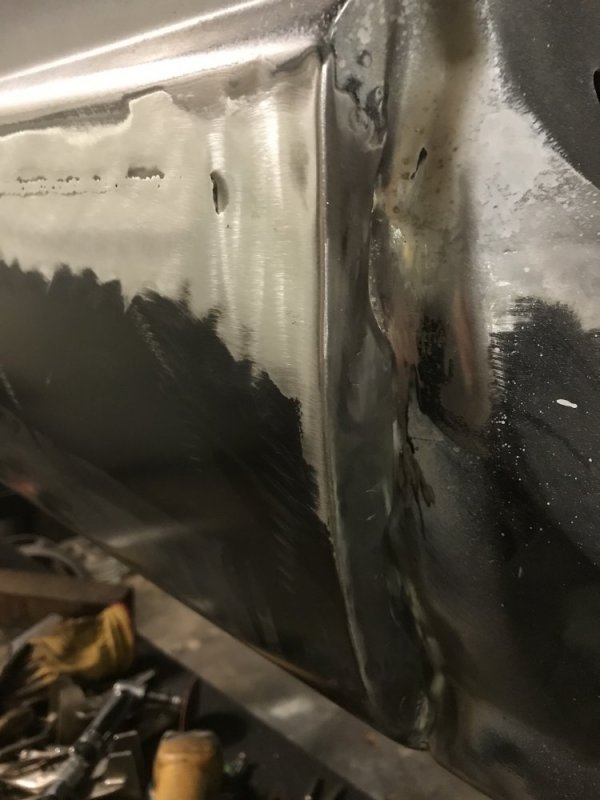
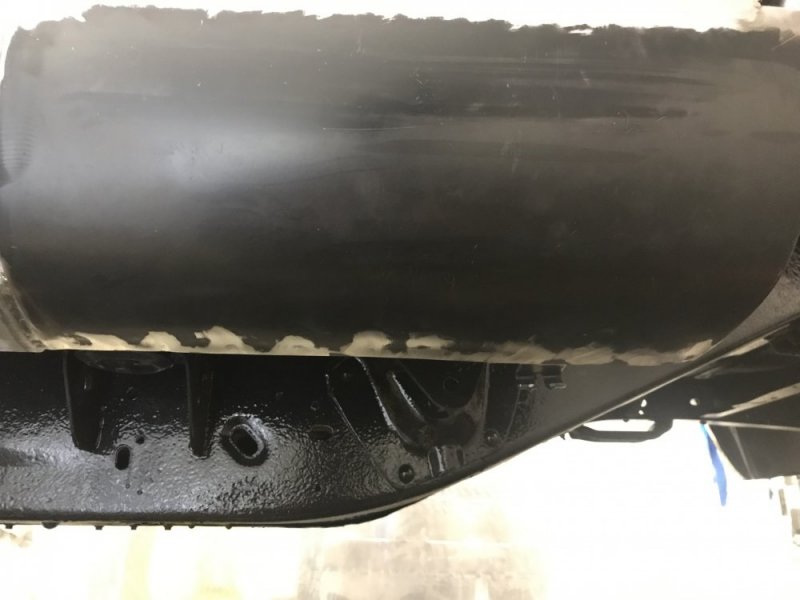
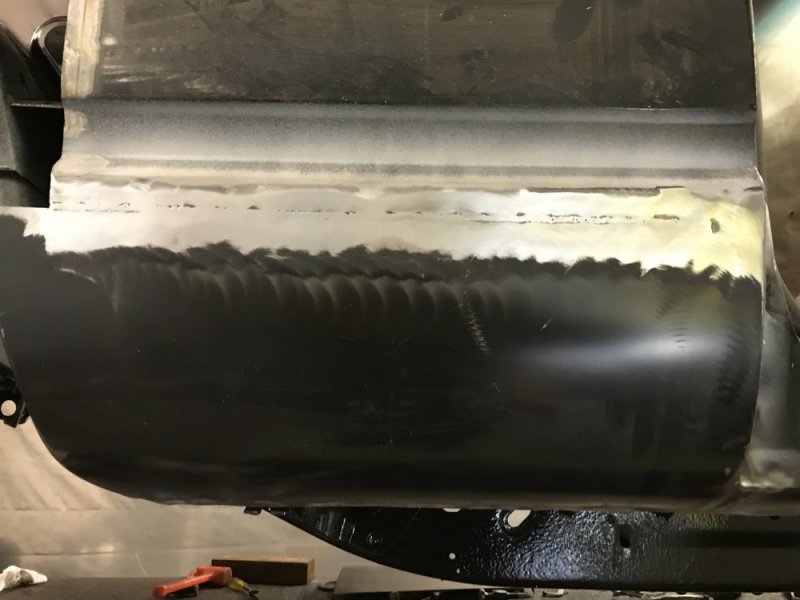
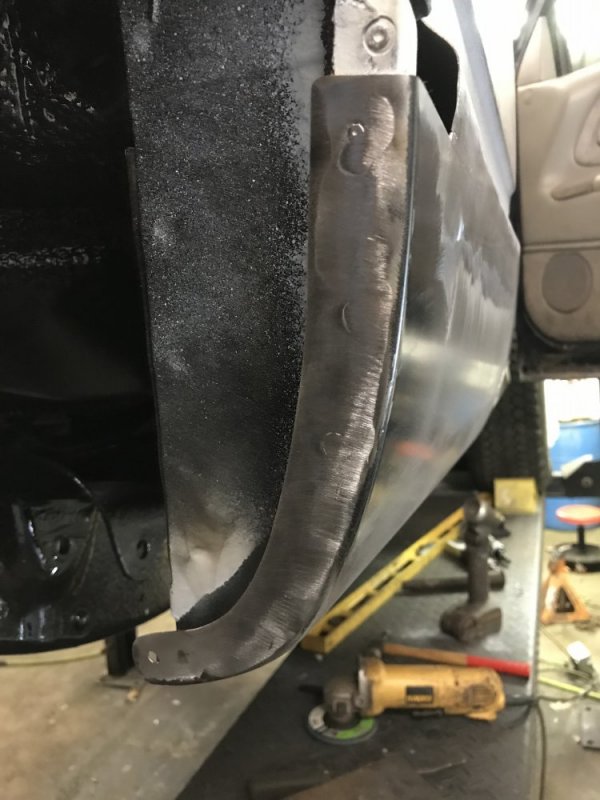
Next was grinding. I ground just a little at a time with an 80 grit 4.5” flap wheel so as not to put too much heat into the panel. I followed that up with a 3” angle grinder and roloc discs for fine touch-up.
0E5B95E4-B033-4768-BA5C-829ED9A32D35.jpeg61F6FA92-DE0D-4666-9E86-7410FA638055.jpeg0132B093-B56A-4452-B5B8-F89F801389D1.jpeg9A769D05-906B-473E-A732-45FEE7F4B645.jpeg3F3D3496-4098-4E7D-8977-24BEB2E65327.jpeg2CF9D5A2-09AF-4299-B671-127D8FE9B54C.jpeg

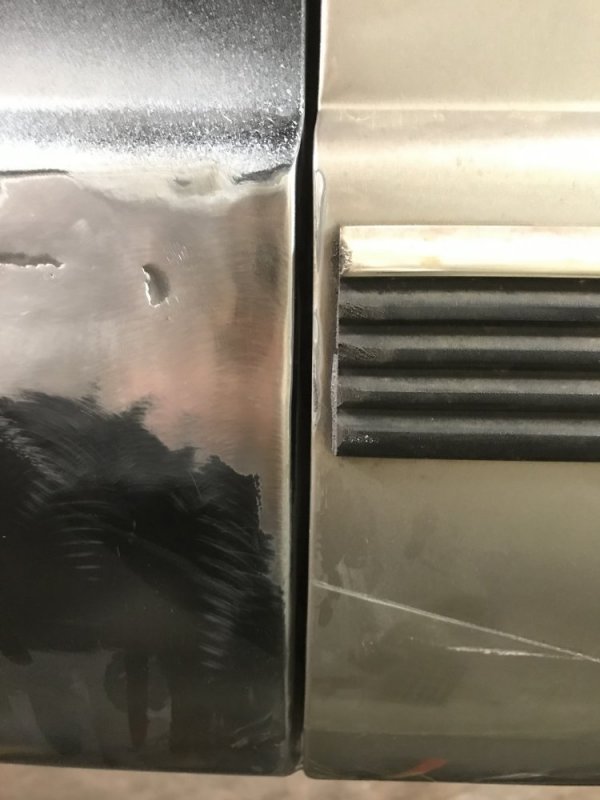
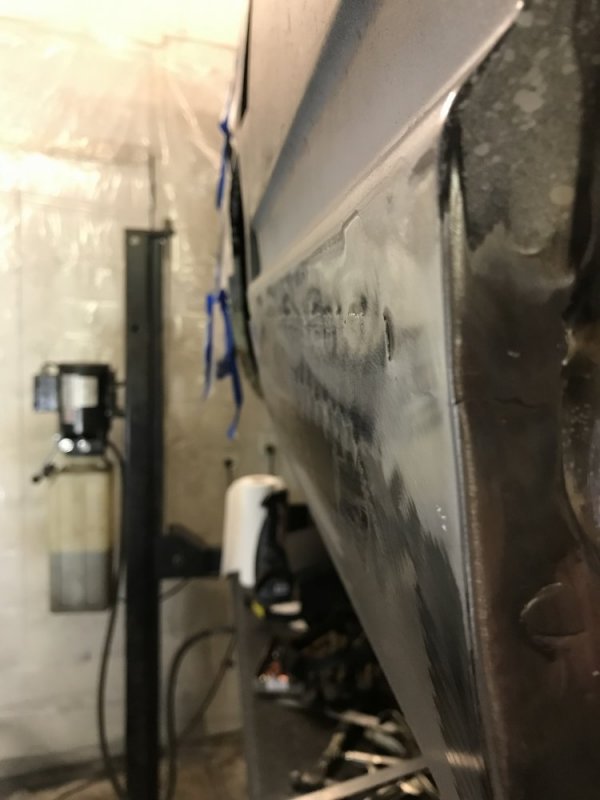
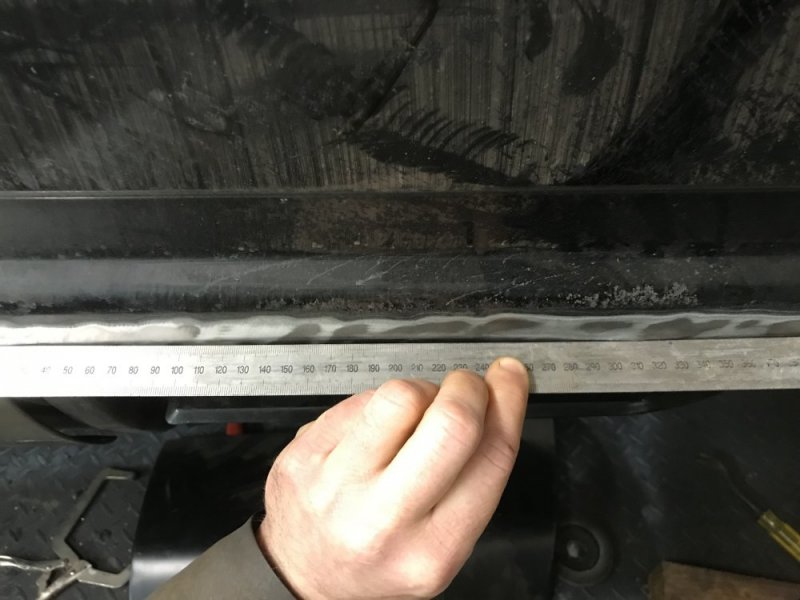
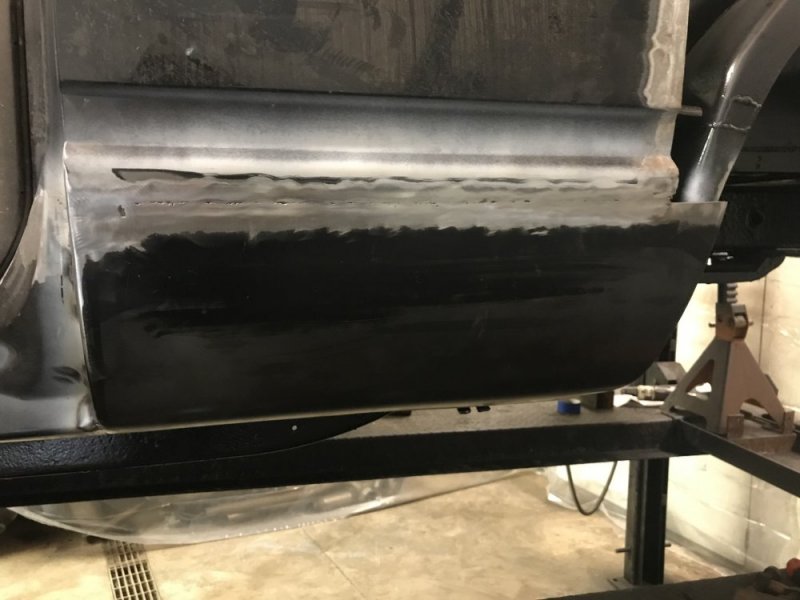
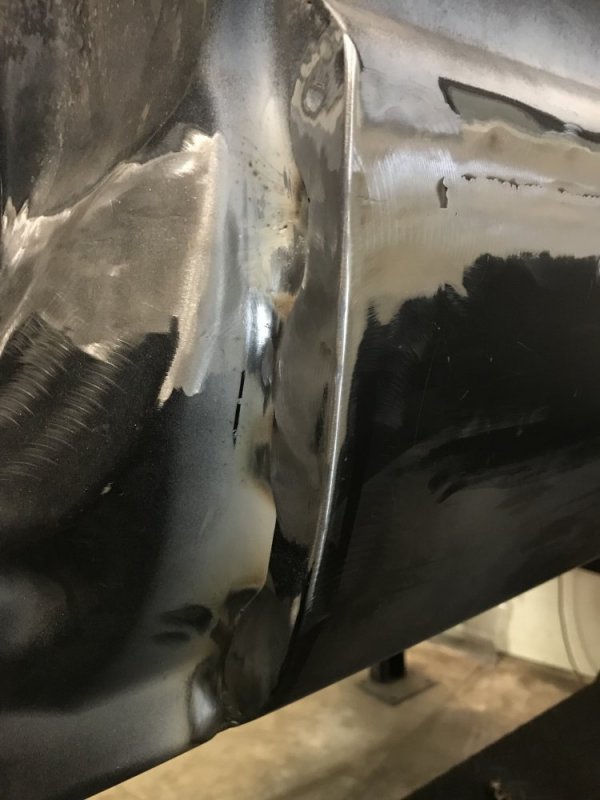
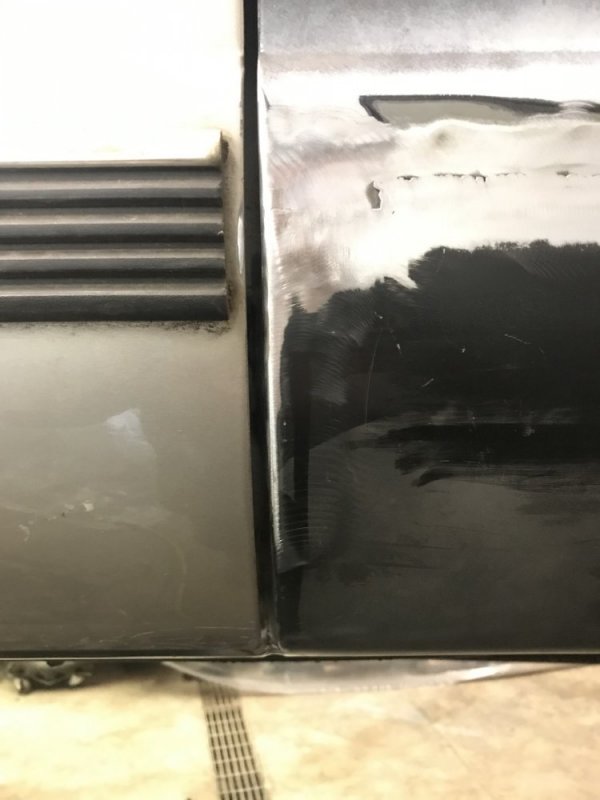
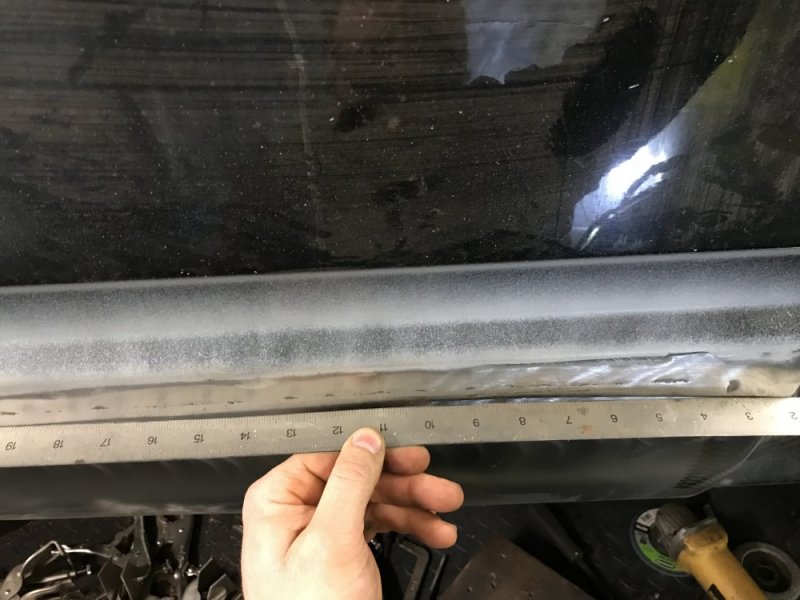
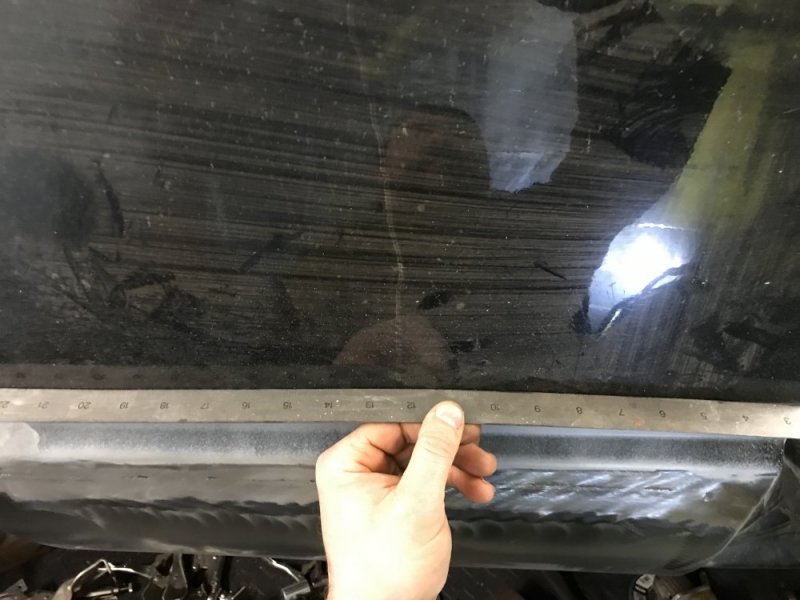
Even though I really tried to be careful with heat, the panel still warped. Now I didn’t check how straight it was before welding so it’s possible it was warped already, but I can’t say that for sure. I will check this before welding on the other side and be more careful with heat.
D7888B77-2818-4BF8-9FBD-0E824F3224F6.jpegF90D5A08-8DCD-4B42-B9A5-71E00E9322E6.jpeg

I really did expect to get it better than this, but it’s still not terrible. I will try pulling the low spots out so I don’t have to use much filler to dial it in when it comes time for body work.
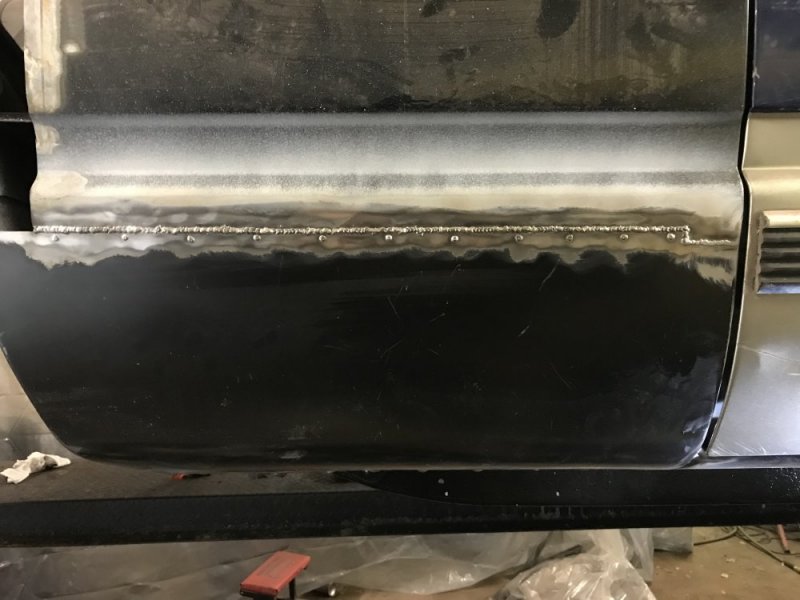
 
Maybe it wasn’t heat after all. I just laid a straight edge on the driver side which I had already added the flange to. It’s concave about the same amount. So it was either concave from cutting it this summer or from the flanging tool. Well that makes me feel better.
D2B6ED6C-EF80-4AFA-8B1B-37B5B05E8548.jpeg
 
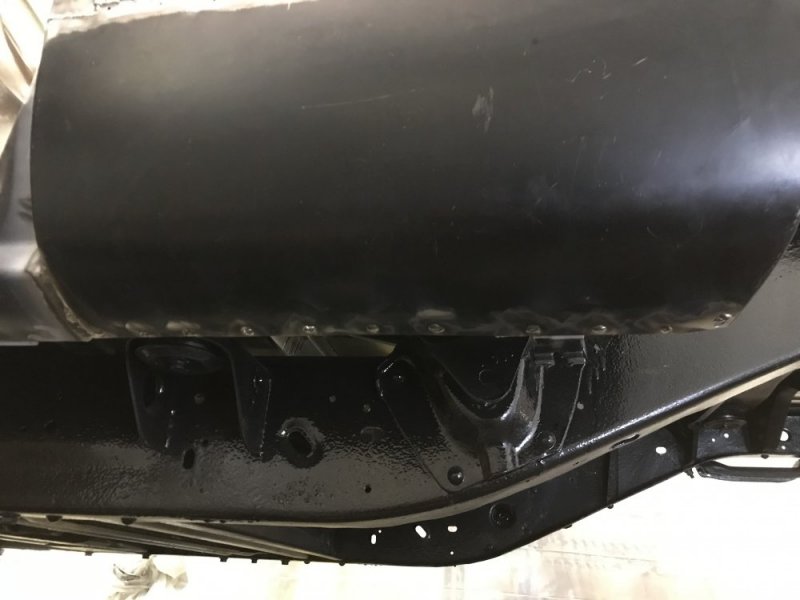
Driver side is welded in. It still needs the welds to be ground, but I’m calling it a day. Probably nothing new until after Christmas. Merry Christmas guys!!

A49143B7-60D3-4D4F-B200-300B297B13C2.jpeg6B37A67B-0145-45ED-8541-E23752E42368.jpegEADAAA0A-E3E1-4DB9-8C57-1FA4101E9EF0.jpeg


I went with more tacks that were closer together to start and I think that worked better.

9BBFC0E2-E300-4BB7-A980-1C2507D9394C.jpeg97CD946D-89D4-437B-9BD2-994E93342AA8.jpeg
 
I tried a wet rag in one hand and rthe mig gun in the other hand, weld a very short spot then cool it with the rag, weld cool weld cool, that worked quite well to keep the distort down.
Merry Christmas N8.
It ended up not being the heat that was warping the metal - it didn’t get any worse than it was before I started welding. I feel like I’ve done the wet rag thing in the past, too. I really like having both hands free for controlling gun movement though.
 
It ended up not being the heat that was warping the metal - it didn’t get any worse than it was before I started welding. I feel like I’ve done the wet rag thing in the past, too. I really like having both hands free for controlling gun movement though.
The wet rag trick should not impede welding. I always kept it in my hand while welding. I also found that being liberal with the anti-spatter seems to help
 
Started today by grinding the driver side lower quarter.

A110A5D6-1F00-4609-82FF-F97BE5249EBC.jpeg416111C5-CD7C-4BBE-8AF3-70D6EFAB77EB.jpegF82B3975-A1D6-4328-A668-F1D2B037F803.jpeg7A5DB990-E0A7-445F-9565-AD1487A2B3F3.jpeg832ECF9E-E7E7-464C-AA80-81718E7A5A7C.jpeg

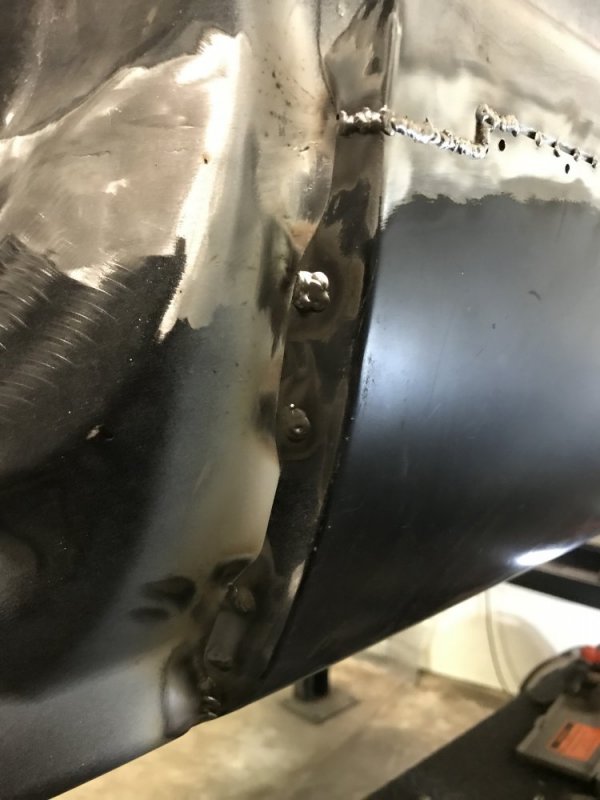
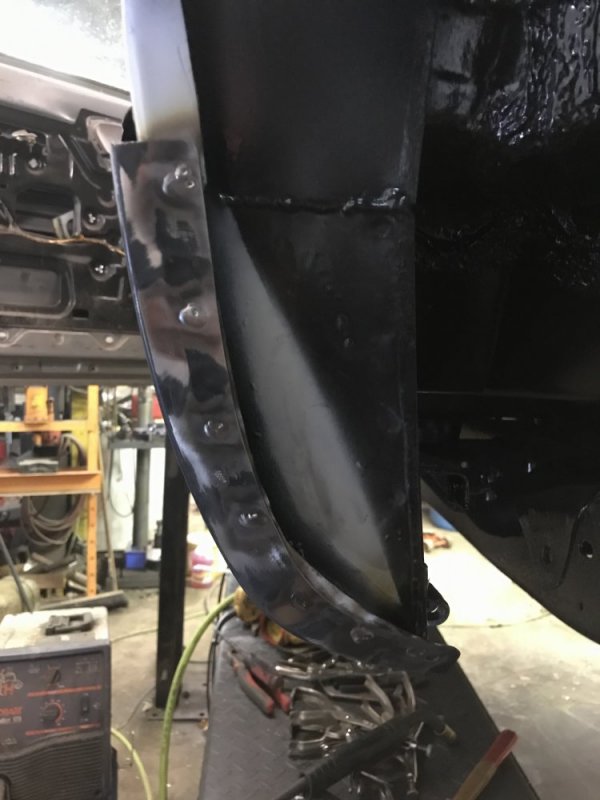
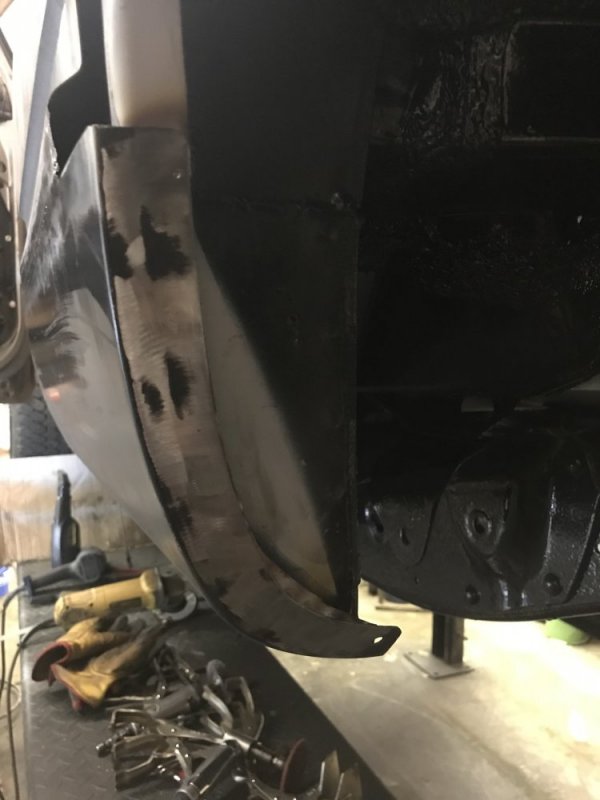
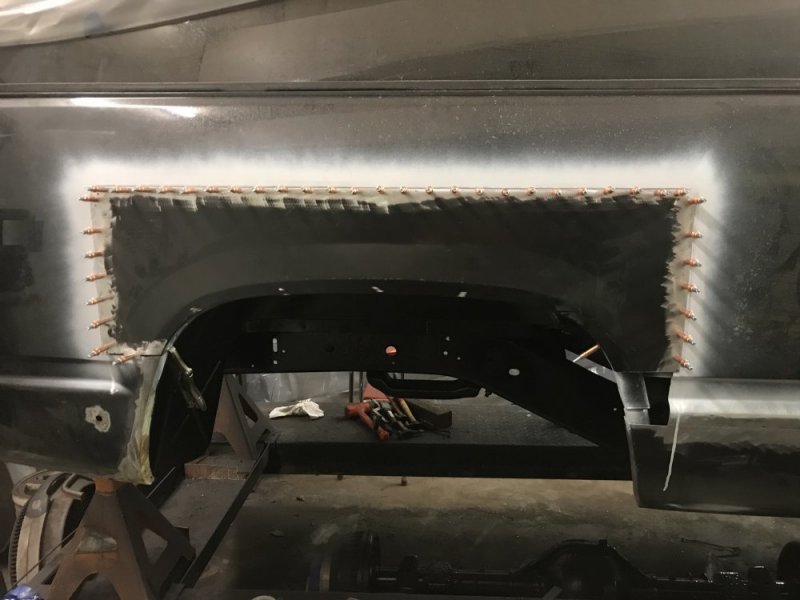
Next I moved to the passenger side wheel arch. I spent a lot of time grinding the perimeter of the panel so it would fit in the flange properly. Once it fit well I put it in place with Clecos.

B02E38BC-EAE5-4AC2-896C-BD3734DE69F4.jpeg

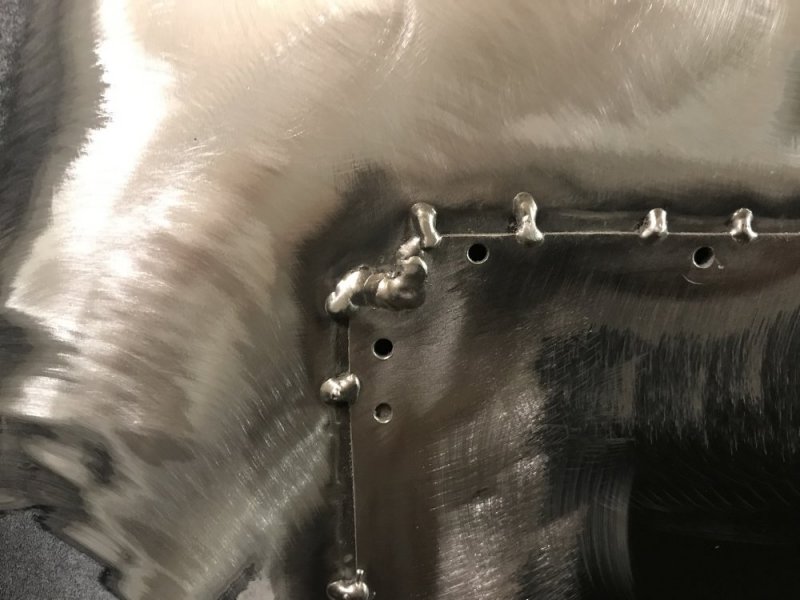
After Clecos I tacked next to each one and removed them. This is where I left off for today.

4D7D503C-9044-4FAB-8953-DD1767358477.jpeg

For some reason I got stupid and laid two actual beads at this corner and now I have a nice high spot right there. I’ll be shrinking that with torch and wet rag tomorrow.

0FF3002E-1ADD-40EE-82EE-F400973743A9.jpeg
 
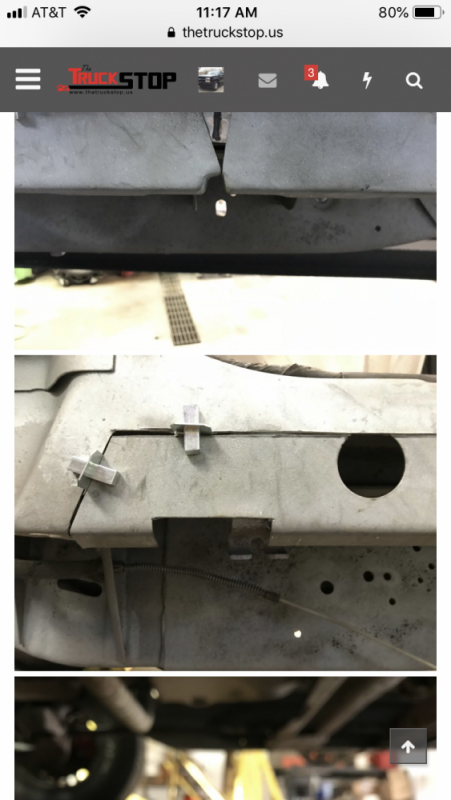
I got some nice little clamping devices from HF that holds two pieces of steel together and gives a real nice and proper gap between the two pieces of steel. After the pieces are tacked together, the clamps can be loosened and removed.
Yeah sure, now that Your all done fitting sheet metal, now I come and tell You. LOL
 
YUP, that's the ones. LOL
Yeah they’re handy. That was the first time I had used them. I don’t think they’d work for the quarter panel though because I don’t have enough access to the back side to retrieve the parts. I also normally like the idea of adding that flange to the panel for rigidity, but it sure did warp the panel when I crimped it this time. Operator error I’m sure because I didn’t have that problem when I did it on my F150.....that or maybe the Ford steel is tougher??? ;)
 
Idk... with the power he is putting down, i would
Have to say it qualifies as a retoMod. Haha.

This much effort and results surely qualifies Nate as a hall of 6.5 fame guy in my book.
I’ll agree with you on resto-mod with the chassis improvements I want to make. As far as hall of 6.5 fame???? Let’s wait and see until it’s back on the road - I still have plenty of opportunity to cock it up. :meh:
 
Haha, just dont let me influence you too much or I will talk you into running it on a circle track with different rearend gears for a 160 mph top speed- ;)
I did the math on the one we ran here, you are so close already that i think wmi will put you there with the right gears
 
Haha, just dont let me influence you too much or I will talk you into running it on a circle track with different rearend gears for a 160 mph top speed- ;)
I did the math on the one we ran here, you are so close already that i think wmi will put you there with the right gears
I’d love to do some LSR racing with a 6.5....
 
Finally got back out to work on the Hoe a little today. I started out by trying to shrink the high spot by using the torch. I had some success but not complete success.

534B0DDF-7691-47B4-80FD-4033D3F84DDA.jpeg

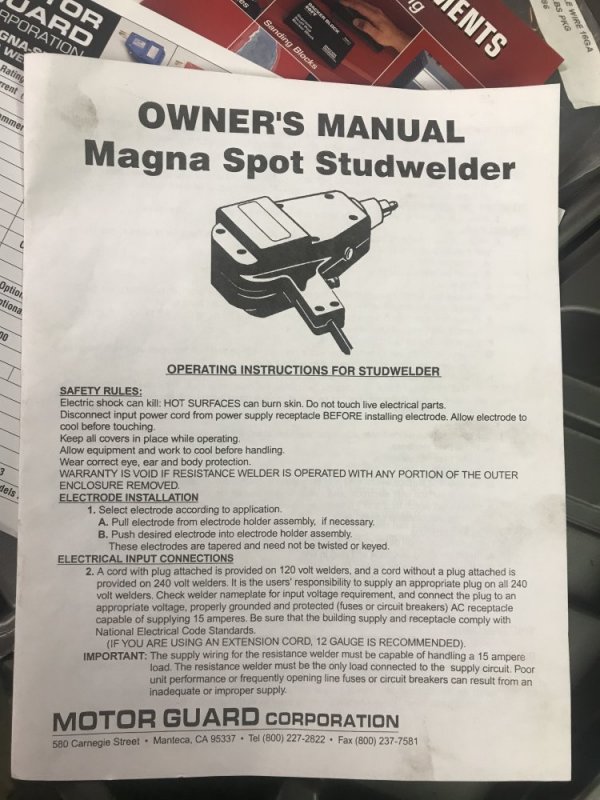
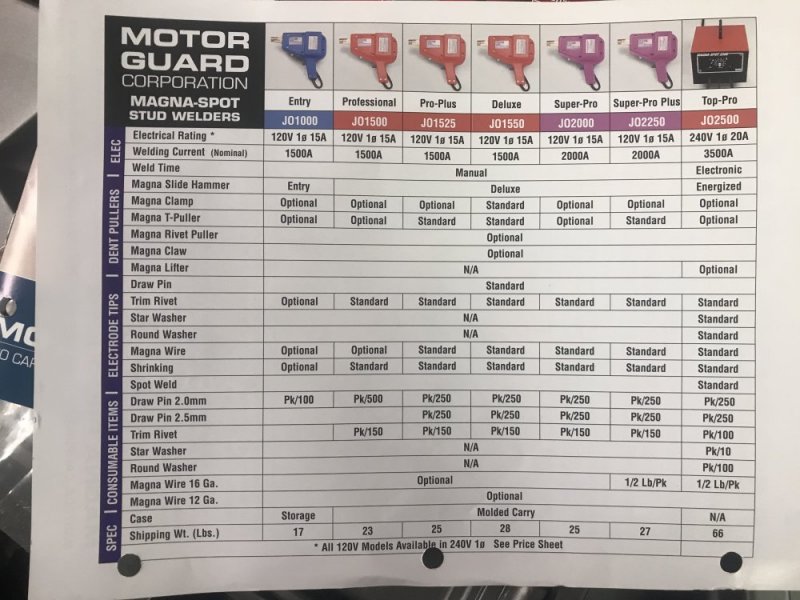
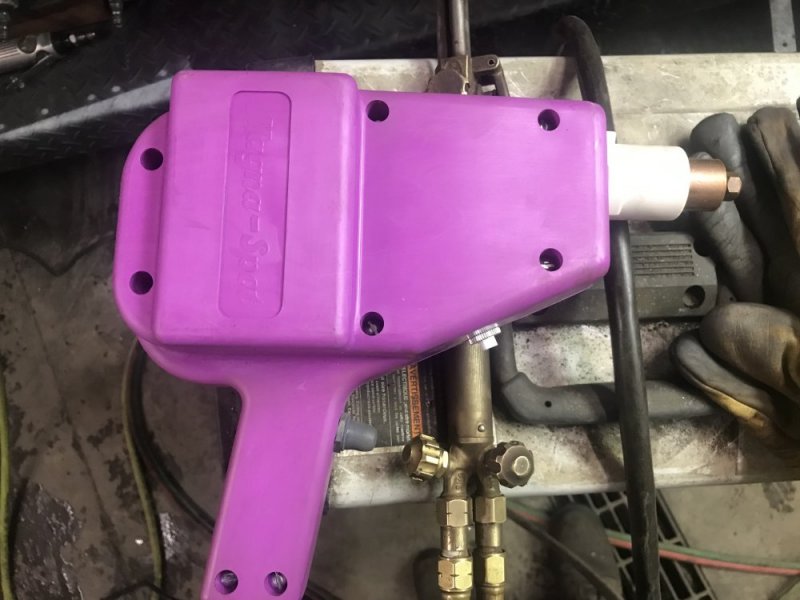
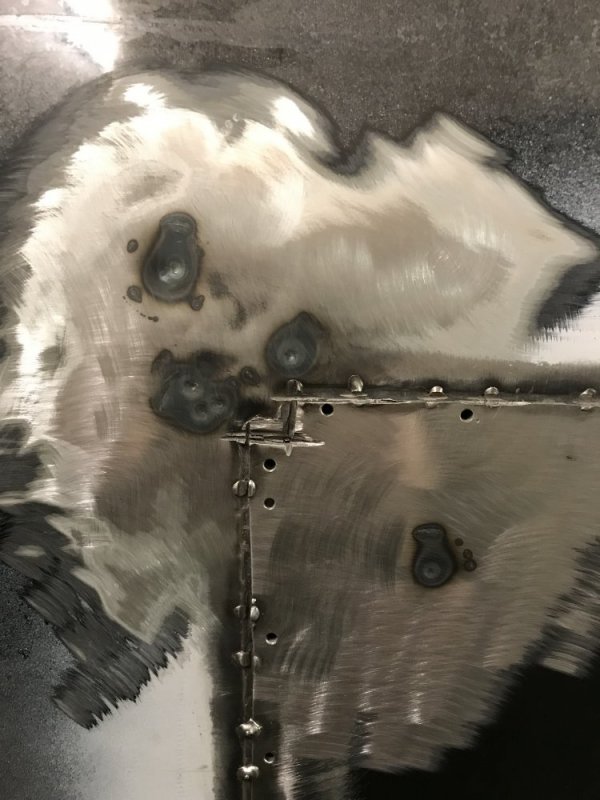
I didn’t take enough pictures of the next steps unfortunately. First thing I did was cut the tacks in that upper left corner so the metal could move around more easily. Then since I can’t access the back of the panel to run a dolly I figured I’d get out my stud welder so I could pull on the low spots. Well when I opened the case I found the shrinking tip that I forgot about. I decided to give it a try. Mine is the JO2000....isn’t it a pretty tool!!?? :p

DE95E80B-D165-4DBF-9E3C-01850A0423BF.jpegDFEE68EF-4E04-4061-8591-B9C3CFF04393.jpegFE65C935-1D3E-43D2-AB27-0DF2F741909C.jpeg

It worked pretty well actually. It was neat watching the metal expand and contract as you pulled the trigger and released it. It isn’t perfect, but with some further metal work after welding and grinding is done it should get pretty close with minimal filler. This picture was only part way through the process.

A27EF982-92AF-4F57-BA48-3A89FBC464ED.jpeg

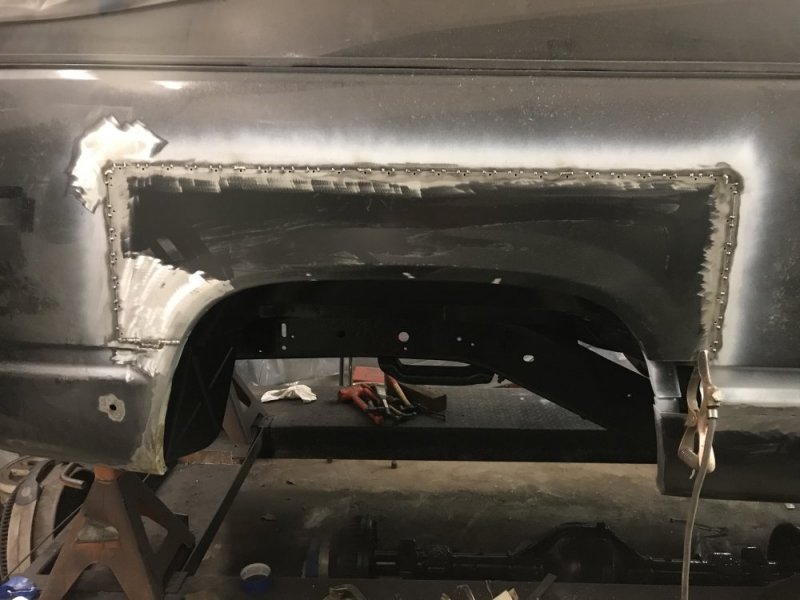
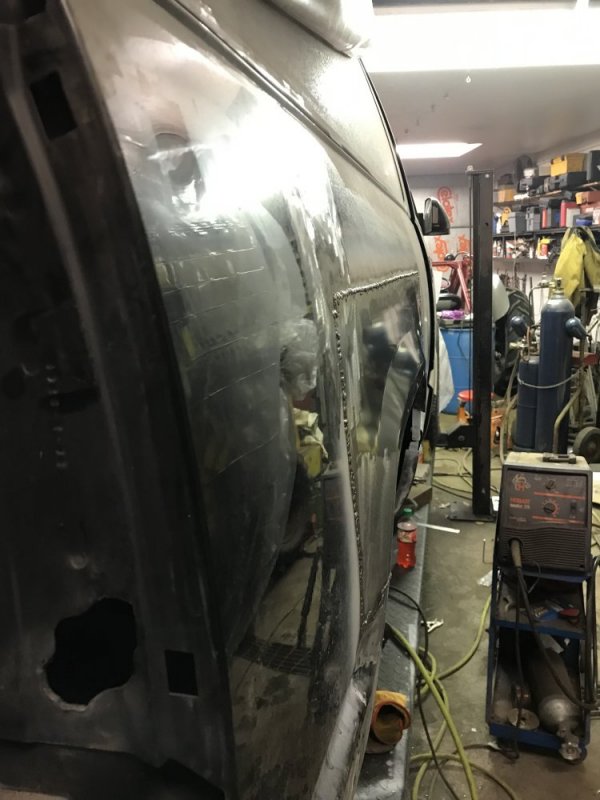
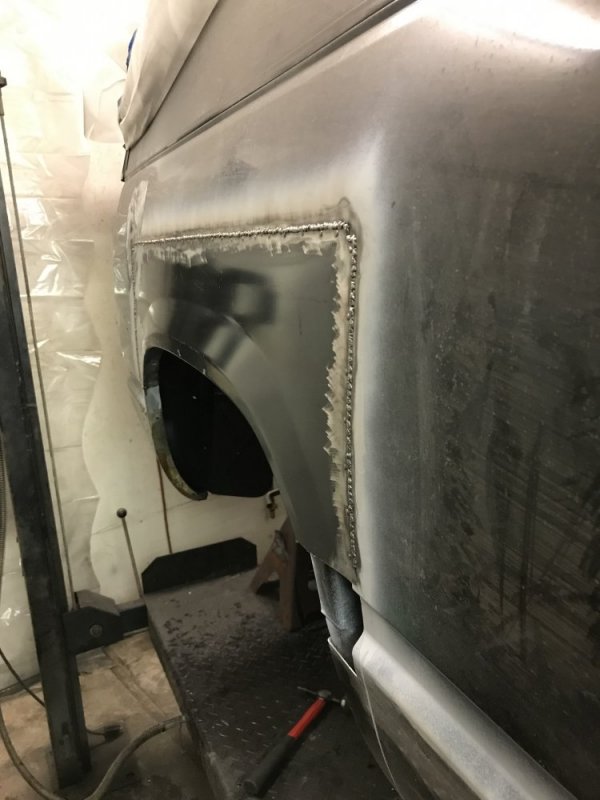
After that I went back to the task of welding. I was much more careful this time: I spaced my tacks out and kept working around until all the voids were filled....unlike the lower quarters where I would do a series of 5 or so tacks at a time and then move onto another spot. I got it all welded and wire wheeled and that’s where I finished. Next up will be grinding.

B4E86831-5595-4B39-8F94-DF2DB139F896.jpegE904F4AF-8DF7-4D04-A7B3-18E7F10BABA6.jpeg35BE4018-B195-4518-AEE2-1EC40DBA98D1.jpeg
 
Back
Top