• Welcome to The Truck Stop! We see you haven't REGISTERED yet.

    Your truck knowledge is missing!
    • Registration is FREE , all we need is your birthday and email. (We don't share ANY data with ANYONE)
    • We have tons of knowledge here for your diesel truck!
    • Post your own topics and reply to existing threads to help others out!
    • NO ADS! The site is fully functional and ad free!
    CLICK HERE TO REGISTER!

    Problems registering? Click here to contact us!

    Already registered, but need a PASSWORD RESET? CLICK HERE TO RESET YOUR PASSWORD!

A military rebuilt 6.5

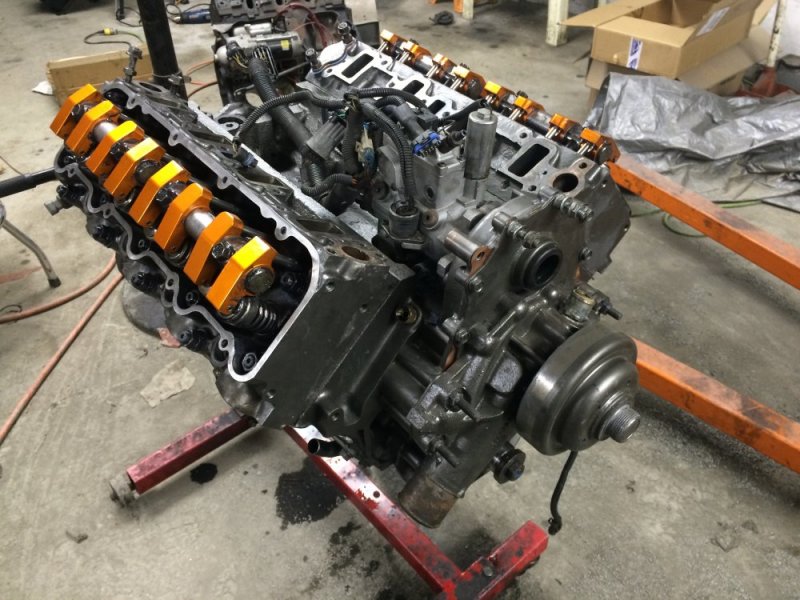
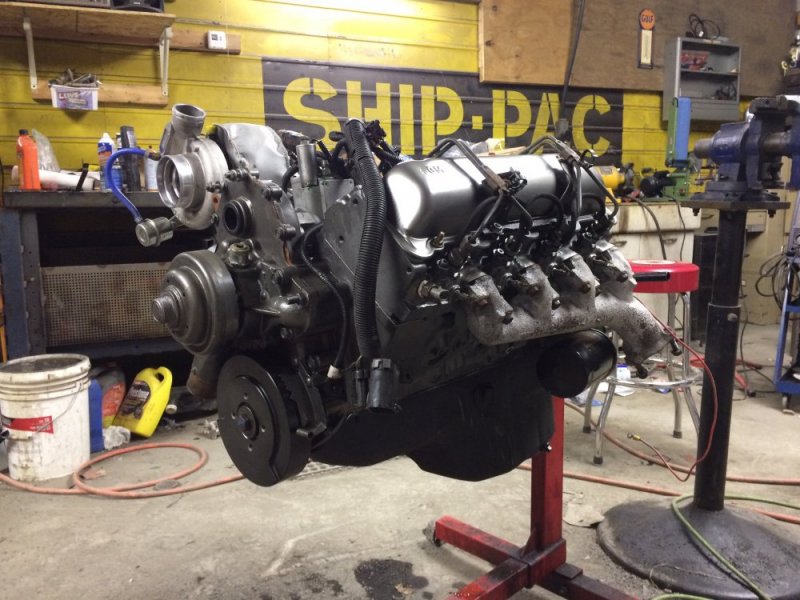
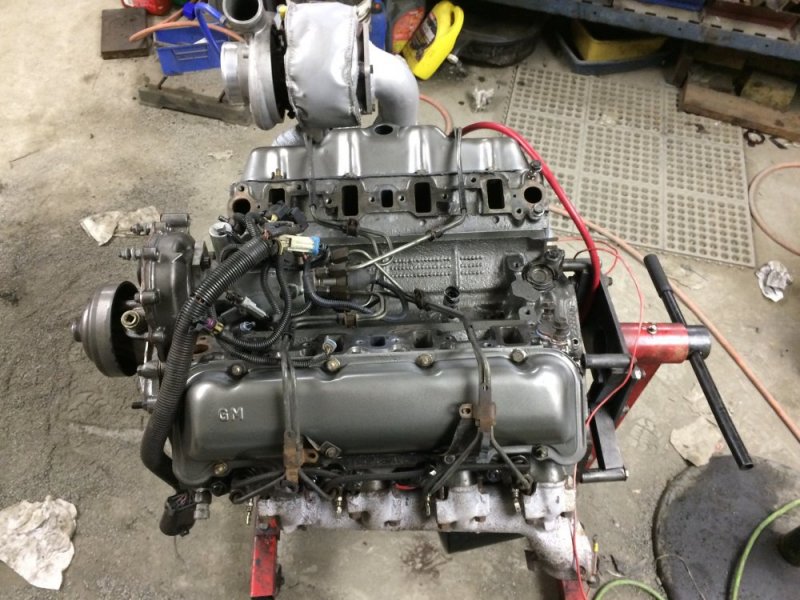
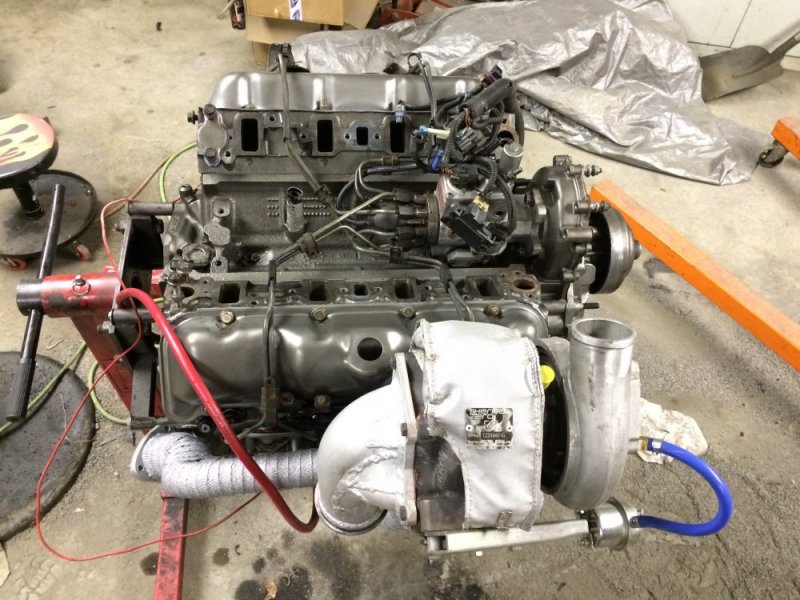
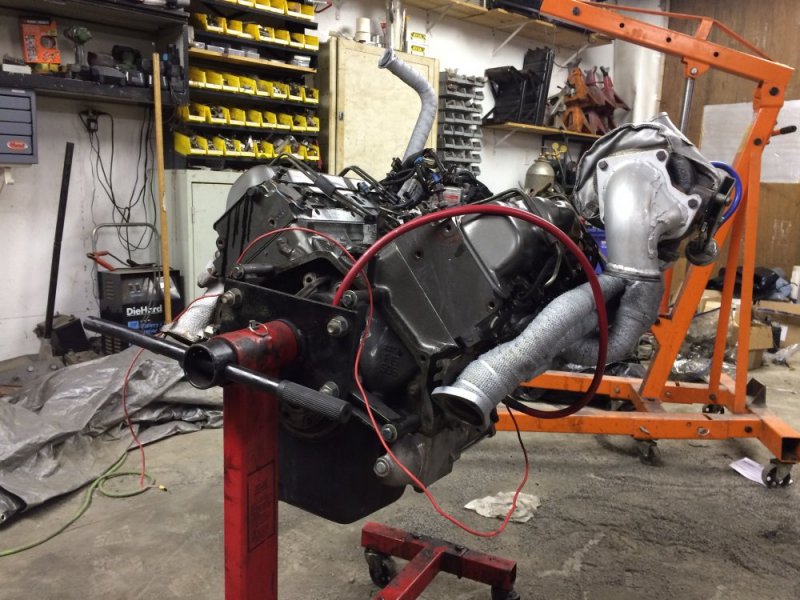
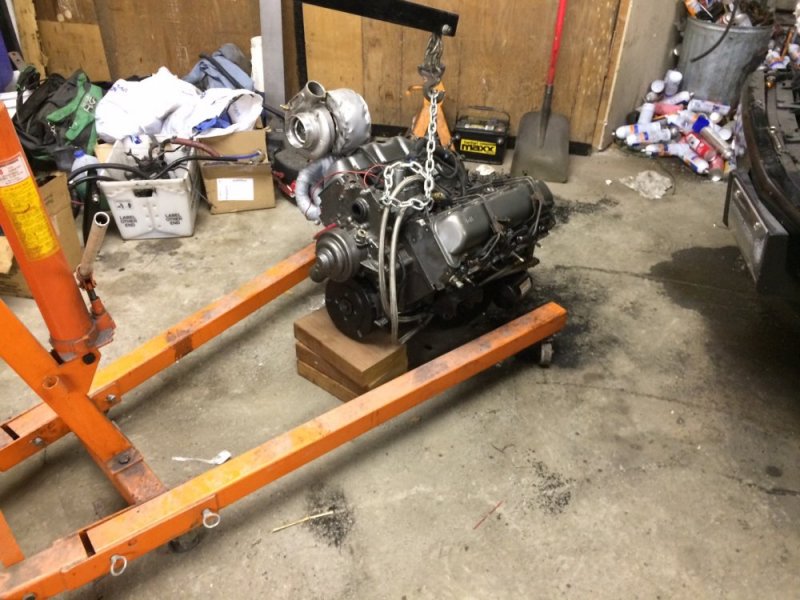
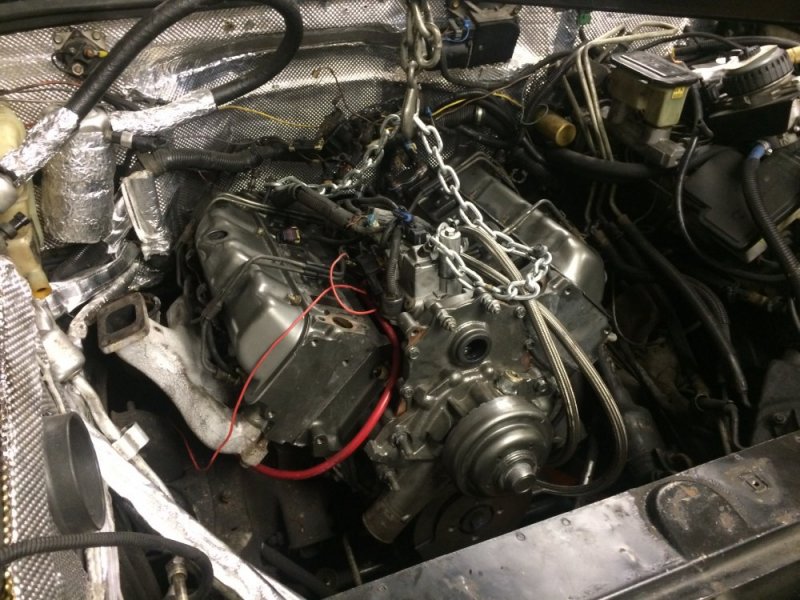
More progress. All of the pistons are in and the heads are on. ARP studs were torqued in 3 stages: 70, 90 then 110 ft-lbs. Also I used the Fel Pro +.010 gaskets so with the -.010 pistons I should be around 19:1, but I don't know exactly. Oh and yes I'm a dumbass and put the heads on backwards from how they were so now I need to move my blockoff plates and sensor/plug.

Check out the othe addition while the engine was apart: a DSG stud girdle. I figured it was good insurance.

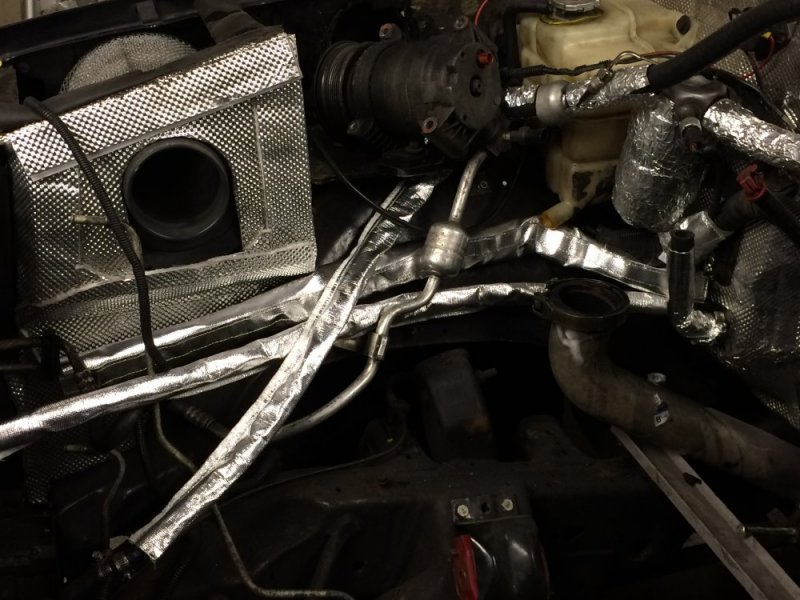
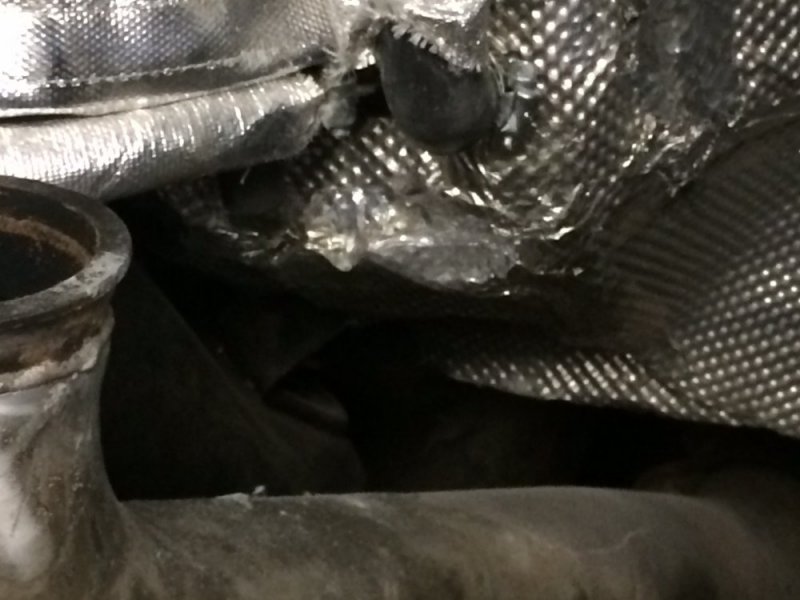
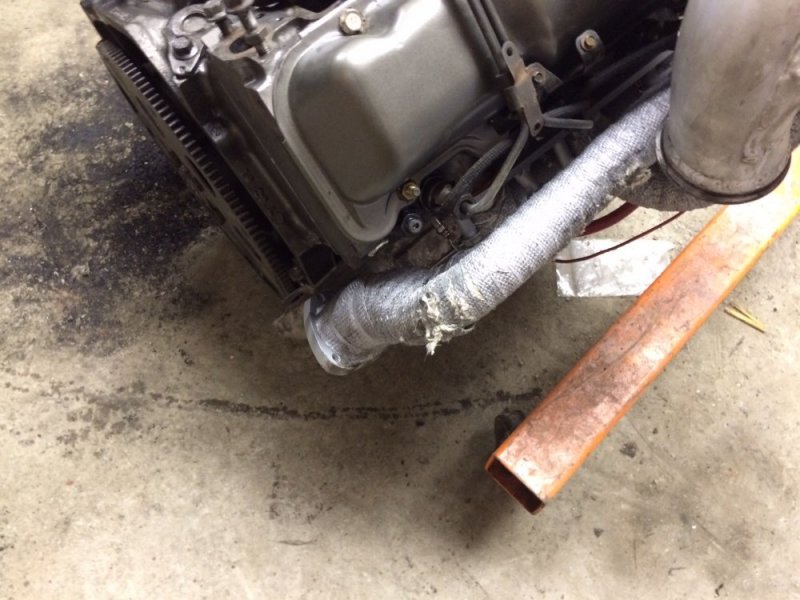
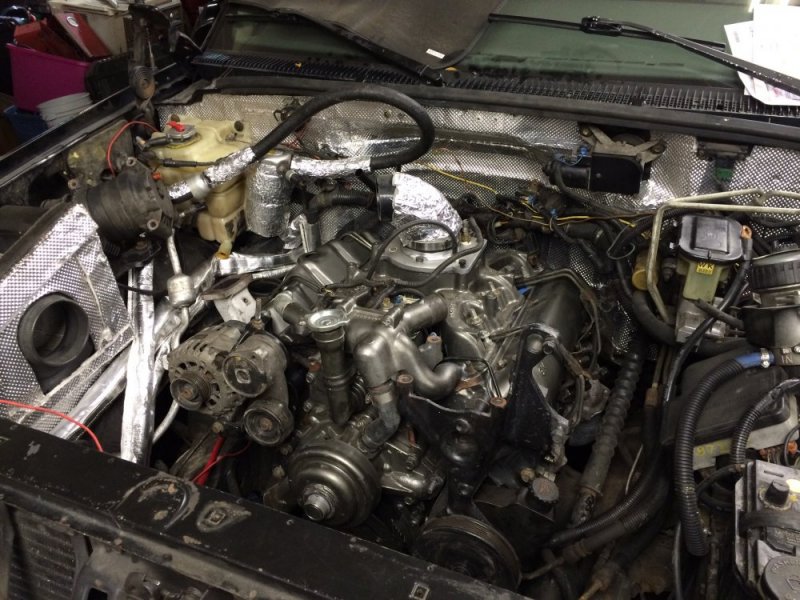
I also started installing some more shiny stuff on hoses and ac lines in case that header puts out more heat than the manifold.

A new transmission input seal also went in.

The engine should be all together tomorrow night and ready to stab in the truck Thursday.

While we're here, I know there are as many opinions as there are belly buttons, but what do you guys like to do for break in? I searched it before and saw wildly varying ideas, but if anyone wants to share what they've done in the past I'd be happy to listen. As I recall Jay had a pretty good one but I can't remember the details of it now. Thanks!
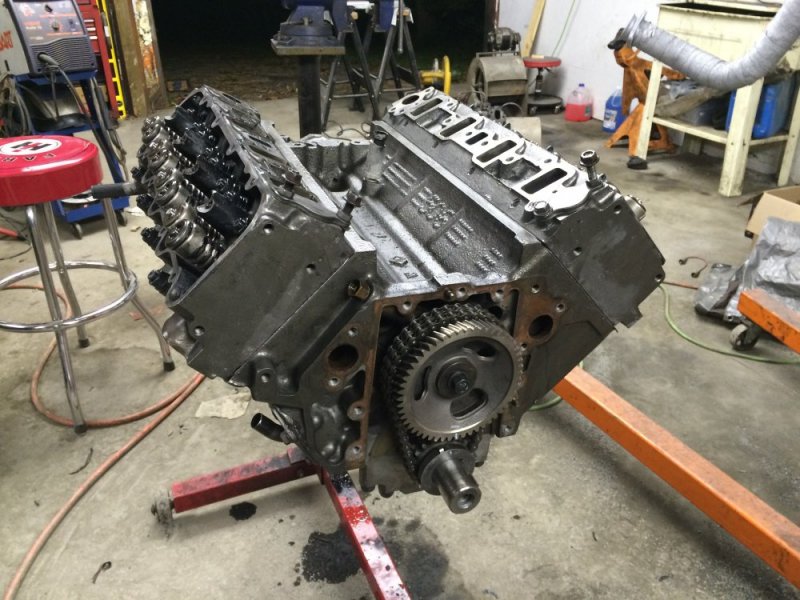
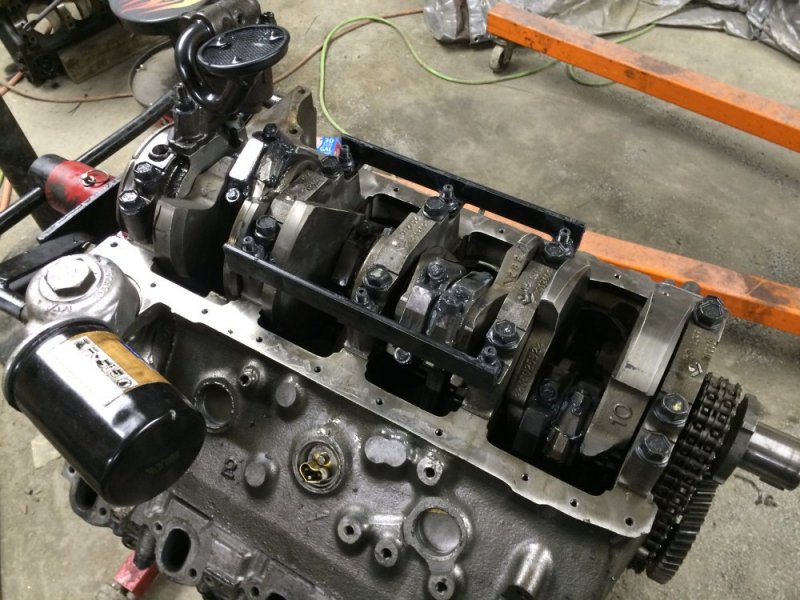
image.jpeg image.jpeg image.jpeg
 
Nate, it looks like we are close on doing the same thing. I think we got rings from Leroy about the same time. I've got some pictures of the motor assembly, but I've been spending very little time on the computer the last few days. Instead, spending my time on getting things back together.

Yesterday afternoon my daughter helped me get the motor back in, but none of the wiring, etc.. Then she had to leave, so I spent the rest of the evening working on getting the transmission back in place. I finally got to the point of having three bell housing/transmission bolts in and gave up just after 9 PM. I'm wishing now I had left the transfer case off until the transmission was in place. The transfer case hangs out over the cross member that holds the back end of the torsion bars and really makes things much harder than if I had left it off.

Daylight is showing outside so I'm going back at it now. Not having the pickup running for over two months has been unhandy.

Don
Hi Don,

I've been following along on your thread, and it's been nice seeing all of the help you've been getting. There are some good guys on this forum to be sure.

Yeah that transfer case is a real bugger. On one hand, yeah it would make the trans cumbersome, but on the other it's a pain to lift in place under the cramped confines. I think you're damned if you do or damned if you don't :(

Good luck with the progress on yours, if everything goes right mine should be on the road Saturday. The only real hurdles I have is that I have to do some glow plug rewiring due to my exhaust changes, everything else should be plug-and-play and go back on relatively easily.

I hope you get yours on the road soon, it's no fun being without a truck!

Nate
 
Thanks for your interest and support. I've been thinking back on what it might have been like if I installed just the transmission first, and then the transfer case. I think you're right, there is no one way that could be easier.

I was really hoping to get the motor started today. Didn't quite make it, but oh so close. I need to re-check all my wiring to make sure I haven't missed anything. I'm waiting to install the glow plugs, and wires, until after bleeding the fuel system and building up the oil pressure. I still have the exhaust crossover and turbo to install, and fill/top off the trans, TC, and crankcase.

Barring any unforeseen problems I will have it running tomorrow, hopefully before noon. Then starts the breaking in process.

I've been overwhelmed by all the help and support I've received during this project. My initial plan was to just drop in the used motor and count on it being a good one. Now I have what I consider a refreshed motor. No, it's not the same as a truly rebuilt motor, but it's close enough to last me for quite awhile.

Don
 
Well last night was no fun. And here is where it ended.
On the floor.jpg

It started having to run back to Autozone because the flexplate wouldn't slide over the alignment dowel on the crank....and upon closer inspection it looked like it was warped as well.

Once that was taken care of, it was finally time to drop the engine in. I thought it would be a little trickier with the header instead of the manifold, plus this was the first time I had installed it with the turbo installed as well, but I didn't expect all the trouble we had. We just couldn't get it to go back and drop like we needed it to! The first thing to come off to make more room was the driver's side manifold. That got us a bit closer. Then the wastegate actuator came off because that was hitting the airbox. Finally the passenger side motor mount came off because it wouldn't go back far enough without hitting the heater core. I had 2 bolts in the bellhousing on the driver's side to start lining it up, but the passenger side was still an inch away from the block touching the trans and that's when we saw it: the header was hitting the firewall! ARGH!! :mad: So out came the engine. That's where we finished the night.

My initial thought was that my weekend would be spent reworking the header so it fits correctly, but after I went inside and thought about it more I decided it made more sense to put the engine together with the factory manifold and rework the header later. So it looks like you're going to get your wish Will! I was really bummed at first that it didn't work, but in the grand scheme of things it's not really a big deal, job #1 is to get this thing back on the road; once that's accomplished then I can work on perfecting upgrades. I still hope to have it running this weekend.

In hindsight, I hadn't really considered the clearance in that area as much as I should have, but without the engine in the truck while doing the fab it was hard to visualize where some of the potential clearance problems would be. Now I know and when I do the header updates I will have the engine in the truck and I will be able to fully see where my problems will be and address them at that time.

Firewall.jpg Header rub.jpg
 
Dang man! Now I feel like I voodoo hexed it or something. I was just thinking of comparison so other guys could know if headers was worth it as a stand alone mod. Surely didn't want that happening.
 
Dang man! Now I feel like I voodoo hexed it or something. I was just thinking of comparison so other guys could know if headers was worth it as a stand alone mod. Surely didn't want that happening.
Ha!! No worries Will, not that big a deal and probably better this way anyway.

Actually now I'm a bit concerned if you think you really have that much Voodoo power..... :woot:;)
 
That is a real bummer Nate. When we dropped mine in the exhaust manifolds, lower intake, and motor mounts were all in place, but didn't have the turbo on.

The biggest problem we had was that we couldn't get the motor to set at the correct front to back angle and keep it level from side to side. I have one of those adjustable motor lift cradles and so we were using it, and it seemed like no matter where the center trolley was at, the motor wouldn't set at the correct angle needed. Because of the built it lift points on the motor being on opposite corners the motor wanted to twist as it was lowered. This would allow the motor mount saddle on one side to drop onto place while the other side was about 2-3 inches off center.

We ended up turning the engine hoist so that the hoist legs were hitting the inside of the passenger side tire while the other end of the hoist was over in front of the drivers side headlight. This helped a little bit, then we let the one motor saddle (happened to be drivers side) drop correctly over the frame mount. Then took the lift cradle away and hooked a single chain to the rear passenger motor hook, lifted enough to get the motor saddle up and not touching the frame mount, pushed that side back and got that side's motor saddle into correct place. At that point the motor was not level enough to get the front to rear pin/bolt into place, but with a bit of work they finally lined up.

I'm curious if you have the same problem when dropping the motor into place.

I see a bit of daylight outside, so it's time to get busy. The forecast calls for 20% chance of rain today (90% tomorrow), so I better work fast to stay between the rain drops.

Don
Last time I dropped the engine in I had both manifolds on and it wasn't a problem, but I also didn't have the transmission in at that point either. When I give it a shot again with the stock manifolds I'll report back.
 
Hate it for you but you never learn if you don't try. Wondering myself how #8 is going to get re-routed without conflict with the down pipe. BFR to the fire wall maybe?

Best wishes for getting it lit off this weekend.
 
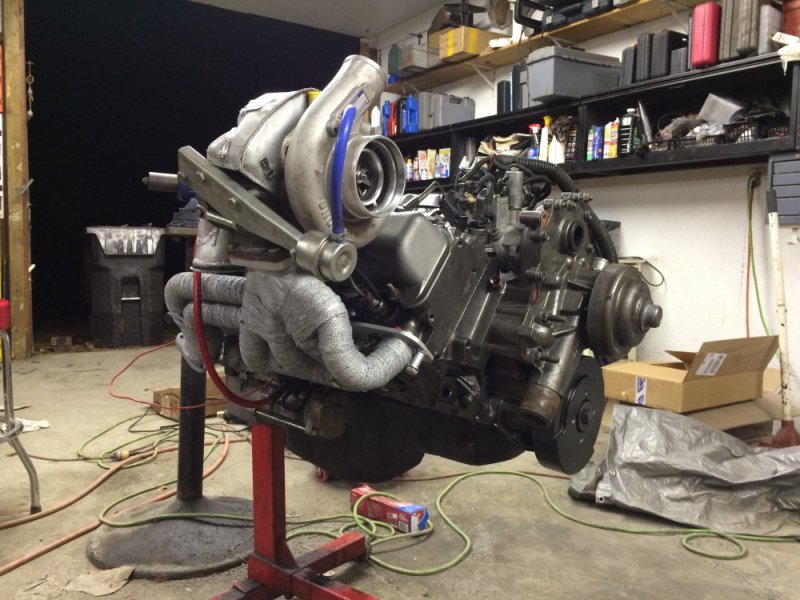
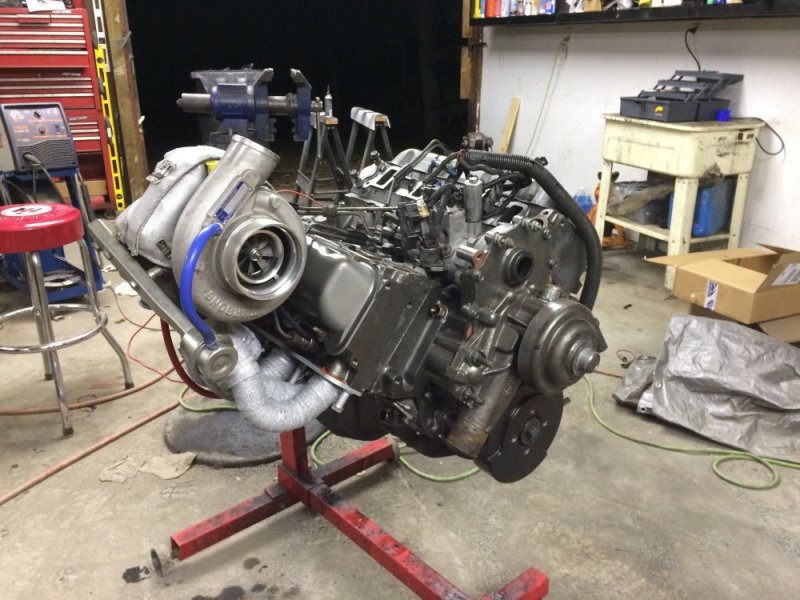
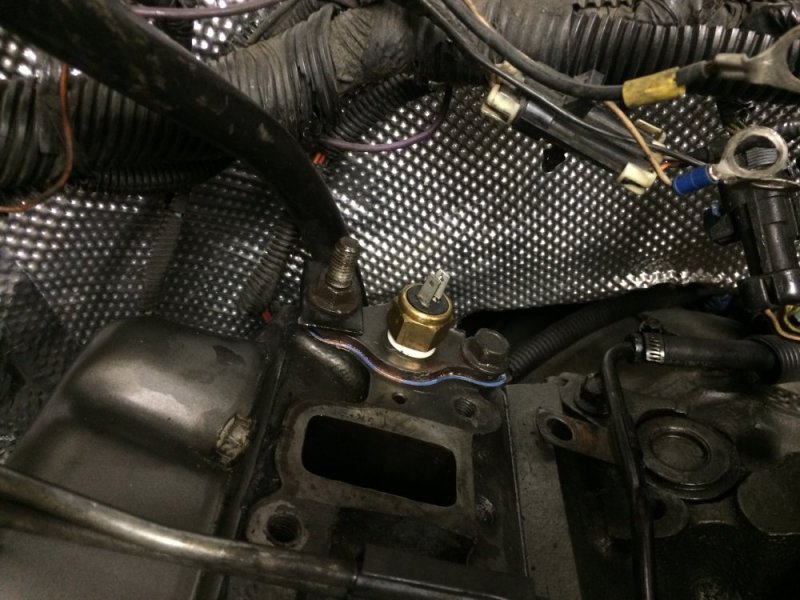
We have evening plans so I'm done for today. Worked on it less than 4 hours but got a crap-ton done. Should be tunning tomorrow easily. I once I put the stock manifolds on and reinstalled the motor mount I had the engine dropped in, lined up and bolts installed in 15 minutes....all by me onesy. That header with the turbo installed the other night just really gave me fits! Everything underneath is done so all that's left is cooling system, ac compressor, glow plug wiring, turbo and intercooler. Oh and while I was at it, I also drilled & tapped one of the coolant block off plates and installed the cold start temp sensor for the upcoming mechanical conversion. I didn't install it in the normal spot in the head because the clearance is tight back there with the header.
image.jpeg image.jpeg image.jpeg
 
You made some good progress there. I have most everything done. Need to finish the turbo oil supply and drain lines. The drain line is in place, just needs the rubber coupler tightened. The supply line is also in place. But, since this is a 90 6.2 block it doesn't have the supply port in the front of the block. I had an extension made for the stock supply line and in place. I just need to finish routing the stock supply line and tighten it.

I started to install the passenger side glow plugs, but have been having headaches trying to figure out how to route the wires and keep them from touching the hot exhaust pipe. Several years ago I installed a Diamond Eye exhaust system, and the 3" down pipe takes up a bit of space there. The wires are not in real good shape at 21 years old, so I'm seriously considering upgrading them real soon. I just need to find a source for the high temp coated wires, and, or, high temp slide on sleeves to protect the wires.

I did enough cranking before installing the turbo to get oil pressure up and into the turbo supply line, prior to starting glow plug install. While in church today I realized I never tightened the grounds post at the auto trans dipstick, so I'm hoping that is why I never saw any mist coming from the glow plug holes while doing the cranking.

Looking at your pics, where you put the cold temp sensor is the same place I put the sensor for the coolant gauge. I figure that since that is supposed to be the warmest location in both heads that would be the best place to add a gauge to compliment the stock gauge.

It sounds like the rain has either stopped, or slowed down enough to go out this evening and continue with the install (I'm working in my driveway). This afternoon the rain was pouring off the roof in buckets quantities. I've had to work in that type of rain, and it is not fun.

Don
 
Back
Top