• Welcome to The Truck Stop! We see you haven't REGISTERED yet.

    Your truck knowledge is missing!
    • Registration is FREE , all we need is your birthday and email. (We don't share ANY data with ANYONE)
    • We have tons of knowledge here for your diesel truck!
    • Post your own topics and reply to existing threads to help others out!
    • NO ADS! The site is fully functional and ad free!
    CLICK HERE TO REGISTER!

    Problems registering? Click here to contact us!

    Already registered, but need a PASSWORD RESET? CLICK HERE TO RESET YOUR PASSWORD!

My Water to Air intercooler install

Looking great so far, Nate! Now, put some 1/4" expanded steel mesh behind it to protect from flying pebbles, paint it all black, and you're ready to rock and roll (no pun intended!)!
Thanks Husker! Yeah, as much as I want to leave it open because it looks BA seeing the fins all exposed like that, I fear that's just an accident waiting to happen. I'll be finding some kind of mesh or screen to put on it that will look good and protect the heat exchanger too.
 
Thanks Husker! Yeah, as much as I want to leave it open because it looks BA seeing the fins all exposed like that, I fear that's just an accident waiting to happen. I'll be finding some kind of mesh or screen to put on it that will look good and protect the heat exchanger too.
Yeah, it could technically work, it's what Husker said....it's all about BTU dissipation. I looked up the heat exchanger I'm running and it doesn't have a BTU/Hour rating, just a horsepower rating. This one is rated at 1200 horsepower. I chose it because it was so oversized, I figured it would help to oversize it since it was in an inefficient mounting location. Too bad I don't have an IAT gauge hooked up, because it would have been really interesting to see if it made a difference to my IATs.
1 HP equals 2,544.43 BTU/hr, so that radiator can dissipate 3,053,316 BTU every hour!
 
Of course they rate it 1200 HP, but at what CFM of airflow and at what ambient temperature and what temperature of the fluid passing through the radiator? Then there is the factor of how efficiently the heated air from the turbo gives up its heat to the fluid running through that exchanger, too.
 
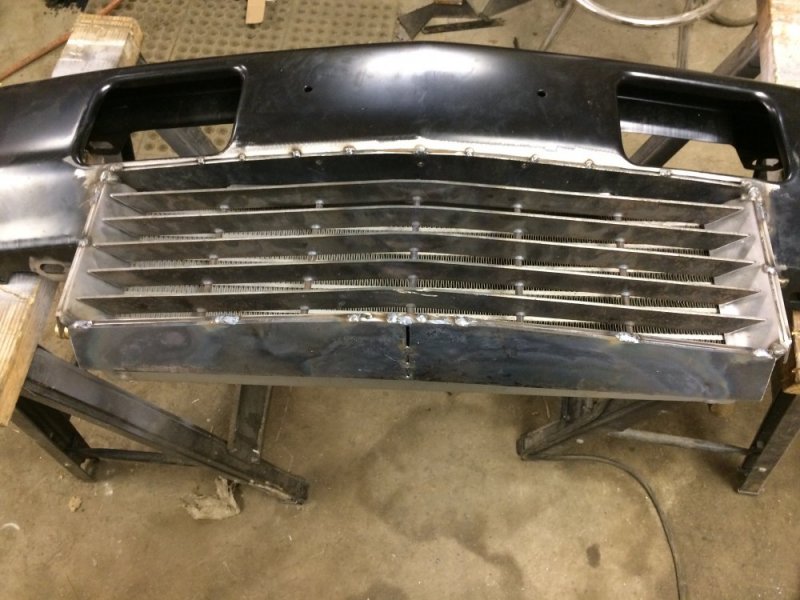
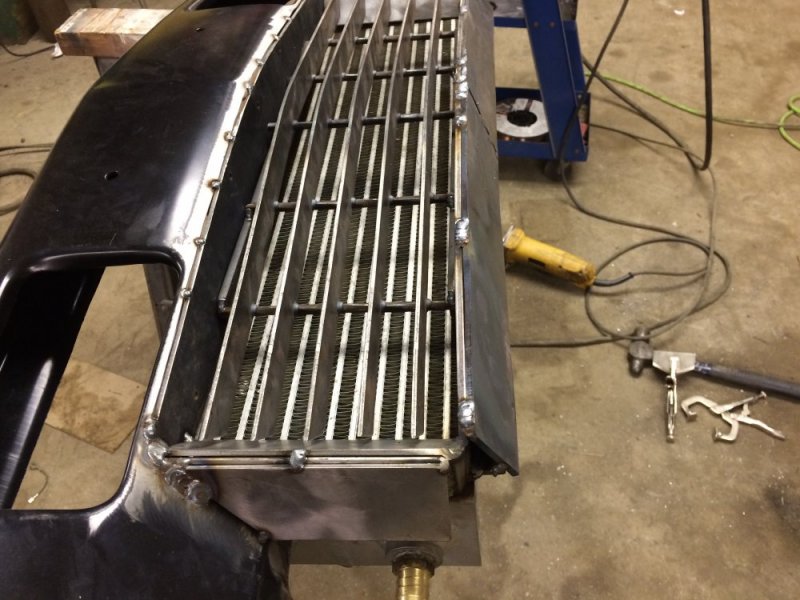
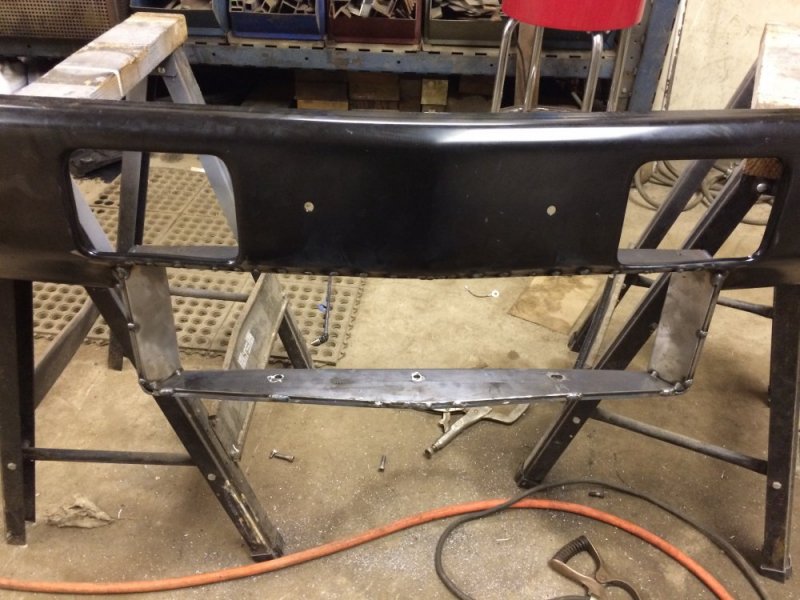
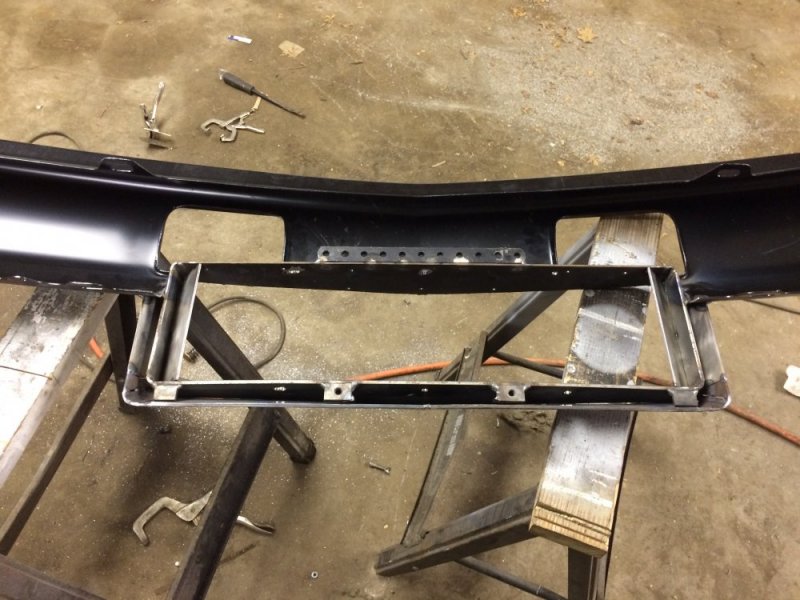
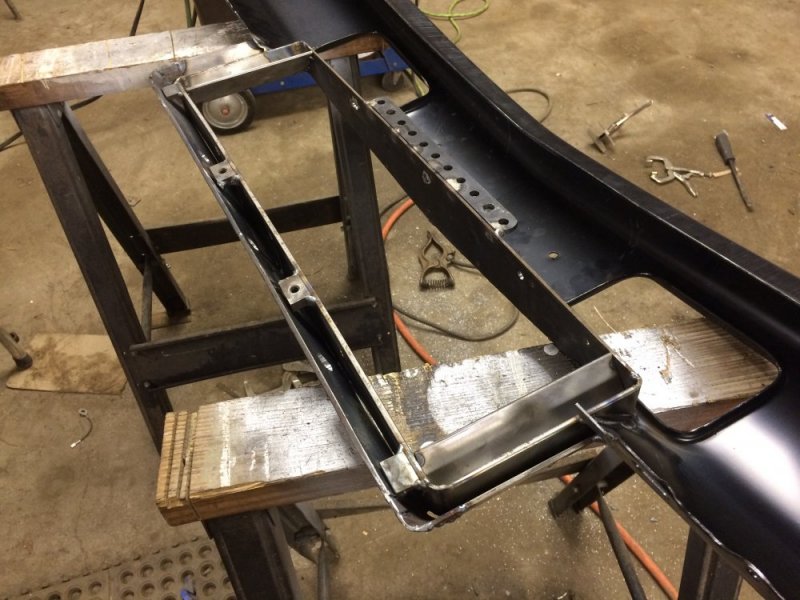
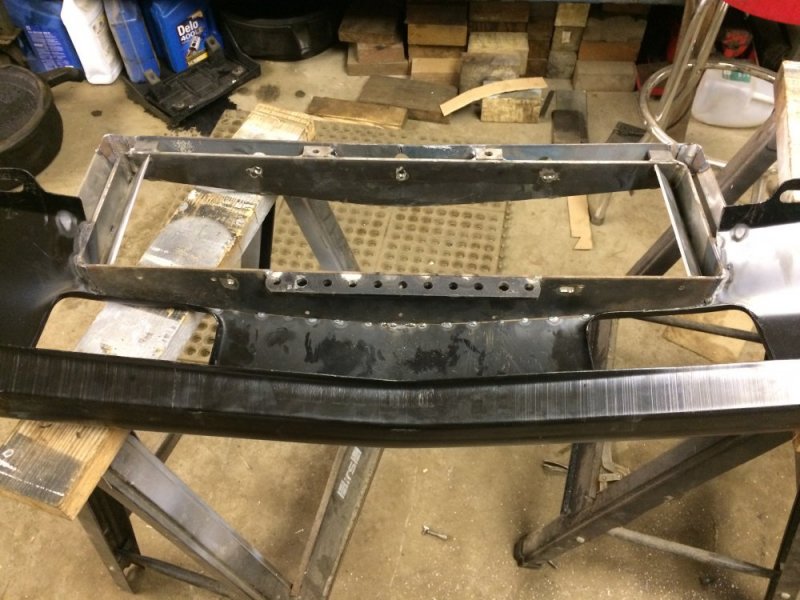
Ok the grill insert is done - well, except I'll probably take it to work and weld the connections a little bit more with a TIG welder to get them fully welded and keep the weld small. It fits pretty nice.

Next I'll be adding the trim around the bottom of the "mouth".View attachment 49436View attachment 49437View attachment 49438View attachment 49439View attachment 49440View attachment 49441

That's beginning to look like it would make one heck of a road kill vacuum / squirrel sucker!! All kidding aside, it's looking good.
 
Anxiously awaiting a pic of that bumper mounted beneath the grille and front end!
I won't be able to work on it again until Monday. I want to mount it up before I finish weld it so maybe later this week it will be mounted for a test fit.
 
New from Ronco, the Squirrel-O-Matic! Make tasty and nutritious ground squirrel sliders in just minutes on your way to work! No need to pack a lunch when you can effortlessly make squirrel sliders on your morning drive to work, fresh and ready when you pull into the parking lot! But wait! Act now and we'll send you a second Squirrel-O-Matic absolutely free, just pay the additional shipping and handling and as a bonus gift for ordering in the next ten minutes, we'll include the cookbook, 101 Easy Tasty Roadkill Recipes AND a second bonus gift of the handy dandy Squirrel Grille Scraper so you can easily remove every tender squirrel morsel from the Squirrel-O-Matic!

Act now, this offer ends in ten minutes and supplies ARE limited!
:smuggrin::smuggrin::smuggrin::smuggrin::smuggrin::smuggrin::smuggrin::smuggrin::smuggrin::smuggrin:
 
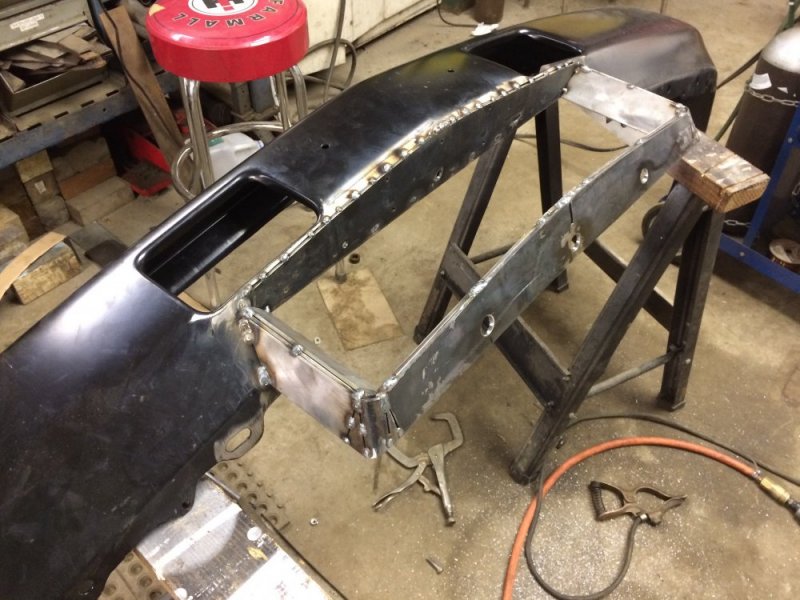
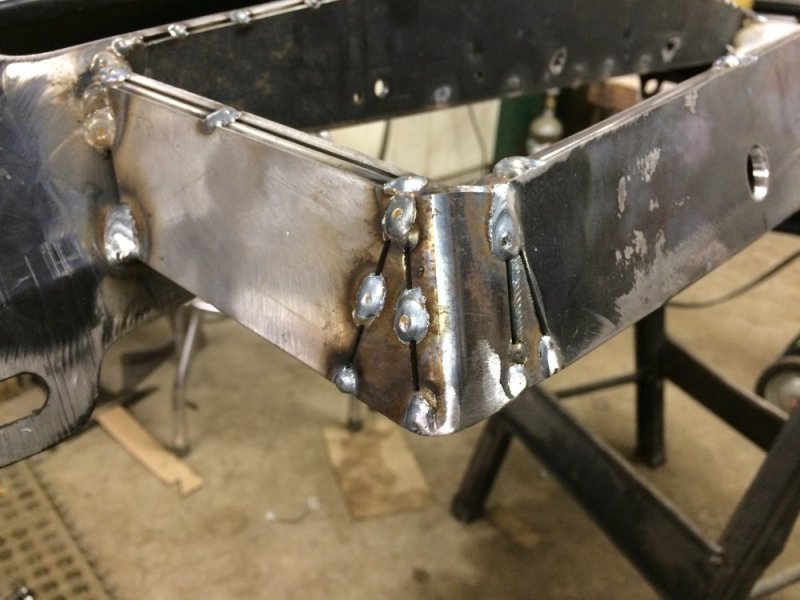
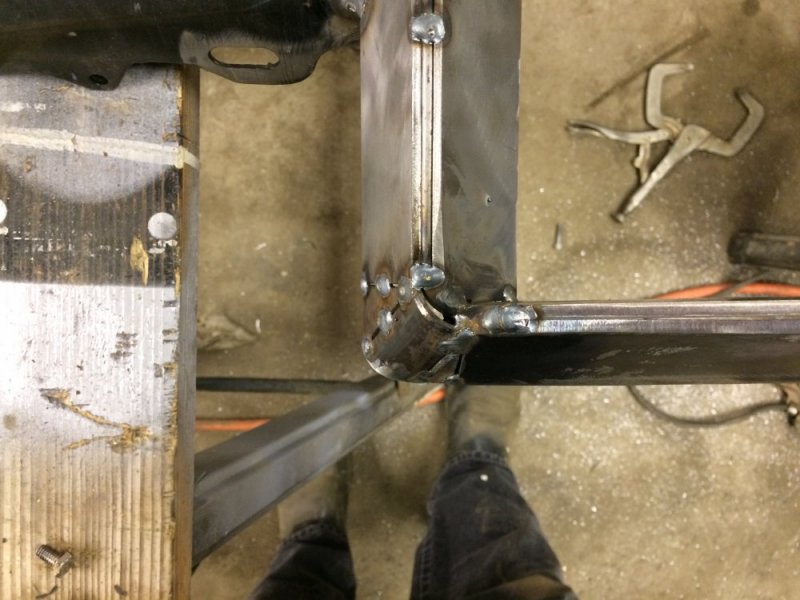
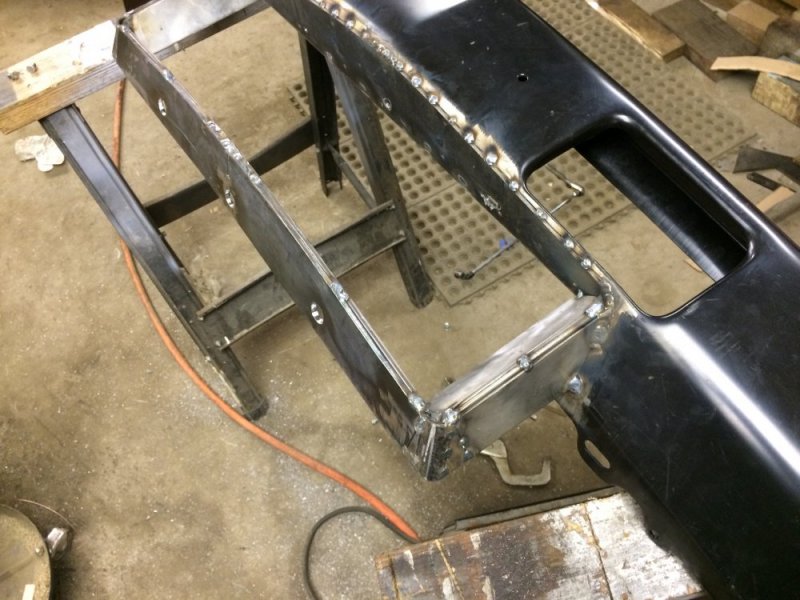
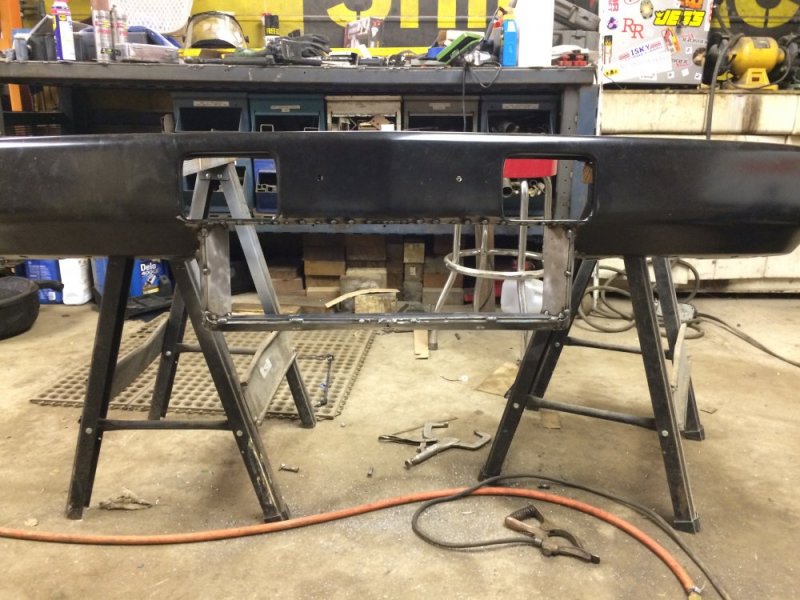
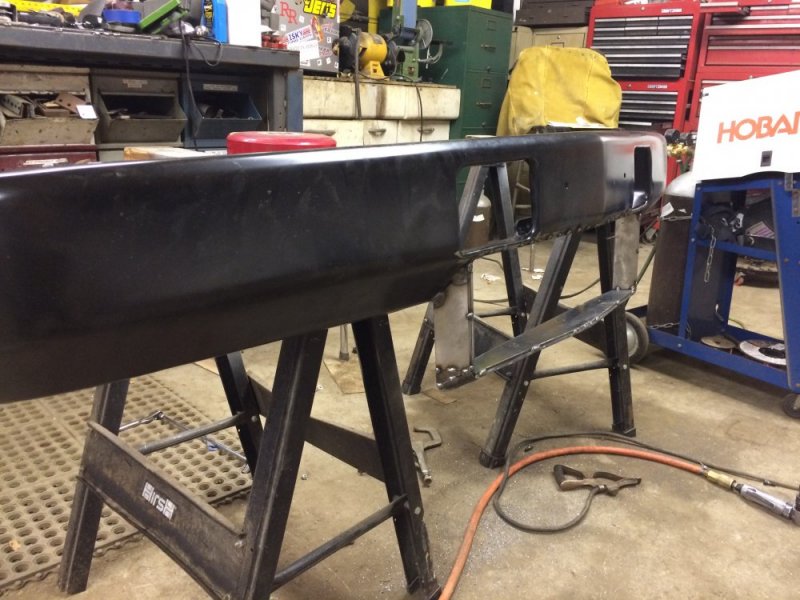
Not as much progress as I had hoped - this part really fought me even with cardboard templates and the fire wrench to coax the metal. But the bottom is now in place the way I wanted. Now I just need to connect the dots in the corners. IMG_7711.JPGIMG_7712.JPG
 
Tonight felt much more rewarding and took less time to accomplish oddly. I made the corners around the mouth and added the access holes for removing the grill. I'm pretty pleased and unfortunately it doesn't show up in pictures as well as it does in real life. Tomorrow night I'll be removing the stock bumper. We'll see if there's enough time to hang this one and see how it fits. I see a lot of welding and grinding in my future.....IMG_7713.JPGIMG_7714.JPGIMG_7715.JPGIMG_7716.JPGIMG_7717.JPGIMG_7718.JPGIMG_7719.JPG
 
Back
Top