Looks really good.Before and after. View attachment 47008View attachment 47009
Navigation
Install the app
How to install the app on iOS
Follow along with the video below to see how to install our site as a web app on your home screen.
Note: This feature may not be available in some browsers.
More options
-
Welcome to The Truck Stop! We see you haven't REGISTERED yet.
Your truck knowledge is missing!
- Registration is FREE , all we need is your birthday and email. (We don't share ANY data with ANYONE)
- We have tons of knowledge here for your diesel truck!
- Post your own topics and reply to existing threads to help others out!
- NO ADS! The site is fully functional and ad free!
Problems registering? Click here to contact us!
Already registered, but need a PASSWORD RESET? CLICK HERE TO RESET YOUR PASSWORD!
You are using an out of date browser. It may not display this or other websites correctly.
You should upgrade or use an alternative browser.
You should upgrade or use an alternative browser.
My Water to Air intercooler install
- Thread starter n8in8or
- Start date
n8in8or
I never met a project I didn’t like
Thanks Leroy!Looks really good.
pacificdrumma
Well-Known Member
Looking good as always Nate
n8in8or
I never met a project I didn’t like
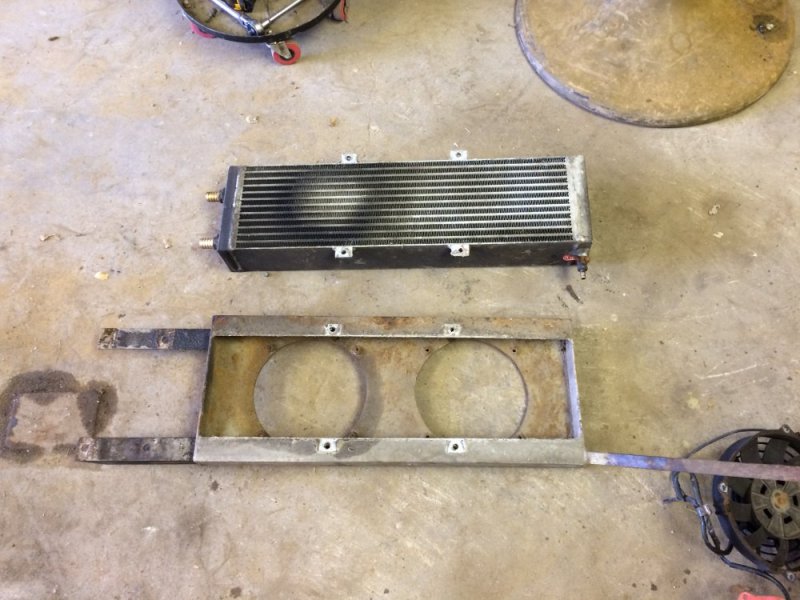
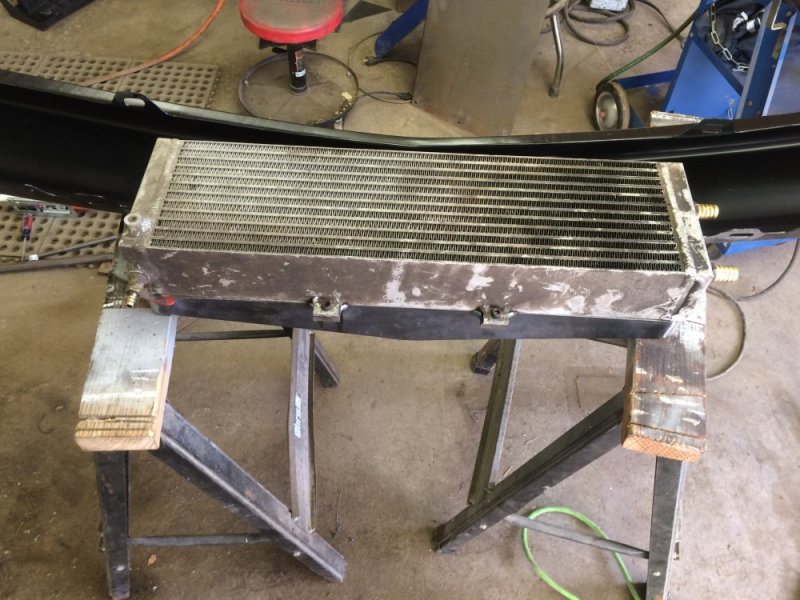
Time for an update. I don't like where the radiator is located. I don't think it cools as well as it could (duh). Also I had one fan go bad due to crap settling in the fan (not good having them in horizontal orientation I think). I want the real estate for something else too - at first I was thinking that would be where my water/meth tank would go, but now I'm thinking I may relocate batteries back there so underhood real estate is opened up for wmi tank, twin turbos, compounds.....who knows, it's space. The radiator is going to get mounted in a modified bumper, which is a win-win, since the front bumper has been bent up since I bought it and it's missing the snorkels, which sucks for cooling and sucks for identifying it as a diesel GMT400!
So I started the conversion today. I removed the radiator from under the truck and fished the hoses out. What's cool about the shroud I built for the radiator is that it's the right dimension to hold 2 batteries!! So just some reinforcing and shrouding and I may get to repurpose it, if that's how I decide to go.
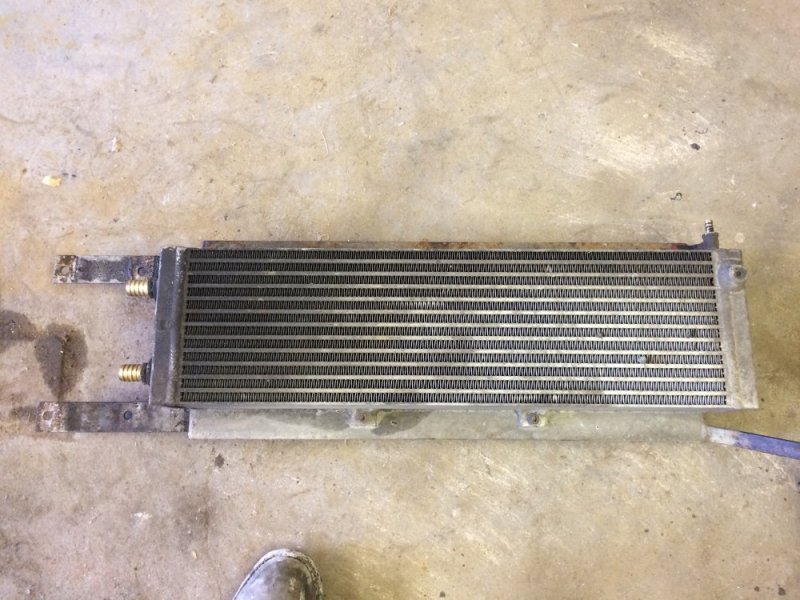
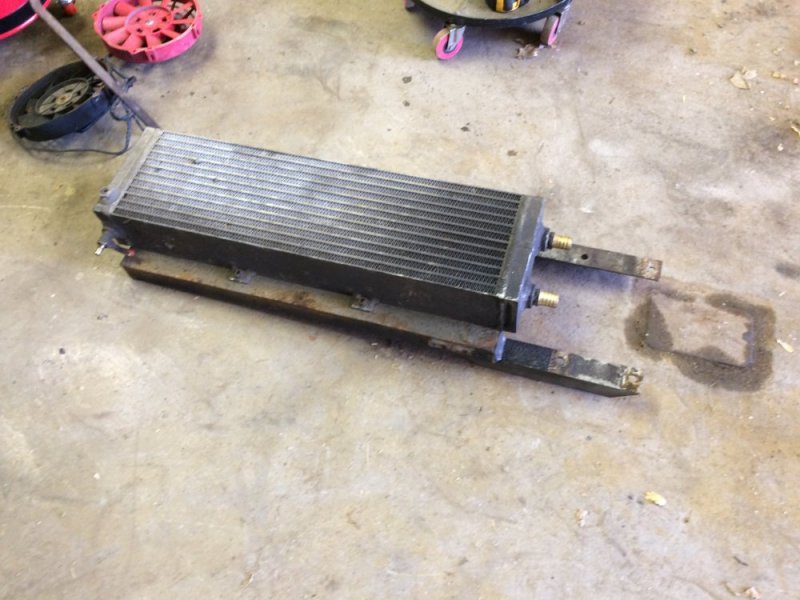
First I'll share removal pics. It held up ok in the Michigan weather, but not ideal as you see. Also this has me concerned about putting the wmi pump under the truck and in that same environment. Which is why it may go under the hood instead.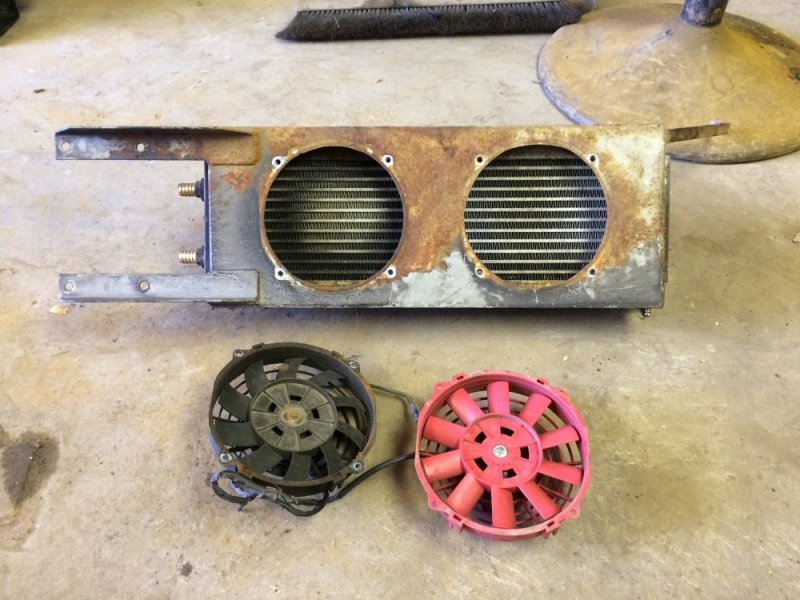


n8in8or
I never met a project I didn’t like
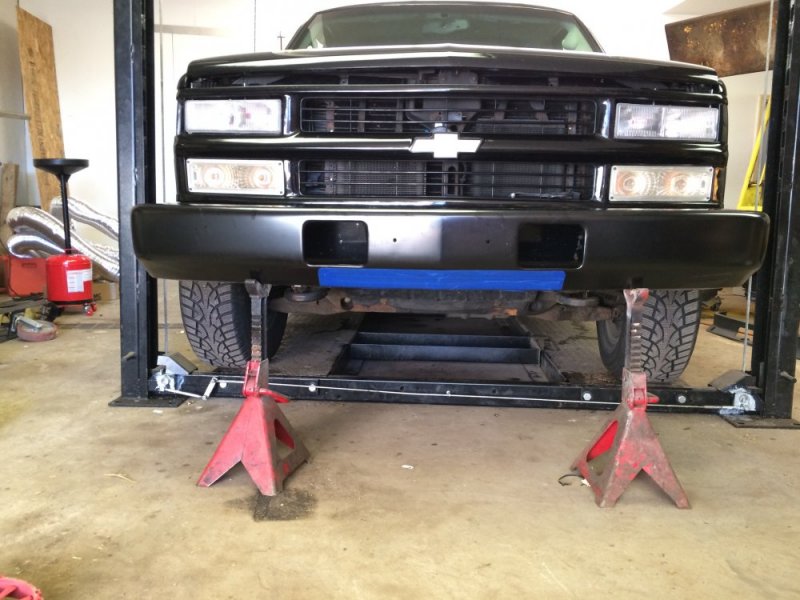
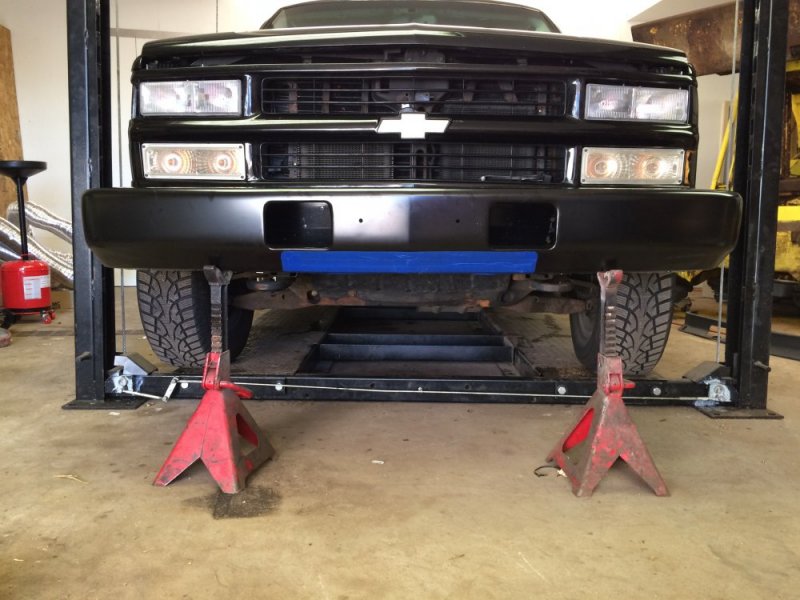
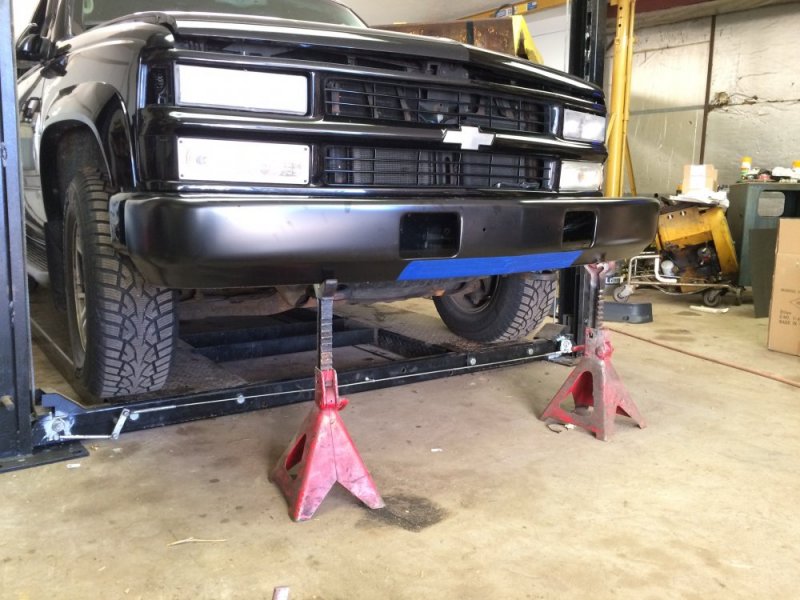
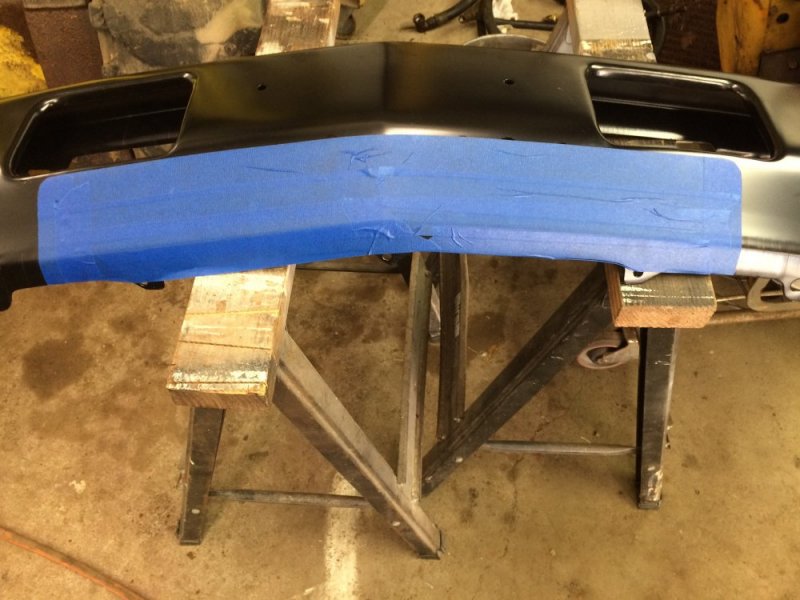
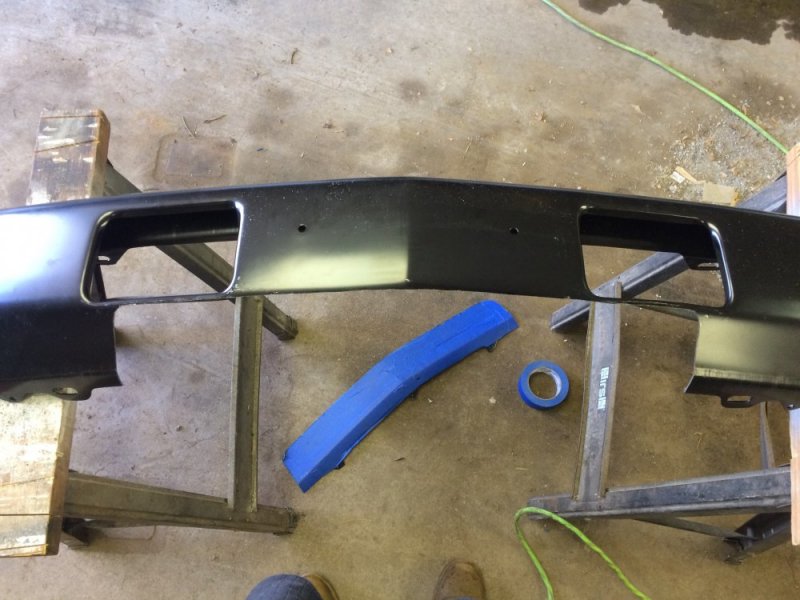
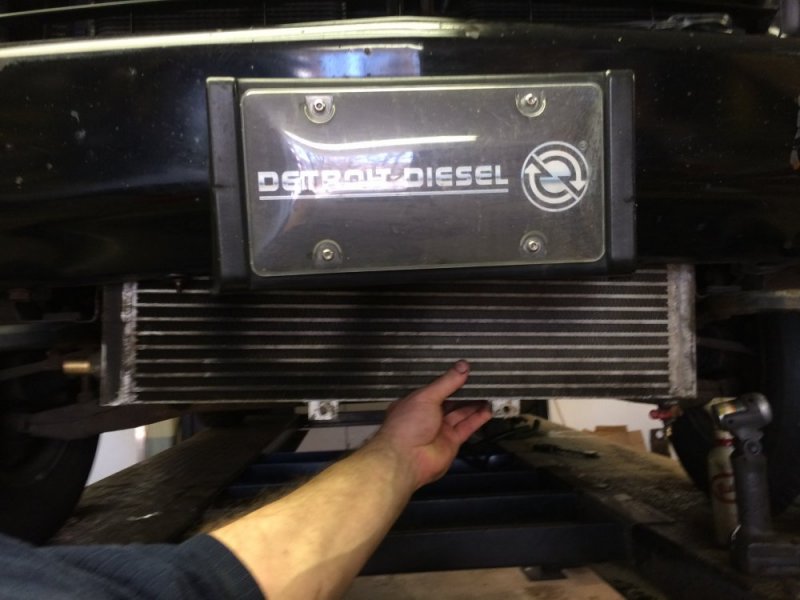
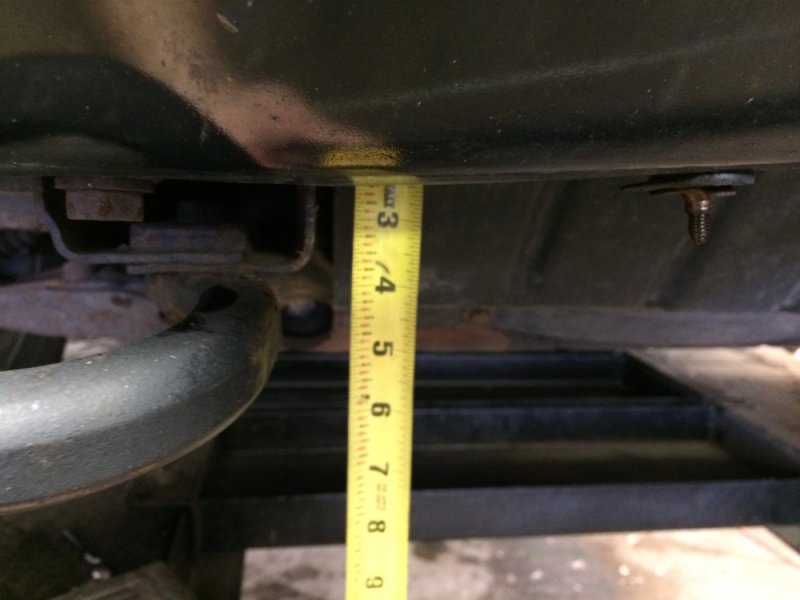
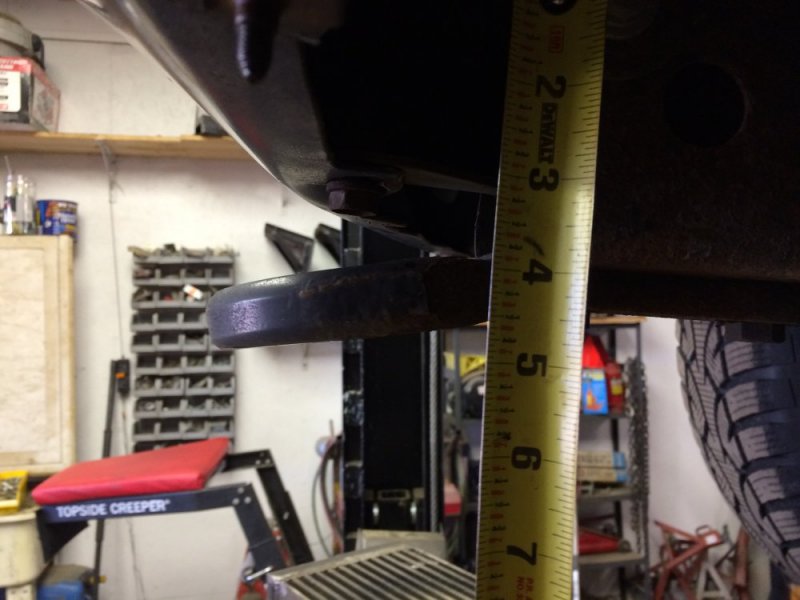
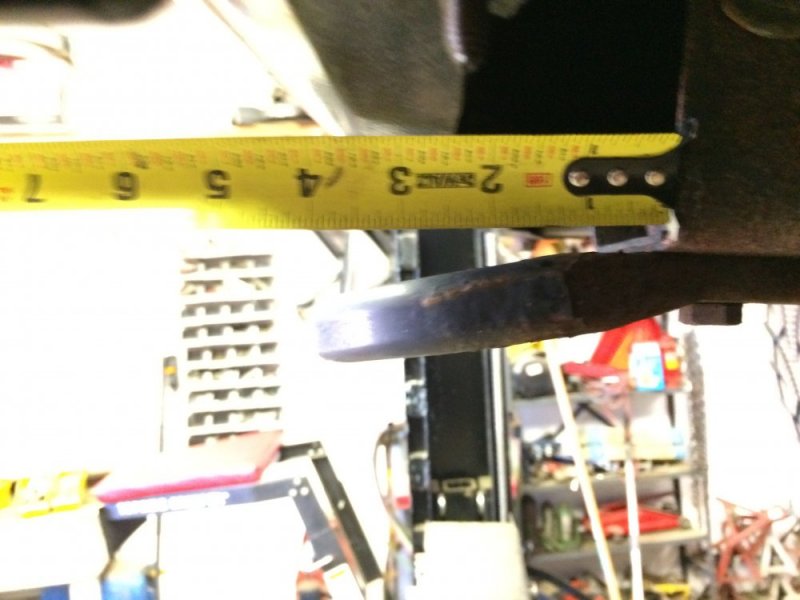
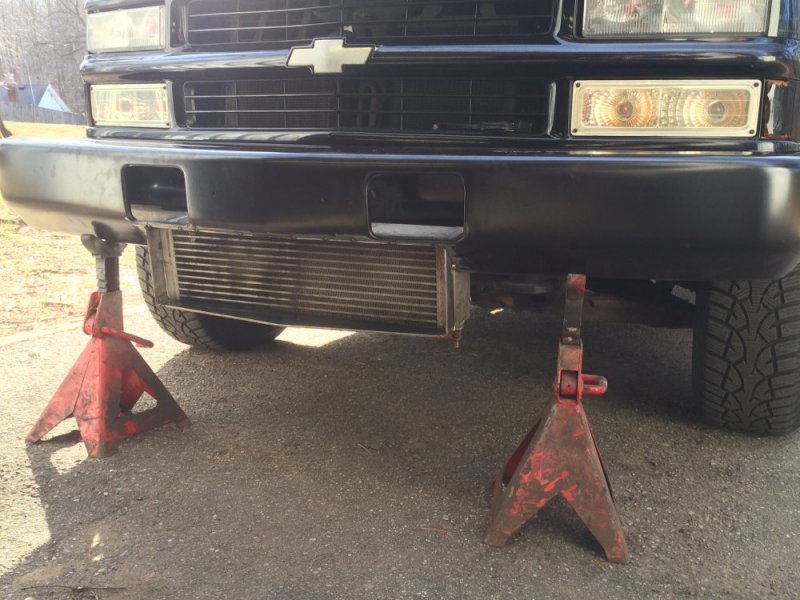
So here's the start. I bought a nee primered bumper from LMC. The radiator fits between the framerails and can go up a little over 2.5" behind the bumper. So that tells me about how much I need to cut out of the bumper. Around the radiator I will build a surrounding structure with a grill to protect it from damage. When all is said and done, it shouldn't be any lower than the factory wind deflector. I'll figure out later what I'm going to do about a deflector.



n8in8or
I never met a project I didn’t like
Nosferatu49534
Well-Known Member
I'm excited to see how it comes together. 
ak diesel driver
6.5 driver
I've looked at the chrome under bumper balance LMC sells thinking about an intercooler behind that. Downside is you'd probably lose the tow hooks.
n8in8or
I never met a project I didn’t like
I'm excited to see how it comes together.
Thanks, man.
I've looked at the chrome under bumper balance LMC sells thinking about an intercooler behind that. Downside is you'd probably lose the tow hooks.
Yeah I saw those too. You can also get an "SS" style plastic bumper cover that I thought could work, but since I can work in steel I figured it made sense to just make what I want. Now I just need to figure out what I want!
n8in8or
I never met a project I didn’t like
n8in8or
I never met a project I didn’t like
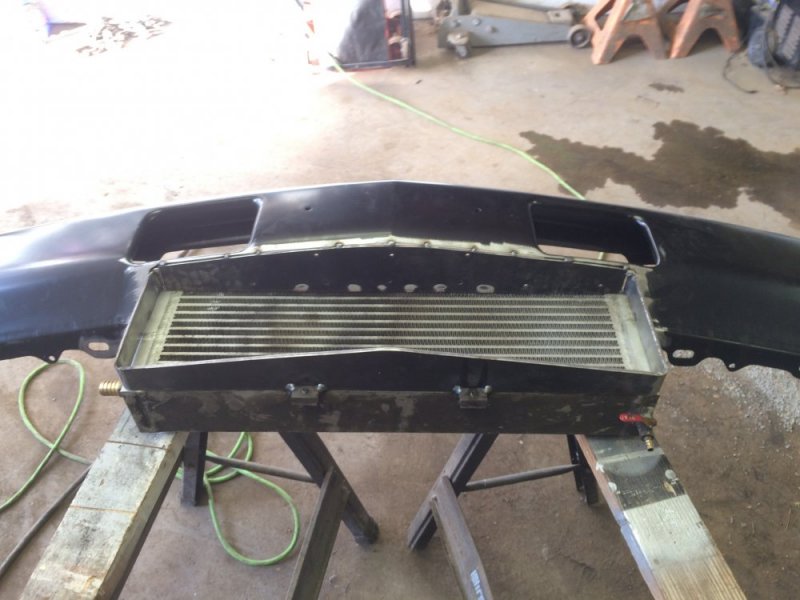
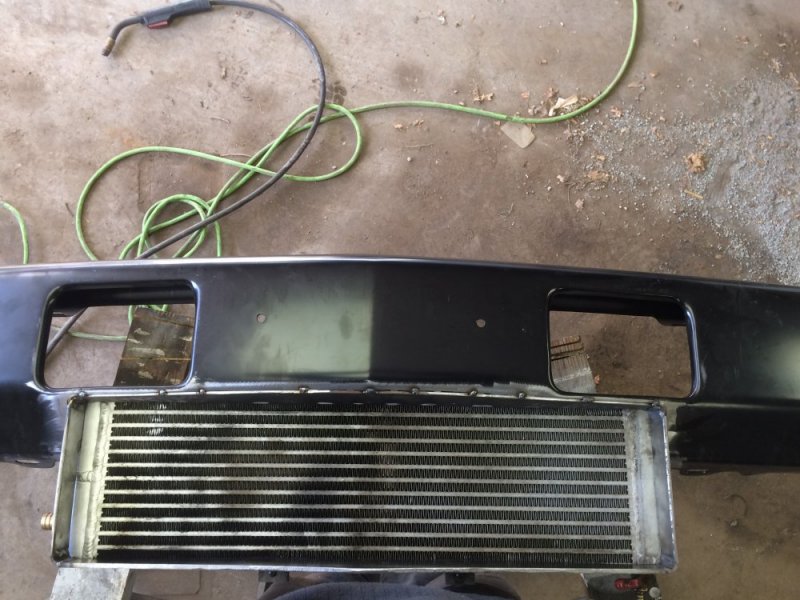
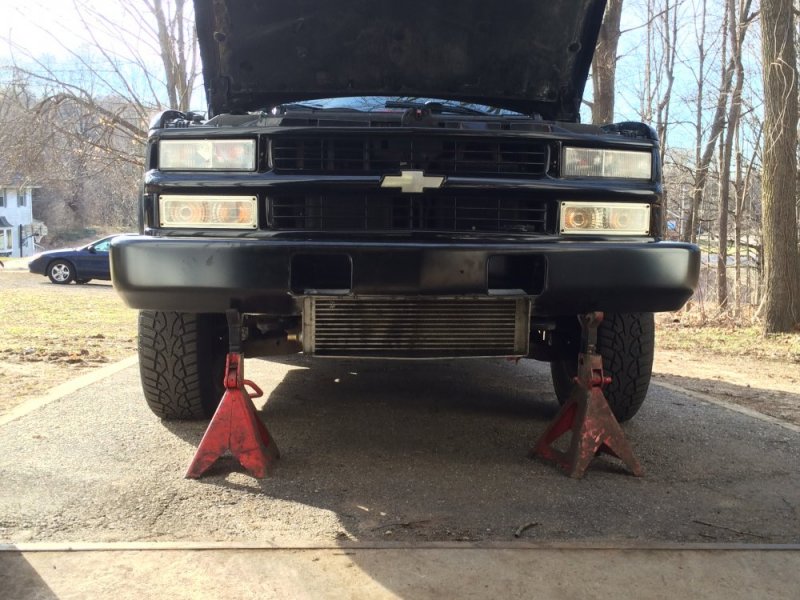
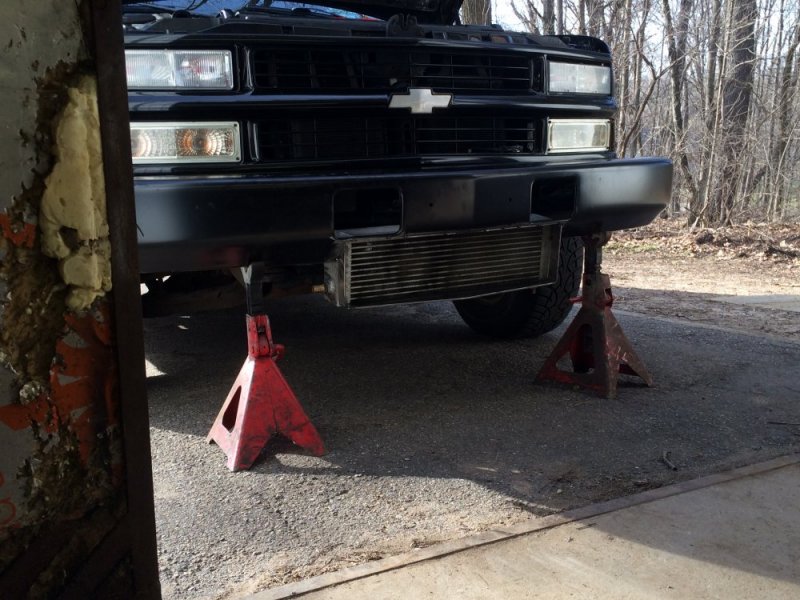
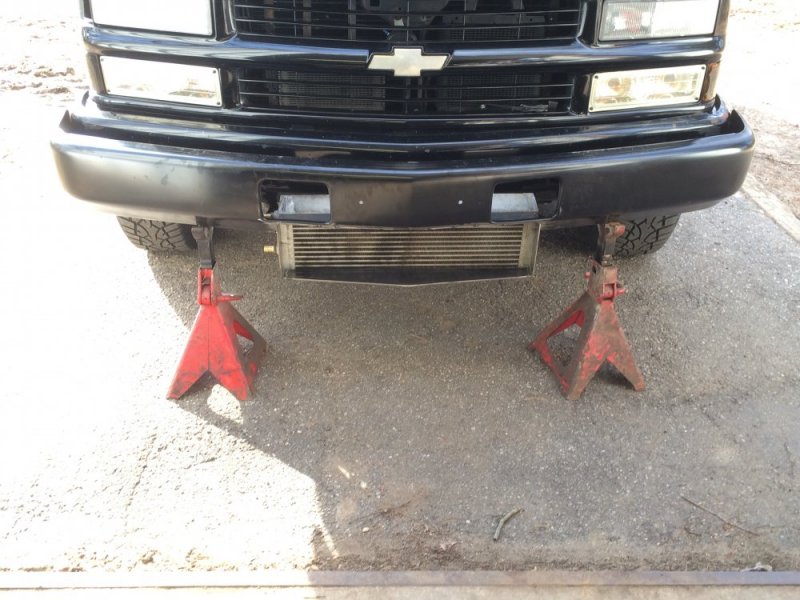
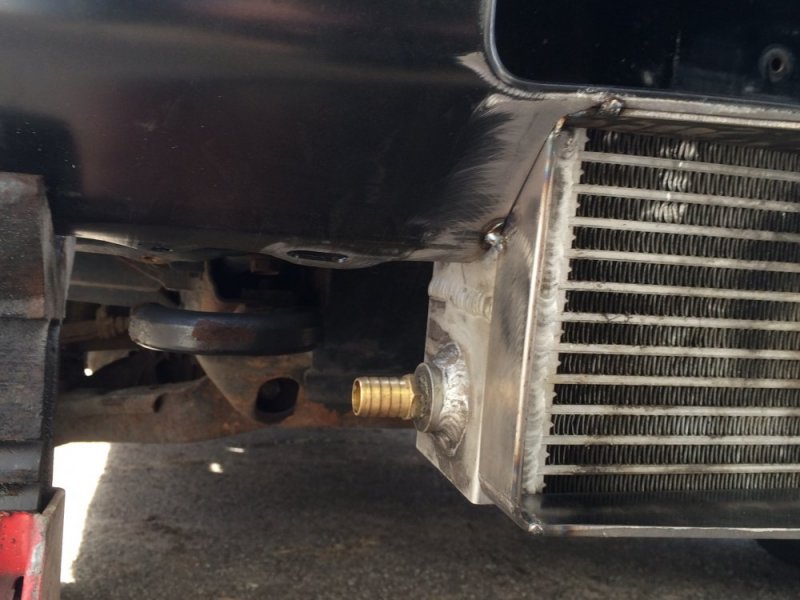
Ok, the opening is roughed in. I think it's turning out pretty well. It's actually been a lot more difficult than I expected, but it should be worth the effort. Next step will be "molding" the opening into the bumper - that's where I'm going to have to really think about how I want the finished product to look. The hooks are going to be a challenge for not only how the finished bumper looks, but also for plumbing. I think some elbows and maybe a hole saw will take care of all challenges. Oh I will also be removing the drain petcock and just put a plug there since it's hanging down kind of low. 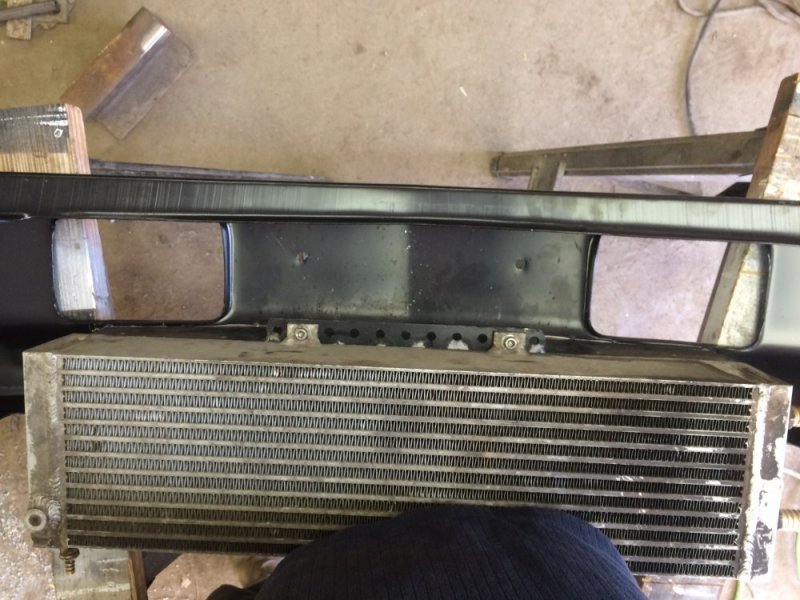


n8in8or
I never met a project I didn’t like
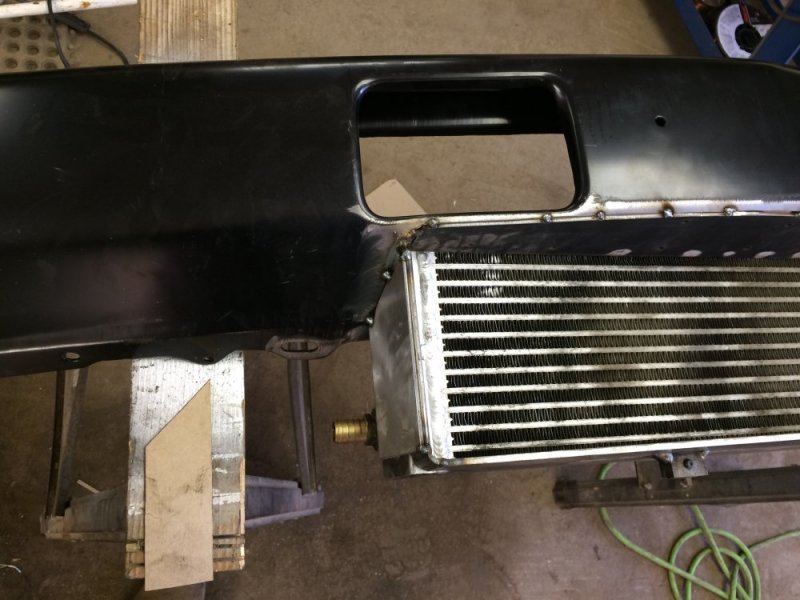
I started a little "molding". I made a couple pieces to the sides of the intercooler to make it look more integrated. I like it. I think this is all I'll do for molding. I think for the bottom of the rest of the bumper I'll just take a stock deflector and cut it. I can make brackets so that the piece that goes under the hook will be supported. If I don't like that, I can always make a metal piece that bolts on. This is it for today. 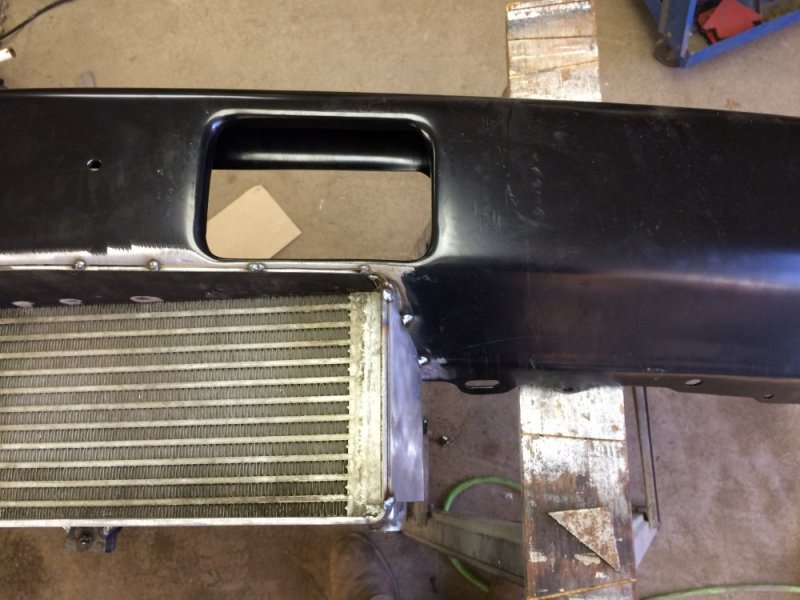
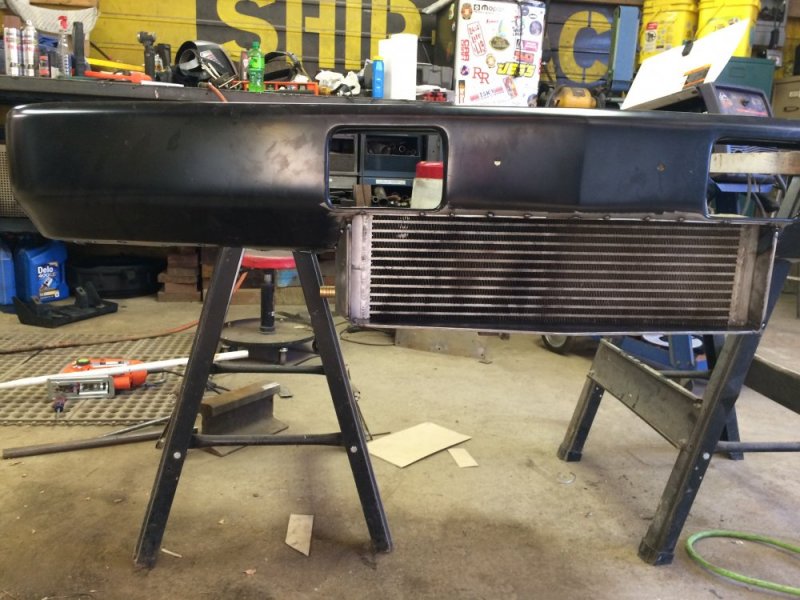
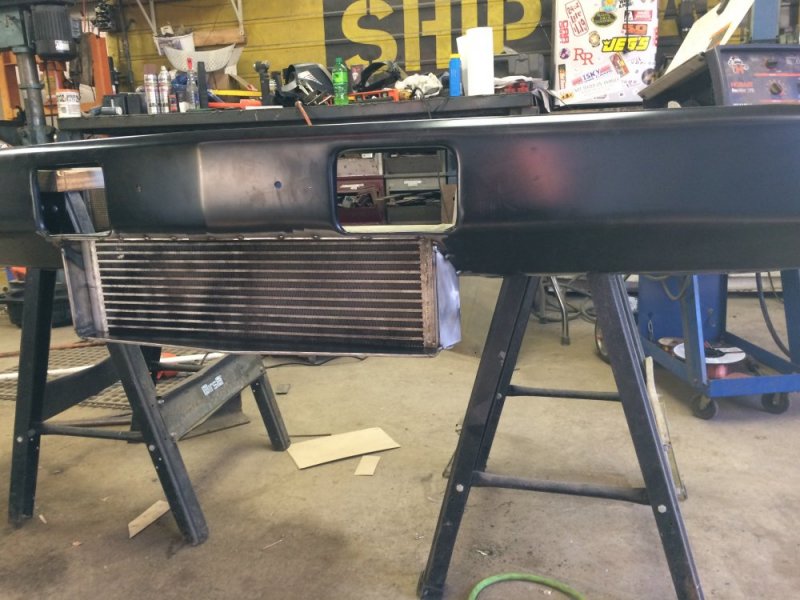


Nosferatu49534
Well-Known Member
Purely a question, could you rake the bottom back so it would kind of match the angle to the engine cross memeber/ the angle the bumper has? Give you some more ground clearance? Not sure if it would be worth it or not. Even if not it still looks sweet. 
Also I have an air dam from my Tahoe that has a cracked corner of you want it to mess around with for cutting.
Also I have an air dam from my Tahoe that has a cracked corner of you want it to mess around with for cutting.
n8in8or
I never met a project I didn’t like
I could possibly angle it, but I'm not sure how much would be gained. I know it doesn't like it in the pic, but it isn't any lower than the factory air dam, so I don't think height will be an issue. Plus I want it fully in the air stream to get cooled as much as possible. Thanks for the offer, but I have the air dam that came off the hoe to play with.Purely a question, could you rake the bottom back so it would kind of match the angle to the engine cross memeber/ the angle the bumper has? Give you some more ground clearance? Not sure if it would be worth it or not. Even if not it still looks sweet.
Also I have an air dam from my Tahoe that has a cracked corner of you want it to mess around with for cutting.
Nosferatu49534
Well-Known Member
That's good. I was just curious. 
n8in8or
I never met a project I didn’t like
I'm glad you asked. It's good to have extra eyes on it, in case there's something I missed!That's good. I was just curious.
Nosferatu49534
Well-Known Member
I love to live vicariously through others fabrication skills.  especially till I can get a good compressor and welder.
n8in8or
I never met a project I didn’t like
Yep, those are almost "must-have" tools. I use mine all the time.I love to live vicariously through others fabrication skills.especially till I can get a good compressor and welder.

FellowTraveler
Well-Known Member
Ok, the opening is roughed in. I think it's turning out pretty well. It's actually been a lot more difficult than I expected, but it should be worth the effort. Next step will be "molding" the opening into the bumper - that's where I'm going to have to really think about how I want the finished product to look. The hooks are going to be a challenge for not only how the finished bumper looks, but also for plumbing. I think some elbows and maybe a hole saw will take care of all challenges. Oh I will also be removing the drain petcock and just put a plug there since it's hanging down kind of low. View attachment 49381View attachment 49382View attachment 49383View attachment 49384View attachment 49385View attachment 49386View attachment 49387View attachment 49388View attachment 49389
If I may, you would be better served by reducing the area before that cooler and make it more efficient. The intake area should be only the same sq inches as the openings in your cooler between the cooling cross bars 'the area air actually flows through', you measure that open area then only have an intake opening that size "actually reverse of what most think is better."
When the area before the cooler is larger the airflow actually reverses because of the cross bars and side tanks and goes around the sides of the cooler at speed you will get some cooling but never near what you'd get with proper sized setup.
n8in8or
I never met a project I didn’t like
So if I made some pieces that angle in on the inside of the sides would that do it? I see what you're saying, and as I was looking at it last night I realized that I should have made the opening the width of the core, not the overall width of the unit.If I may, you would be better served by reducing the area before that cooler and make it more efficient. The intake area should be only the same sq inches as the openings in your cooler between the cooling cross bars 'the area air actually flows through', you measure that open area then only have an intake opening that size "actually reverse of what most think is better."
When the area before the cooler is larger the airflow actually reverses because of the cross bars and side tanks and goes around the sides of the cooler at speed you will get some cooling but never near what you'd get with proper sized setup.

