• Welcome to The Truck Stop! We see you haven't REGISTERED yet.

    Your truck knowledge is missing!
    • Registration is FREE , all we need is your birthday and email. (We don't share ANY data with ANYONE)
    • We have tons of knowledge here for your diesel truck!
    • Post your own topics and reply to existing threads to help others out!
    • NO ADS! The site is fully functional and ad free!
    CLICK HERE TO REGISTER!

    Problems registering? Click here to contact us!

    Already registered, but need a PASSWORD RESET? CLICK HERE TO RESET YOUR PASSWORD!

My Water to Air intercooler install

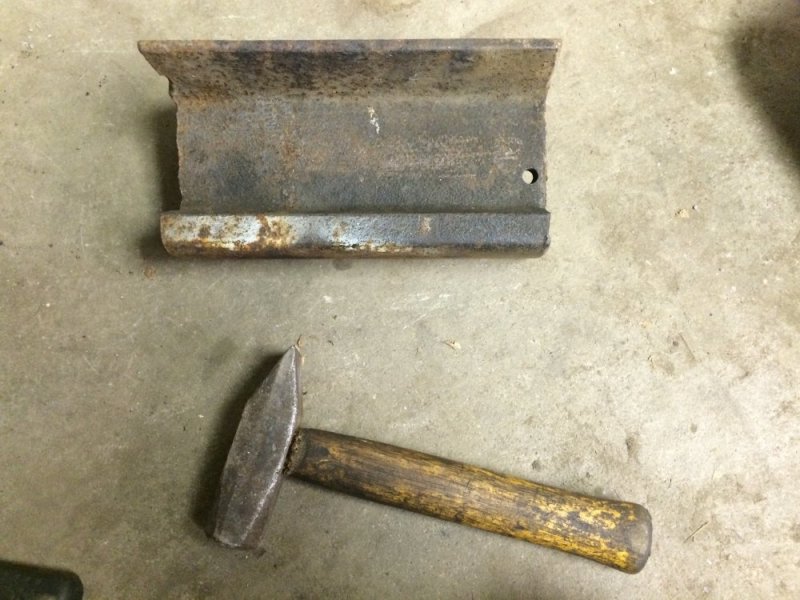
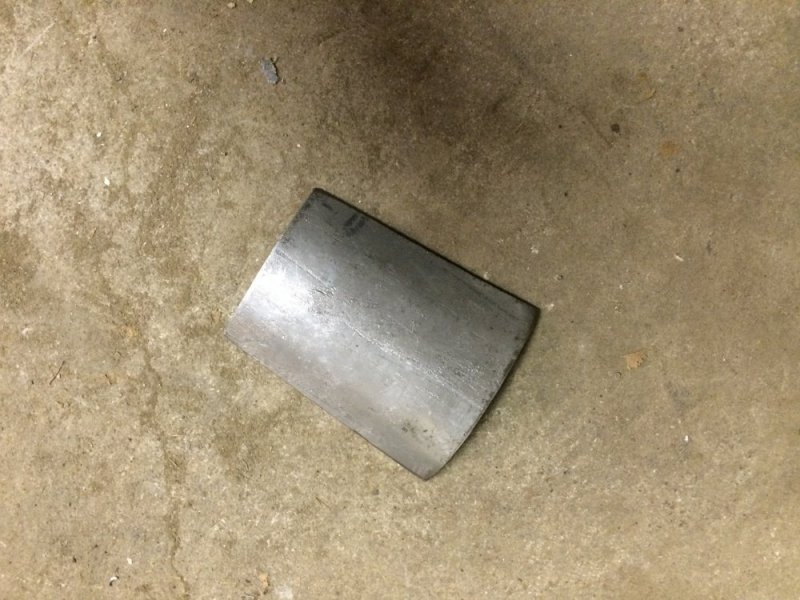
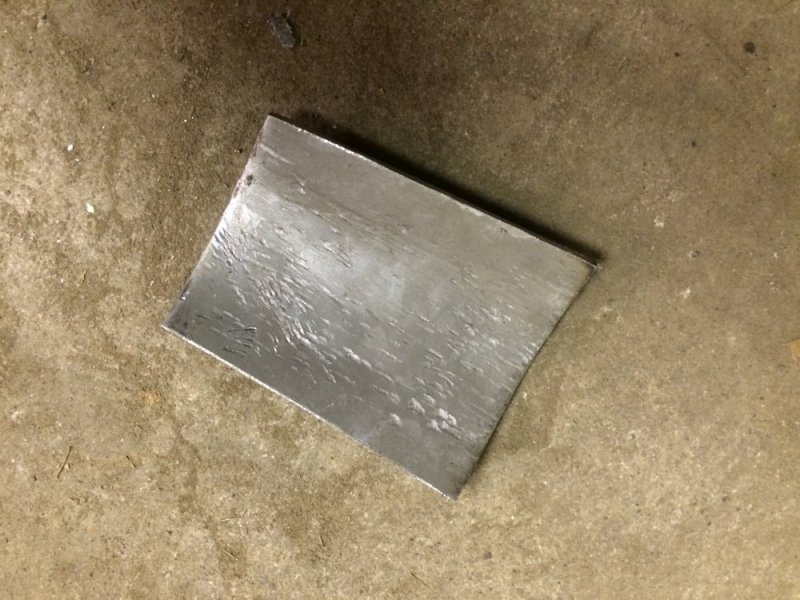
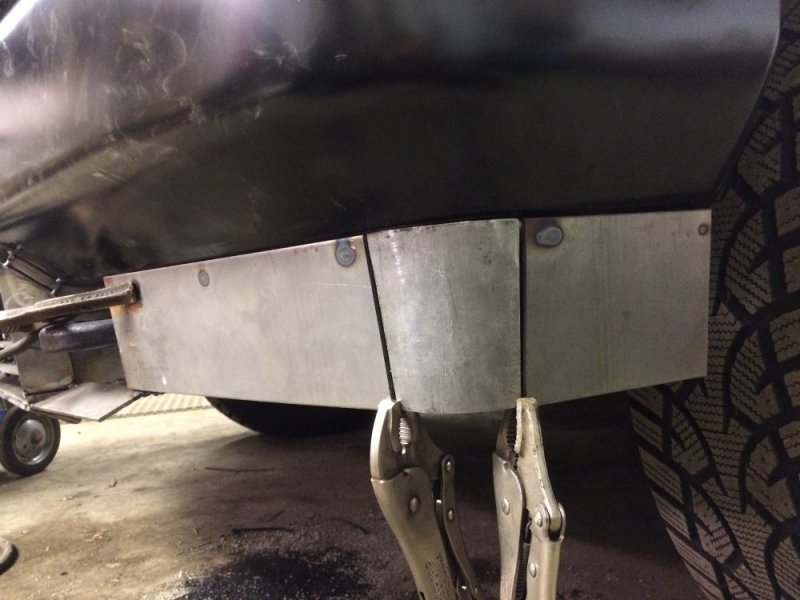
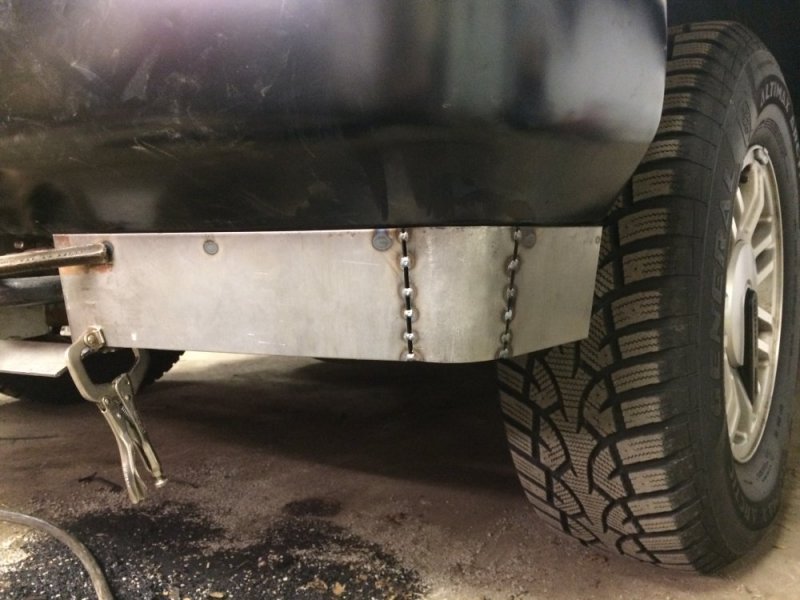
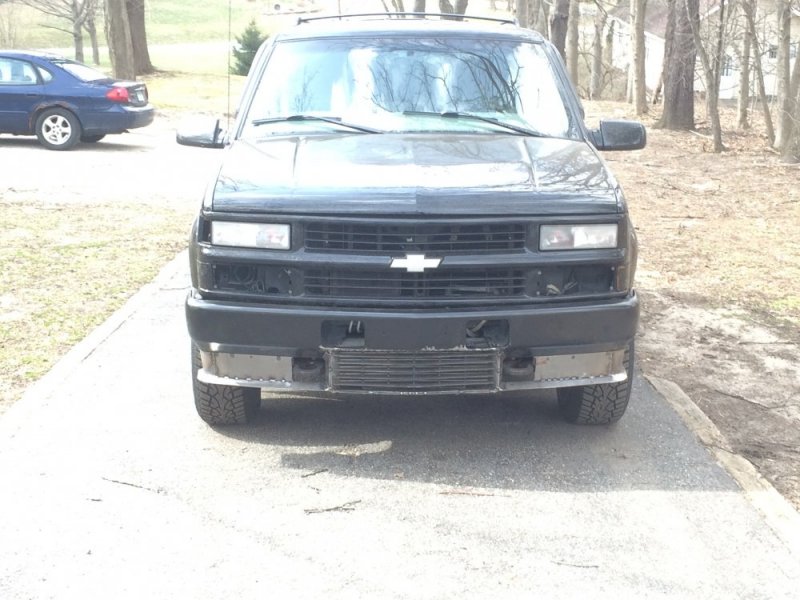
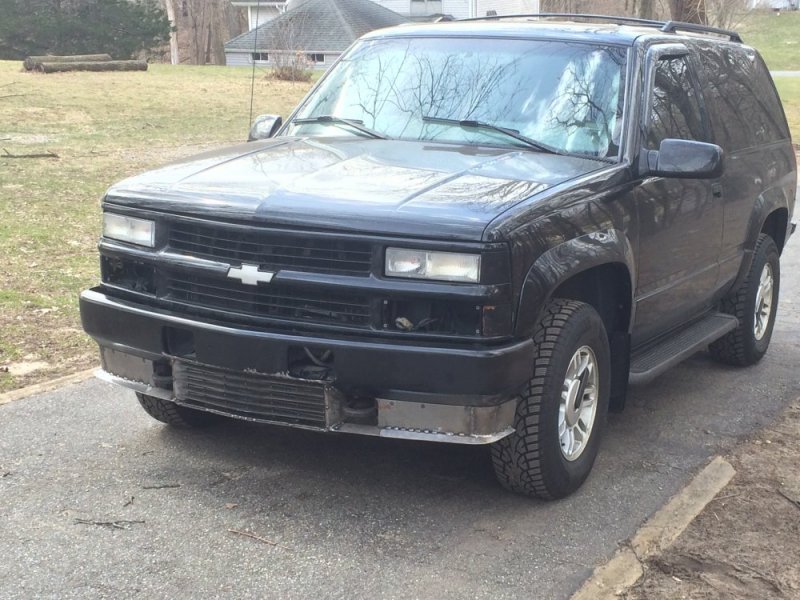
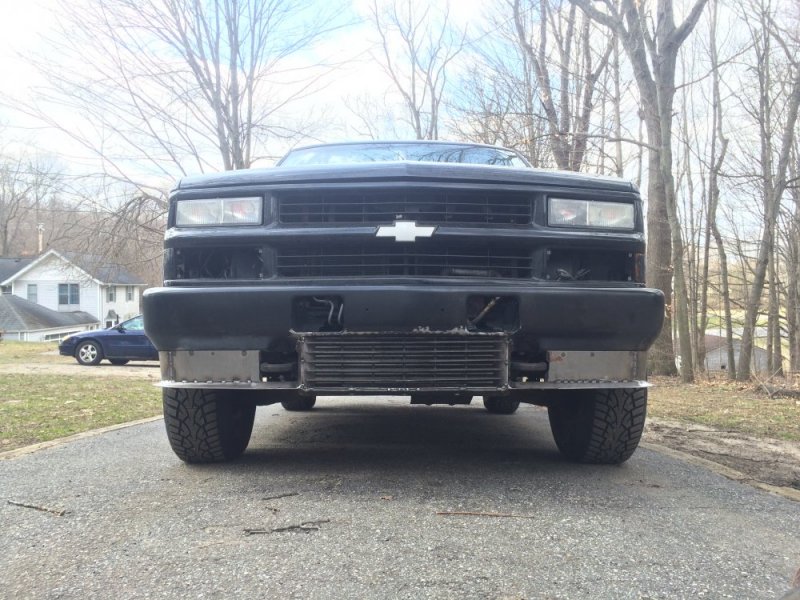
Corner piece is made. It took a little more than half an hour. I actually had too much radius in it at first so I to flatten it out some. Then I had to add some twist to it to get it to fit right, but I finally got it there. I used my improvised anvil (railroad track) and a cross pien hammer to get the shape and it worked pretty well. On to the splitter now. IMG_7865.JPGIMG_7866.JPGIMG_7867.JPGIMG_7868.JPGIMG_7869.JPG
 
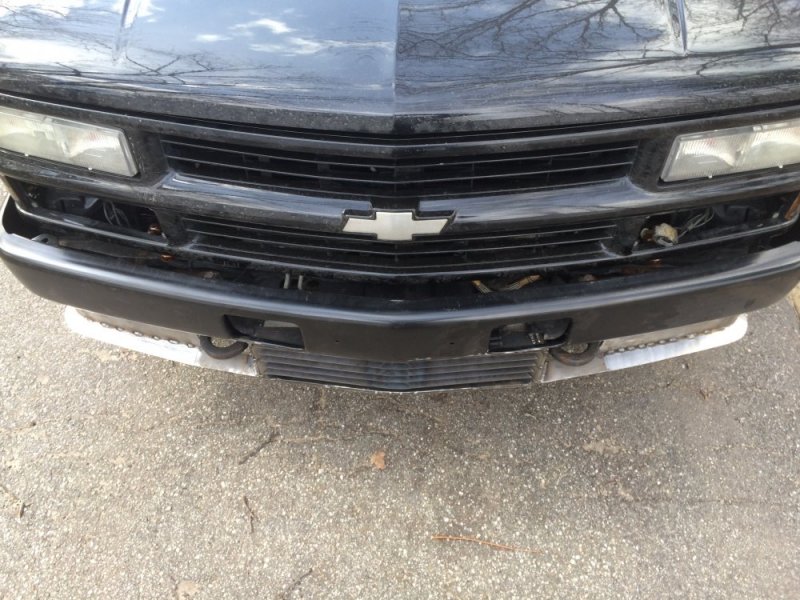
Done for today. I welded some of the joints up more so the pieces would be rigid enough for bumper removal. Once removed I did a little more finish welding around the hook holes. More tomorrow!IMG_7883.JPGIMG_7884.JPGIMG_7885.JPGIMG_7886.JPGIMG_7887.JPGIMG_7888.JPG
 
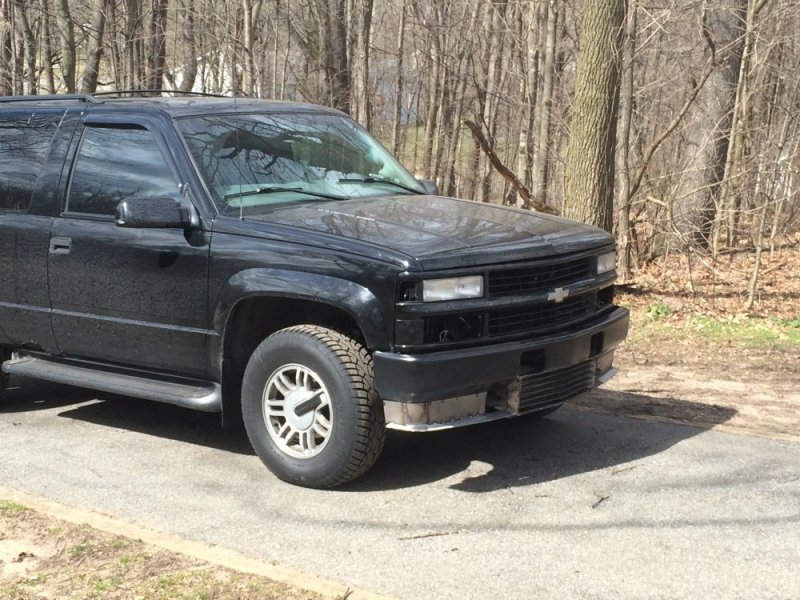
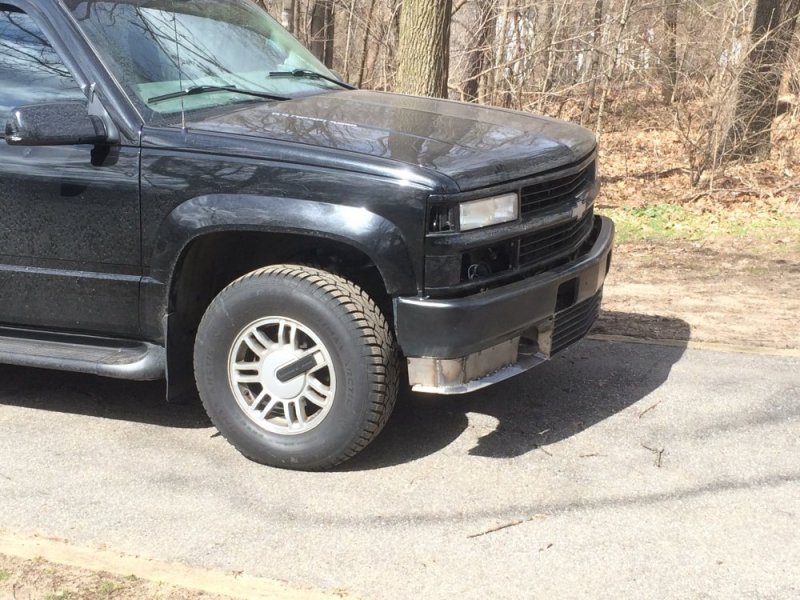
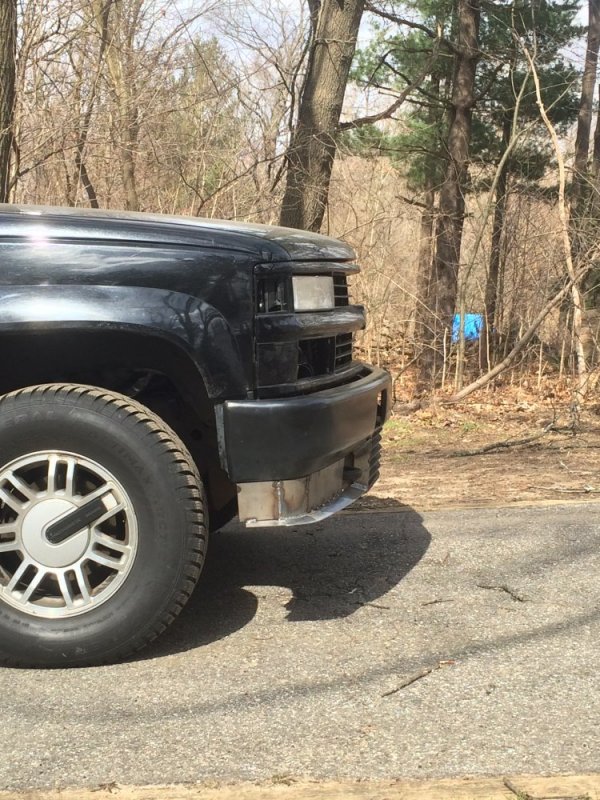
That's good and what I was thinking when I mentioned using the stock air dam . Flows much better and looks all tied in . Makes the cooler look like it belongs there and not just hanging out in the wind .

As a bonus , you could put some rings along the bottom of the dam and add a section for a snow plow . Went to WMU back in the late 70's and we had some good snow storms .
Thanks! Yeah it took a bit, but now you guys can see what I was seeing in my brain.

A snow plow, there you go! We had a couple wicked winters here 2 and 3 years ago. Last winter was normal and this year we haven't had any appreciable snow since early January. So yeah....were you here for the blizzard of 78? I was too young to remember, but I've seen pictures.
 
Spiffy! What you need to do is paint shark's teeth along the air dam and around the radiator housing so it looks like a P-40 Warhawk!
 
Yes , I was there in 78 . Lived off campus that winter , one roommate would disappear for a couple days making money plowing snow . Once he had to have a truck repaired . Went to the guys house and he had made a snow blower with a 2300 Pinto engine for power . Drove on packed snow till maybe end of March . Could reach up and touch the street signs . Now I live in Maryland , chance of snow and they close schools . WTH !
 
Other side is done. I'm very, very pleased with the outcome so far!! Time for some lunch then I'm pulling the bumper so I can start finishing the parts out. One of the things I need to finish is the hook hole openings. I deliberately made the metal oversize so I could trim it and add radii during the finishing phase. I colored in the basic shape with marker so you could see the concept. IMG_7892.JPGIMG_7893.JPGIMG_7895.JPGIMG_7896.JPGIMG_7898.JPGIMG_7899.JPGIMG_7901.JPG
 
I would still want to build something stout to protect the bottom edge of that radiator from contact.
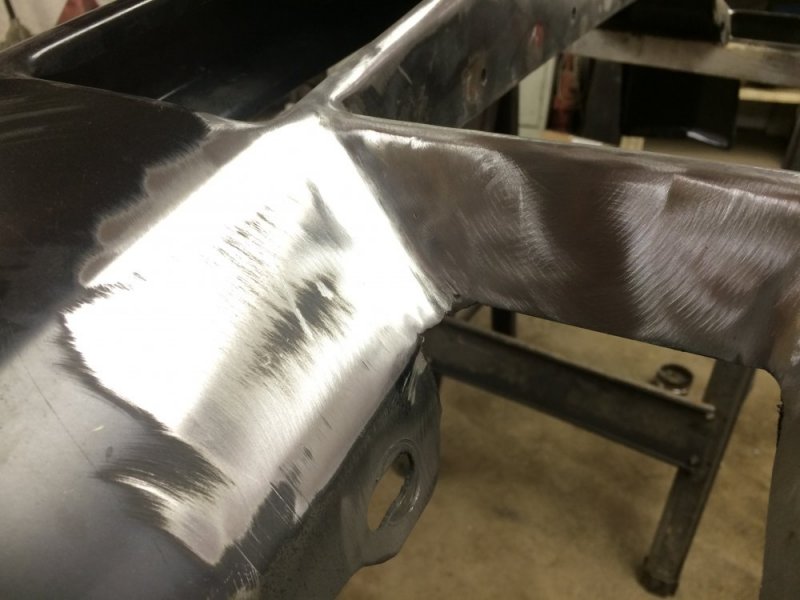
The bottom of the radiator surround has a 1/4" plate welded to it and the surround itself is 3/16" thick. So, the surround itself is strong enough, but it's only as strong as the weakest link....which is the bumper itself, so i think I will make some struts that go from the radiator surround to the frame to add that additional strength.
 
3 hours of welding and grinding. The bumper is a lot closer to being done, though it's the final details that I expect will take a long time to finish. I also got the deflector pieces welded out, but no grinding yet, so lots of time to be spent there as well. IMG_7902.JPGIMG_7903.JPGIMG_7904.JPGIMG_7905.JPGIMG_7906.JPGIMG_7907.JPG
 
Those struts should help a lot. Remember, while aesthetics are important (and it is), your whole original purpose was to relocate the CAC radiator to a location with better air flow and to protect that vital radiator. Looks like you're doing a great job of all three, Nate. Location, looks and protection!
 
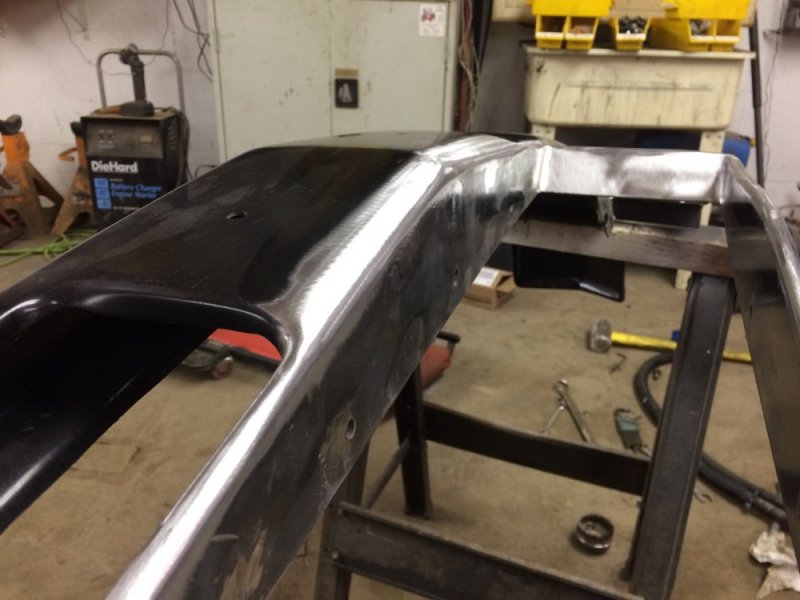
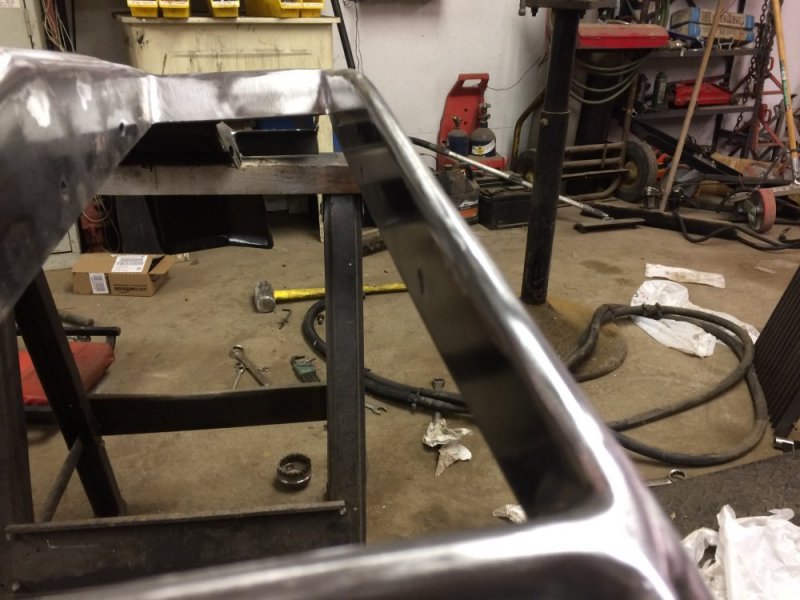
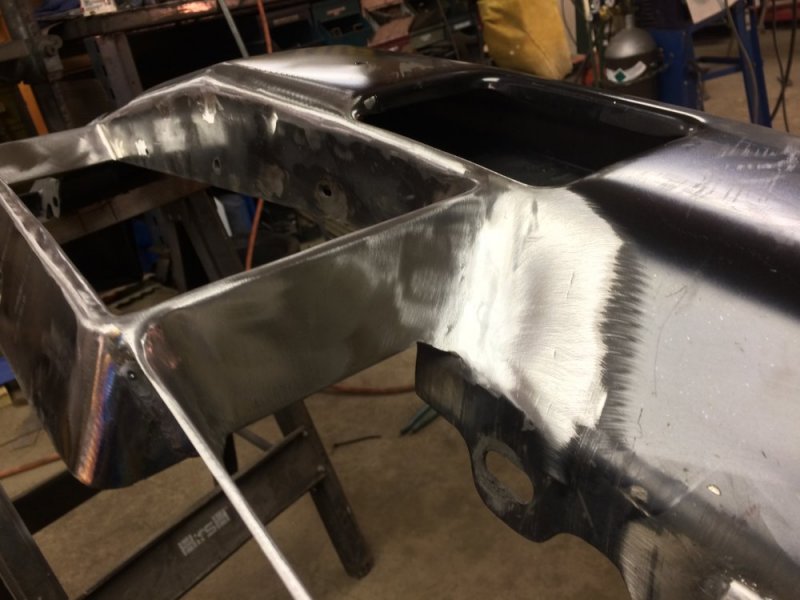
I spent about an hour with the welder, flap grinding wheel and Roloc disc. It's getting really close to done. There are still some imperfections, but I think rather than chase them to the nth degree, I need to draw the line soon. I have to keep in mind that I'm not building a show truck, I'm building a daily driver. It's going to get knicked, scratched and dinged so I can't make it so perfect that the first stone chip makes me cry. I'm to a point where it won't take any plastic filler, but I may use a little primer filler. When I call it done I'm going to have it all blasted to clean it up, then I'm going to send it out to be e-coated through work. The e-coat will be a great base coating that should also fill in some small imperfections, but then again handling may add some more imperfections.....so again, I can't fret too much right now. So a little more work on the bumper then on to the deflectors. IMG_7910.JPGIMG_7911.JPGIMG_7912.JPGIMG_7914.JPG
 
Looking great, Nate! Considered LineX'ing the whole thing in flat or semigloss black when you're done with the metalwork/priming? It would end any worries of rock chips or spot rusting.
 
Back
Top