• Welcome to The Truck Stop! We see you haven't REGISTERED yet.

    Your truck knowledge is missing!
    • Registration is FREE , all we need is your birthday and email. (We don't share ANY data with ANYONE)
    • We have tons of knowledge here for your diesel truck!
    • Post your own topics and reply to existing threads to help others out!
    • NO ADS! The site is fully functional and ad free!
    CLICK HERE TO REGISTER!

    Problems registering? Click here to contact us!

    Already registered, but need a PASSWORD RESET? CLICK HERE TO RESET YOUR PASSWORD!

Electric Fan clutch

So just got off the phone with my buddy and the fan clutch/fan setup worked flawlessly. His trailer weighed 9k. He took it up the hill out of Fairbanks which though not super steep is pretty long as in several miles. And no heat issues whatsoever.

Just curious, 9K# worth of open or closed trailer?
 
Flatbed with round hay bales

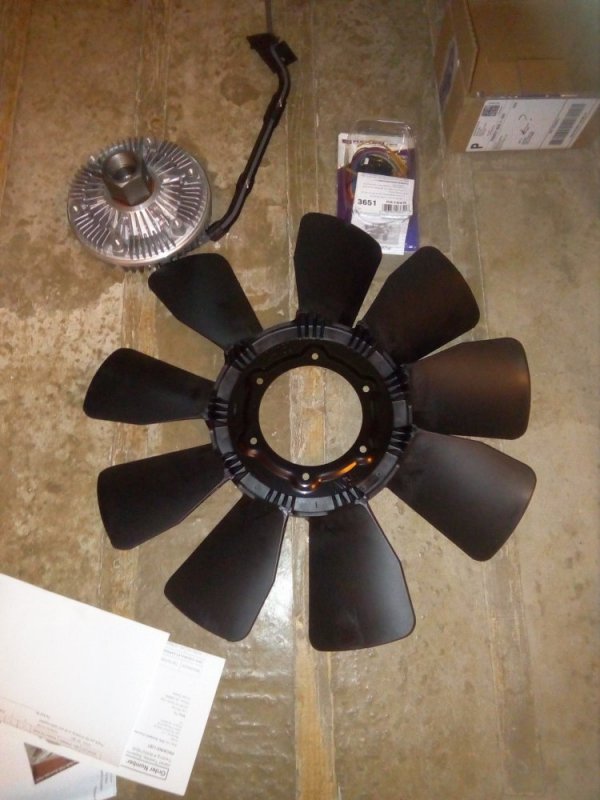
2010 CHEVROLET EXPRESS 3500 6.6L V8 DIESEL Turbocharged

ACDELCO

20788261

Radiator Fan Clutch

$ 124.79

$ 0.00

1

$ 124.79

ACDELCO

1580920 (15-80920)

Radiator Fan Blade

$ 35.99

$ 0.00

1

$ 35.99

HAYDEN

3651

Cooling Fan Controller

$ 26.89

$ 0.00

1

$ 26.89

Discount


$ -9.38

Shipping

Priority Mail, DHL Domestic Express

$ 60.98

Order Total


$ 239.27
 
Flatbed with round hay bales

I'd say that counts as closed :)


How were the controller and EV clutch mated? Splice-N-Dice or with a connector made for the clutch's connector?

And remind me please. Noticed that the fan controller looked like it had a hard-wired thread-in thermostat probe. What port did the probe thread into?
 
My buddy did the slice and dice as you put it. I'll be doing a connector of some sort. As far as the probe it's in the head on the passenger side, it's the same hole as the dash gauge uses but since it's on the opposite side it's directly over the number 8 cylinder.
 
I've thought about doing that, too. Using the pipe plugged PS head port to install a sender to monitor "head temp" vs. the DS sender which is "engine temp" to spot hot running quicker. Besides, there is no such thing as having too many gauges as long as you can find somewhere to put them. Lets see, three in a pillar pod, a couple in a dash pod, one in a steering column pod, three in the Burb's overhead console. . .
 
Am curious as to whether it is possible to feed a gauge *and* a fan control from the same sending unit. Thoughts?

Specifically, if the same sending unit splits the line and feeds both a gauge and fan control (wired in parallel), is there any issue with loss of current that will mess with the function of either component?

Rational is that I can already see two temperature inputs (above #1 via the dash gauge and at the crossover via the Edge which reads the PCM) and want to see the third location (above #8) as well. If splitting one sending unit will work, it adds a bonus of immediately knowing when the sending unit fails and allows for temporarily moving fan control over to one of the surviving sending units.
 
@JayTheCPA There are a number of temp sensors that a dual "port" finding the one with the correct range and method of install might be a trick. I know VW uses them.
 
Am curious as to whether it is possible to feed a gauge *and* a fan control from the same sending unit. Thoughts?

Specifically, if the same sending unit splits the line and feeds both a gauge and fan control (wired in parallel), is there any issue with loss of current that will mess with the function of either component?

Rational is that I can already see two temperature inputs (above #1 via the dash gauge and at the crossover via the Edge which reads the PCM) and want to see the third location (above #8) as well. If splitting one sending unit will work, it adds a bonus of immediately knowing when the sending unit fails and allows for temporarily moving fan control over to one of the surviving sending units.
There is a GM temp sender/cts available. It has 3 wires, 2 for the ecm or pcm input, and another for the gauge. They used them in mid 90's camaro's, 4 cylinder s-10's, and a few others. I've got one sitting on top of my tool box.
 
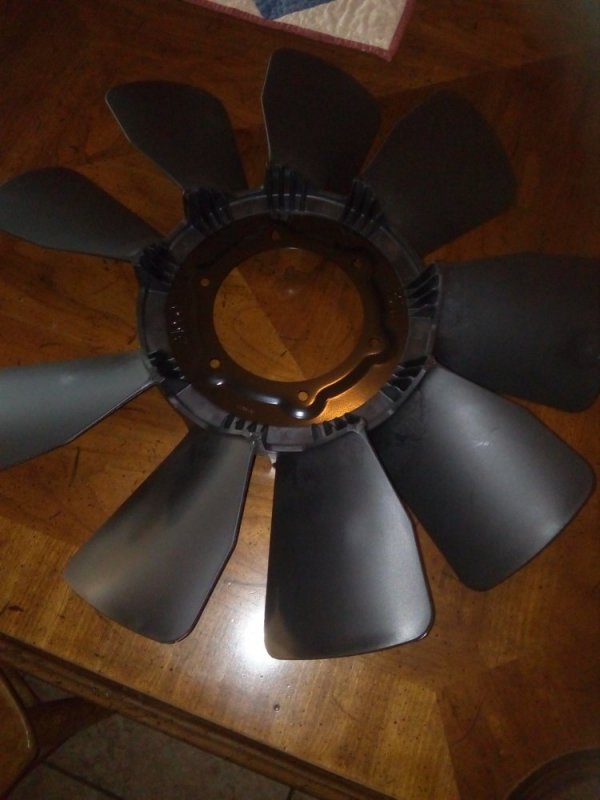
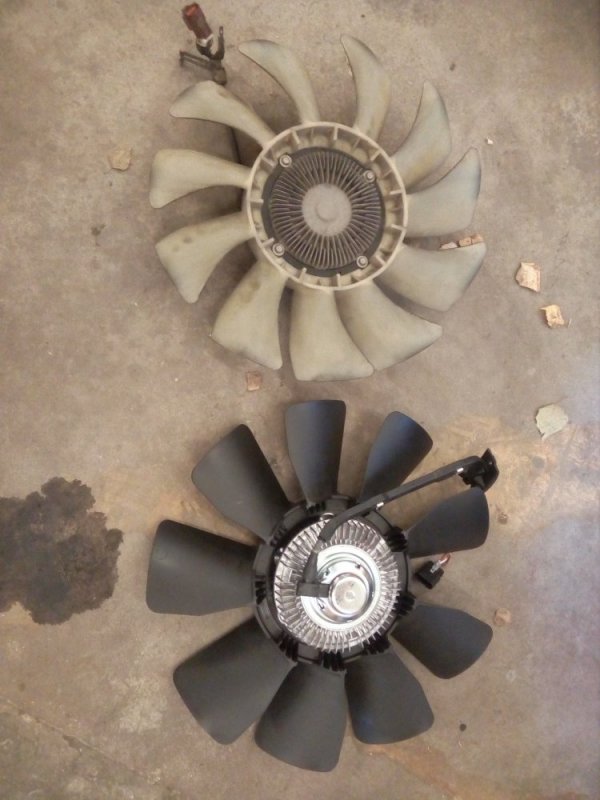
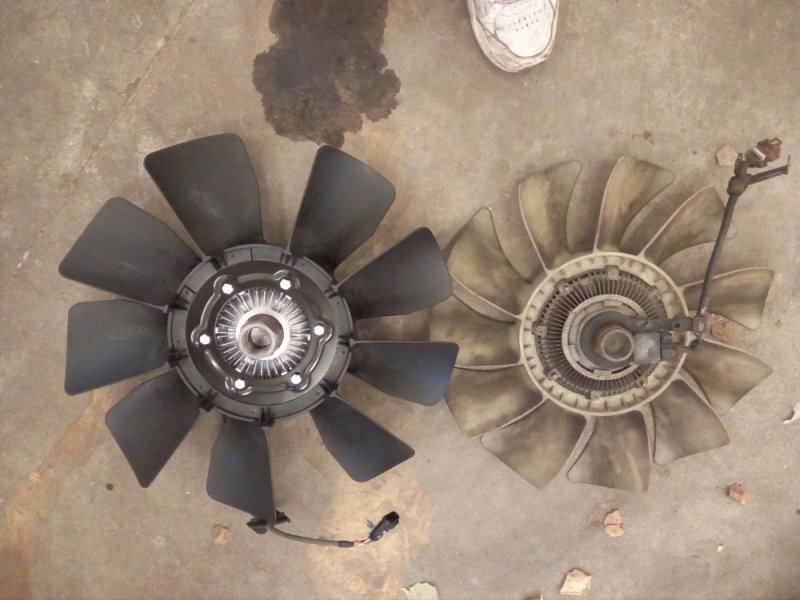
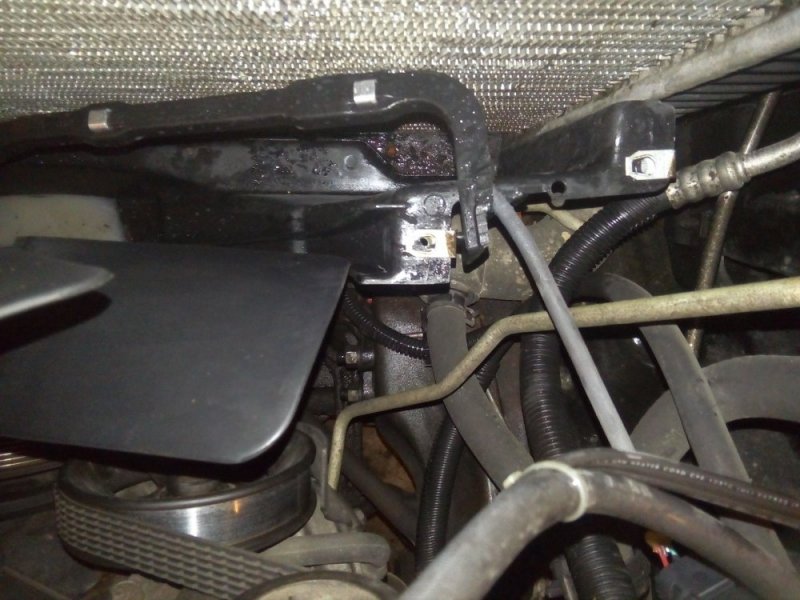
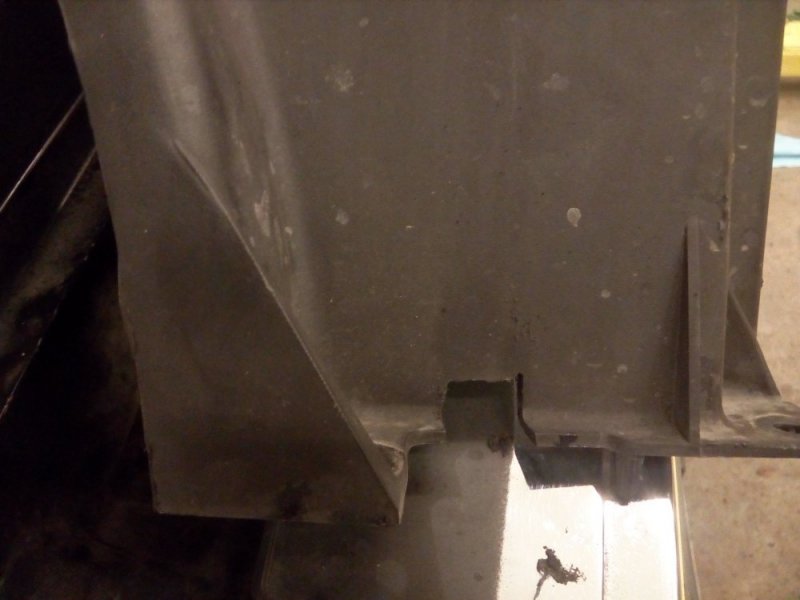
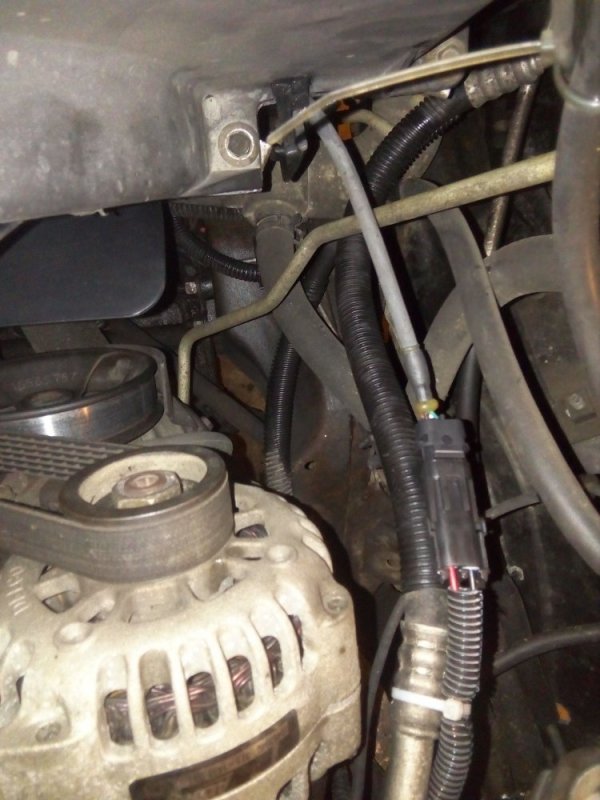
Installed the fan clutch and fan today. Was going to buy some weather pack connectors from Leroy but I ended up buying a complete kit instead. I have several things to wire up. I think it turned out to be a pretty clean install.View attachment 50971 View attachment 50972 View attachment 50973 View attachment 50974 View attachment 50975

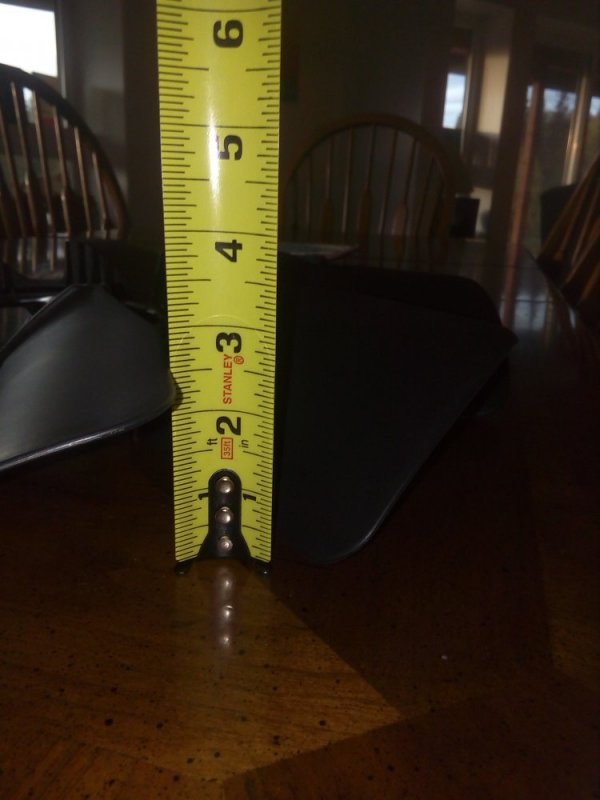
You need a spacer or different shroud to get the fan back into the correct position of: "...the position of the fan blades in the shroud is very important to maximize airflow. Looking from the side of the engine, the fan blades should be half in and half out of the shroud."

https://www.flex-a-lite.com/blog/the-perfect-fan-shroud-position/

The fan doesn't work very well out of position, period.
It is the same exact depth that all of the spin on fan clutch 6.5's with a duramax fan blade is. The difference is I believe he has a late build 6.5l, and GM changed fan shrouds sometime in 98/99 to a shroud that sits closer to the radiator. The 20" steel fan blade I believe stuck out a bit more forward so GM could use the 454 shroud. Somebody else ran into this on FB with his 99 6.5l where it has a 454 shroud in it. He was looking for an earlier shroud to put the standard thermal fan clutch duramax fan blade combo in a better position. So anybody who runs a duramax fan blade with a late shroud will lose some depth into the shroud. It's not ideal, but it is what it is.
 
Last edited:
Back
Top