Something I recently learned a out primer... difference of a primer and paint is primers leave tons of microscopic holes through it, and layers like a honeycomb. The key desired point of primer is to bond the top layer paint through the primer and to the base material. That's how it bonds the paint better than not having primer.
Unfortunately I learned this because we would primer stuff, and the primer didn't seem to withstand the sun or something and wear out allowing rust to start. Turns out, the rust was starting almost right away underneath the primer and letting it grow through the primer. Since things don't rust quickly here this was a slow lesson learned before I did research to understand what was happening. So when primering anything know that you are. Ot really buying ny time before needing to paint. Oops.
I'm guessing most of you all in the rusty areas knew this, but just incase there is someone in a drier place than me-Idk- Death Valley maybe? haha

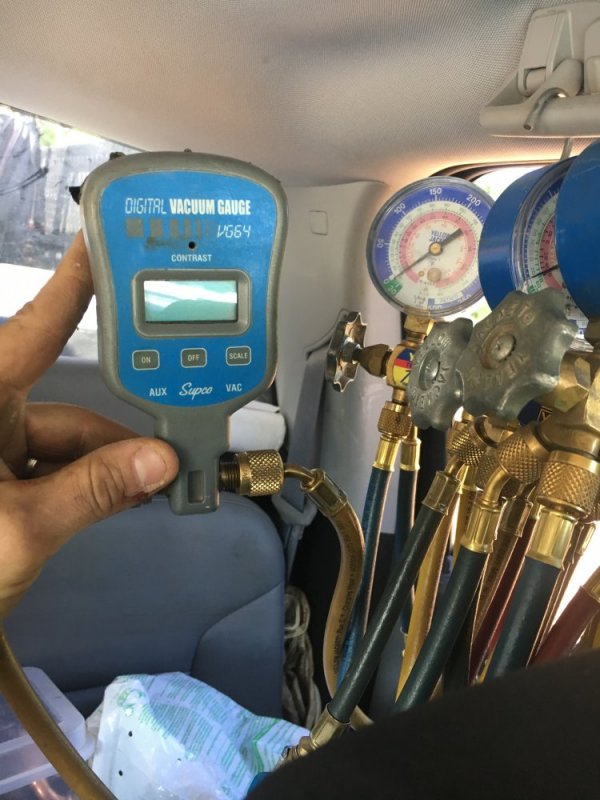
 since you have a vacuum pump and gauges then it would be worth investing in a micron gauge like this. Especially if you have to do a couple vehicles. Pull it down to 500 microns and you've got a real good dry vacuum. I paid about $100 at the local HVAC parts house the last time I bought one.