• Welcome to The Truck Stop! We see you haven't REGISTERED yet.

    Your truck knowledge is missing!
    • Registration is FREE , all we need is your birthday and email. (We don't share ANY data with ANYONE)
    • We have tons of knowledge here for your diesel truck!
    • Post your own topics and reply to existing threads to help others out!
    • NO ADS! The site is fully functional and ad free!
    CLICK HERE TO REGISTER!

    Problems registering? Click here to contact us!

    Already registered, but need a PASSWORD RESET? CLICK HERE TO RESET YOUR PASSWORD!

1990 F350 4x4 7.3 IDI

I'd rather have a GM but I know how this Ford was driven and maintained so I think it will make a good truck for my wife to pull a horse trailer around
 
That vacuum switch is a safety, it doesn't actually cancel the cruise. It's there so in the event your brake lights fuse pops, it cuts the vacuum to the actual servo. They did this back when brake switches were just 1 set of contacts. Once we started using switches with 2 and 3 sets, they did away with them. Jeep used the same cruise control with the yellow control box under the dash. I retrofitted one to my 88 comanche 5 speed, and being paranoid ocd me, I also added one to the clutch pedal. I set it up so it was just a vacuum switch on the clutch pedal, you could push the clutch in, cruise kicked out, shift, and the cruise came back in as soon as you let the clutch back out.
 
That vacuum switch is a safety, it doesn't actually cancel the cruise. It's there so in the event your brake lights fuse pops, it cuts the vacuum to the actual servo. They did this back when brake switches were just 1 set of contacts. Once we started using switches with 2 and 3 sets, they did away with them. Jeep used the same cruise control with the yellow control box under the dash. I retrofitted one to my 88 comanche 5 speed, and being paranoid ocd me, I also added one to the clutch pedal. I set it up so it was just a vacuum switch on the clutch pedal, you could push the clutch in, cruise kicked out, shift, and the cruise came back in as soon as you let the clutch back out.
I like your clutch pedal idea there.
 
I only had an hour to work on it today so I only got the new power steering pump installed and the pressure hoses. I should be able to do the return hoses tomorrow. IMG_8778.JPG
 
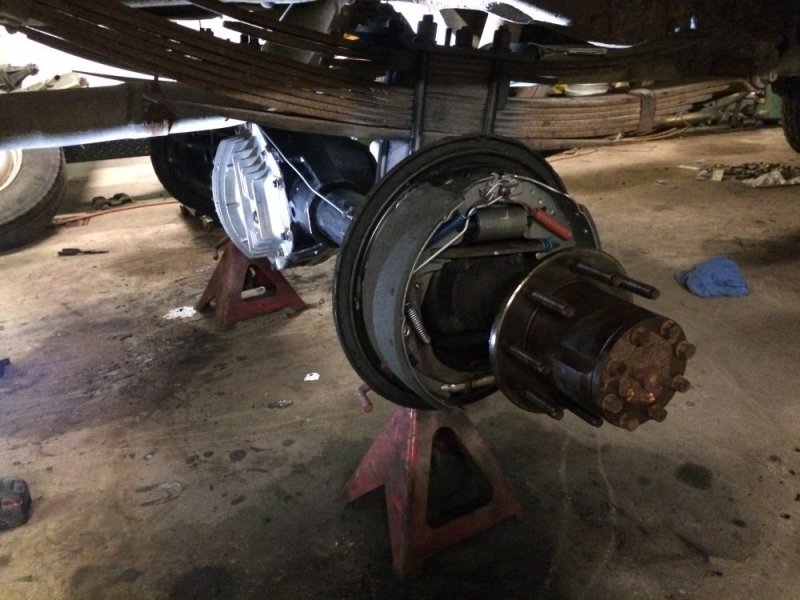
I've been doing brake stuff this week. I deleted the factory rear wheel abs unit and ran new hard lines to the back. I took the rear brakes of the Dana 80 apart and found the greasiest brakes I have ever worked on. The bearings were out of adjustment too, so the hubs definitely had to come apart. Once I saw that it got me thinking about swapping the hubs - the dually wheels are hub-centric and the Dodge wheels have a smaller hub than Ford. I don't want to run 2 different wheels on the truck so I'm making changes to make front and rear wheels the same. My initial solution is a shim ring to take up the difference in diameter - and this will be fine, but it got me thinking.... So I started researching hubs and bearings. It looked like there was a chance there was a different hub that would work so I made a couple trips to the junkyard to get parts in my hand to play with. Stop one was a hub from a 1985 F350 dually. It confirmed that the hub was the same length overall, had the same outer bearing, the inner bearing had the same ID, but the OD was smaller and the wheel mounting flange wasn't right - which of course would effect the brake drum mounting. So i did more research and made a second trip. This trip I grabbed hubs off a 97 E350. These hubs had the right wheel flange height, but still had the small inner bearing. So I went to the Timken website and researched the bearings. Well, the smaller bearings in the E350 hubs have 2/3 of the load carrying capacity that the Ram 3500 bearings do - so that seems like a bad move. Also, just to be curious I looked up the Ford F350 10.25 Sterling bearings and found that they pretty much have the same load capacity as the Ram 3500 Dana 80, so in hindsight I probably should have just looked for a Ford dually axle to bolt in instead of doing this swap, but I already had this axle so oh well.

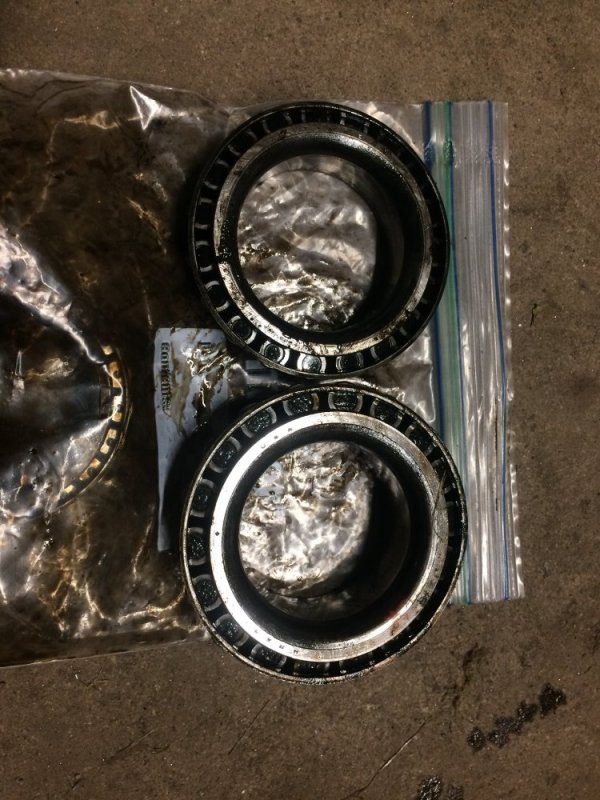
In this pic, the E350 inner bearing is on top and the Ram 3500 is on the bottom...big difference.
IMG_8843.JPG

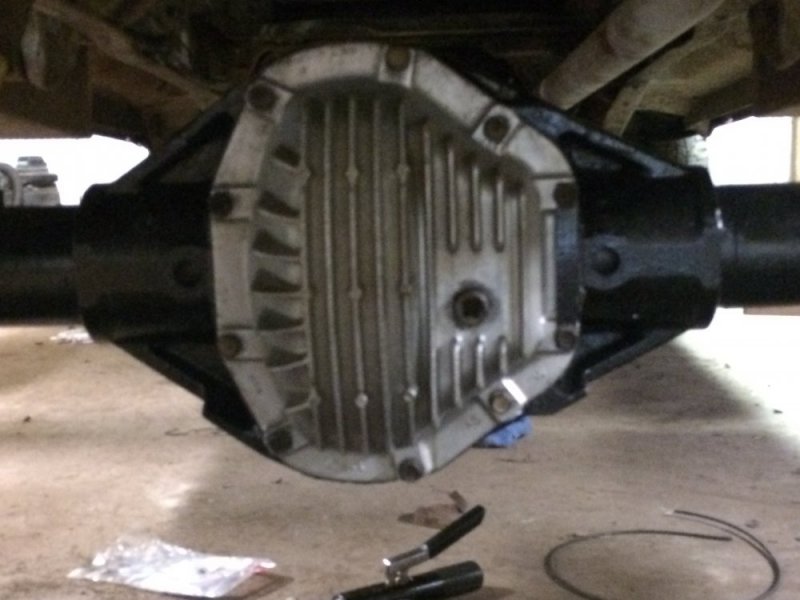
On a positive note: I noticed a Super Duty with a Dana 80 that had a finned aluminum rear cover, so I grabbed that.....and they only charged me $5 for it!! I don't know that I really needed it, but who doesn't like a little drievtrain jewelry???
IMG_8844.JPG

Anyway, I have all the lines run, new brakes are installed and I'll have new drums tomorrow so all the brake work will be done. Things are getting closer.
IMG_8845.JPG
 
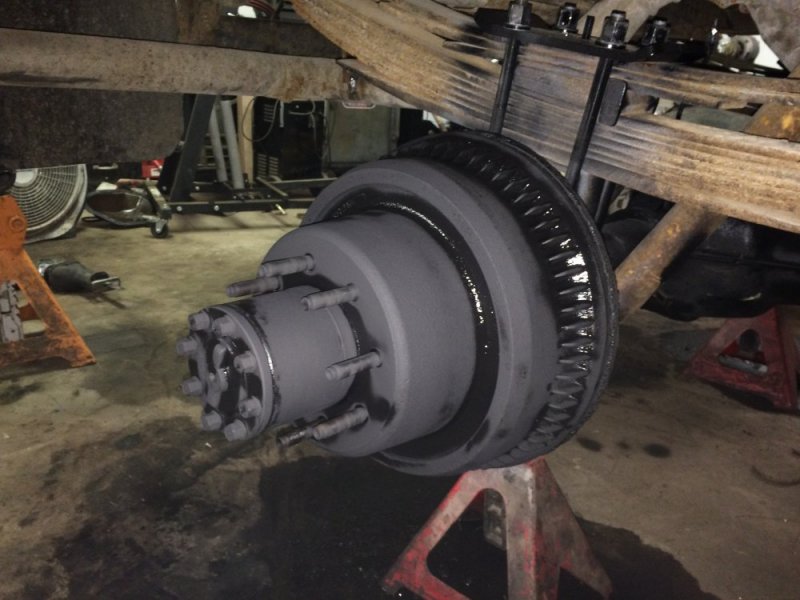
Got a couple things wrapped up tonight. First I got the drums installed & painted and got the brakes bled. I used high heat grill paint (it's still drying in the pic).

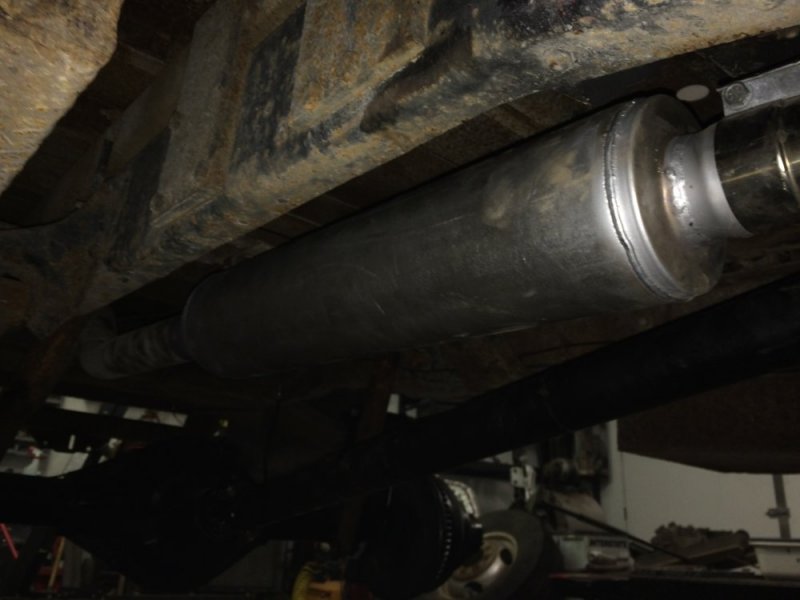
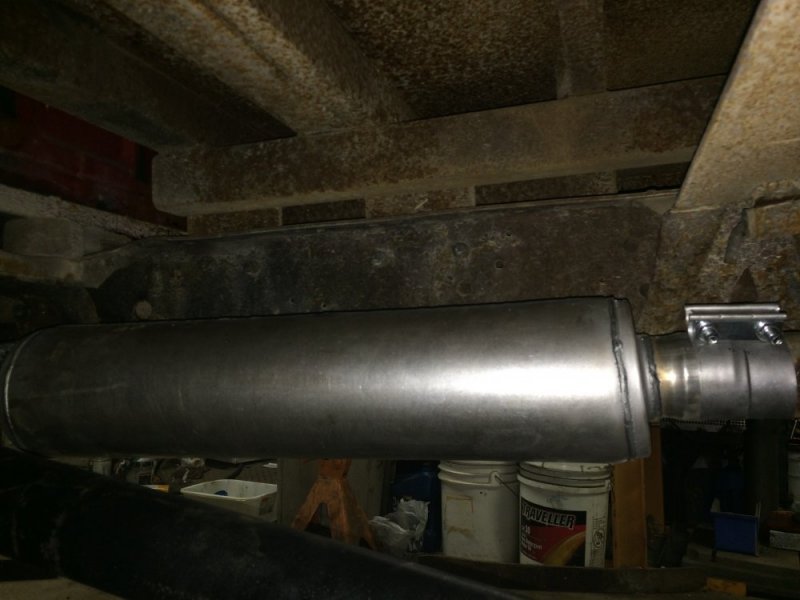
I also added a muffler to the exhaust - the truck had a newer 3" exhaust on it when I bought it, but it was straight-piped.....talk about a snapping beeotch!!! So I got a Jones Exhaust straight-through muffler for it to tone it down. I have yet to fire it up to see how it sounds, will do tomorrow.

IMG_8853.JPG IMG_8851.JPG IMG_8852.JPG
 
Looking good. She's coming together real nice for you it looks like.
Thanks Jaryd. This thing has become more of a project than I anticipated, but the results are pretty rewarding. I'm excited to actually drive it soon.
 
Not exactly the evening I hoped to have, but still mostly positive. I started the truck and it fired right up after having not been started for well over a week, so it looks like the fuel supply and return line work I did has taken care of my hard start problems. Also the muffler has toned the exhaust down nicely - no rap, but still a nice rumble. It will do fine until she gets a turbo and a 4" exhaust.

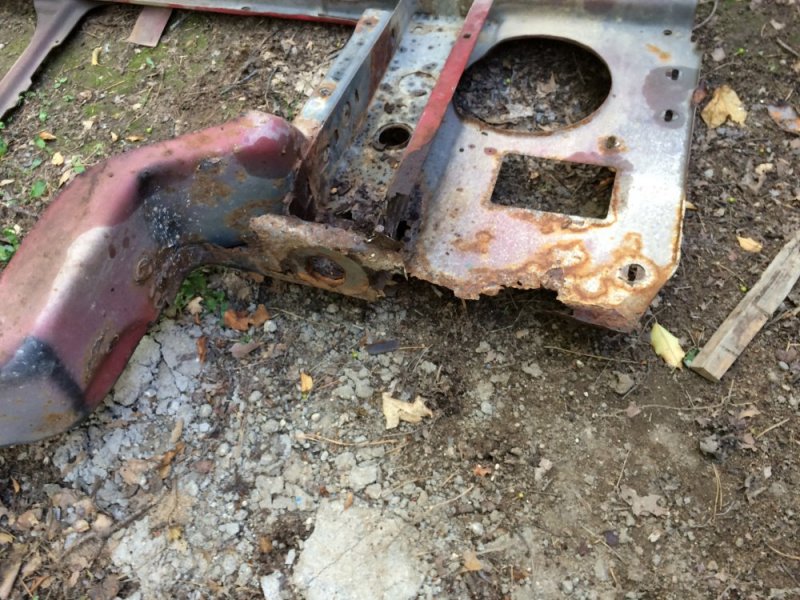
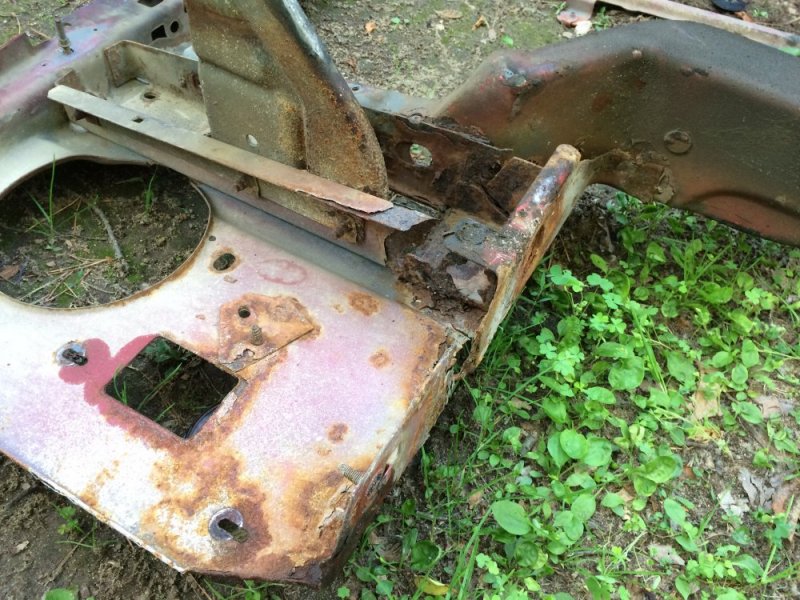
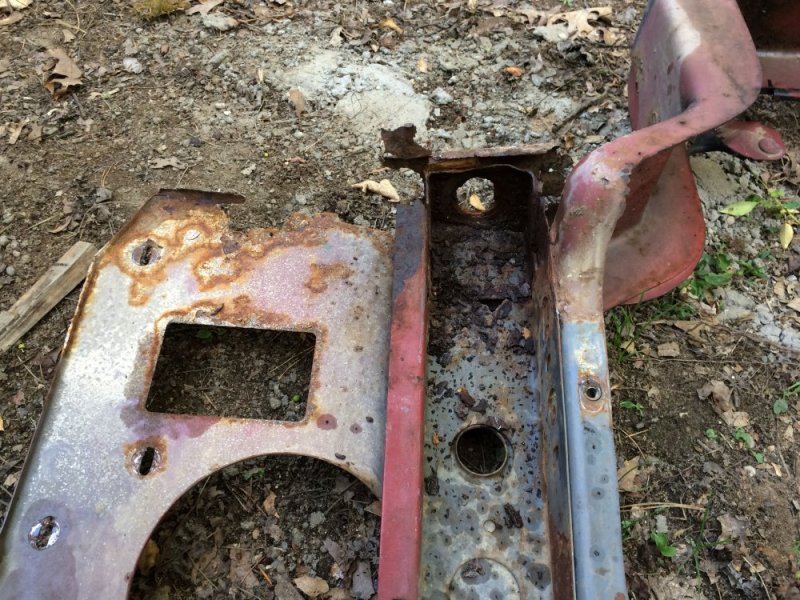
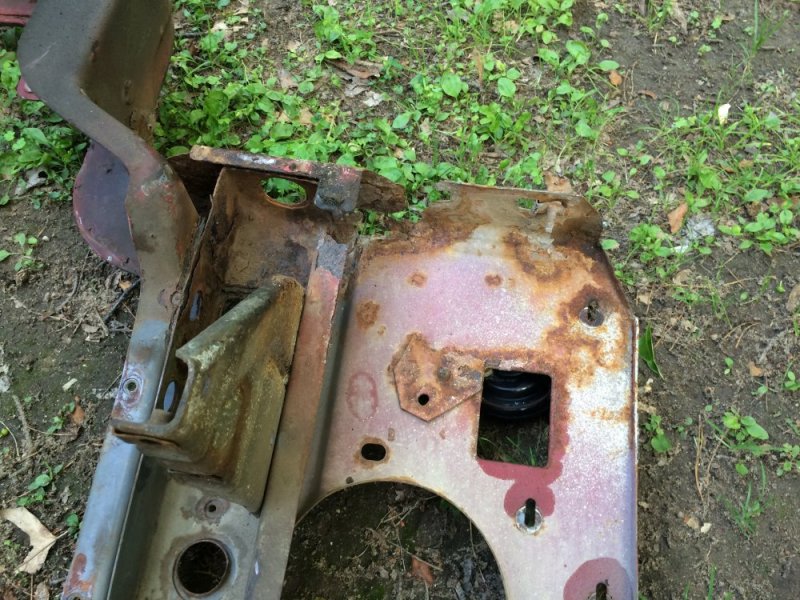
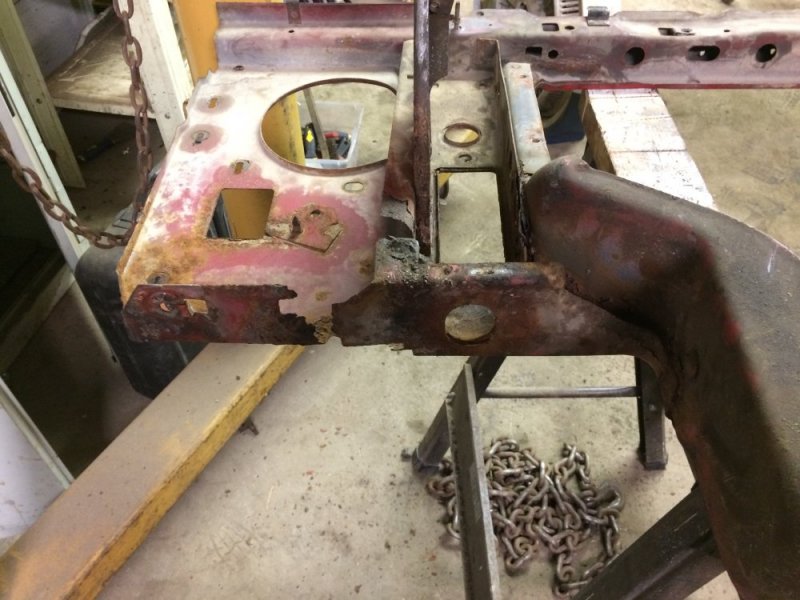
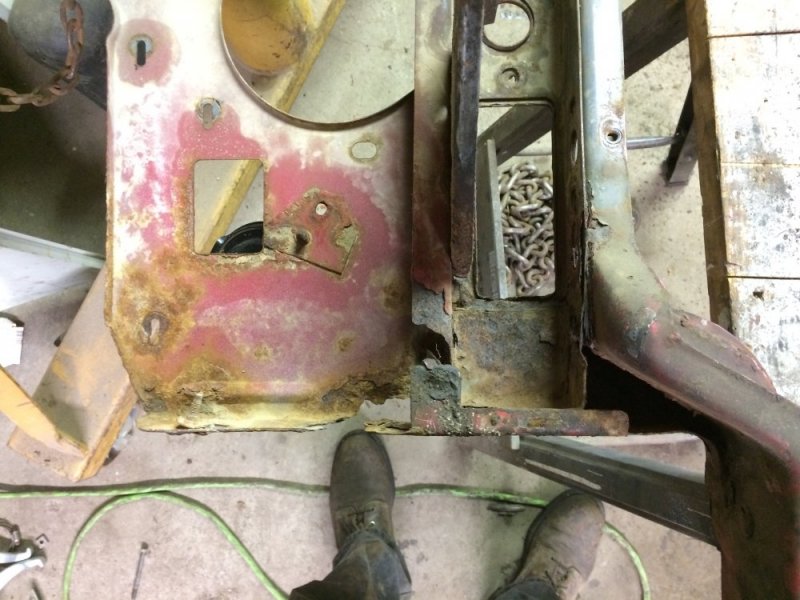
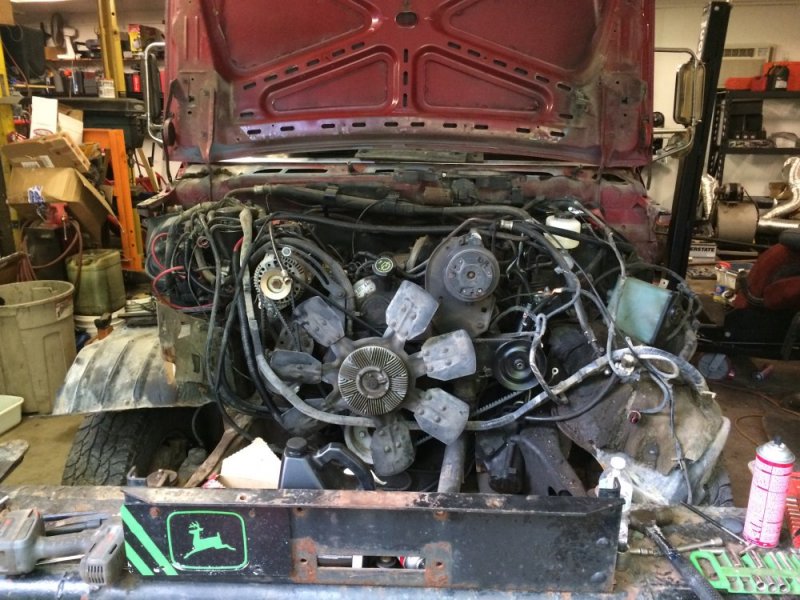
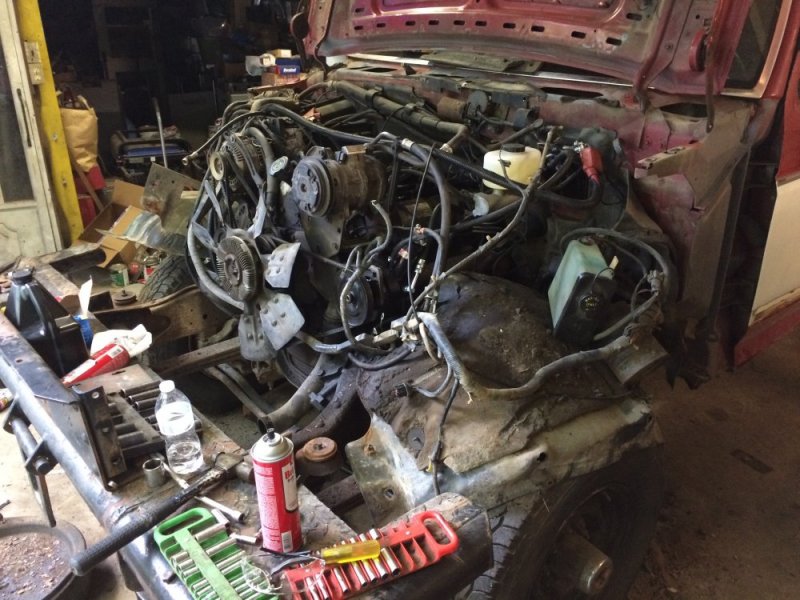
Now the bad thing that happened is that the brake pedal goes pretty much to the floor! I looked up parts again and I have the right parts for the conversion...but I kept thinking and thinking....DOH!!! I had totally forgotten to bench bleed the master cylinder before I installed it! It seems a little extreme that it pretty much has no pedal, but that's all I can think of right now. The rear end is still up on jack stands so I couldn't see what brakes I have at all by driving around the yard, but that is my only diagnosis so far. I didn't have time to do a bench bleed and another full system bleed so I left that for later. Instead I moved on to the next thing - the beginning of removing the front clip of the truck. I alreadt need to swap the fenders, but after I removed the grill I also noticed a fair amount of rust on the core support, so I'm going to remove that too and repair it while it's relatively easy to remove. So far only the radiator is out. I have to travel for work and then plans Saturday so I probably won't get to play with it again until Sunday unfortunately.
 
Well progress one step at a time. You can bench ble d on the truck, just undo the lines and put the hoses in like you would in the vice. Since you are pulling the front clip, you should be able to see when the bubbles are gone.
 
Well progress one step at a time. You can bench ble d on the truck, just undo the lines and put the hoses in like you would in the vice. Since you are pulling the front clip, you should be able to see when the bubbles are gone.
Yes, one step at a time. Good thinking, though I will still probably remove it because that will also give me a chance to double check pushrod lengths and stuff.
 
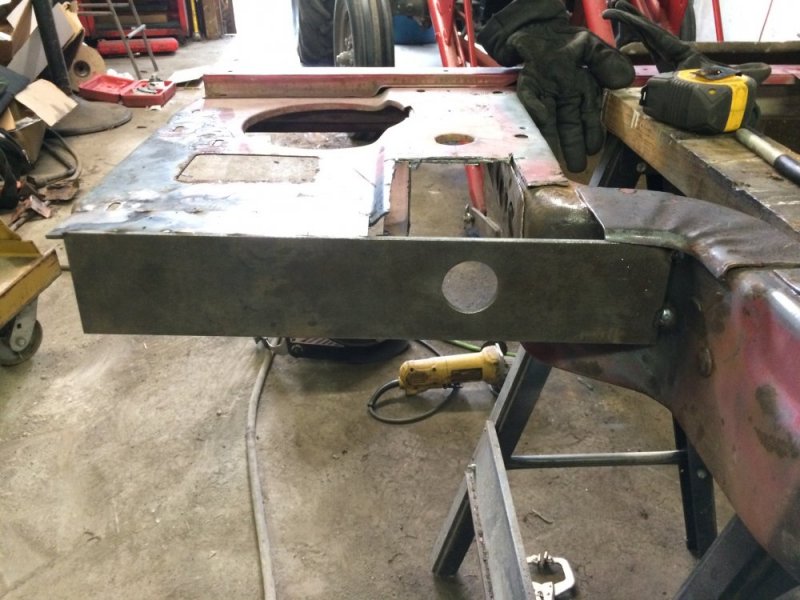
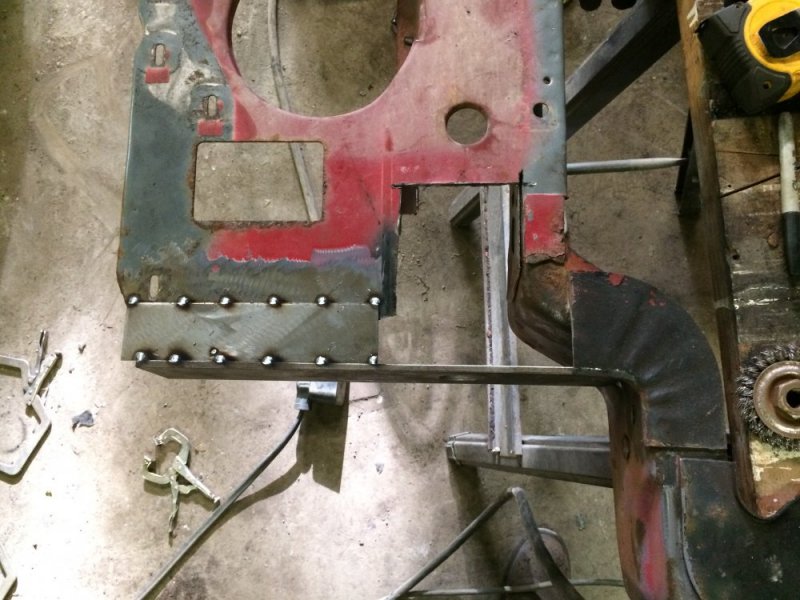
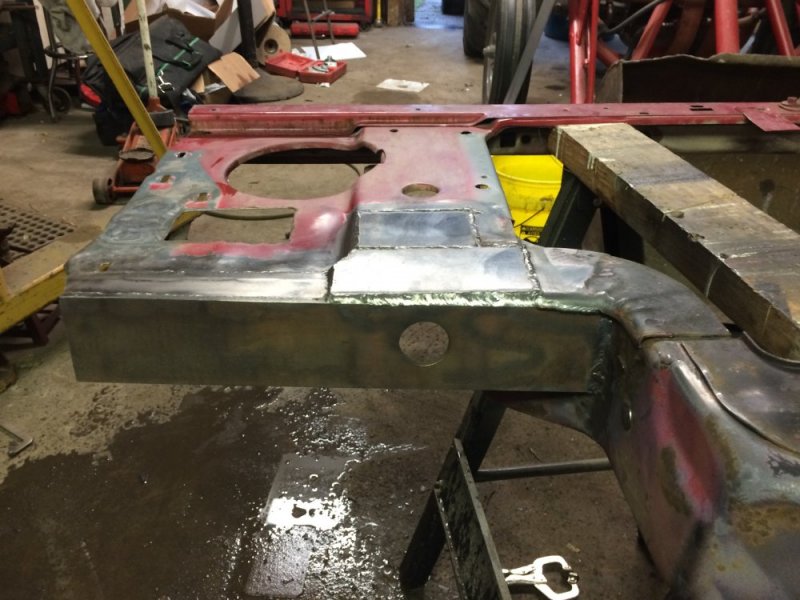
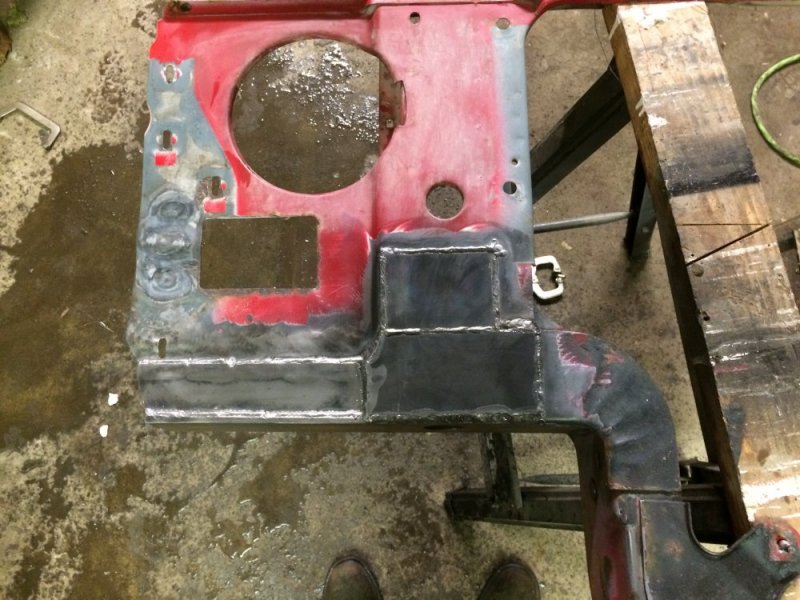
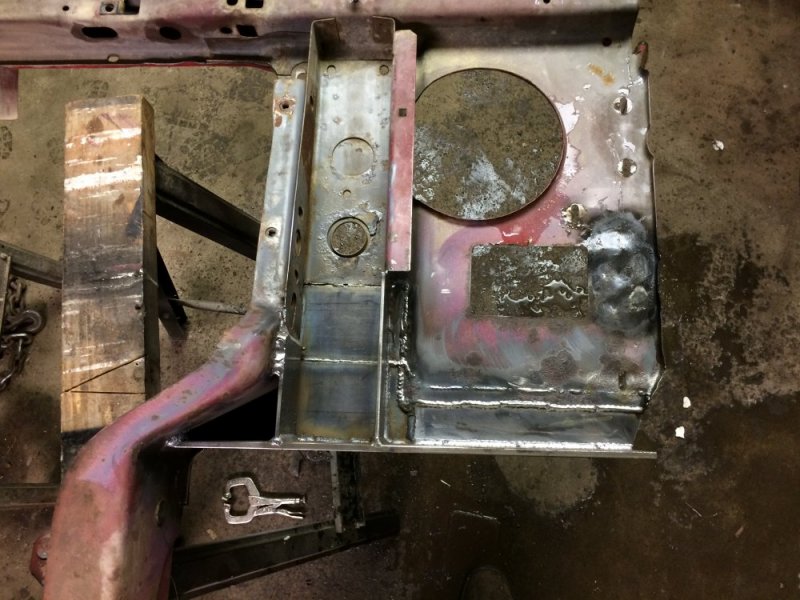
I finally had some time to work on it some more yesterday. I got the front clip all removed. Unfortunately I discovered that the radiator support is even rustier than I thought. On the plus side, at least I'm finding it now when it's easy to work on, but on the negative side, I have to spend the effort fixing it. Reconstruction began tonight.

IMG_8888.JPG IMG_8889.JPG IMG_8890.JPG IMG_8891.JPG IMG_8892.JPG IMG_8893.JPG IMG_8903.JPG IMG_8904.JPG
 
Side #1 is done. Not my prettiest work, but it is structurally sound, which is the most important thing for this truck. I did get it a little too hot, so I had to do some metal shrinking. It should be straight enough now.

IMG_8911.JPG IMG_8912.JPG IMG_8913.JPG

On to side #2 tomorrow and I'll watch my heat better. This was the "good" side.

IMG_8914.JPG IMG_8915.JPG
 
Side #2: I got the rusty metal cut out and the new pieces stitched in place. It warped a little from heat still, but not enough that I have to do any metal shrinking. IMG_8921.JPGIMG_8922.JPGIMG_8923.JPG
 
Looks sharp! What do you do to shrink the metal to take out the warp?
Thanks! You heat a small section of the metal red hot with a torch and immediately quench it with wet rags. You can also do it with a special shrinking hammer, but I've never had much luck with those.
 
It will, but the difference between hot roll and cold roll steel is much more. We used to build side panels on work trucks like tree trimmer bodies or landscaper bodies, and that is exactly how you get it straight and fit.

We would actually use water fire extinguishers that are basically charged with air pressure oike a big squirt gun.
Water not having carbon to donate into the metal like oil quenching so it keeps the hardening down.
 
doesn't that tend to make the metal brittle?
I see Will already answered this.......the only thing I can contribute is that sure, I suppose it technically makes it a bit more brittle, but not overly so. For example, after shrinking the metal you can work it with a hammer and dolly and the metal won't crack.....well, not under normal amounts of working, I'm sure it would eventually if you keep playing with it (which my parents told me to never do when I was a youngun :wideyed:).
 
Back
Top