NVW
Well-Known Member
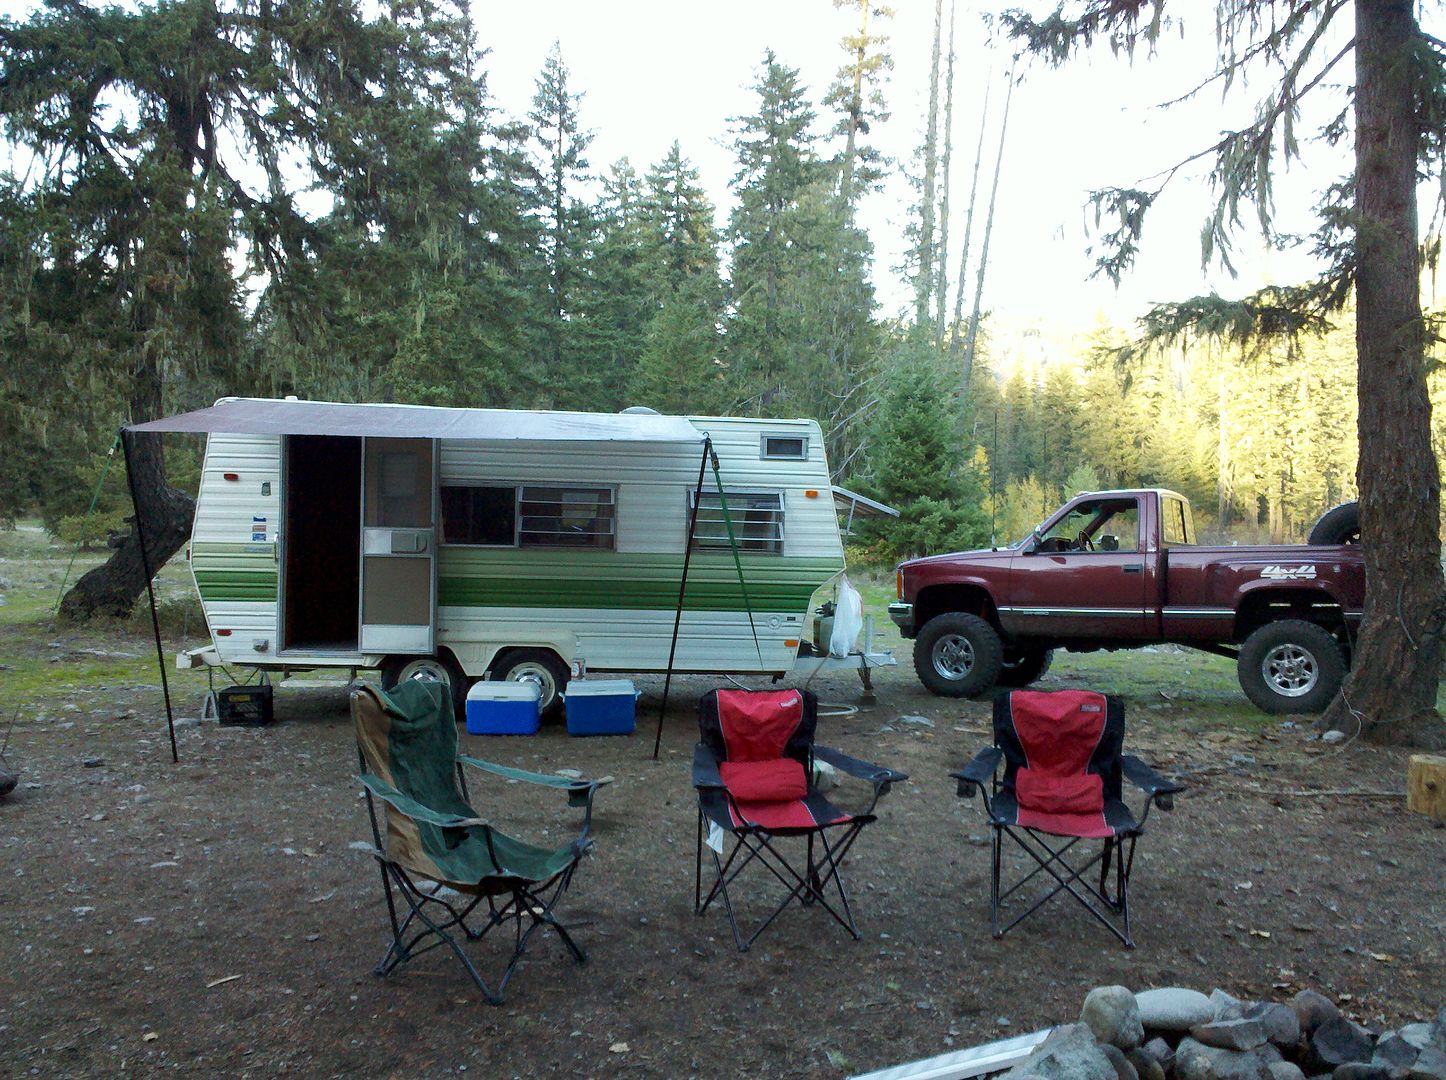
Nice work, the good thing about the awning is if you tire of the color they make pretty orange and blue ones as well")

Follow along with the video below to see how to install our site as a web app on your home screen.
Note: This feature may not be available in some browsers.
It is true that I can have plenty of color combination choices for my awning style.Nice work, the good thing about the awning is if you tire of the color they make pretty orange and blue ones as well
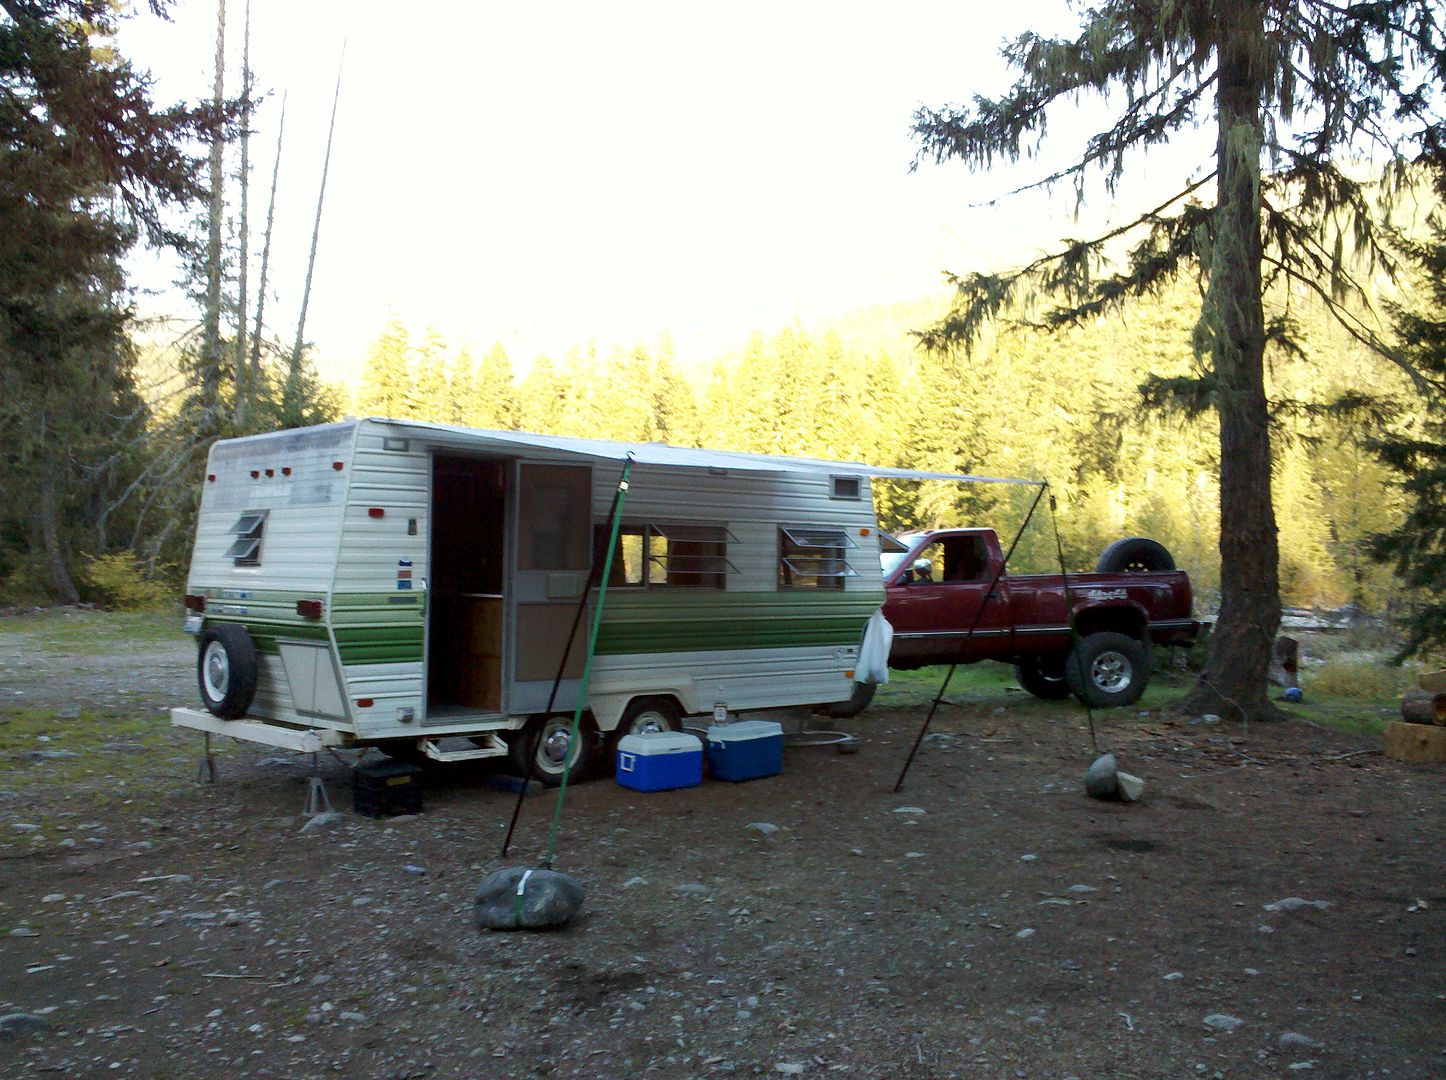
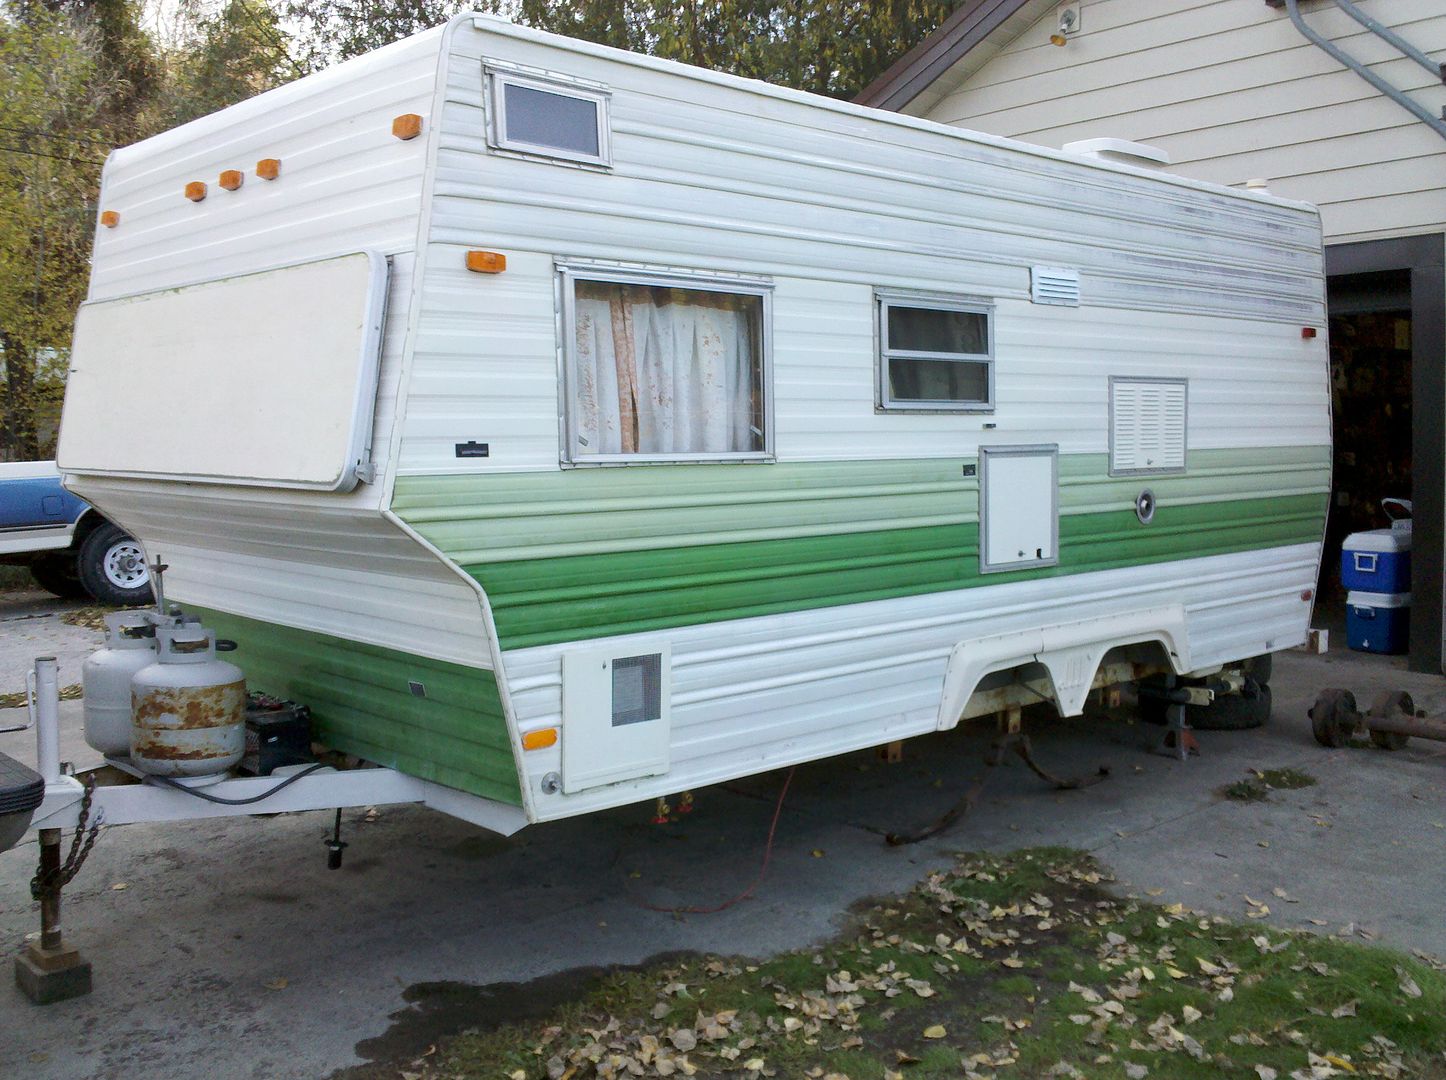
You didn't catch the last sentence of my last post, that is the next step, fixing some aesthetic issues. Frame, tongue, step and front and rear siding up by the roof where it was damaged by the sun/tarps.how about a little rattle can painting of the tongue and rear bumper?
cheap aesthetic fix IMO
Thanks man!outstanding job on the whole project!!! i wish i could do something like that,but were i live its to hot right now maybe during the winter ill go looking for a project to do...thanks again for sharing with use its been a big help!!!!

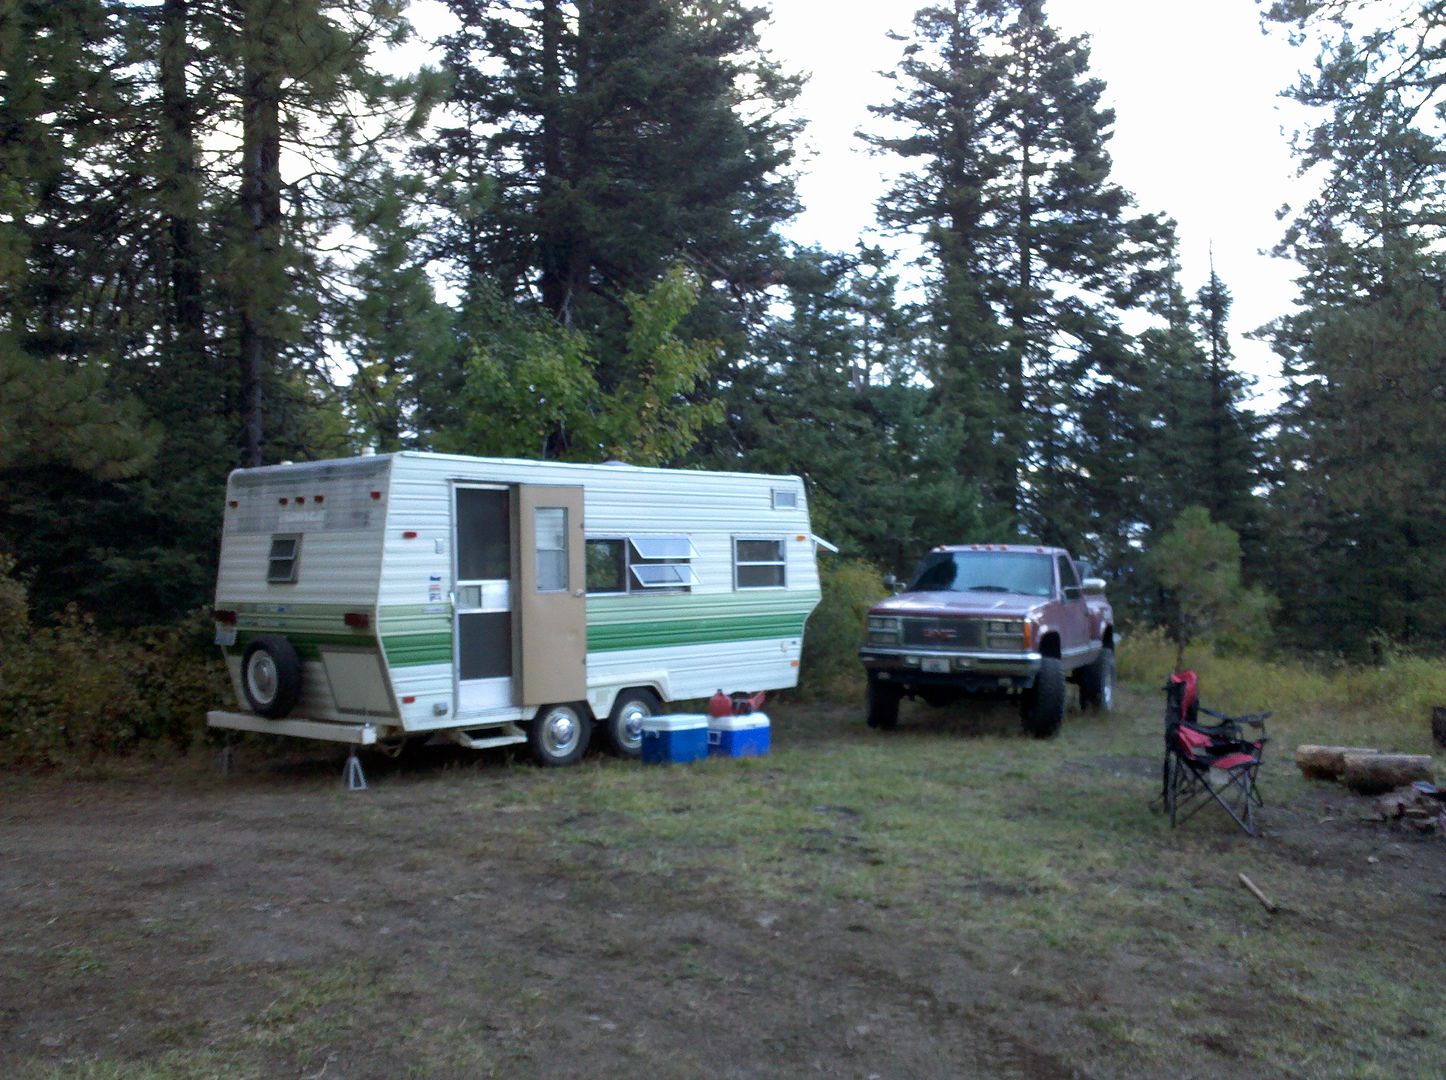
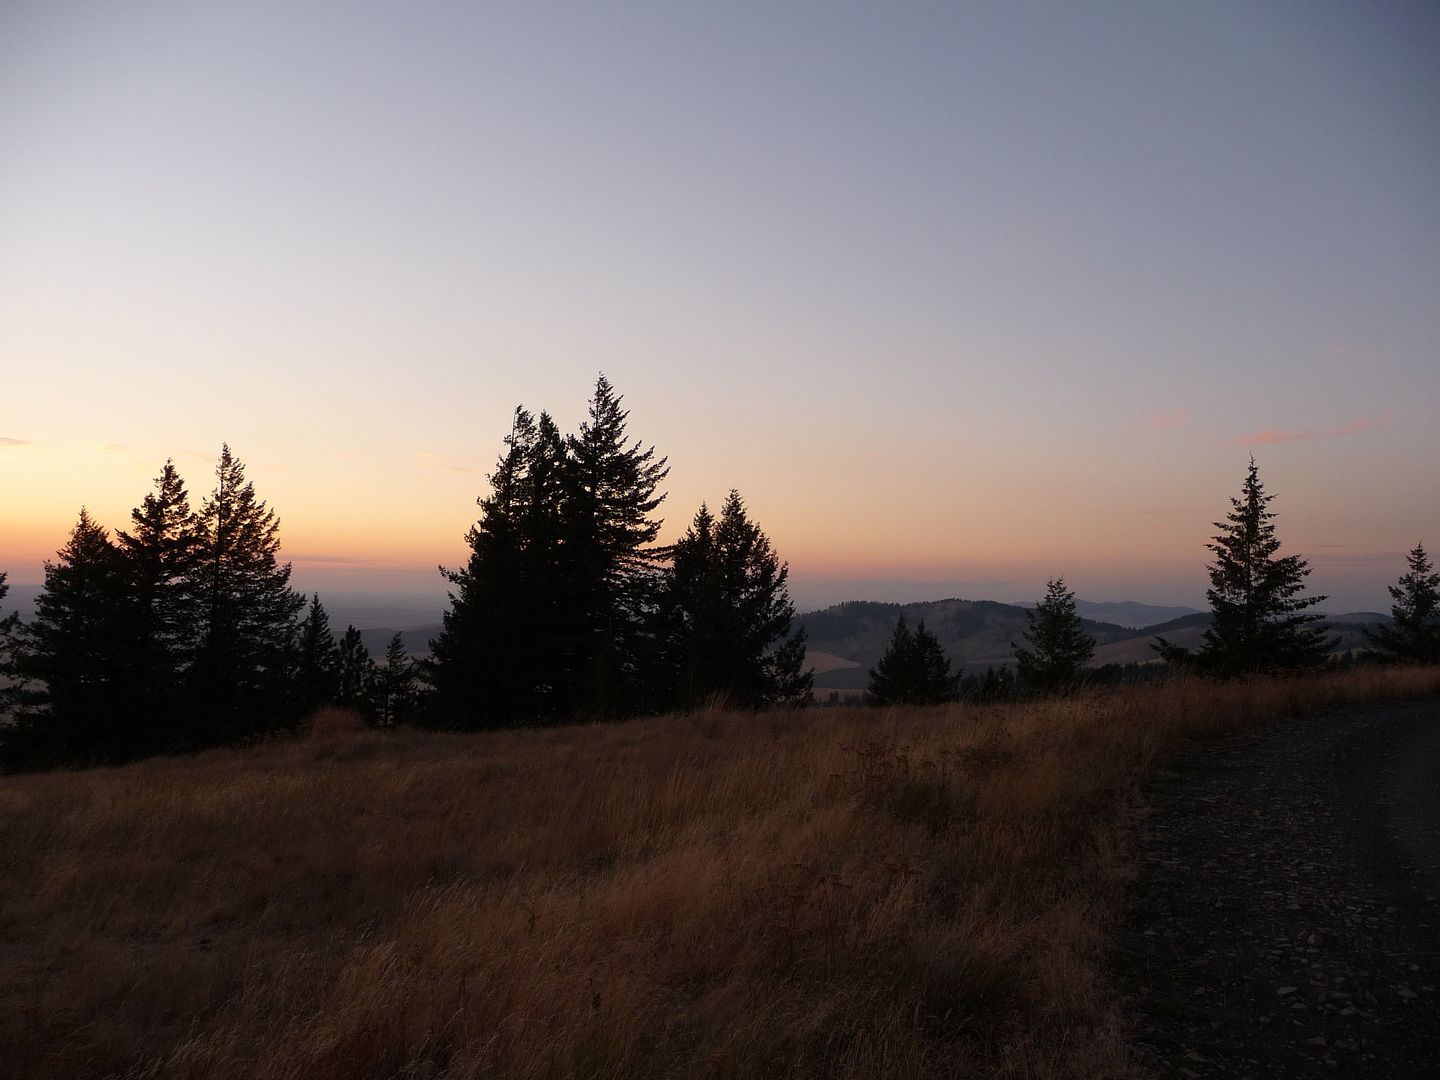
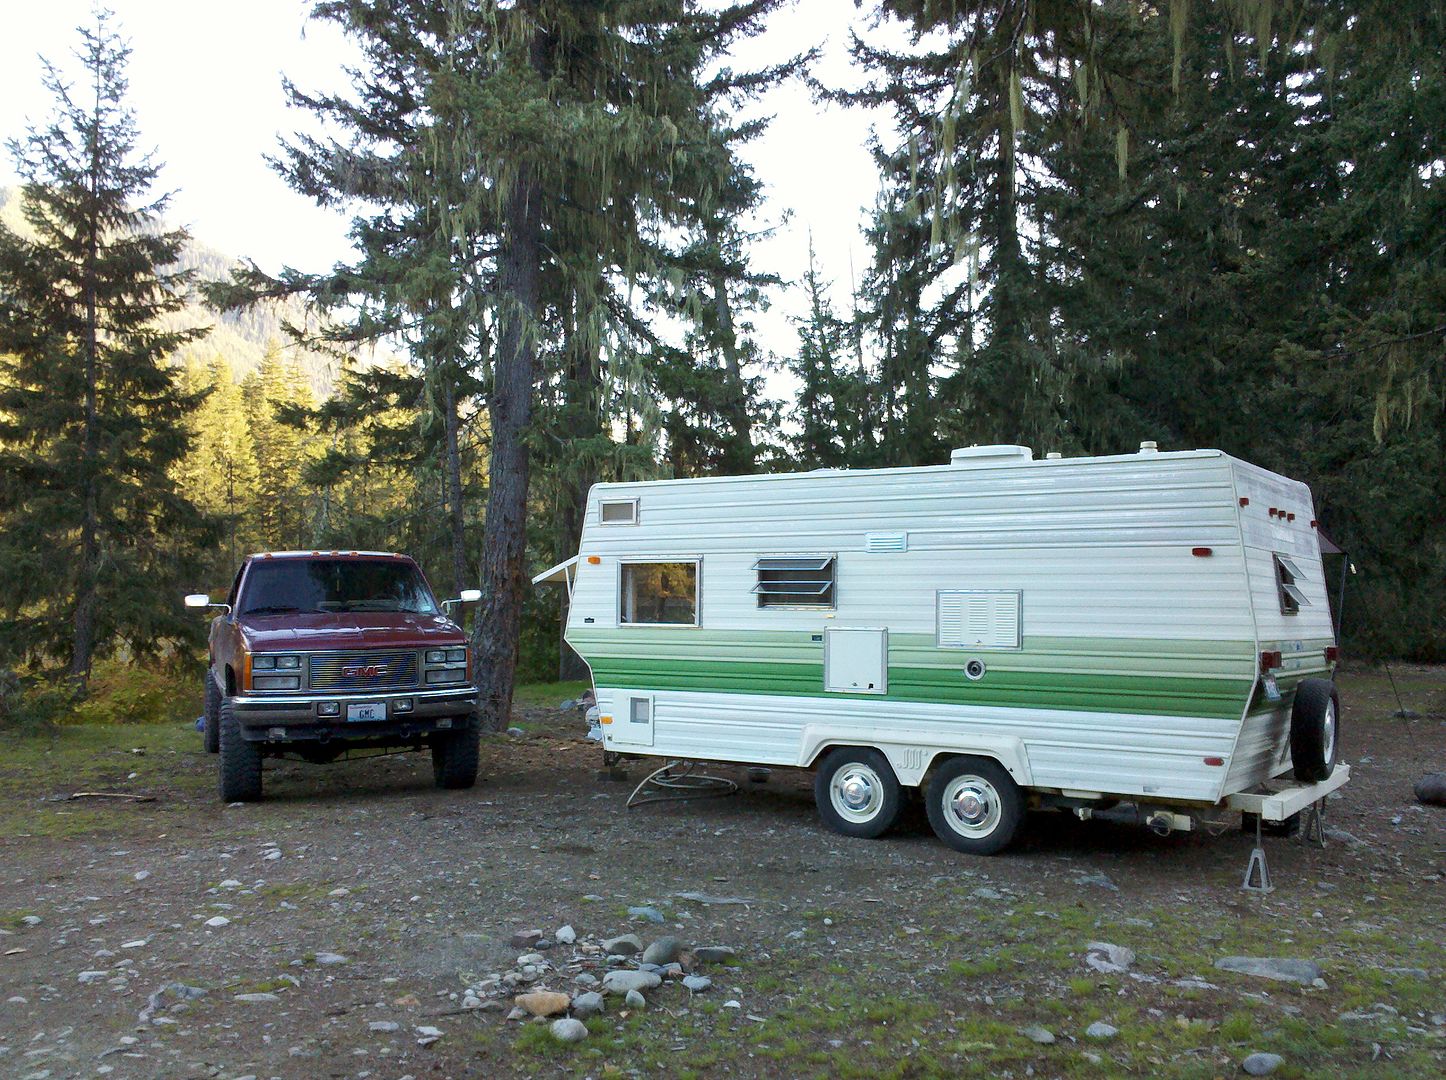
 It's just such a nice park and it's so close, and never crowded. We went up Thursday around 4pm and came back today around 11. It was quite a nice trip, we plan to go back again in October.


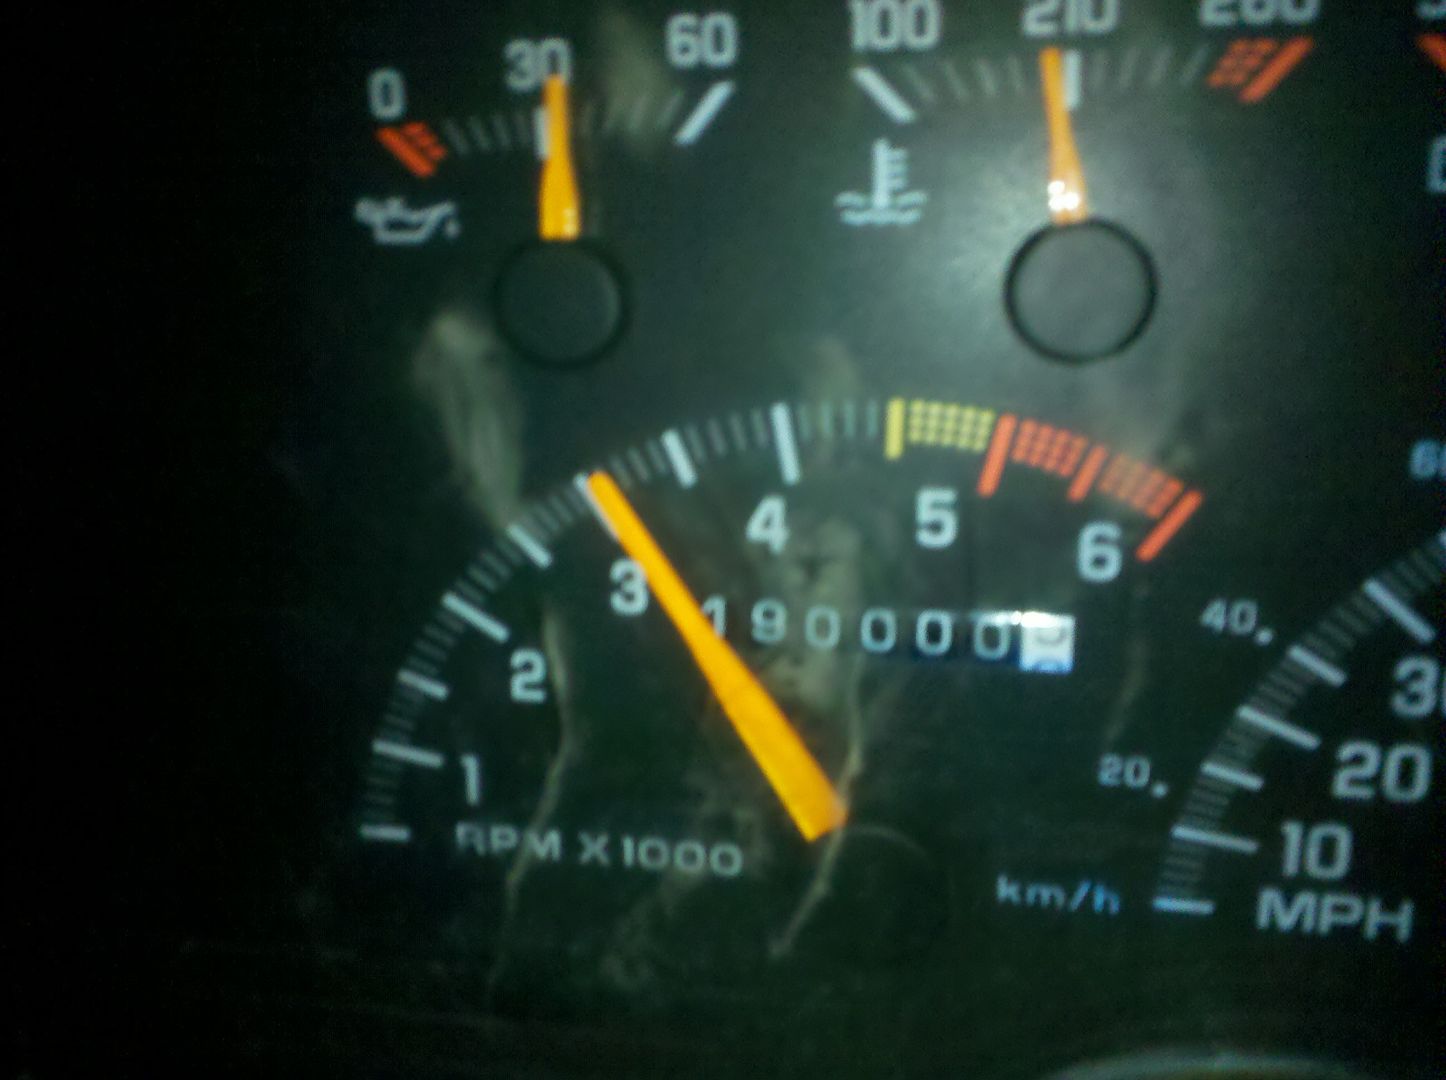
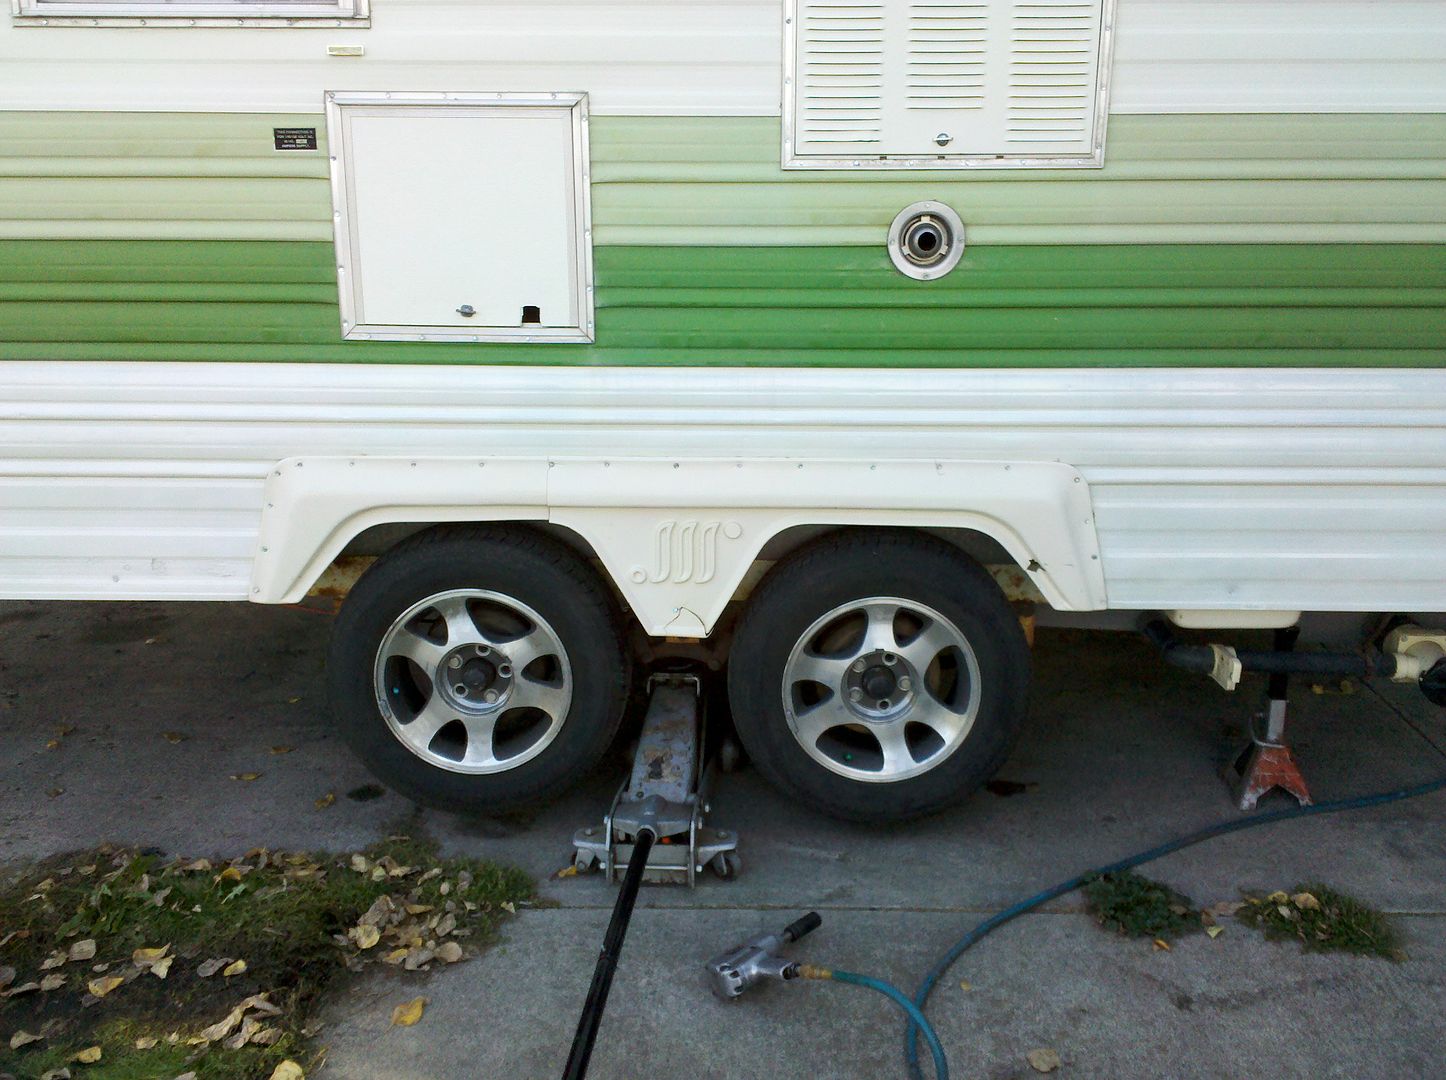
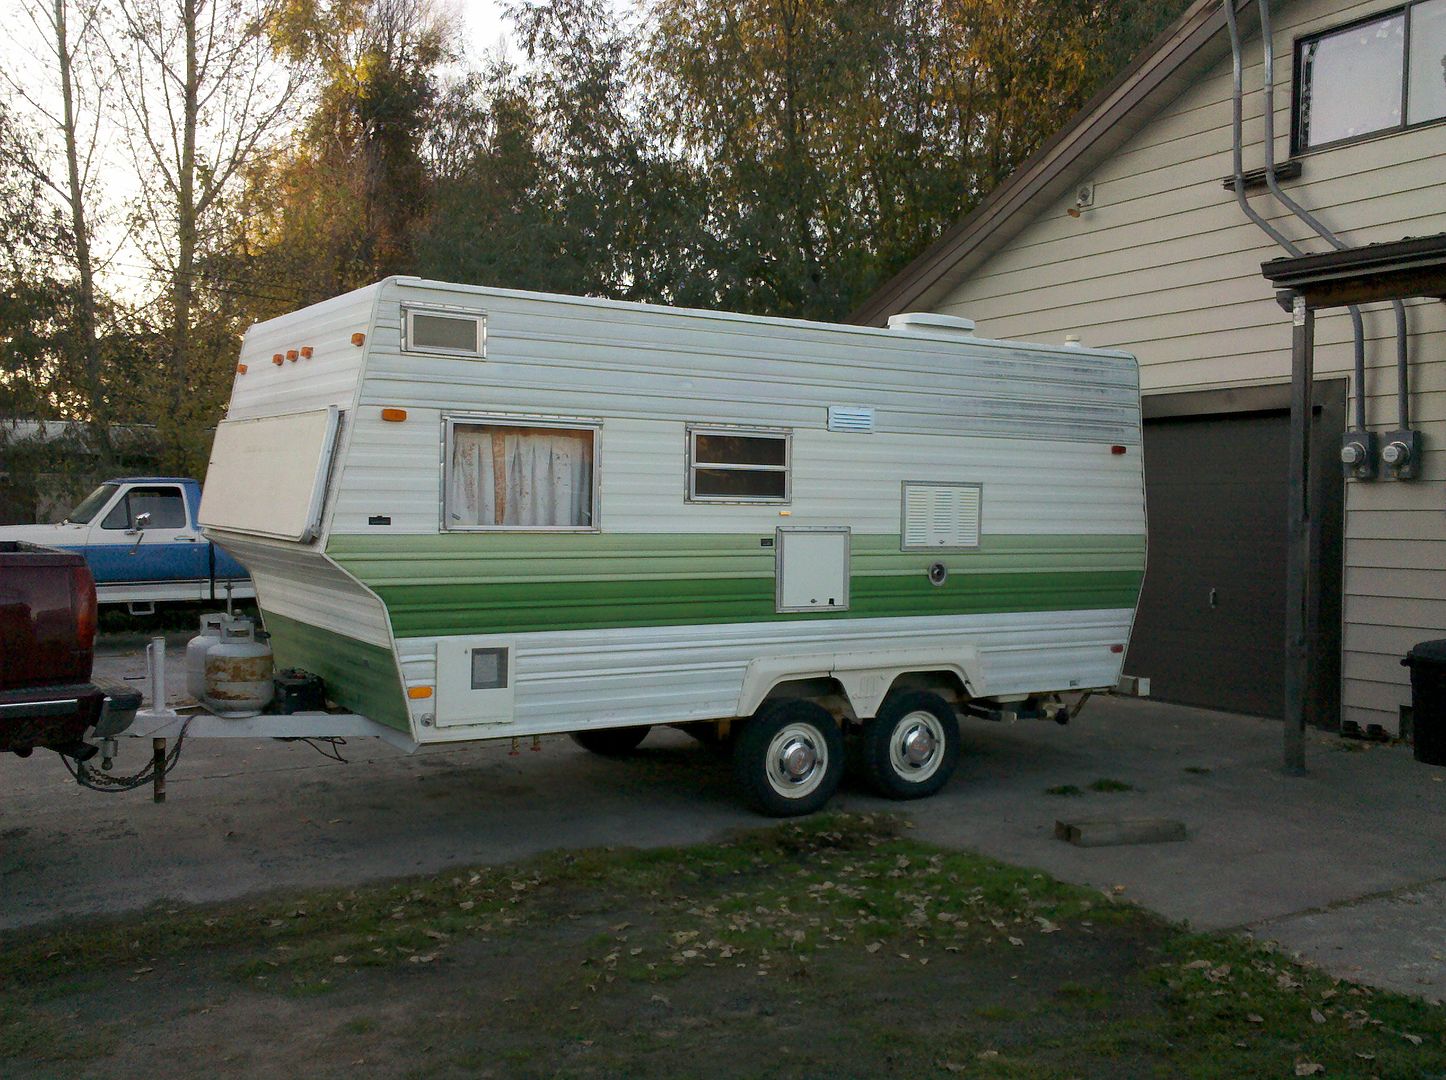
... I'm also part way through lowering the tongue jack down, which is proving to be slightly difficult but worth it in the end.