83GMCK2500
Active Member
I'm telling you...that shit ain't funny.

Follow along with the video below to see how to install our site as a web app on your home screen.
Note: This feature may not be available in some browsers.


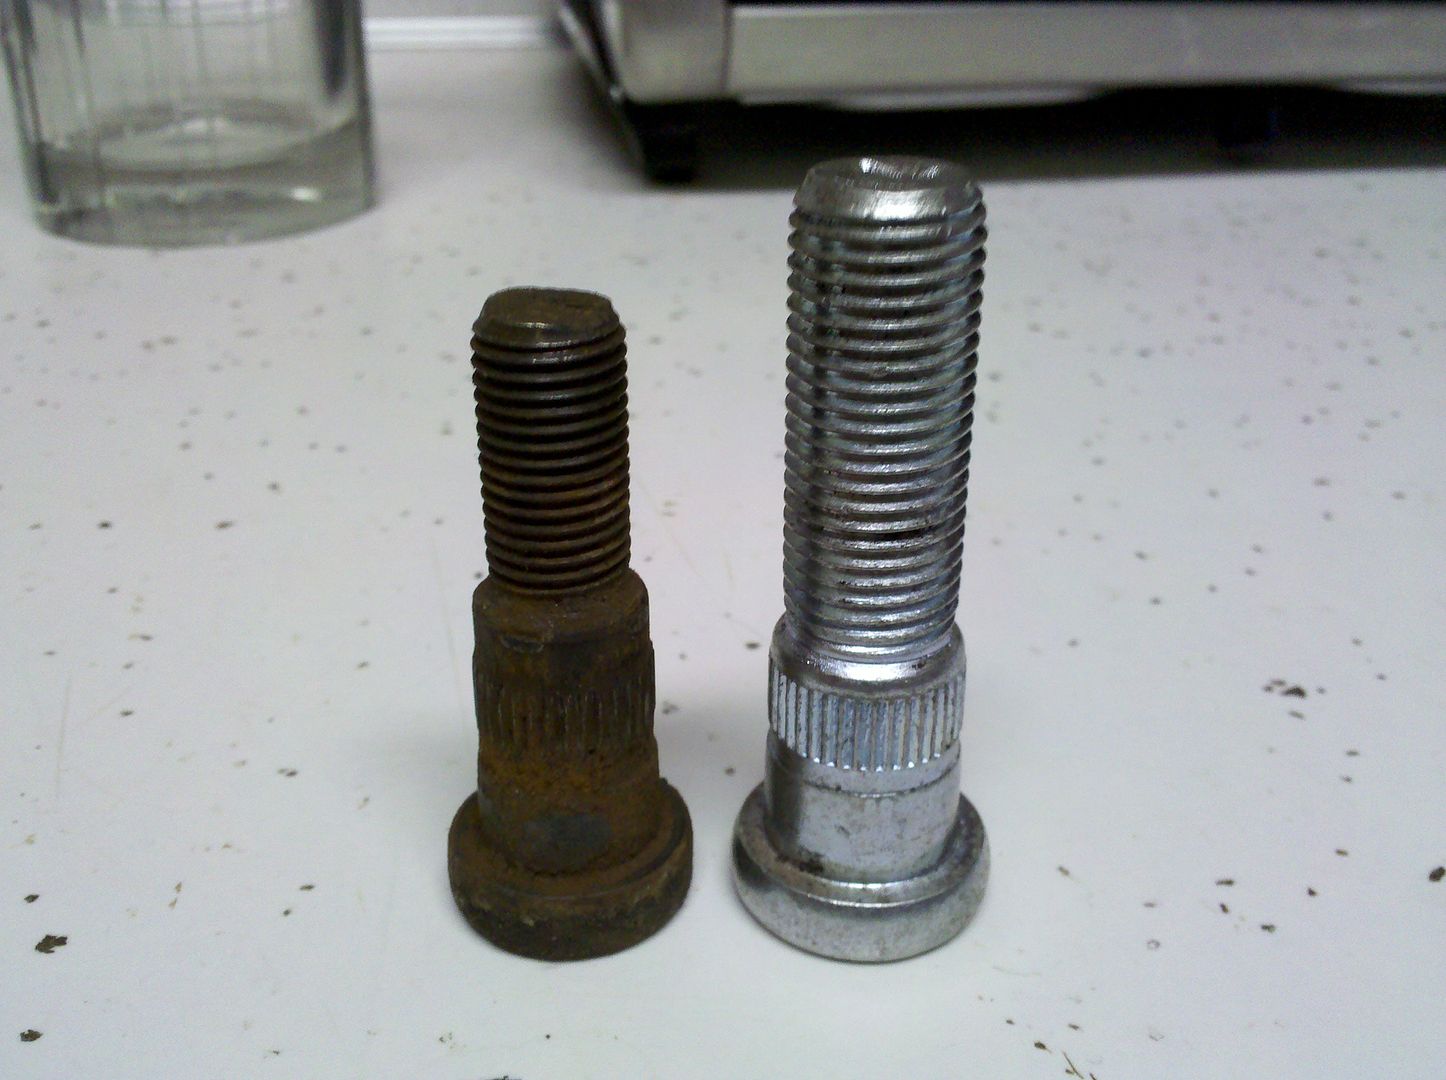
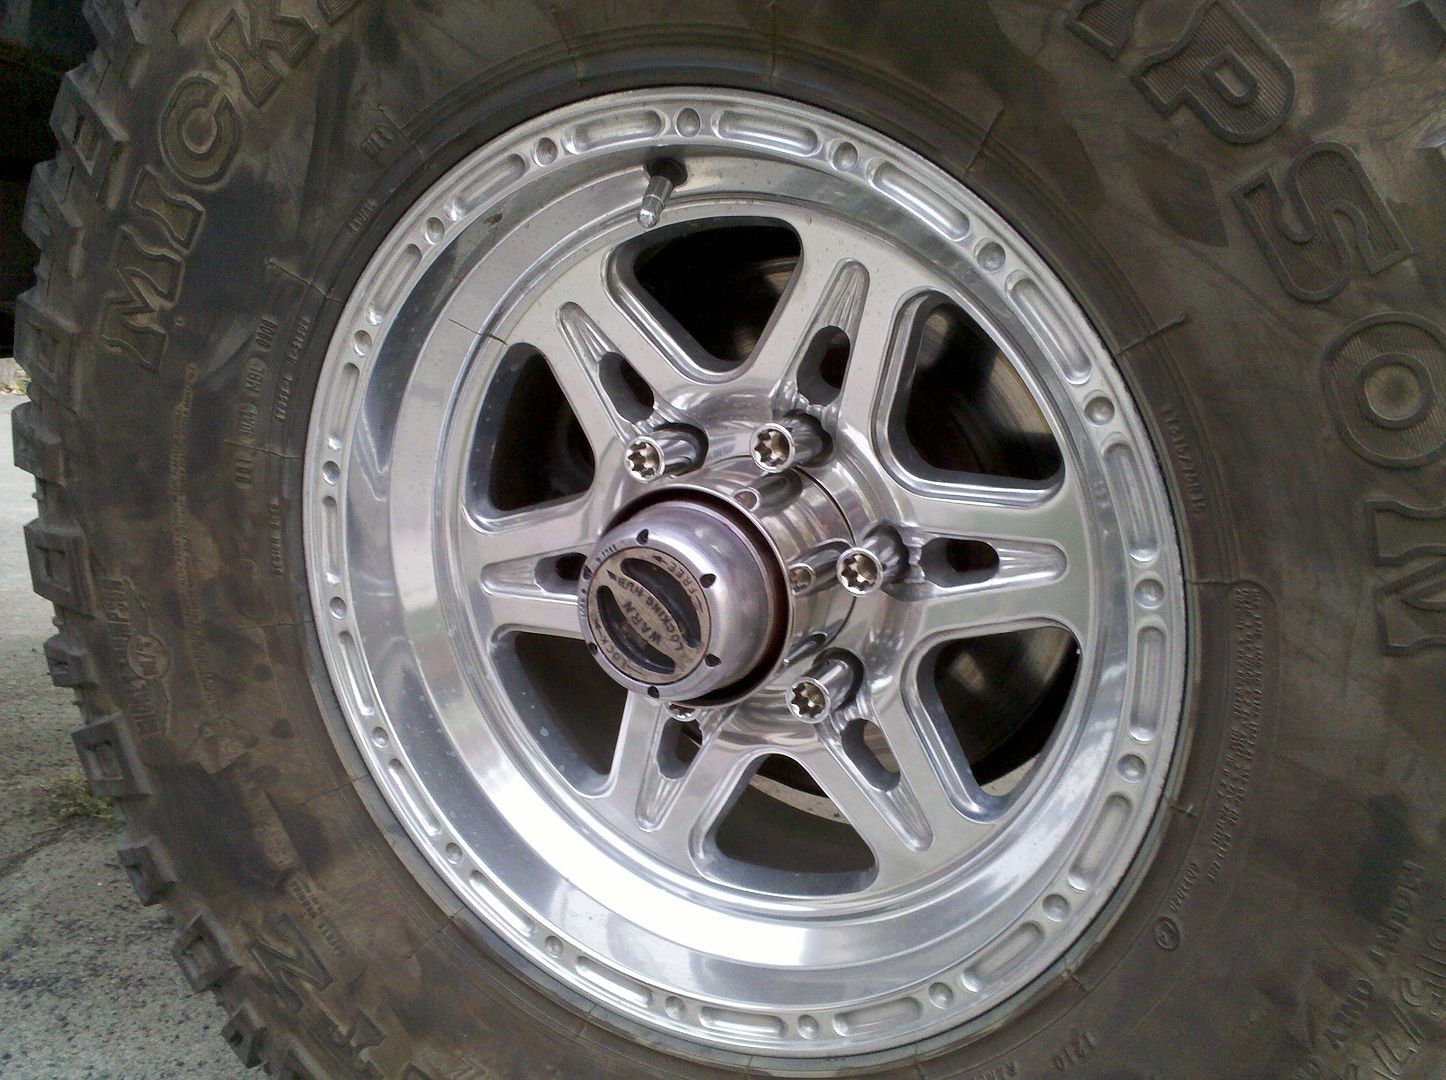
Yup. I've heard horror stories of people breaking the 7/16" studs, and I wanted to have matching lugs front and rear instead of using two styles and sizes of nuts.


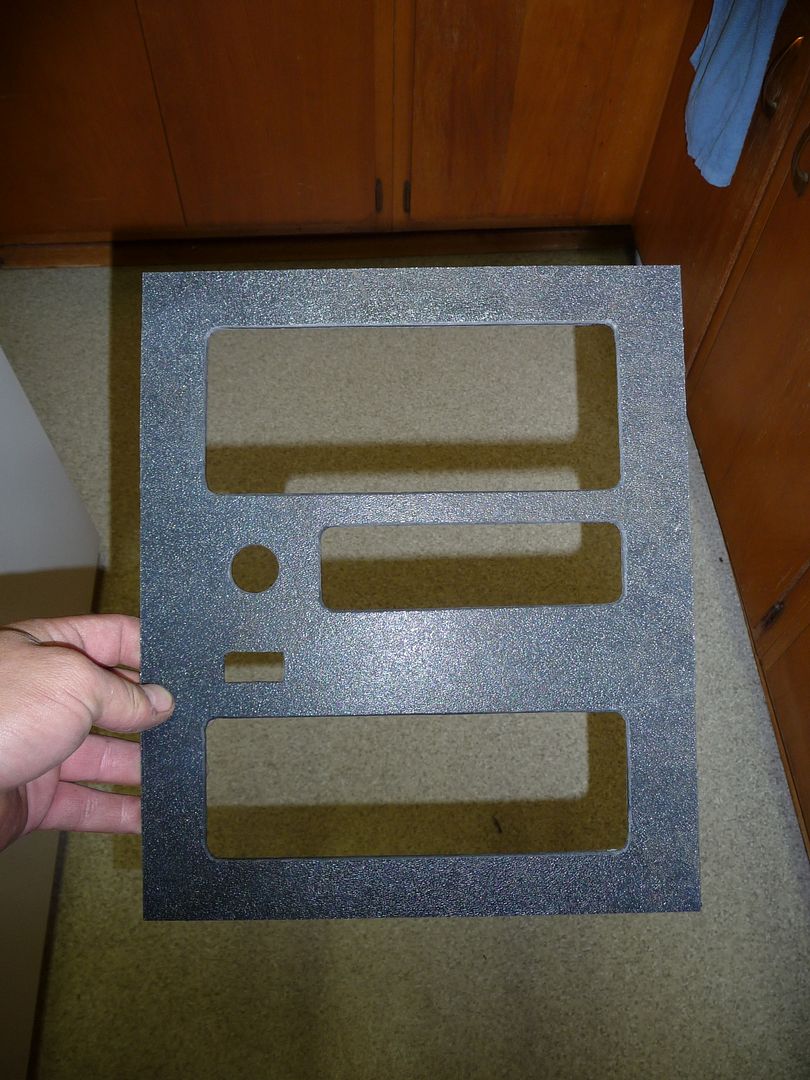
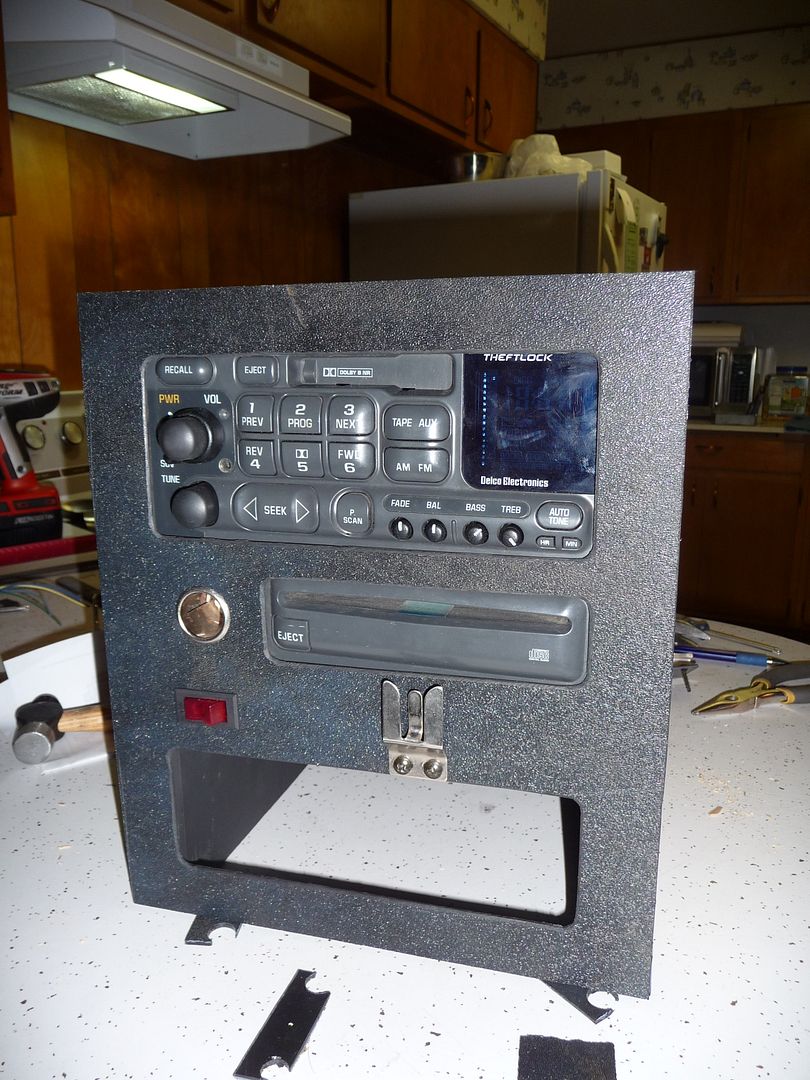
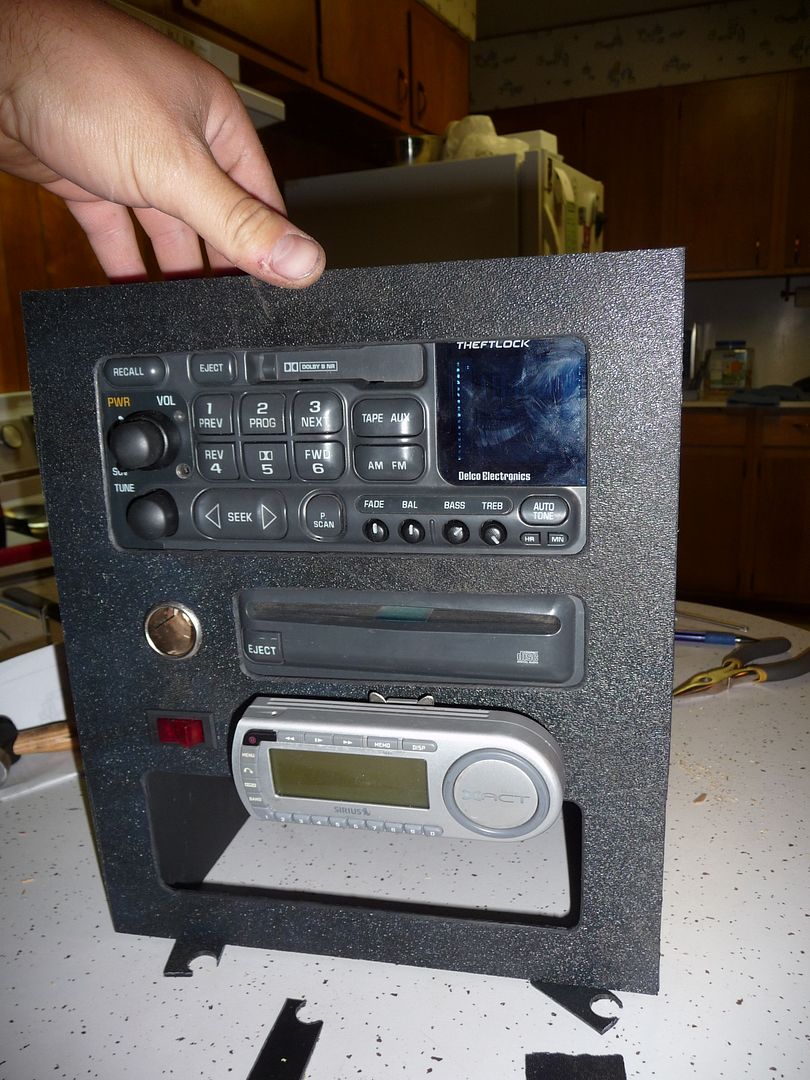
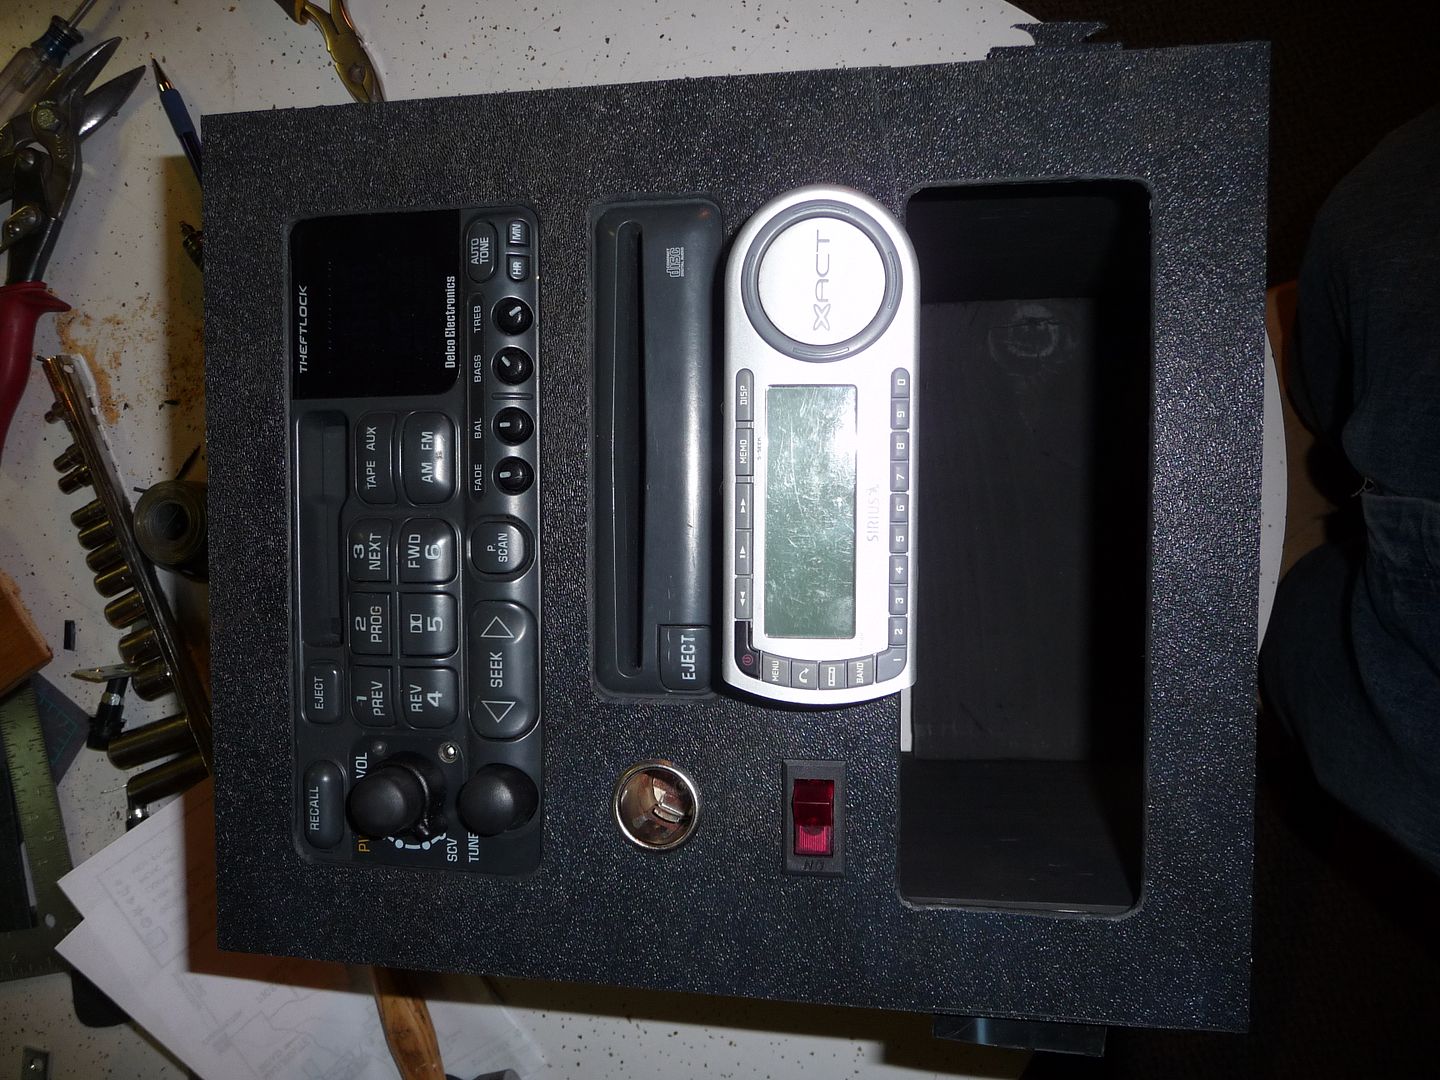
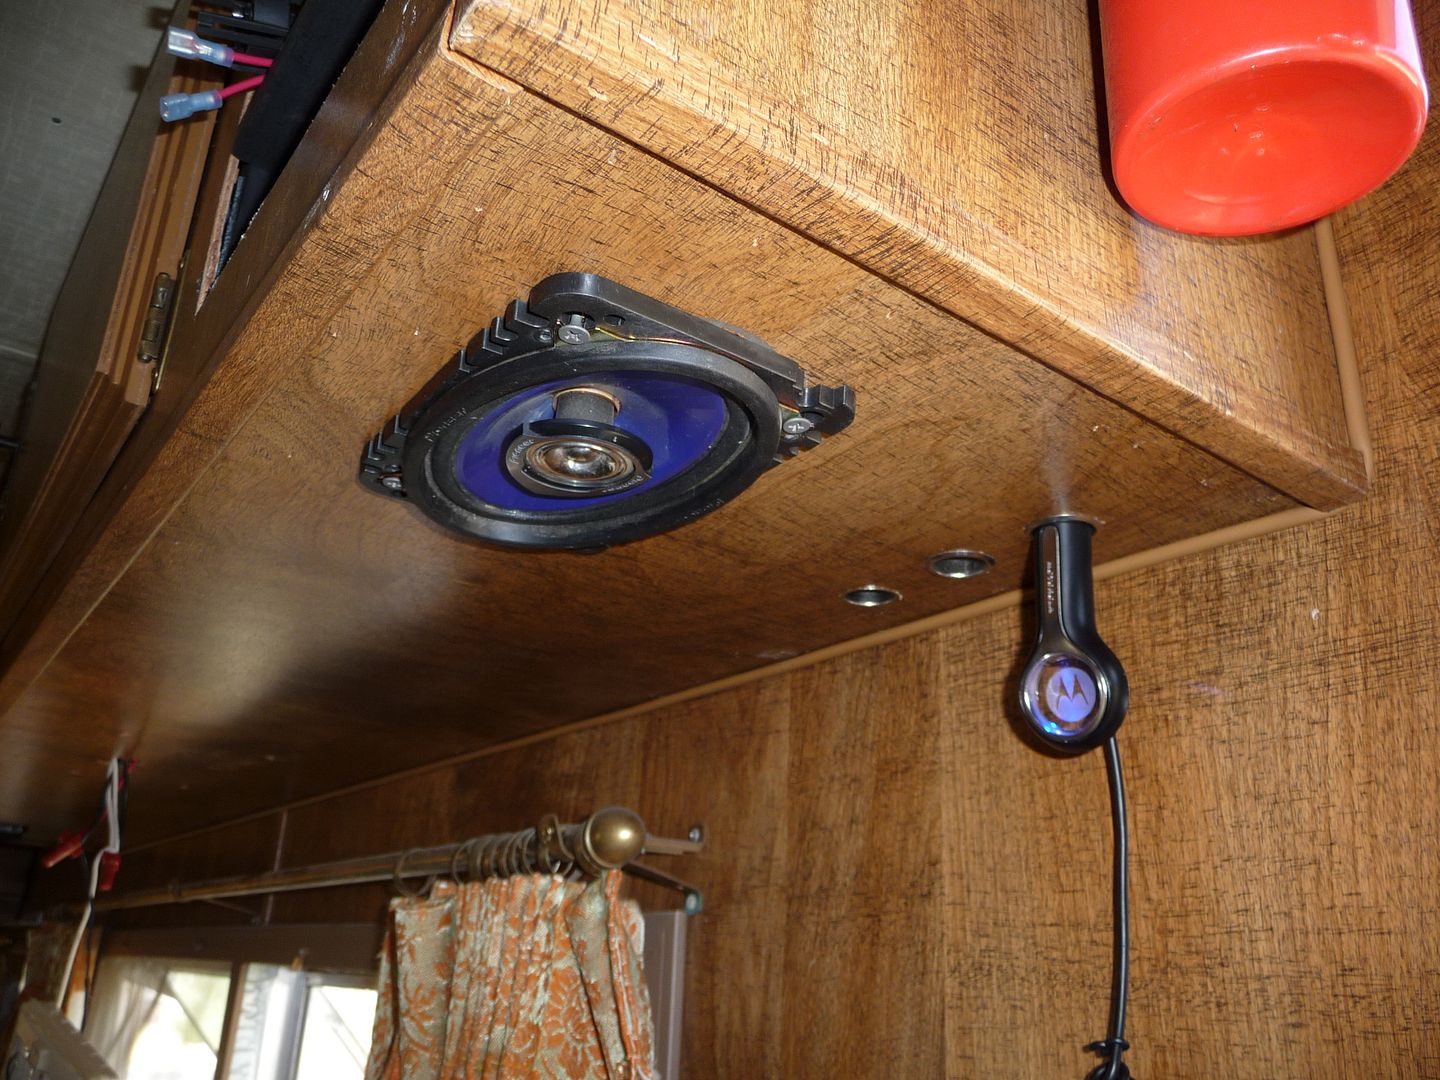
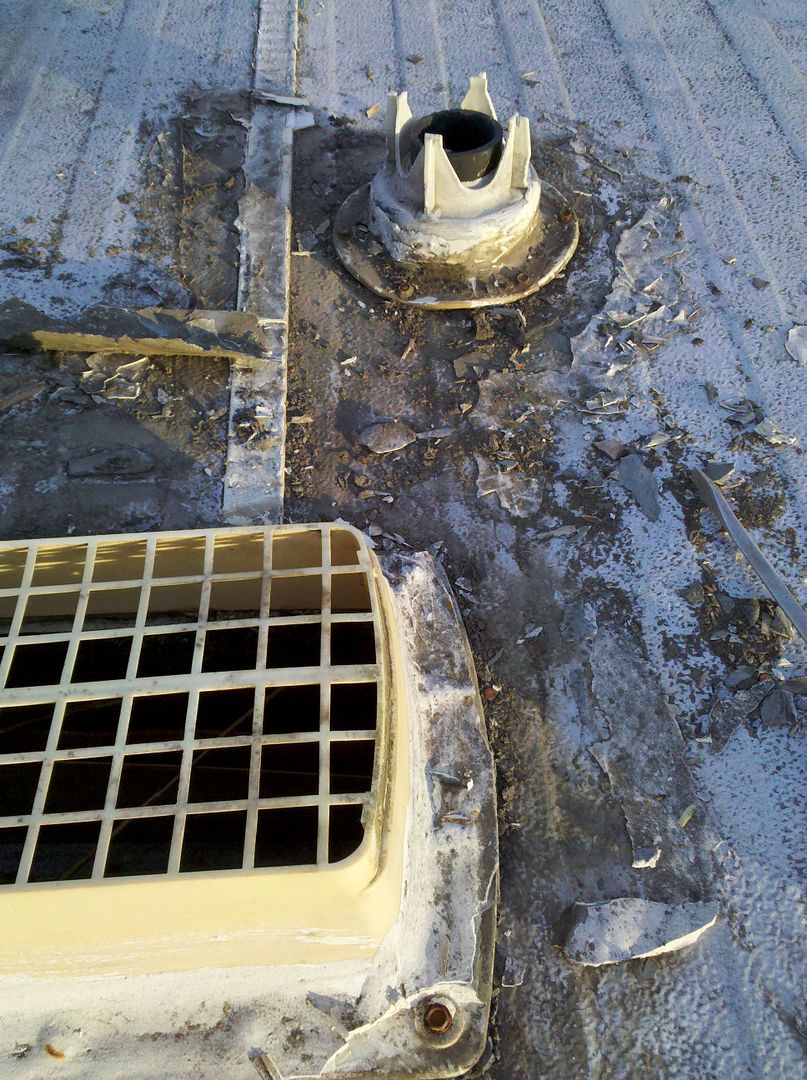
It's some 3/16" thick textured plastic sheet my friend gave me. It's pretty easy to cut with a razor blade and can be heated up and bent into different shapes. I drew the sizes of the openings and cut them close to size, then filed the edges to it's desired shape.
")