FellowTraveler
Well-Known Member
If it works for you then you are a pro...Good work Nate! I think I've done a lot to my truck, then I look at your stuff and realize I'm such an amateur!
Follow along with the video below to see how to install our site as a web app on your home screen.
Note: This feature may not be available in some browsers.
If it works for you then you are a pro...Good work Nate! I think I've done a lot to my truck, then I look at your stuff and realize I'm such an amateur!
WOW, I love the use of AN fittings, braided hose and the fire sleeves. You never cease to amaze me with your skill-sets another AWESOME for you...I had another delay with the driver door: I forgot there were problems with the driver side lock cylinder so once I started looking at it now I found I needed a new cylinder and the handle was kind of messed up as well, so more parts to order.....
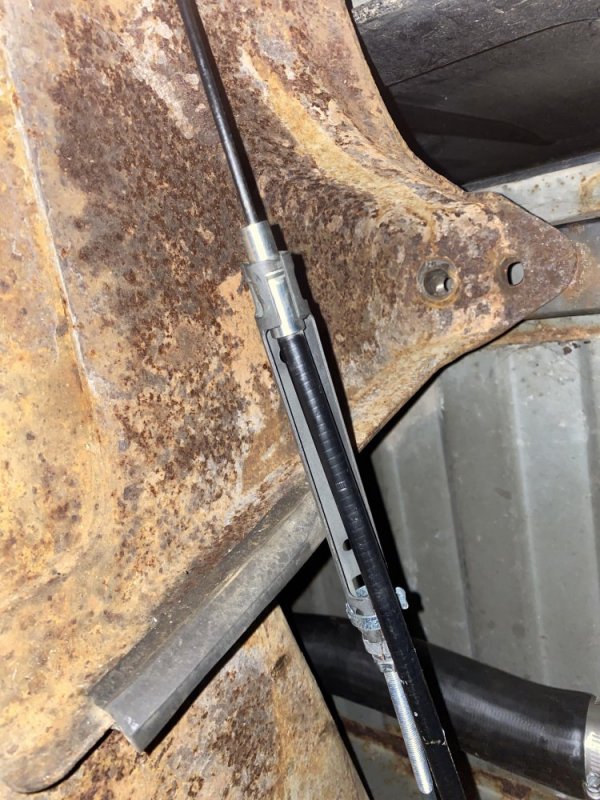
So I shifted my focus to some details that needed to be addressed. In no particular order I added some Earl’s heat sleeve to the fuel lines where they were close to the exhaust. I installed the NOS cruise control cable I got lucky finding on eBay since mine was broken. I installed new hydroboost hoses. I cut the original connector off the Raptor pump and added a Weatherpack connector to it, then I finished the wiring for the lift pump. The last thing I did was finish all of the grounds on the driver side of the engine compartment - I tied the body, the frame and the engine all together at the ground stud I put in the firewall. With this stuff done I THINK the driver side is done until the front clip is reinstalled.
View attachment 63906View attachment 63907View attachment 63908View attachment 63909View attachment 63910View attachment 63911View attachment 63912View attachment 63913
Thank you sir!WOW, I love the use of AN fittings, braided hose and the fire sleeves. You never cease to amaze me with your skill-sets another AWESOME for you...
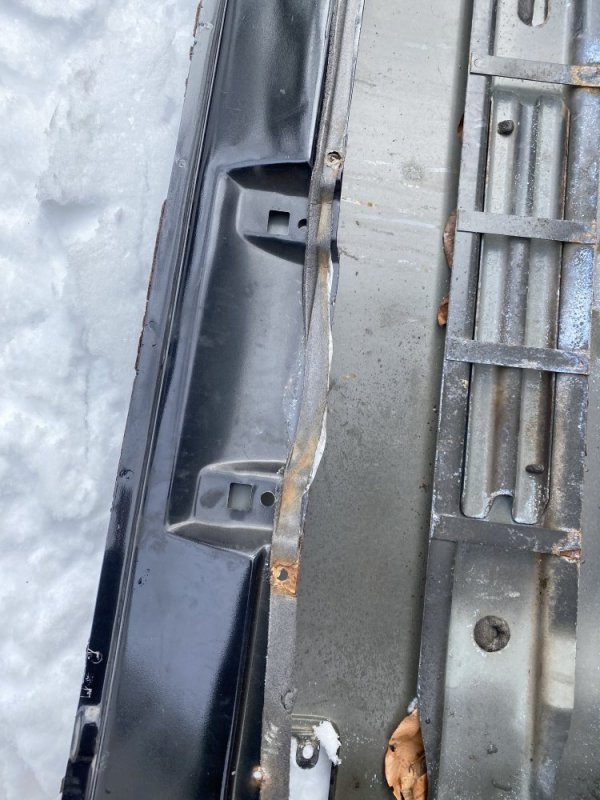
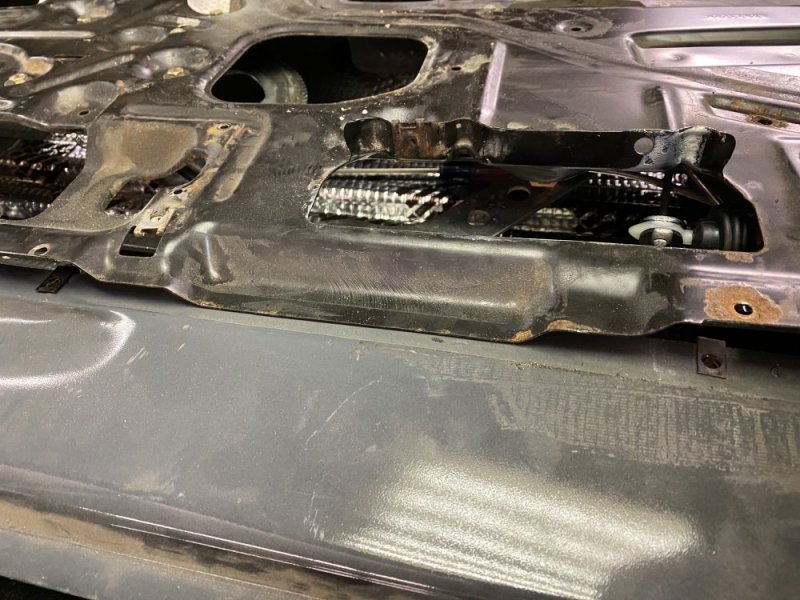
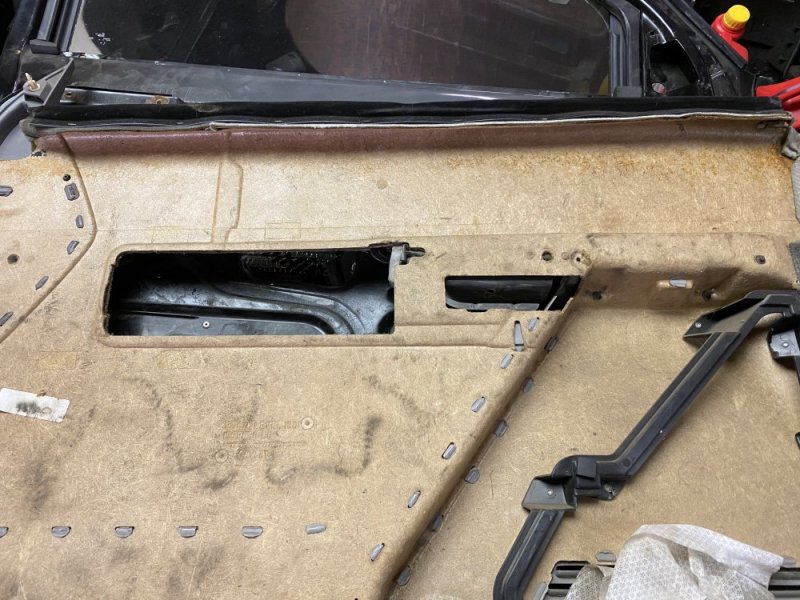
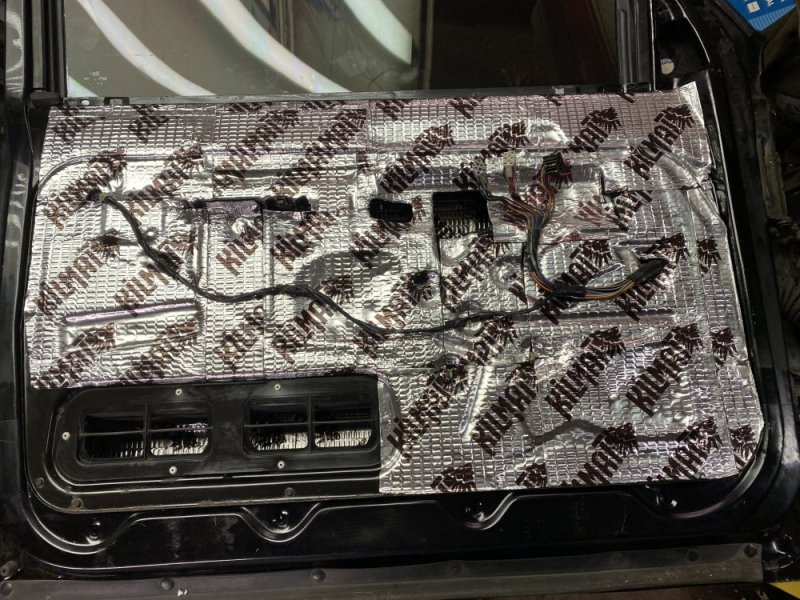
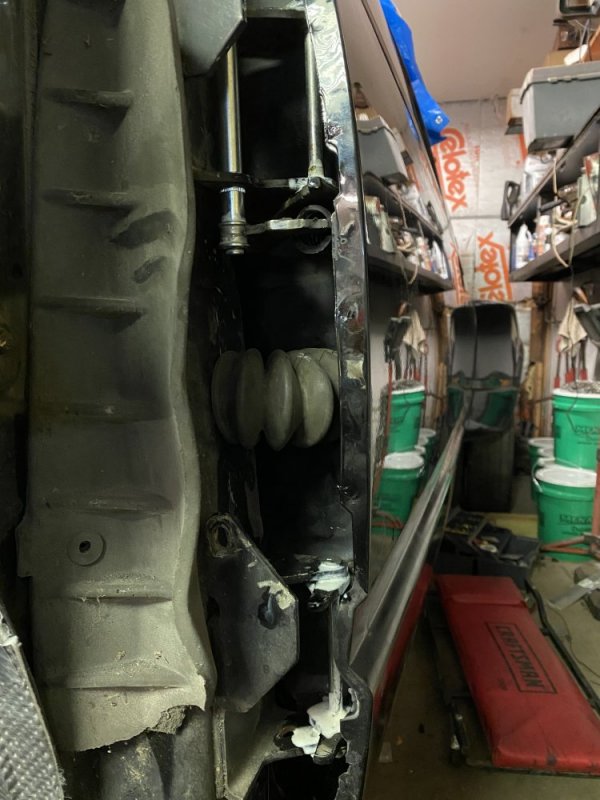
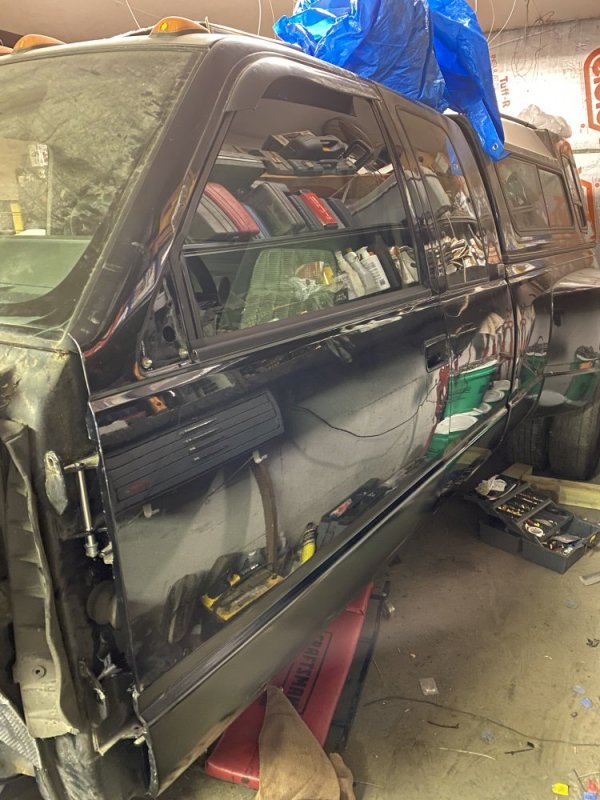
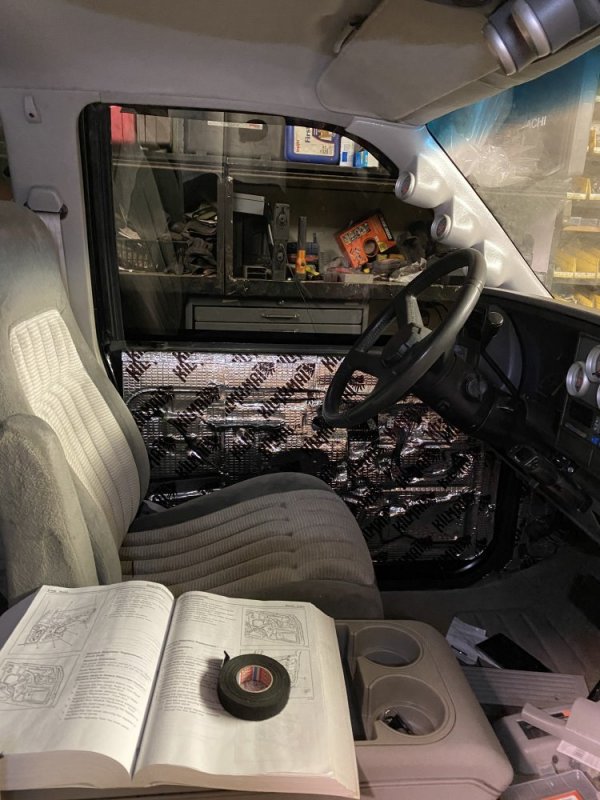
I don’t have much in the way for tips. I did find it worked better attaching the latch rod to the outer handle, removing the latch from the door, install outer handle then install latch. The rest of it was mumbling the right words while holding my tongue in my teeth just right. They sure don’t give you any extra room to work in there.Got any tips on wrestling those door locks? Also where did you find the right keyed locks? Last time I checked with flaps they could get locks but couldn't get them with keys to match what I had
Sounds fun! It's so hard to find good help anymore. The rods definitely weren't intuitive to hook up, but luckily I had other doors here that I could look at for reference and that helped a lot. I replaced the outer door handle on the Tahoe years ago and I didn't remember it being that bad to do, but maybe I just put the experience out of my mind?Sooo.... I sent my truck to the body shop with the driver's door off to make it easier to paint the jamb and inner door (interior panel removed from door). After taking 2 months more than he said it would, I got it back with the door on the truck, but the guy said he had a hard time with the linkages. I ran all the wiring for door the locks and switches, and hit the lock button. Not much happens. I see the rod TRY to move the lock, but it can't. So I just very lightly assist the rod when I hit the button, and Clunk! The rod moves as it should. Lock,unlock,lock,unlock... we're good. Did I mention that I was inside the truck with the door closed when all this happened? I unlock and pull the door handle- nothing! I climb out the passenger side and try to open it from the outside- nothing. I put the key in the lock to see if it was locked- Nothing! No resistance at all. I am now a very happy camper! So I learned how to tear the guts out of the door and realized that he only had one of the rods attached right, and that both the lock rods came off when I hit the button. He had the interior side lock rod in Backwards.
Two evenings with a newly shortened index finger later, it was back in working order.
This is why we should NEVER let anyone else touch our trucks!
I see the rag joint has been eliminated...the other mod I do recommend is the S&S dual tapered bearing idler arm bracket.I decided that at this point it was silly to leave the original front brake lines on, so I made new ones tonight. Man that nickel-copper tubing sure is nice to work with!View attachment 63942View attachment 63943
Yep, I did the XJ mod late last year. I have a Super Steer idler arm, but I'm using that on the red truck. When I do the GMT800 brake conversion on this truck I'll do the Super Steer and a steering box upgrade (probably Red Head).I see the rag joint has been eliminated...the other mod I do recommend is the S&S dual tapered bearing idler arm bracket.
The best steering box IMO is the PSC 6 bolt top conversion...Yep, I did the XJ mod late last year. I have a Super Steer idler arm, but I'm using that on the red truck. When I do the GMT800 brake conversion on this truck I'll do the Super Steer and a steering box upgrade (probably Red Head).
I'll look into that. Thanks.The best steering box IMO is the PSC 6 bolt top conversion...
Oh goody. I bought a Red Head for Krovvy last year. Hopefully it works ok when I get that truck on the road.iirc Ferm commented on the red heads having issues now. I could be mistaken