• Welcome to The Truck Stop! We see you haven't REGISTERED yet.

    Your truck knowledge is missing!
    • Registration is FREE , all we need is your birthday and email. (We don't share ANY data with ANYONE)
    • We have tons of knowledge here for your diesel truck!
    • Post your own topics and reply to existing threads to help others out!
    • NO ADS! The site is fully functional and ad free!
    CLICK HERE TO REGISTER!

    Problems registering? Click here to contact us!

    Already registered, but need a PASSWORD RESET? CLICK HERE TO RESET YOUR PASSWORD!

1994 K3500 extended cab dually

In thinking a bit more about the Red Head commentary and my Blue Top experience, it almost makes sense that QC is a challenge. Both outfits recondition used units, and these units are ~20+ years old with an unknown amount of miles on them. Sure, the idea is to only use cores with good bones, but at this stage it seems that getting a source of good bones is not a guarantee.

Do agree that for the prices, we should expect better quality though.
Yeah, it sure seems for that price they should have processes built-in to address whatever wear they're seeing.....although at first I was thinking about case wear, but I bet it's the gears that are wearing, eh? I guess gear replacement or refurbishment would be much more costly.
 
I guess now I'm glad I swapped the 116,000 mile box from Krovvy into this truck. Maybe that's a longer-term solution than I first realized.
 
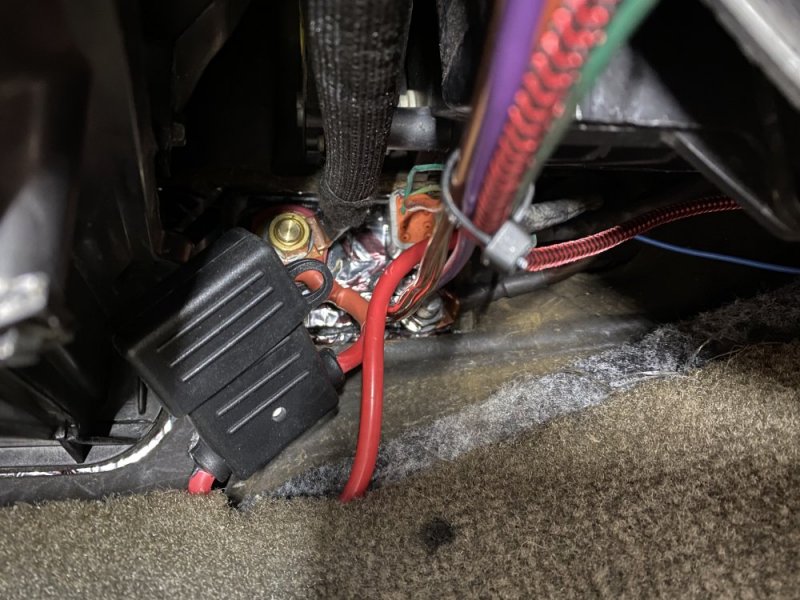
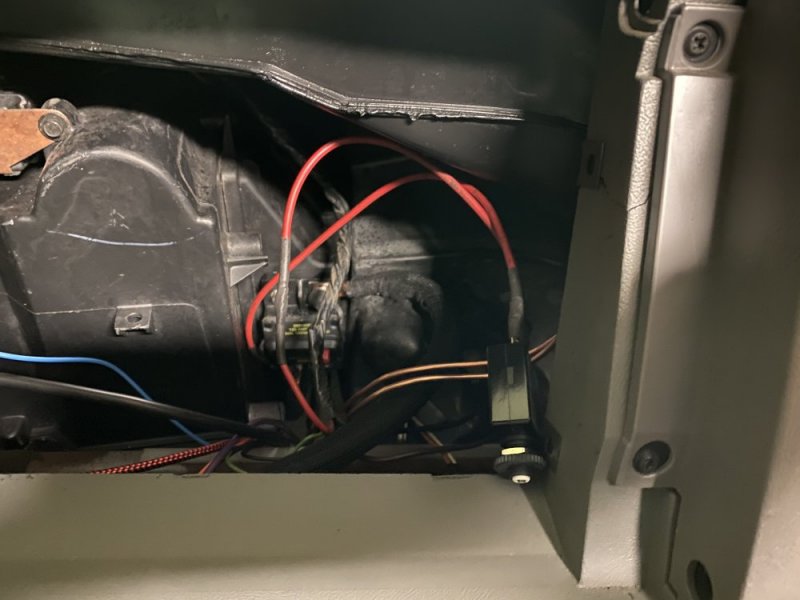
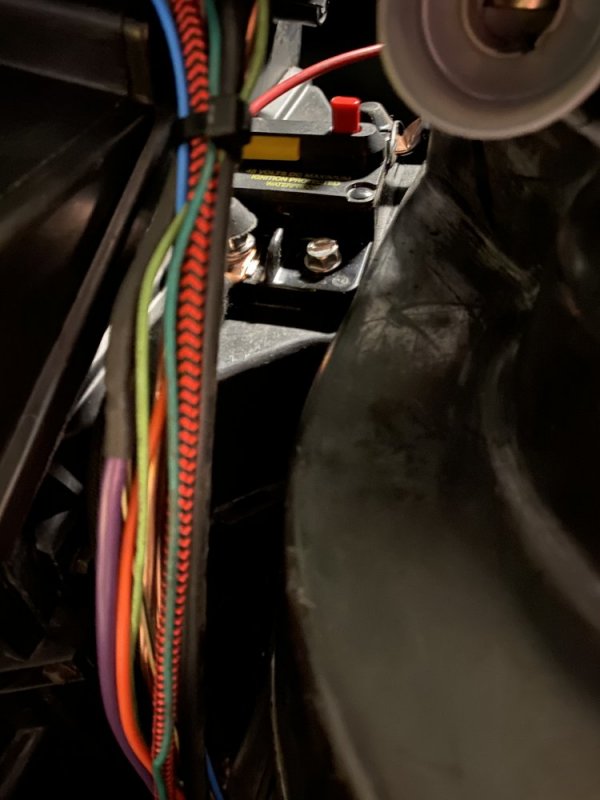
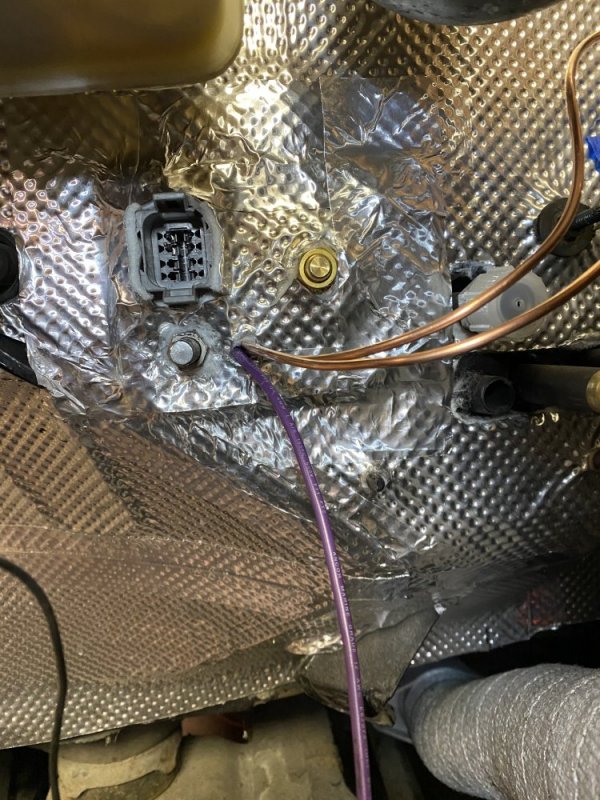
I made some progress on the passenger side. I made a plate to cover the factory pass-thru hole in the firewall. I cut it out of stainless and then put holes in it for the power stud, ground stud and an 8 pin bulkhead. Right now I only have 4 wires in the bulkhead, but I’ll be adding at least one more for the manual override for the electro-viscous fan clutch. Since I’ll be adding more wires later I just have zip ties around everything and I’ll loom it later. I also added a grommeted hole for the drive & boost gauge lines and the starter solenoid wire (the bulkhead wasn’t able to pass a 12 gauge wire). Before installing the plate I attached the bulkhead and then applied a layer of sound deadener to the inside. I sealed it with black RTV. After installation I applied a layer of DEI Tunnel Shield on the engine side.

8DC30128-092A-4CAF-9930-A92B4CCB54AF.jpeg58940C8F-B5CC-4405-8C34-58948AE4F324.jpeg0BB486EE-CC1E-4768-96BA-037E69BBBFBB.jpegE29B9F4C-C793-4DC1-99C4-92C22B1E8A71.jpeg

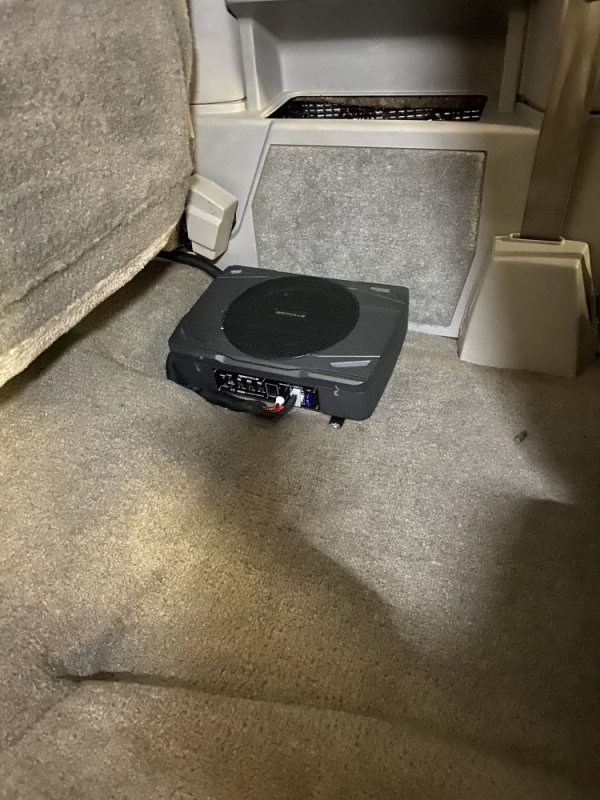
Part of the passenger side wiring was for the 8” powered sub to fill in the lows since all the other speakers are just 4x6. The original plan was to install it under the passenger seat, but unfortunately there wasn’t enough room under the track so I relocated it to under the back seat.

F94E950D-BE1C-4FD9-B79D-231520DC10BC.jpeg

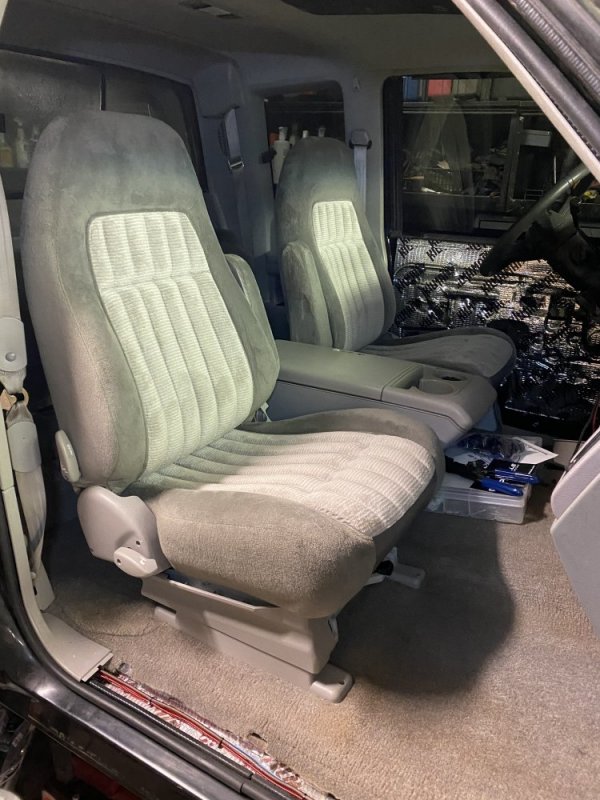
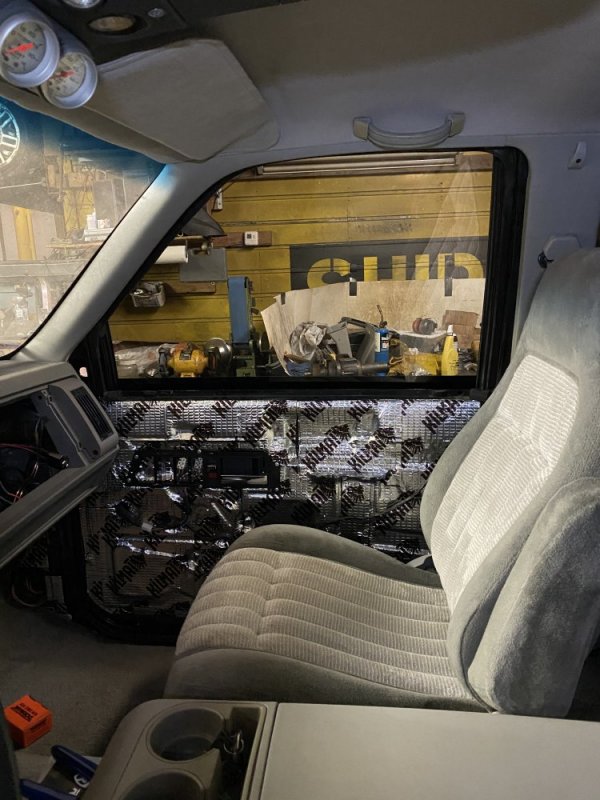
With that done I cleaned up the mess in the cab and switched over to the passenger seat. I installed the seat track and then cleaned all the plastic pieces before reinstalling them on the seat.

8E33E14C-B45E-4073-847E-D5FAE297078A.jpeg

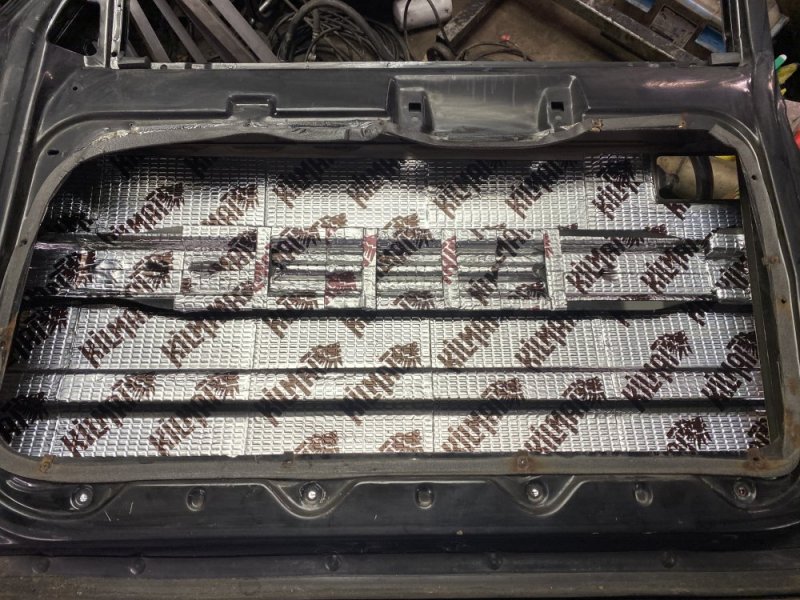
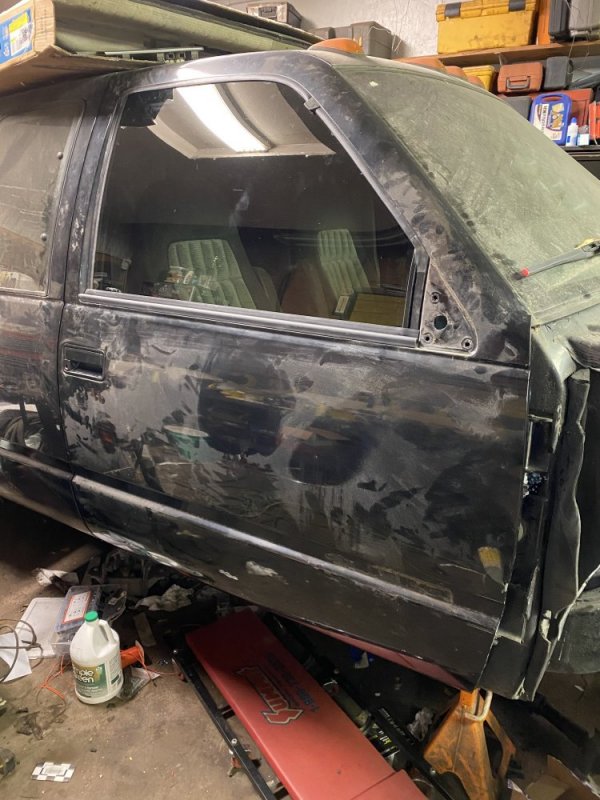
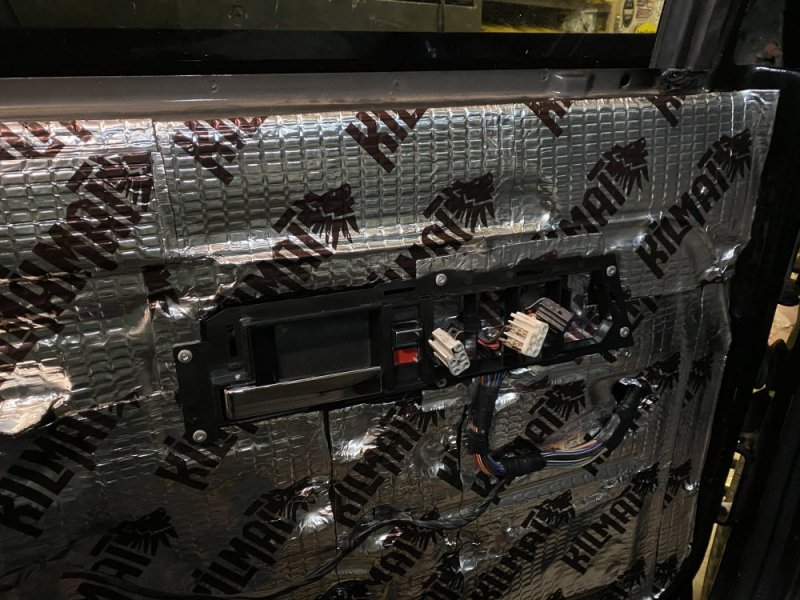
Last thing today was cleaning/prepping the passenger door for reinstallation and then applying a layer of sound deadener. If all goes to plan the door will get installed tomorrow.

B9318BF3-E74E-42AD-A2C7-D07BEAD1E85D.jpeg
 
Looking sharp! My Kicker did fit under the front seat, but I have a bench seat. You will be pleased with the sound. I put everything below 120Hz to the sub, and everything above that to the 4x6s.
 
Looking sharp! My Kicker did fit under the front seat, but I have a bench seat. You will be pleased with the sound. I put everything below 120Hz to the sub, and everything above that to the 4x6s.
Thanks and good to know. I was surprised how there wasn’t clear space under the seat for the sub. There was almost room under the driver seat, but it would have touched the seat in a couple spots and that didn’t seem like a good idea. I don’t think I’ll hate where it ended up under the back seat, but time will tell.
 
Look good.
A new trick for you all: zip ties aka cable ties. This won’t work with the metal lined ones, but the normal ones it’s awesome.
Don’t cut off the end, even with flush cut snips. Grab the end as close to the square part as you can with pliers (electricians prefer linesman pliers for this) now just twist in one direction. In about 1.5-2 revolutions it will shear off. Why? Ever reach past a cut zip tie and have it cut you? This eliminates it. It also ends up being more flush so looks cleaner too. I call it the Barry after the sparky that taught it to me and has been slowly changing much Vegas into doing it. So little effort with such nice results.

There is a drawback. Now most every time I can, I am cutting out old ties and replacing them. Call it pm on cable management I suppose! Haha.
 
Great tip! Those cut ends can definitely be sharp.
I have a set of those cheap o side cutters. I ground and dressed the outside of them down so that they dont cut a diagonal cur from bothe sides. Diagonal from the inside edge and flat to the outside. The only thing i use those for is those plastic zip ties. Cuts them off flush to the flanged edge.
 
I have a set of those cheap o side cutters. I ground and dressed the outside of them down so that they dont cut a diagonal cur from bothe sides. Diagonal from the inside edge and flat to the outside. The only thing i use those for is those plastic zip ties. Cuts them off flush to the flanged edge.
I like that idea. I might have to make a set.
 
Yeah I’m going to get aftermarket power tow mirrors. I was thinking I would try to find a set of the power mirror door panels and a switch, but they’re hard to find and when you do find them they’re pretty pricey.....and then what if the switch goes bad? So instead I’m going to try using a switch from a 2000-2002 GMT800.
 
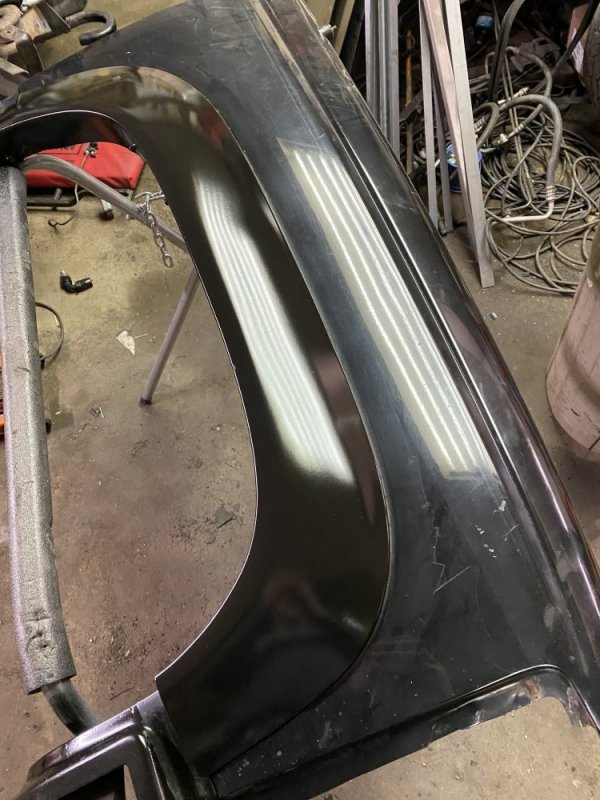
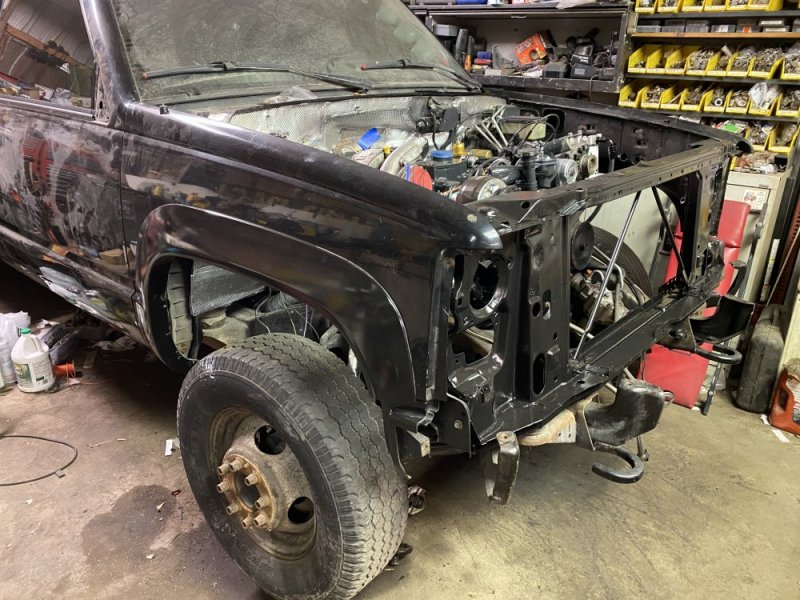
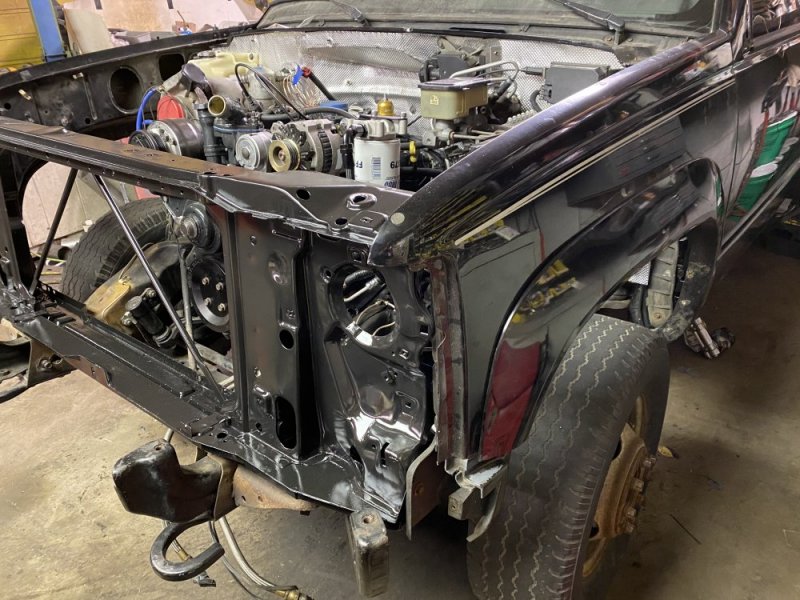
Earlier this week I took the radiator support to the pressure washer. I figured while it was clean I might as well slap some paint on it so I sprayed some Rustoleum primer and satin black on it. It’s in good shape for a Michigan piece, but not good enough to go full resto on, so that’s why I just did the quick rattle can job. I’ll source a nicer one for the truck later. I also found the passenger fender was crustier than I remembered so I’ll be looking for another one of those and swap it eventually....in the meantime I sanded and sprayed the fender flare because the clear coat had peeled - good enough for who it’s for. Now I have all three pieces mounted. I won’t be surprised to have to remove the fenders (especially the passenger side) as I finalize some electrical and plumbing, but the radiator support should be in its home now.

29055AC7-1D39-4B7D-9622-B82B6C8AAF74.jpegEA8496E3-4558-483E-8D54-2019B2227054.jpegFC7617C9-E1FF-4A06-B39D-75149741FDEC.jpeg
 
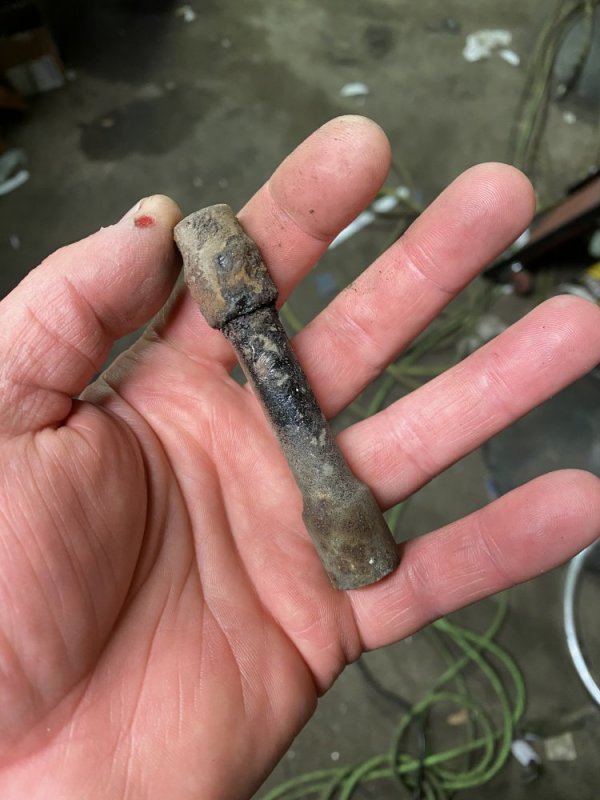
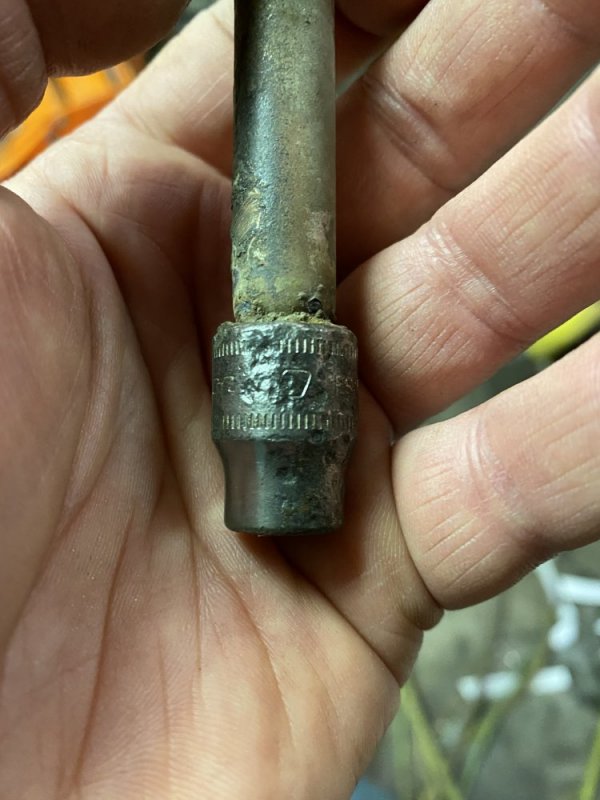
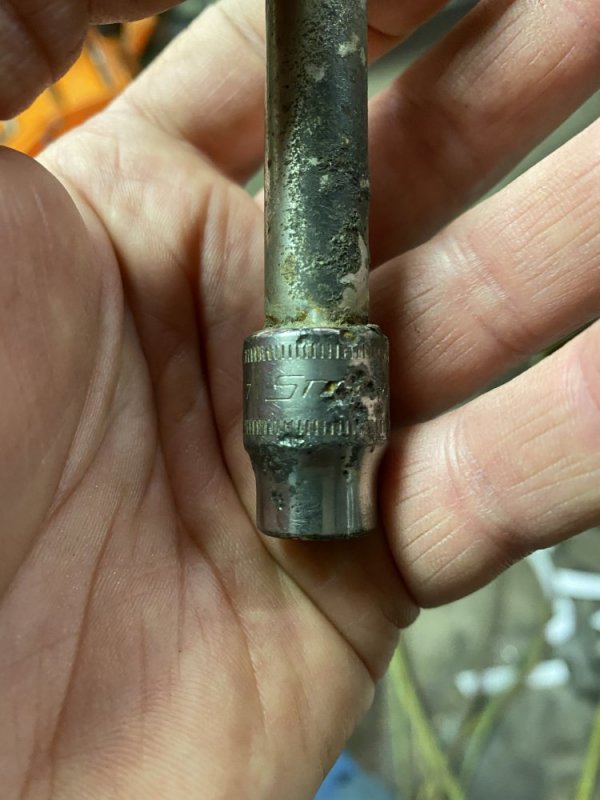
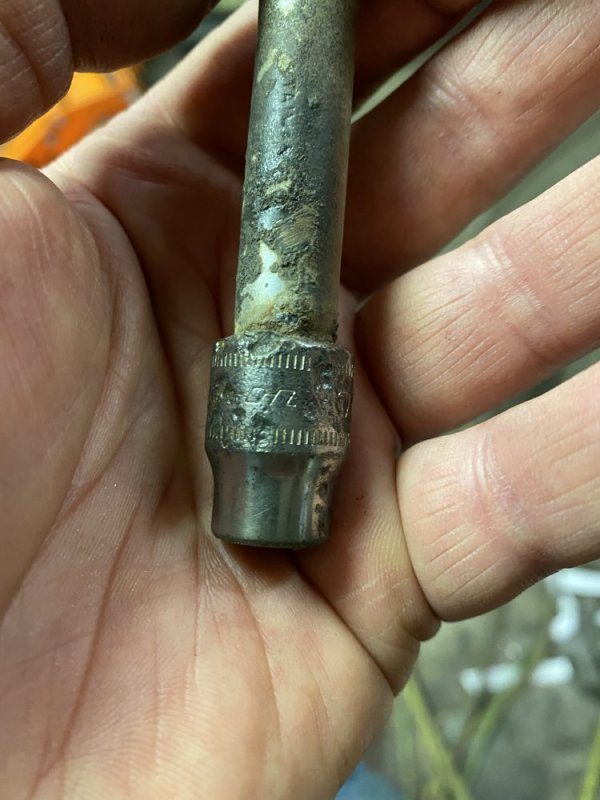
Oh AND!! I thought all that 10mm socket stuff on Facebook was just a good laugh, but I’ll be damned if when I went to install the driver’s fender if I didn’t hear something rattling around, and what was it....a 10mm Snap On socket!! I couldn’t believe it!

045C7CDB-8F08-46C5-B22A-F02C95E5DADE.jpeg8EFBB3AA-9956-4ECE-8D2B-2E504C6ACBE7.jpegE423A047-36B8-4202-B580-8B9FB41E3FDB.jpeg60740C7D-FE7E-4A51-893D-1E90FCC1BC62.jpeg
 
Hey snapon man, can ya warranty this one?

when I was a Mac tool guy, I had a customer that wanted an extended warranty incase he lost a tool. I said, no problem but it is only useable 1 time per tool. It costs the same amount as the tool. Obviously (or so I thought) I was joking. He said - yeah give it to me! I handed him a second set of wrenches or whatever it was and instead of $300 I said. O you owe me $600. Just don’t open this package until you have lost something from the first set. It took him another 4-5 seconds of thinking on it before the bulb lit up.
 
Back
Top