• Welcome to The Truck Stop! We see you haven't REGISTERED yet.

    Your truck knowledge is missing!
    • Registration is FREE , all we need is your birthday and email. (We don't share ANY data with ANYONE)
    • We have tons of knowledge here for your diesel truck!
    • Post your own topics and reply to existing threads to help others out!
    • NO ADS! The site is fully functional and ad free!
    CLICK HERE TO REGISTER!

    Problems registering? Click here to contact us!

    Already registered, but need a PASSWORD RESET? CLICK HERE TO RESET YOUR PASSWORD!

1994 K3500 extended cab dually

When I sent the pic of this to my brother, he said he could warranty it through his Snap On guy. I thought he was joking, but he was serious.
 
Yes, that is what they do. or with snappy, mac, etc you can call the 800 number and tell them you don’t have a snappy guy and want to warranty direct. ALWAYS Ask for shipping label to be emailed to you. You send it off, and get shiny toy in mail a week or so later. Tell them include a catalog- Then start filling out more job applications to get job#2 to help pay for the other goodies you didn’t know you needed!

If you ask, they probably have a guy near you that you can meet up with.
much of the tool truck stuff is expensive,yes. But sometimes it is the best choice- even the cheapest choice.
Mac tools drillbits are life time warranty for breaking! They also are some of the best quality there is unless you get into specific metals or crazy machinist work. I used to sell the big cobalt set at $300. Nearest real cobalts were $275. But break 2 or 3 and you are now even at 300. I was selling those in 2007 and still run into guys in 7-11 and they thank me-“Hey I still have that set and have replaced about 17 bits so far!” I had several customers that warranty them because dull and they don’t want to sharpen- Mac covered them.

I own some snapon sockets, screwdrivers and a snappy box btw. Just avoid their flank drive stuff. I always got what worked the best that I could afford. Any tool questions you guys have- hit me up. Just not on Nate’s thread!
 
not alot of options out there, I bought a red head recently. The PSC when I checked was unavailable ATM and was over $1200
??? That price is way off "$695. & is in stock ; https://www.pscmotorsports.com/psc-sg840.html
I have spent perhaps 4 times that figure of $1.2k you posted replacing boxes "re-manufactured/rebuilt" over the years all failed in short order. The PSC option uses tapered bearings failure of these types of boxes has not been an issue...
 
Last edited:
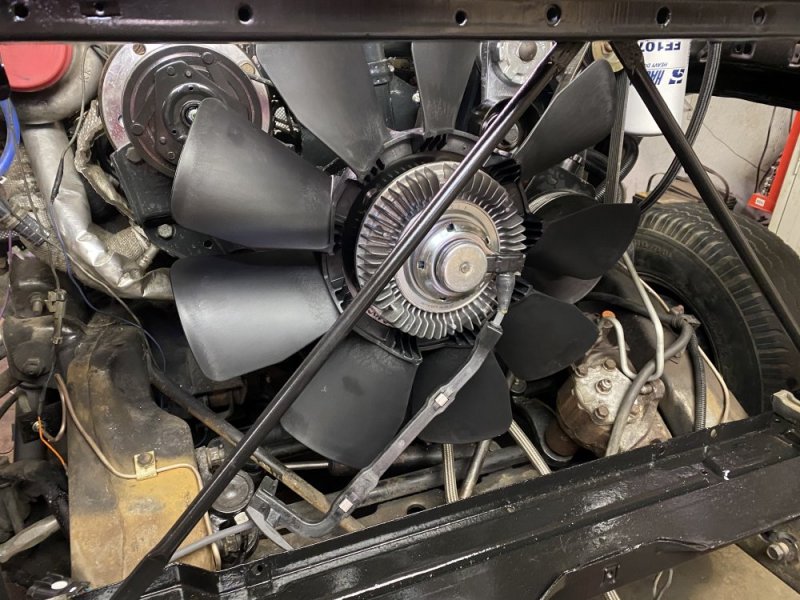
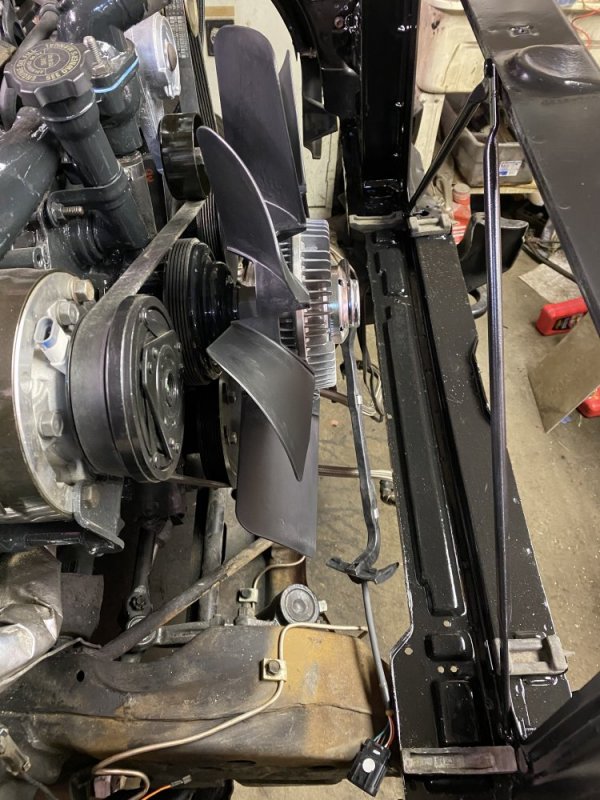
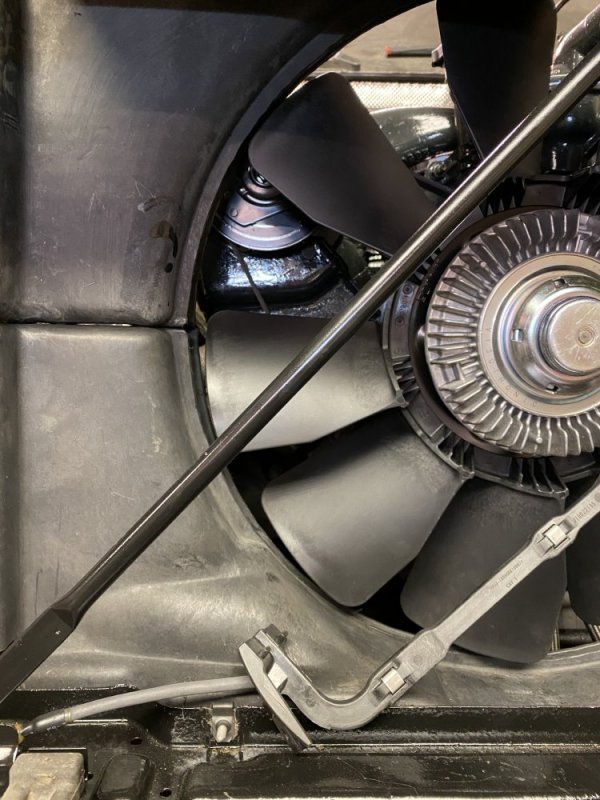
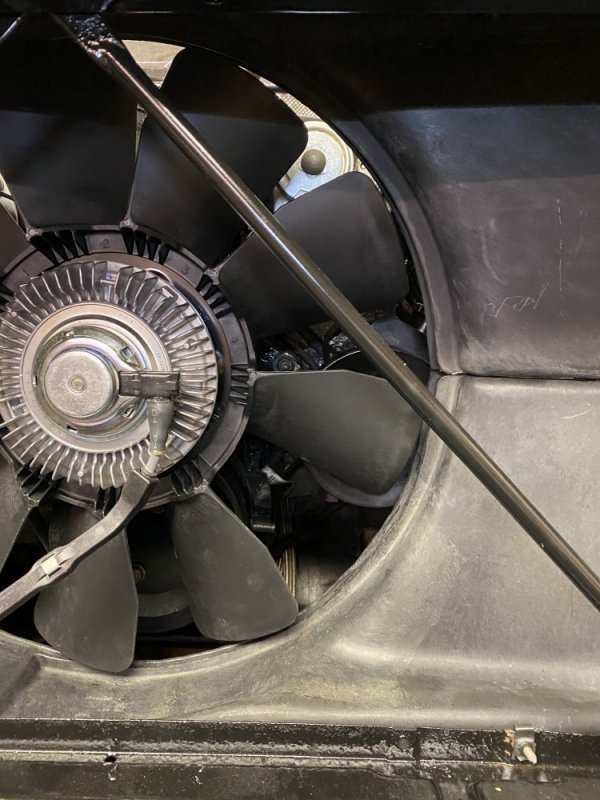
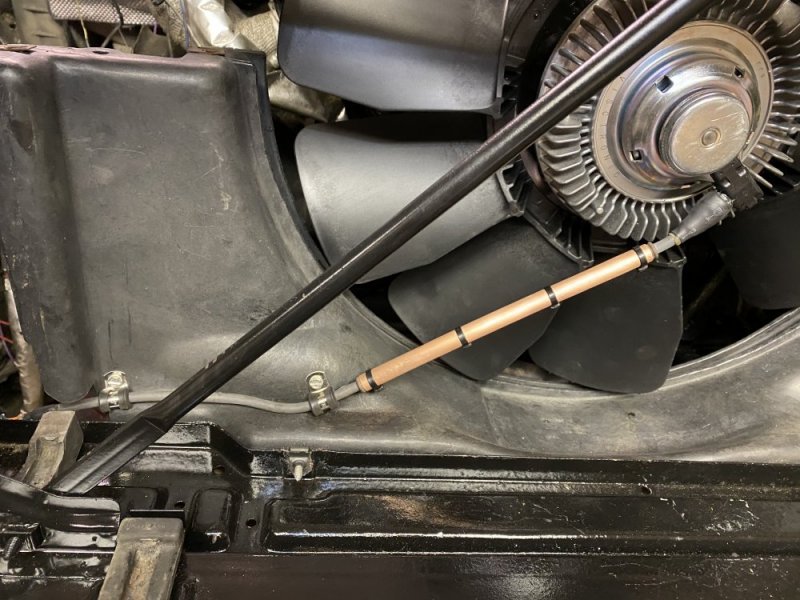
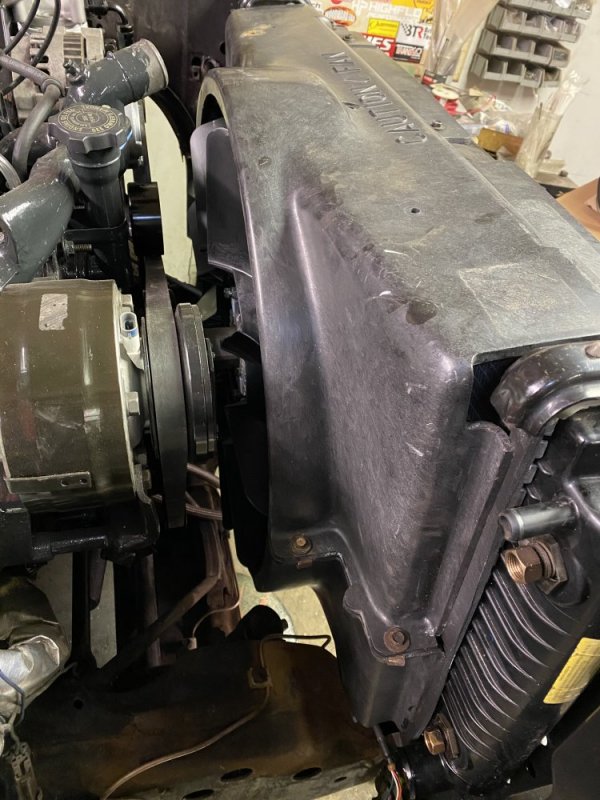
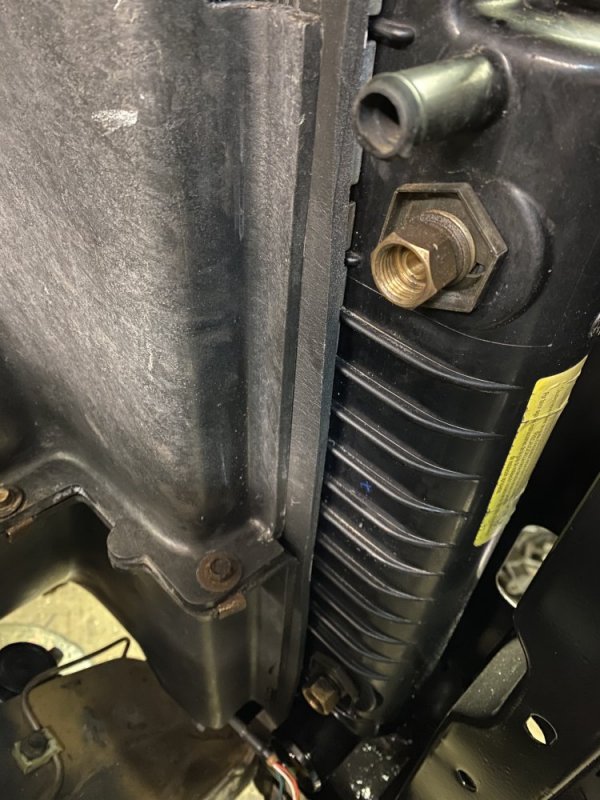
Started working on the cooling system today. I got the parts to do the EV fan clutch setup that Les figured out. I ended up spending a bit of time getting the clearance between the fan blade and the shroud to my liking. I had to open up the holes in the lower shroud so I could drop it away from the blade and push it to the passenger side. Even then there were a few spots I had to clearance with my die grinder and a burr - some spots I removed as much as 3/16”. In the end I got the result I was happy with. It was sure nice doing that work without anything else in the way.

F49D659B-EB7C-4342-BA5E-D920D6A75907.jpeg4D78180B-6498-4E23-AF69-1FCD269E0631.jpeg90FE0803-7BA4-4AFB-902C-9A28B4BCEEBC.jpegAD5A07CA-D363-4B5E-88FB-9EDAB981E96D.jpeg

I was playing around with how to route the wiring and decided I didn’t love the factory plastic conduit piece. So instead I removed it and then took a piece of 1/2” copper and made a wide slice in it so that after I put it on the grommets on the lead it would be a snug fit. I used the cable tie cutting method Will shared and had good results 2 out of the 4.....I guess I need more practice at it.

327B32D6-F416-4CFC-933F-5DED2F9C7470.jpeg

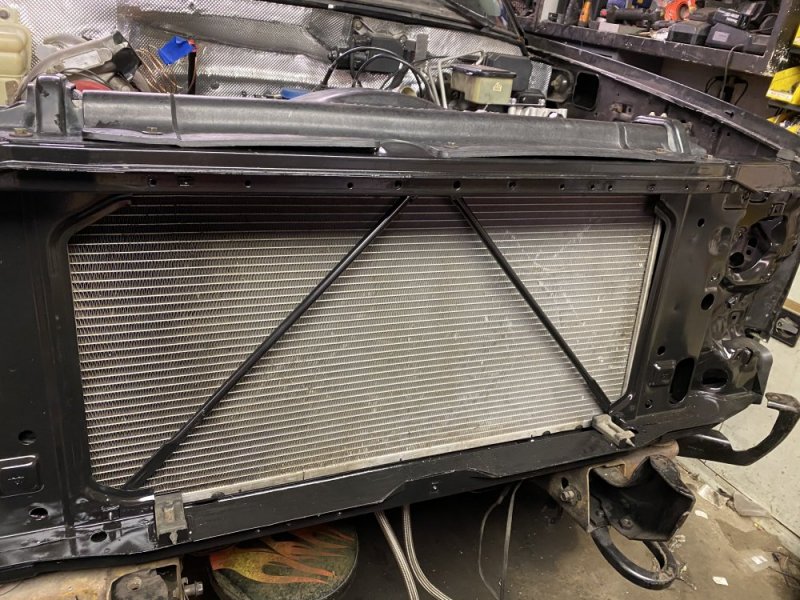
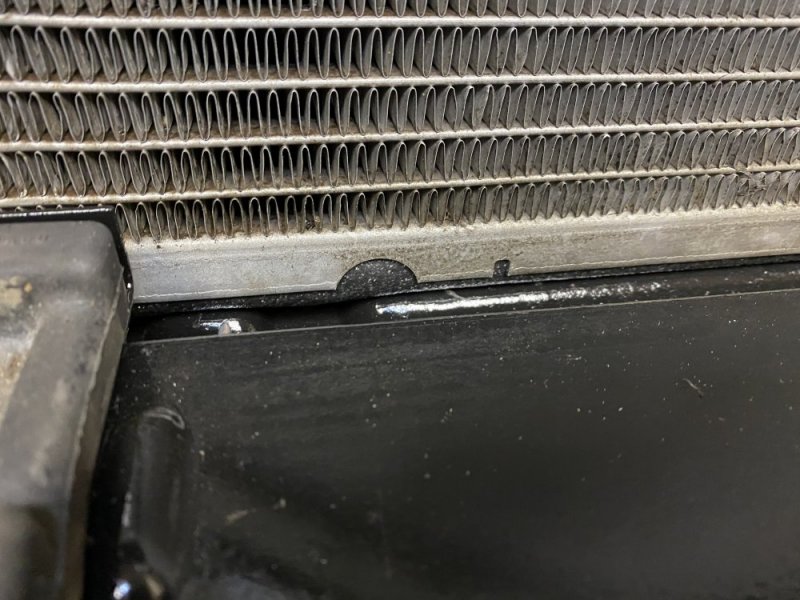
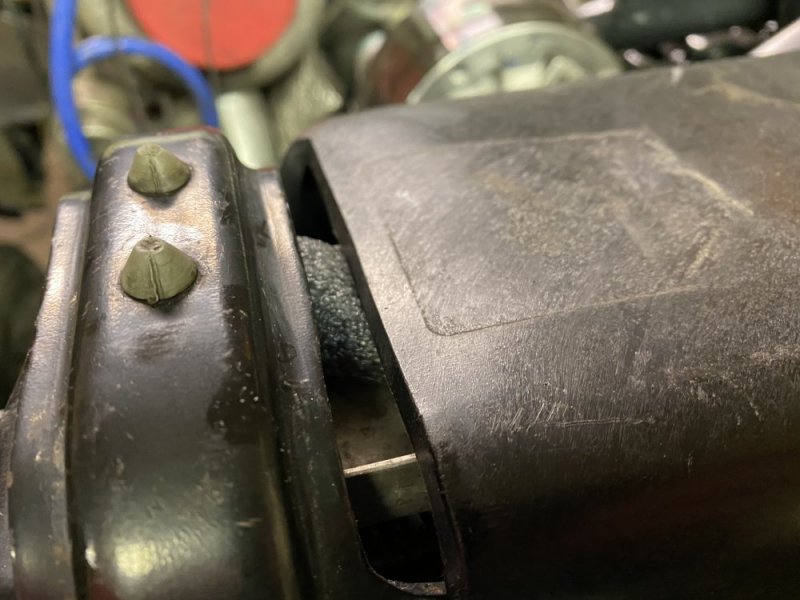
After that I installed the radiator. I used some foam pipe insulation under the radiator to seal it to the radiator support. On the sides I used some foam window seal to seal the gaps at the sides of the shroud and then on top I used some 5/8” foam backer rod. I still have a couple spots at the top to fill and that will be where I start tomorrow.

9A42144C-3F5D-4701-A91B-BC1420BC268F.jpegA8285E2F-3E4A-457B-B589-19FB50A13203.jpeg648289F9-BF97-4565-886E-119DFBA40D7A.jpegAE0D828D-BF8B-42E1-8982-14F46271D867.jpeg08607F2A-AA72-4016-8FF1-2EFCBB36A456.jpeg
 
Another great mod by you 👍, sealing the radiator around the support makes all the difference.
You can get better cooling by sealing aux coolers and the condenser to the radiator face however; extra effort is required to fit around the diagonal bars, this way you know the fan is pulling on those coolers equally.
The foam strips can be made to last for decades by sealing it w/DuraBak or spraying with a UV inhibitor.
 
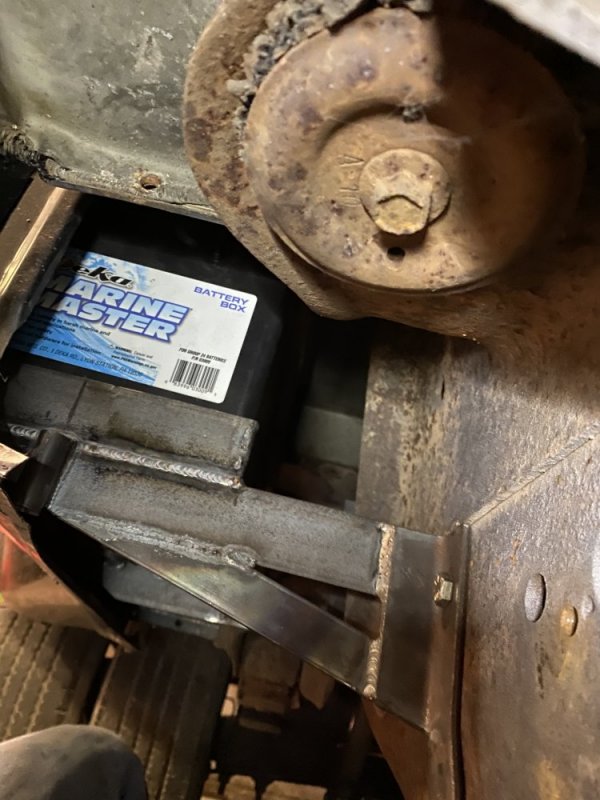
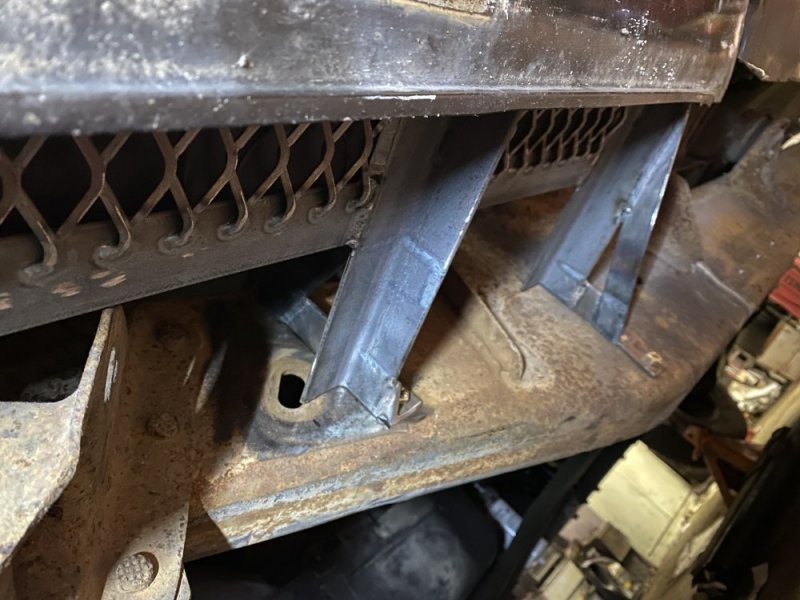
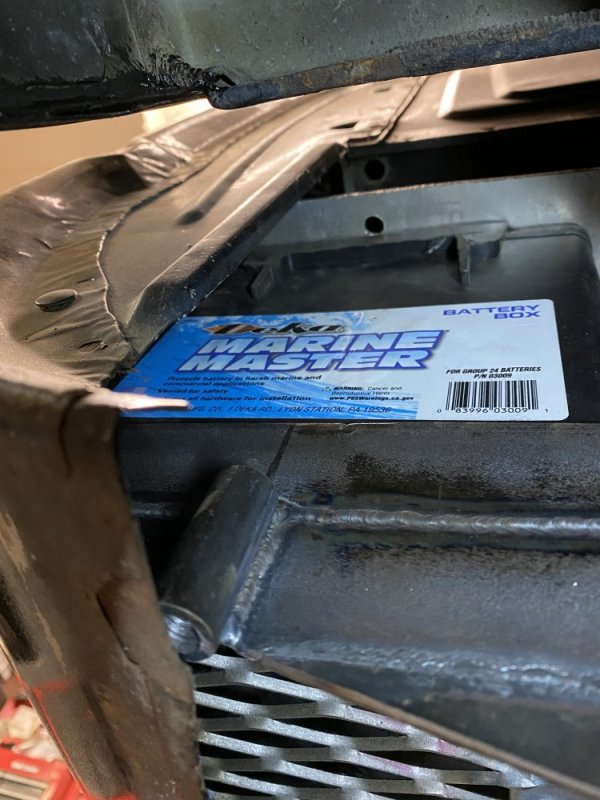
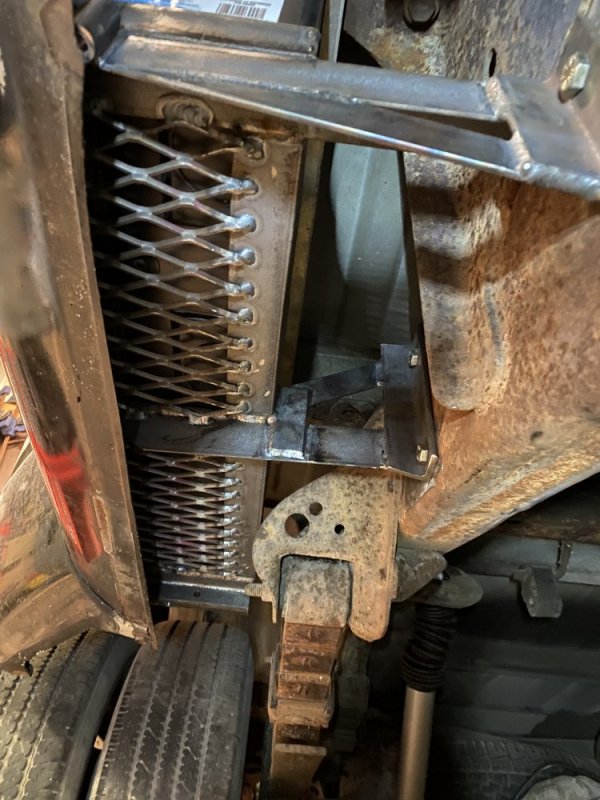
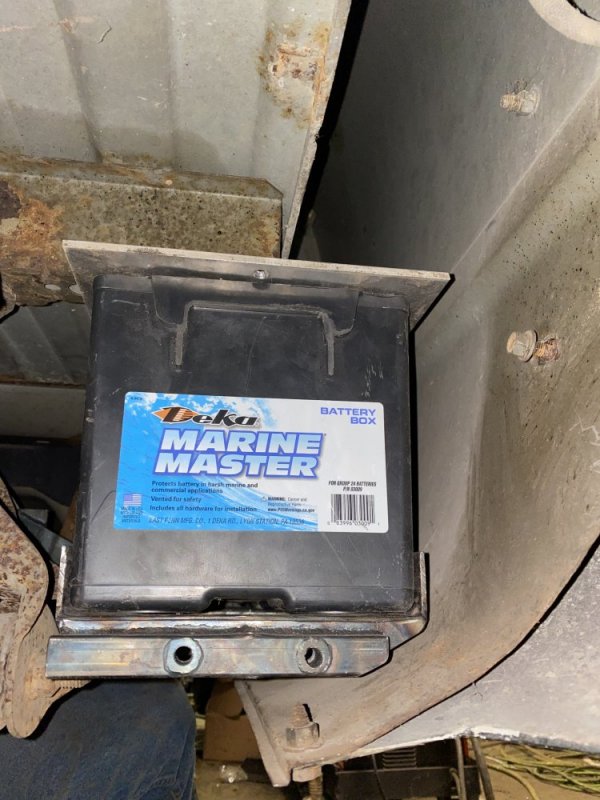
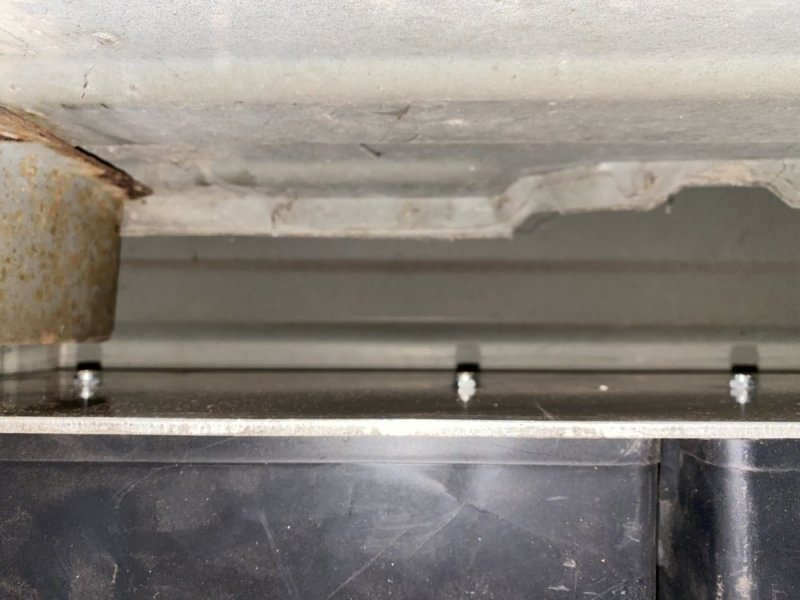
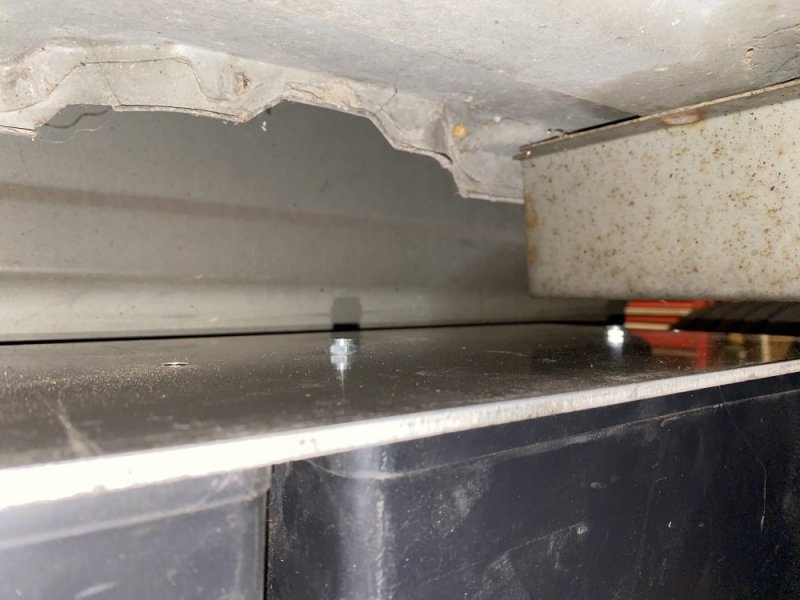
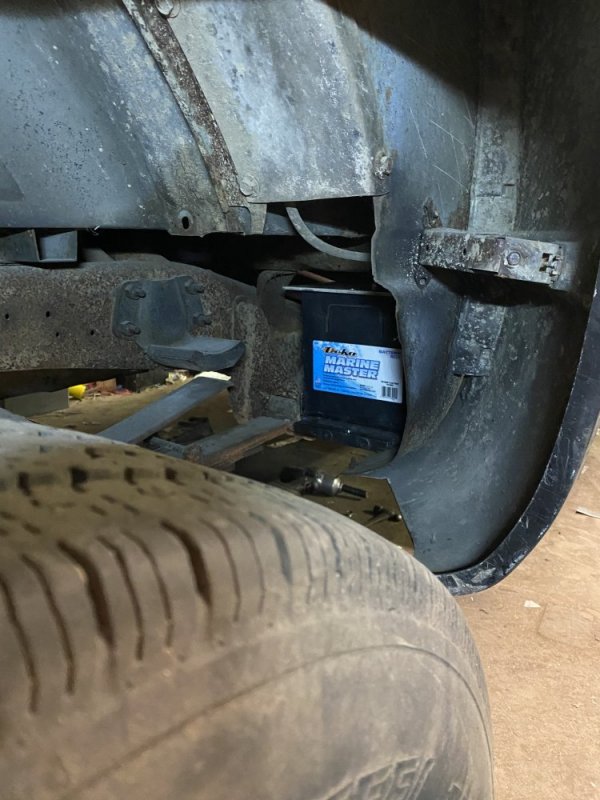
It isn’t finished yet, but one of the things I got mostly completed this weekend was the tray to relocate the batteries under the bed on the passenger side. To finish it I’m waiting for the master disconnect to show up so I can see where I’m going to mount it. I also need to get some 1/2” closed cell foam insulation that will go under the aluminum plate to seal the top of the battery boxes. The boxes are group 24 marine boxes I picked up at Menards pretty cheap. I cut 1” off the top of each so the top if the box is flush with the top of the 78 battery that will be in each box. I installed 2 vents over each box to let gases escape. The boxes can be lifted into place without removing the rear wheels thanks to the dually cutout in the bed just by removing a bracket. I will be making a shield out of thin aluminum to protect the battery boxes from anything spitting off the tires. Once I have the switch in place I can measure for how much 4/0 cable to buy.

D0609966-B943-4BA6-8C34-EE2B957D6DA0.jpeg07A477B6-61D8-4E1C-AF23-F09388B67EEB.jpegB280A26E-2896-417F-A42C-FA0B10A37D8D.jpeg7B8A3EB0-4006-4CBB-9AFB-63E0F118BCF3.jpeg57A873BB-ABD4-4866-971C-663EFF1528A1.jpegD7FC569F-2511-422A-80B6-B72714C7D651.jpegD9B219F3-52D1-406C-AD03-F7EE3B68F74A.jpeg79BFFDB1-9598-4A6A-8CB0-38F7617783A0.jpeg
 
My subscription must have ran out. 🤣 I haven't received a notification to this thread.

Looking good Nate!

I like the battery relocation. Are they easier to get at than the pictures show? I would like to get my batteries out from under the hood as well.

You should sign up for n8in8or Prime so you can be sure to not miss an update.

They shouldn't be bad to get in and out.....to remove, you just slide the battery box back and it will drop out the bottom. Of course since your truck is apparently never going to have a bed on it again it will be much easier for you. 😝

I'll try to take a video at some point to show how it works....probably easier than words and pictures.

I'm already wasting my money on the YouTube subscription! :arghh:

I suppose your "Only Fans" page is the busy one. :vomit: :D

Yea, I wish I wasn't such a sucker for taking that guys word about getting paint done. Now would be a good time to make a mount. With my luck the bed would sit on it. If I ever get it back. I did see a picture of it a while ago. My eyes filled with tears.

Looks to me like your truck will pull a camper this year!
 
It would be easier with your bed off for sure, but I'd worry about clearance.....I only have about 1/8" of clearance between the tray and the bed skin with how I have mine sitting. It really wasn't terrible to fab it in place, but with the bed off there wouldn't be any creeper work.

Yep, we're planning the first camping trip towards the end of May! Only a year later...……….:rolleyes:
 
Back
Top