• Welcome to The Truck Stop! We see you haven't REGISTERED yet.

    Your truck knowledge is missing!
    • Registration is FREE , all we need is your birthday and email. (We don't share ANY data with ANYONE)
    • We have tons of knowledge here for your diesel truck!
    • Post your own topics and reply to existing threads to help others out!
    • NO ADS! The site is fully functional and ad free!
    CLICK HERE TO REGISTER!

    Problems registering? Click here to contact us!

    Already registered, but need a PASSWORD RESET? CLICK HERE TO RESET YOUR PASSWORD!

The Stealth BOMB'r is under the knife

Looks good Rich. It will look even better once it is back where it belongs.....

Yeah, it's just SO much nicer to work on it with it out of the truck.

With all the AN fitting and the wiring that I got rid of, it only takes about 2 hours to get the motor out of the truck, so it's SO worth it to work on it this way.

Besides, it'll make mocking up the turbos much easier too rather than trying cram inside the engine bay.
 
Speaking of turbos......I didn't realize I didn't post up the new babies.

NewTwins.jpg
 
Yeah, it's just SO much nicer to work on it with it out of the truck.

With all the AN fitting and the wiring that I got rid of, it only takes about 2 hours to get the motor out of the truck, so it's SO worth it to work on it this way.

Besides, it'll make mocking up the turbos much easier too rather than trying cram inside the engine bay.

thats impressive with any motor, let alone a newer computer controlled system.
 
thats impressive with any motor, let alone a newer computer controlled system.

It's actually really simple to get it out the way I have it setup now. I only have to disconnect 2 grounds, 2 positives and 1 main wire harness.

Once the coolant is drained and the front of the truck is out of the way, it's just a matter of undoing the v-band for the exhaust, loosening the motor mounts, pulling the connectors for the gauge sensors and the push lock hoses for the boost and water injection, and undoing the two AN fittings for the fuel supply and return. After that, it's just lifting it out.
 
Looking mighty good there. What is that logo on the bracket that is part of the coolant bypass? Also, what is the purpose of the coolant bypass? (more specifically than what the name implies)
 
Looking mighty good there. What is that logo on the bracket that is part of the coolant bypass? Also, what is the purpose of the coolant bypass? (more specifically than what the name implies)

That's the logo of the company that makes the kit, Wicked Diesels.

The specific purpose of it is to relieve coolant pressure back at #5 and #6 where the coolant flow kind of sucks on these.

The coolant pressure back there can exceed 90 psi and is one of the main causes of blown head gaskets and freeze plugs; especially the ones under the valve cover that you can't see. If one of those blow, it floods the crank case with coolant and destroys the motor. Those aren't as much of a concern on mine as I removed the freeze plugs and tapped them for pipe plugs.

It's worst before the engine has come up to full operating temp and the thermostat hasn't opened yet or during those times that the t-stat is closed.

It has a 25lb spring in the check valve and if coolant pressure exceeds that 25 psi, the valve opens and sends the coolant around the t-stat housing to relieve the pressure.

The seconday effect is it puts a little less strain on the water pump and accessory drive.
 
Well, I had intended to get the turbos hung yesterday, but I had to make some adapters to go in the block for the return lines and, I swear, every 1/2 NPT tap I have felt like it was trying to cut through diamond instead of aluminum. I about threw three sets of taps out of the shop. Took me longer to tap the 2 adapters than it did to machine them.

Slide1-159.jpg


Slide2-158.jpg


Slide3-120.jpg


Slide4-85.jpg


Slide5-64.jpg
 
Well, she's starting to take shape again.

Got the turbos mounted, oil supply and drains are run, and it's ready for piping.

Drain flanges for the turbos.....

Slide1-160.jpg


Primary drain.....

Slide2-159.jpg


Secondary mounted and plumbed.....

Slide3-121.jpg


Twins mounted and plumbed.....

Slide4-86.jpg
 
It should be ready to drop back in this weekend.

I wasn't planning on getting much done last night other than cleaning up the shop (it's a friggin wreck right now) but it all started going together nicely so I hung out until about 10:30 last night getting it done.
 
Not much done on it tonight....just drilled and tapped for some of the fittings and wrapped some of the hot parts.

Manifold.jpg


Slide2-160.jpg


Elbow.jpg


Slide1-161.jpg
 
Well, she's almost ready to stuff back in.

Got it almost all buttoned up tonight.

I still gotta figure out what the hell I want to do for the intake, but otherwise, it's about ready to drop in.

Here's the coolant line elimination.....

Slide1-162.jpg


Slide2-161.jpg


Slide3-123.jpg


Slide4-87.jpg


Drive pressure line.....

Slide5-65.jpg


Twins with most of the piping and lines.....

Slide7-44.jpg


Slide6-49.jpg
 
Looks great Rich, show case of great ingenuity. Since you did not touch the bottom end does that mean you can give her a beating right away? Do you have any time set aside for the track or rollers?
 
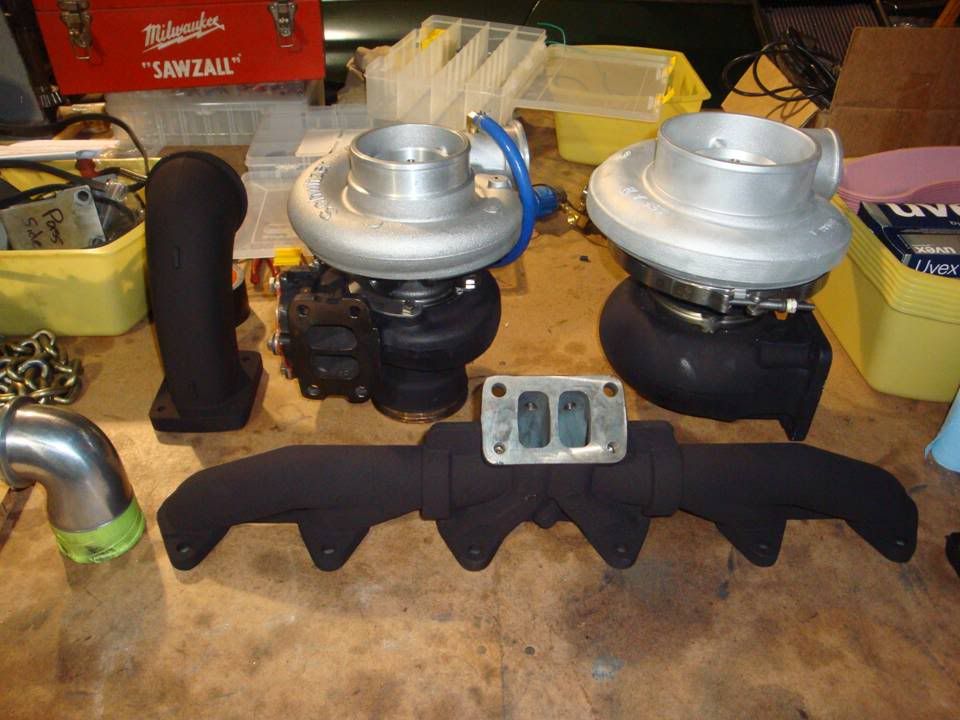
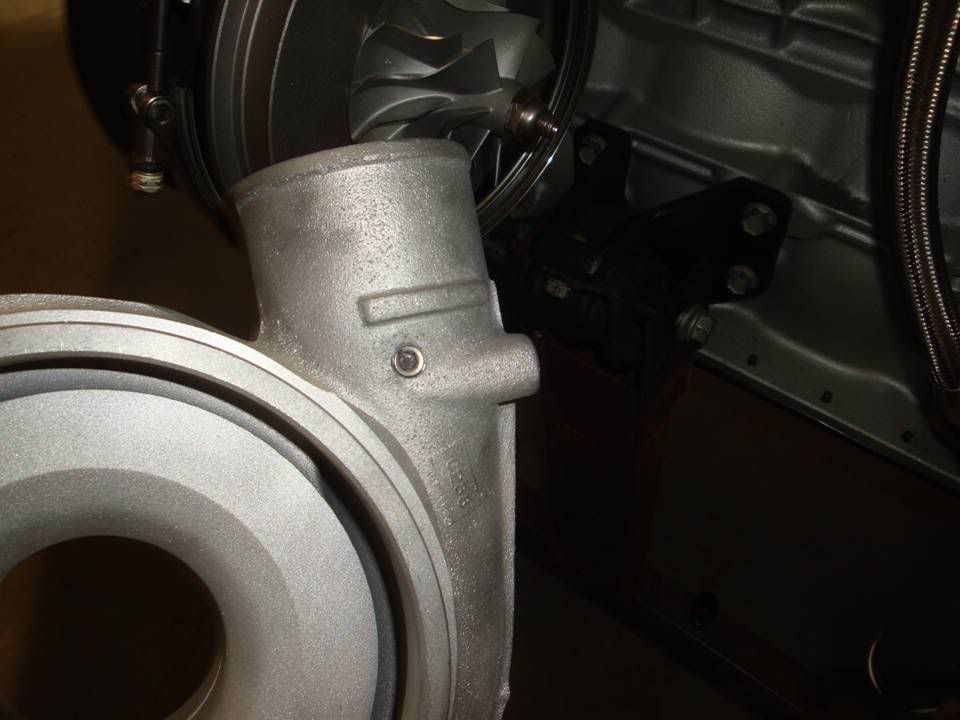
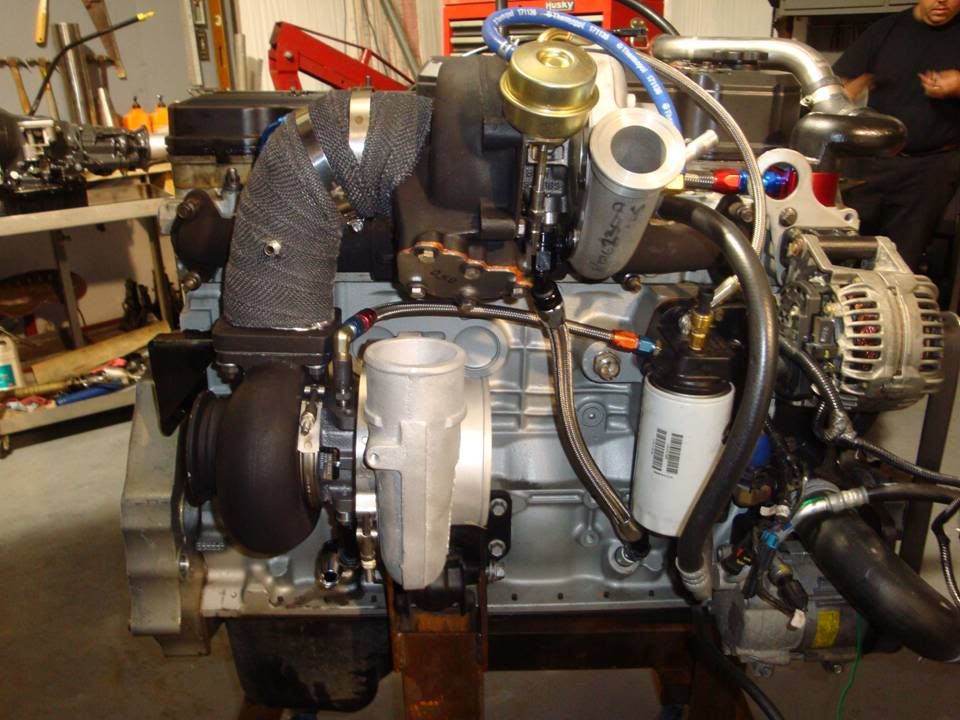
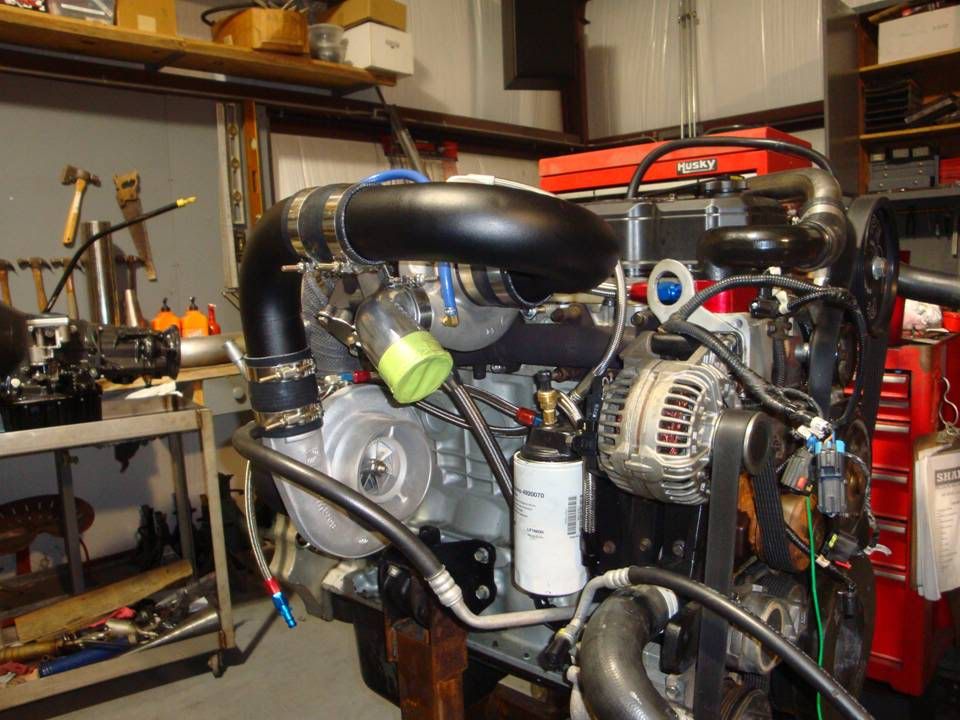
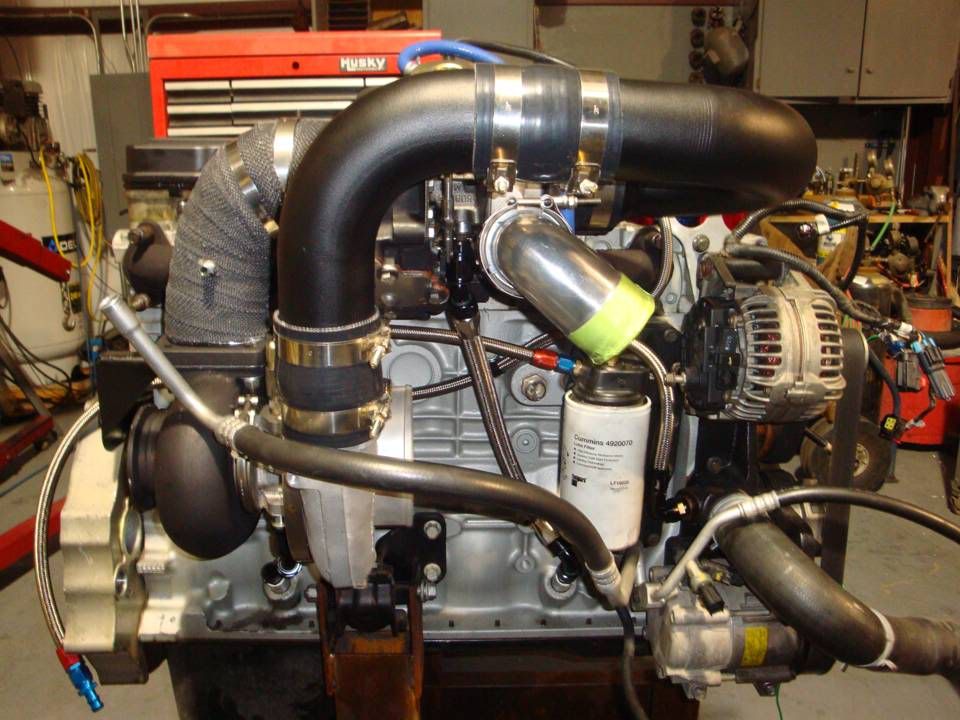
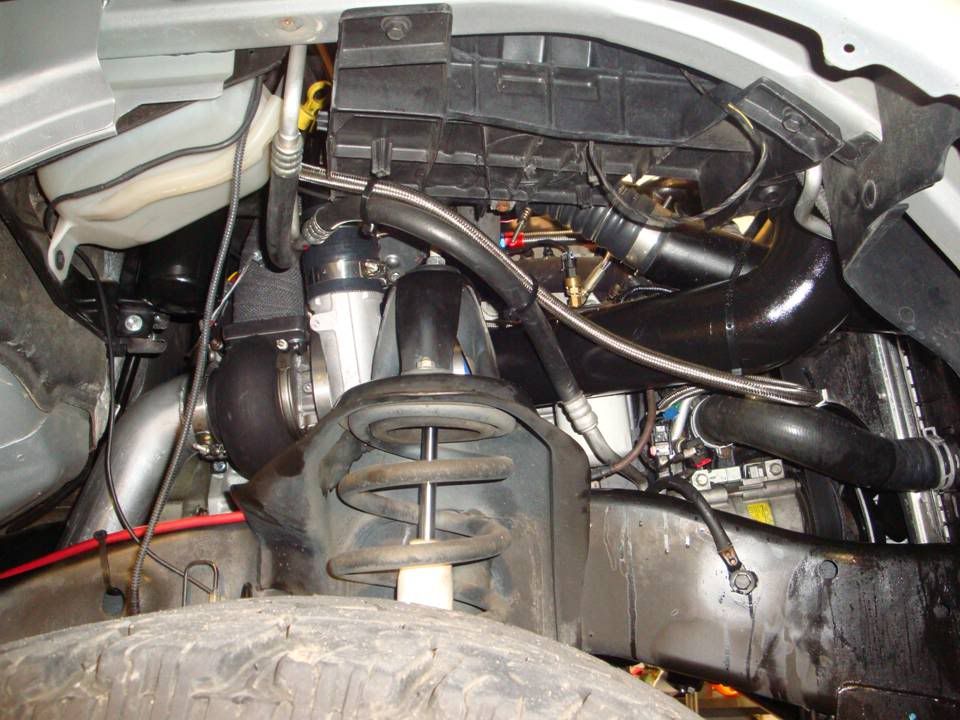
Whenever you put on a new turbo(s), you wanna give them a couple hundred miles to break in the journal bearings. If it's a water cooled, ball bearing type turbo, you can pound on it right off the bat. It's not good to do to journal bearing turbos though.

They'll be a little tight for the first 200 miles or so, but after that it's azz beatin' time.

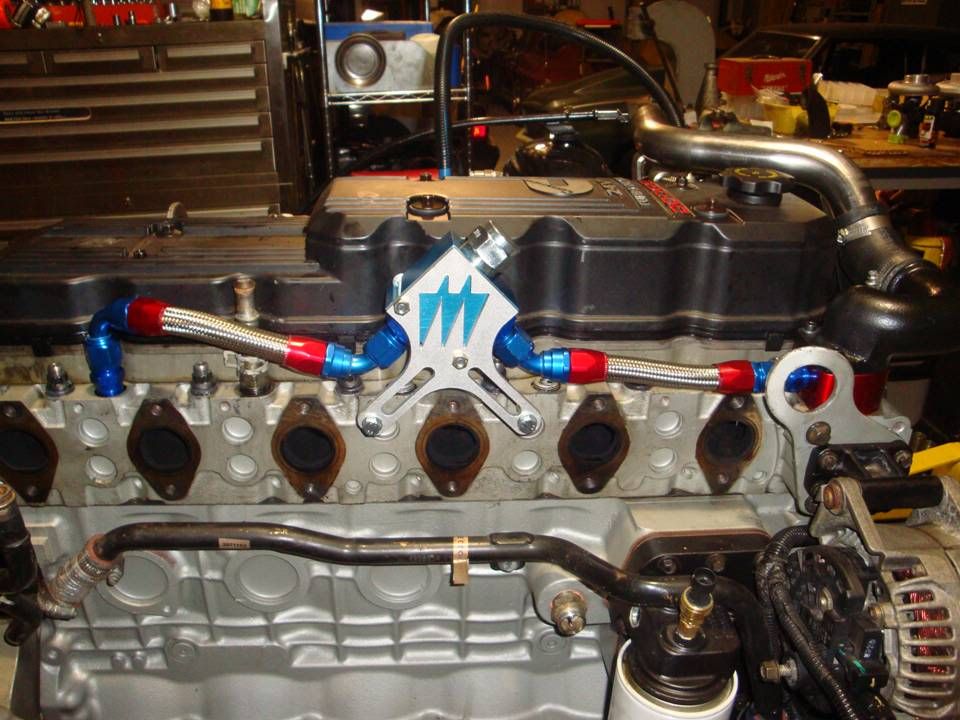
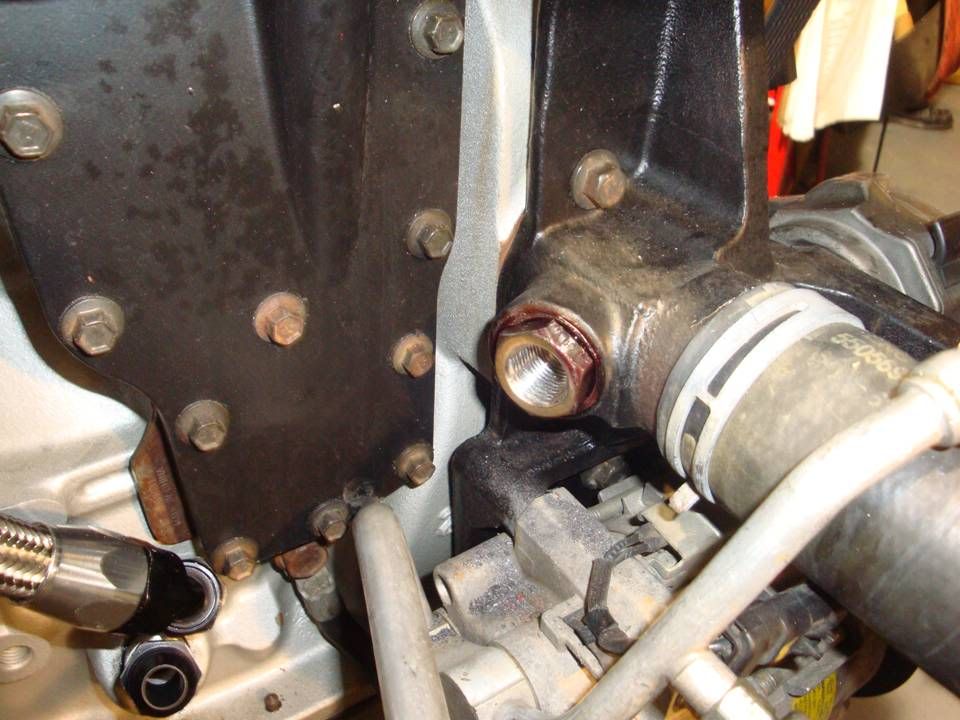
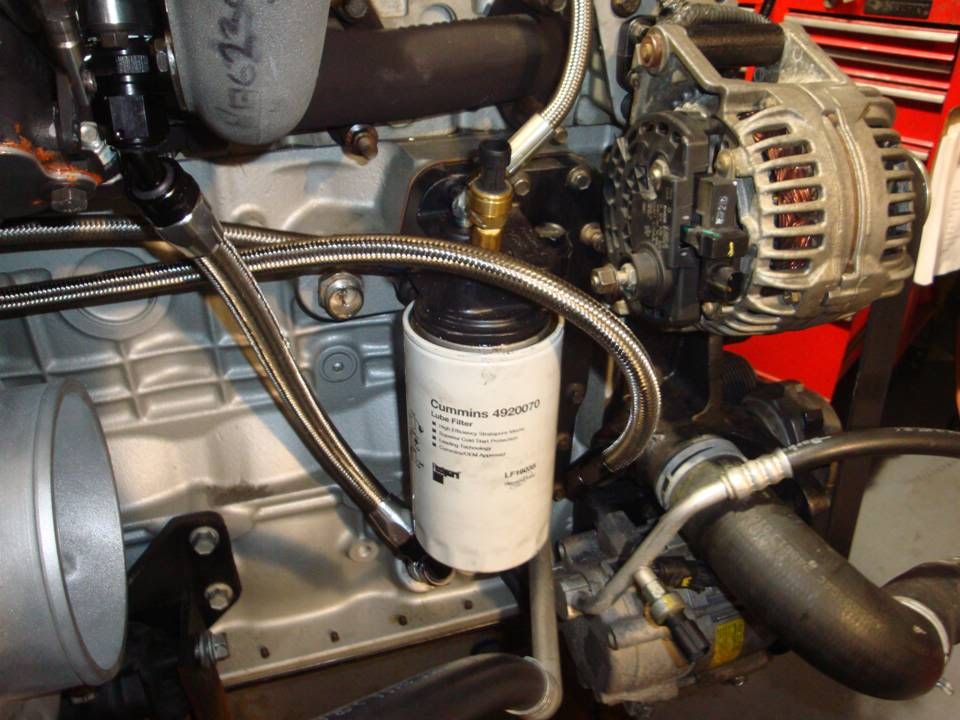
The other thing is, I replaced the head gasket and fire rings and they need a few heat cycles to fully seat. I'll need to do a retorque on the studs at 50 and 250 miles and check the valve lash, but that's about it.

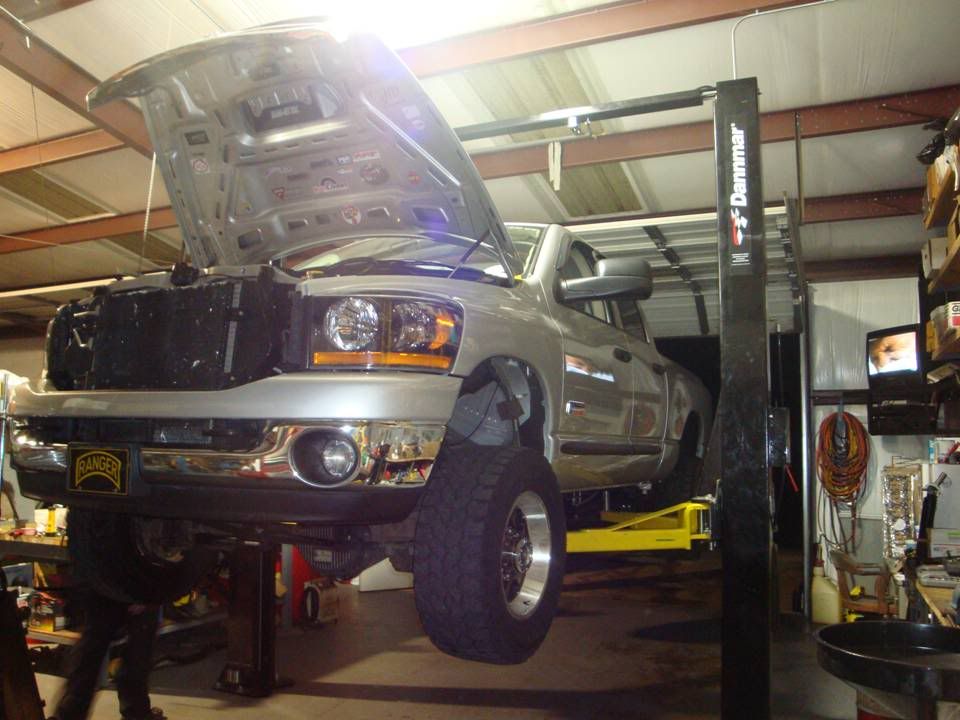
I've got 2 other big projects in the shop right now, so I won't be able to hit the dyno for a few weeks, but yeah, I'll need about 2 hours of dyno time to get it tuned in. Once it's where I want it, I'll get ahold of my buddy Brian (manages the track) and I'll get some time to dial it in on some passes.

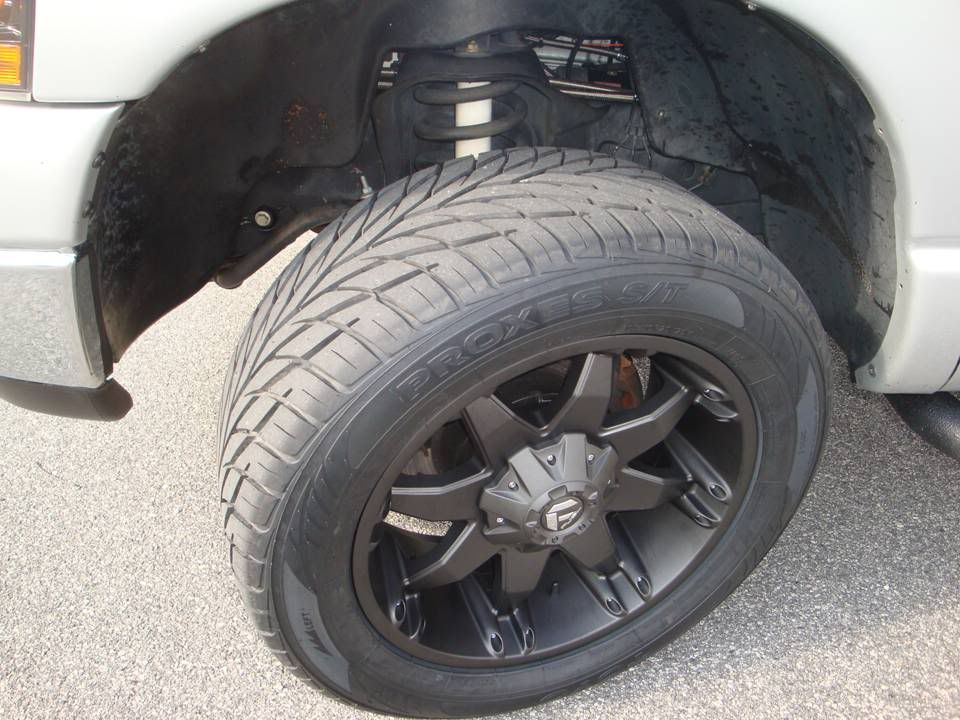
The new wheels and tires should be here next week also, so I can stop blowing these ProComp's up in smoke.
 
images


WE.....ARE.....LIVE!

Gott 'er fired up today.

Sounds....EEEEEEEVIL!

Finished up the intake and charge piping once I got the motor in.

Reassembled.jpg


Slide2-162.jpg


Slide1-163.jpg


Intake.jpg


Slide3-124.jpg


Slide4-88.jpg


Slide5-66.jpg
 
I just drove it hom tonight.

Let me get 'er all cleaned up and then some pics and vids.

She's at least back in the driveway though.

Truck.jpg
 
Last edited:
Got 'er all cleaned back up today.

Runnin' like a champ. I haven't even touched the throttle yet.....I mean I have MAYBE given it 15% - 20% throttle and there is almost no lag at all. They actually feel faster than the ATS setup.

But anyways, here's some cleaned up pics of 'er today.

Slide1-164.jpg


Slide2-163.jpg


Slide3-125.jpg


Slide4-89.jpg
 
Back
Top