Navigation
Install the app
How to install the app on iOS
Follow along with the video below to see how to install our site as a web app on your home screen.
Note: This feature may not be available in some browsers.
More options
-
Welcome to The Truck Stop! We see you haven't REGISTERED yet.
Your truck knowledge is missing!
- Registration is FREE , all we need is your birthday and email. (We don't share ANY data with ANYONE)
- We have tons of knowledge here for your diesel truck!
- Post your own topics and reply to existing threads to help others out!
- NO ADS! The site is fully functional and ad free!
Problems registering? Click here to contact us!
Already registered, but need a PASSWORD RESET? CLICK HERE TO RESET YOUR PASSWORD!
You are using an out of date browser. It may not display this or other websites correctly.
You should upgrade or use an alternative browser.
You should upgrade or use an alternative browser.
Project Frankensquare
- Thread starter n8in8or
- Start date
jrsavoie
Recruit
I had a Dr. Tell me I needed to wear sandals to work.
He didn't have real clear English.
He could not understand why I couldn't wear sandals or flip flops to work
He didn't have real clear English.
He could not understand why I couldn't wear sandals or flip flops to work
n8in8or
I never met a project I didn’t like
I added some 1/4” x 3” flat stock to make the top of the rails in the rear all in the same plane, which will be important for when the dump bed is in place.
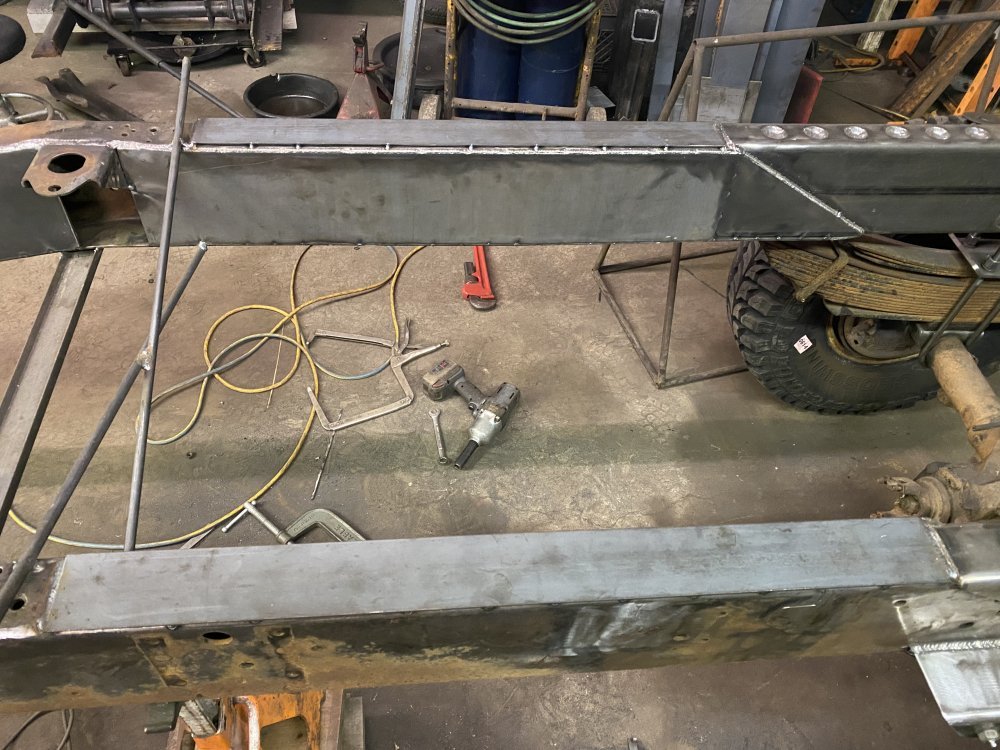
After that I worked on boxing the frame further forward - this was a lot of work, starting with getting the frame rails all the same width and straight, after that was done I made a pattern to transfer to the 1/4” plate to cut out with the plasma, then once the plates were cut on the plasma they needed a lot of trimming to fit correctly. The next piece in front of that was much easier since it was just a simple rectangle.
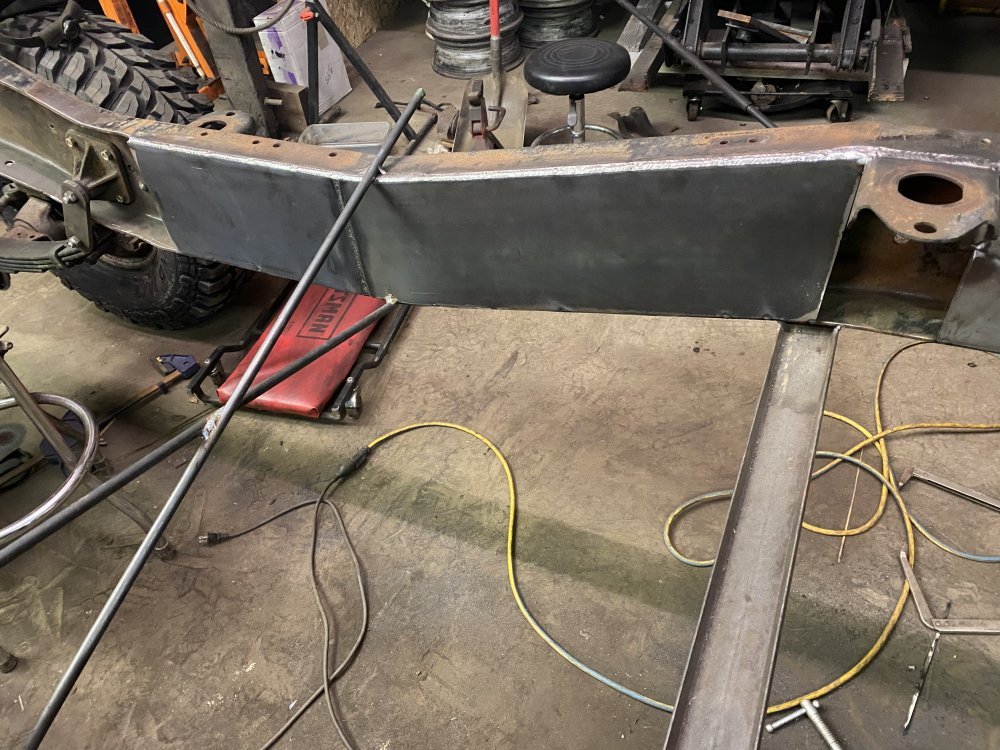
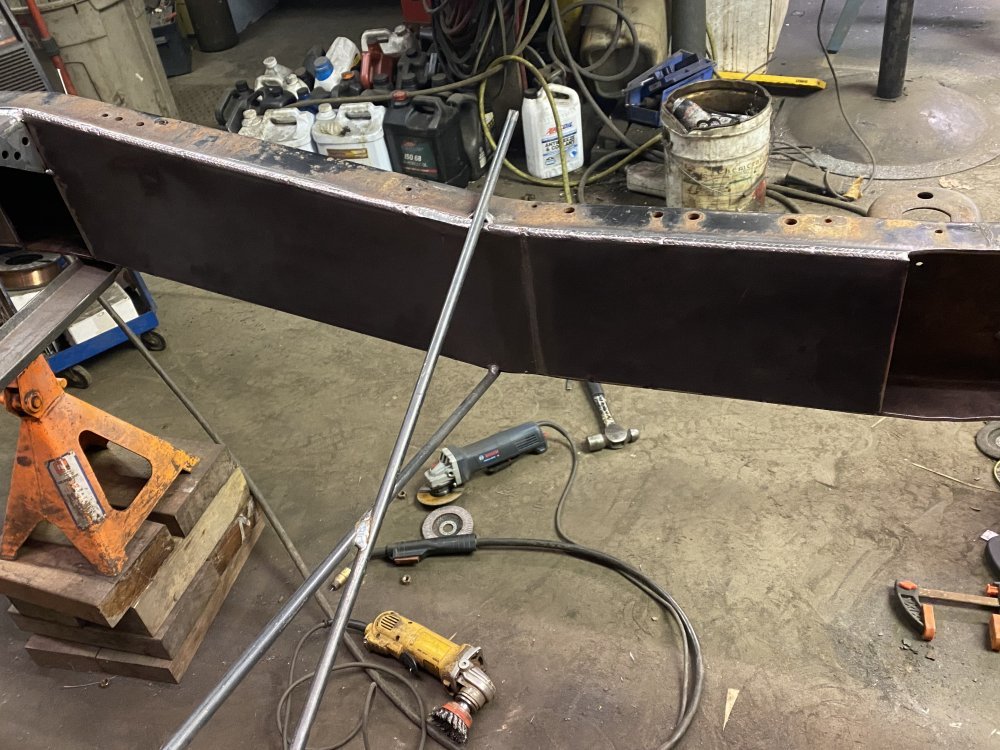
The next section of the frame has all kinds of different shapes and thicknesses, so that’s going to be very tricky to execute.

After that I worked on boxing the frame further forward - this was a lot of work, starting with getting the frame rails all the same width and straight, after that was done I made a pattern to transfer to the 1/4” plate to cut out with the plasma, then once the plates were cut on the plasma they needed a lot of trimming to fit correctly. The next piece in front of that was much easier since it was just a simple rectangle.


The next section of the frame has all kinds of different shapes and thicknesses, so that’s going to be very tricky to execute.
n8in8or
I never met a project I didn’t like
Today I started out by making the filler pieces under the rear cab mounts.
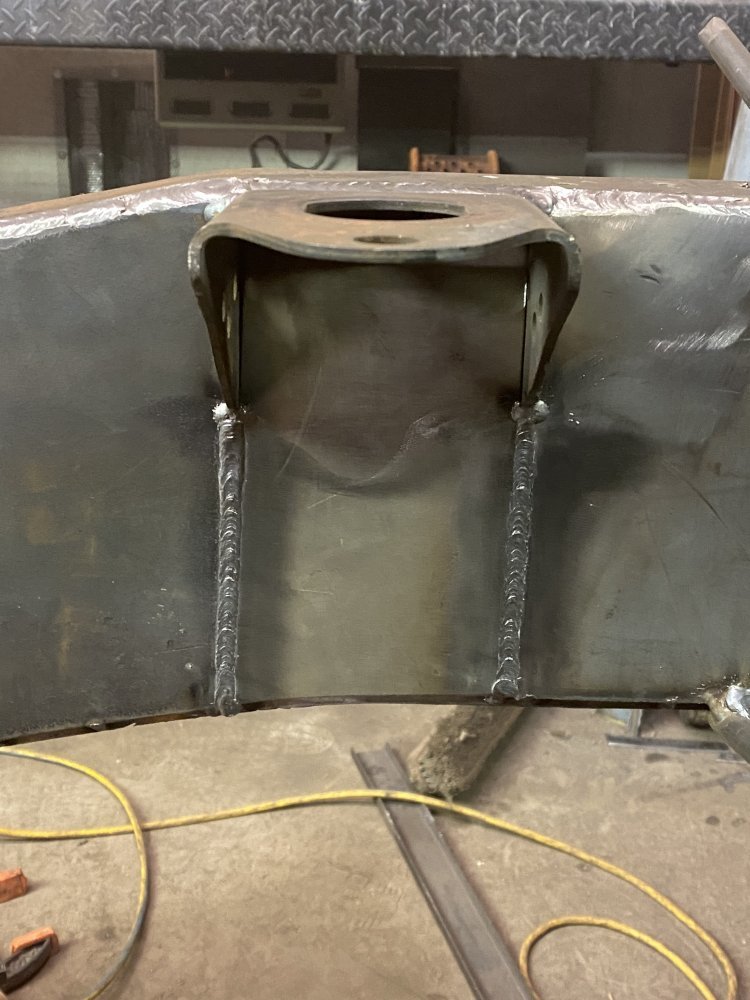
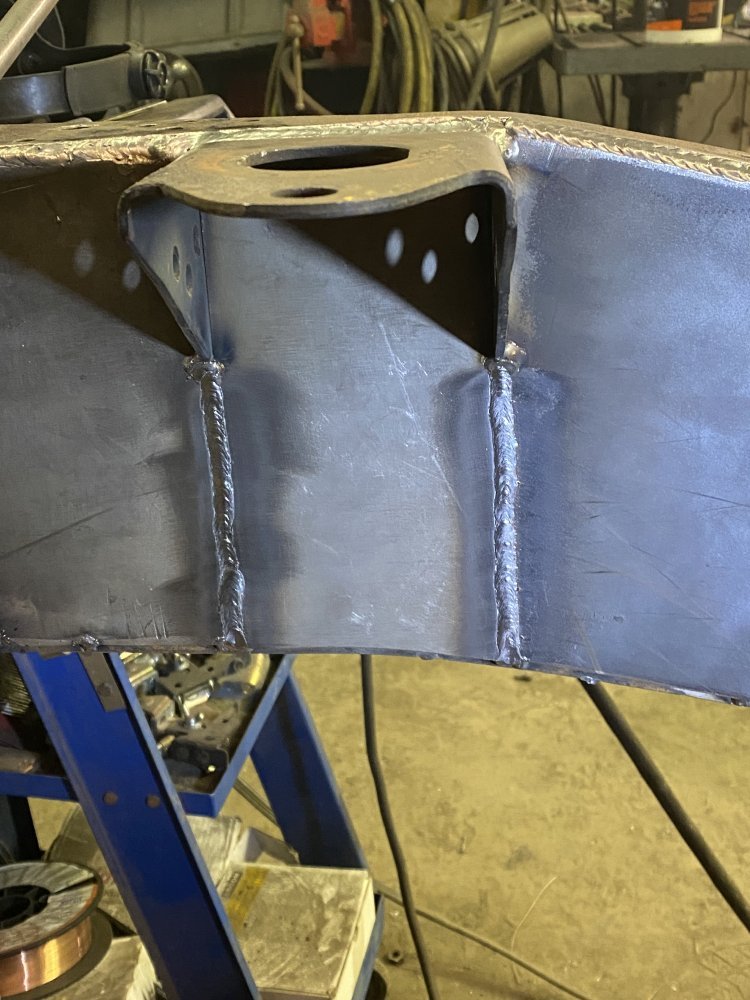
Next up I removed the motor mount pads and engine crossmember so I could clean them up with a wire wheel. Once they were clean I reinstalled them and then welded them to the frame.
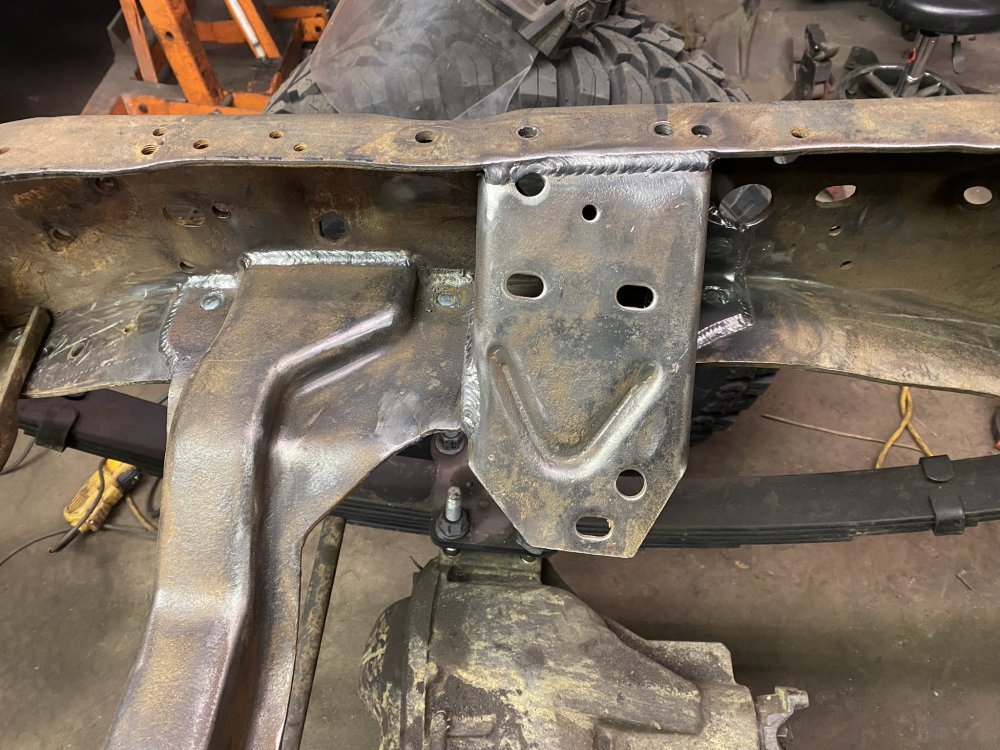
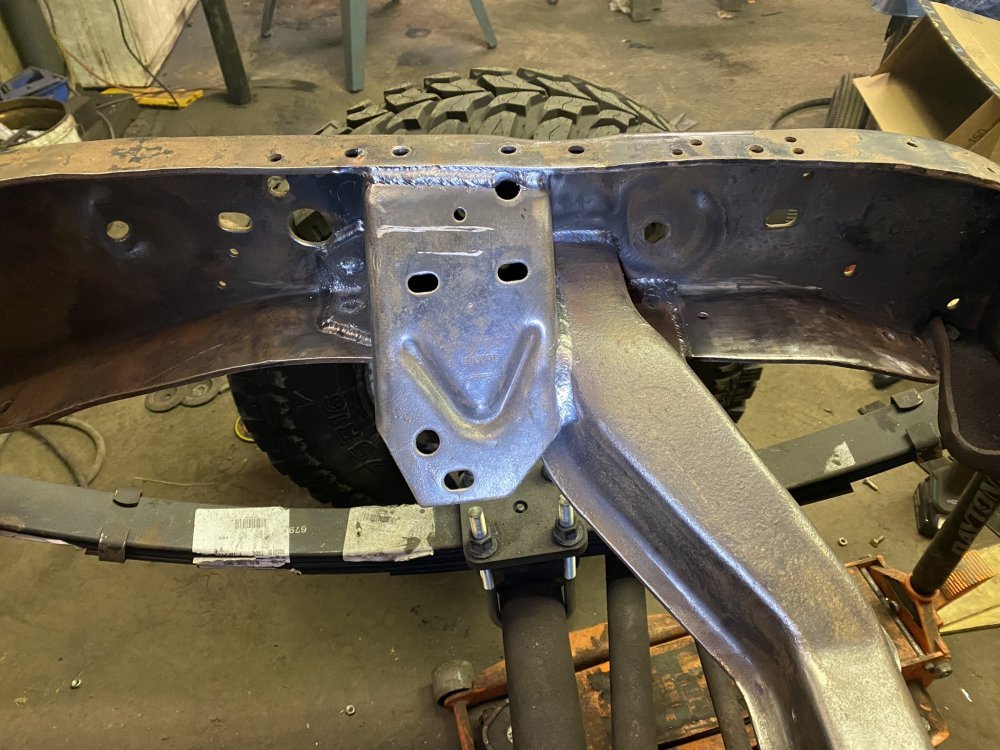
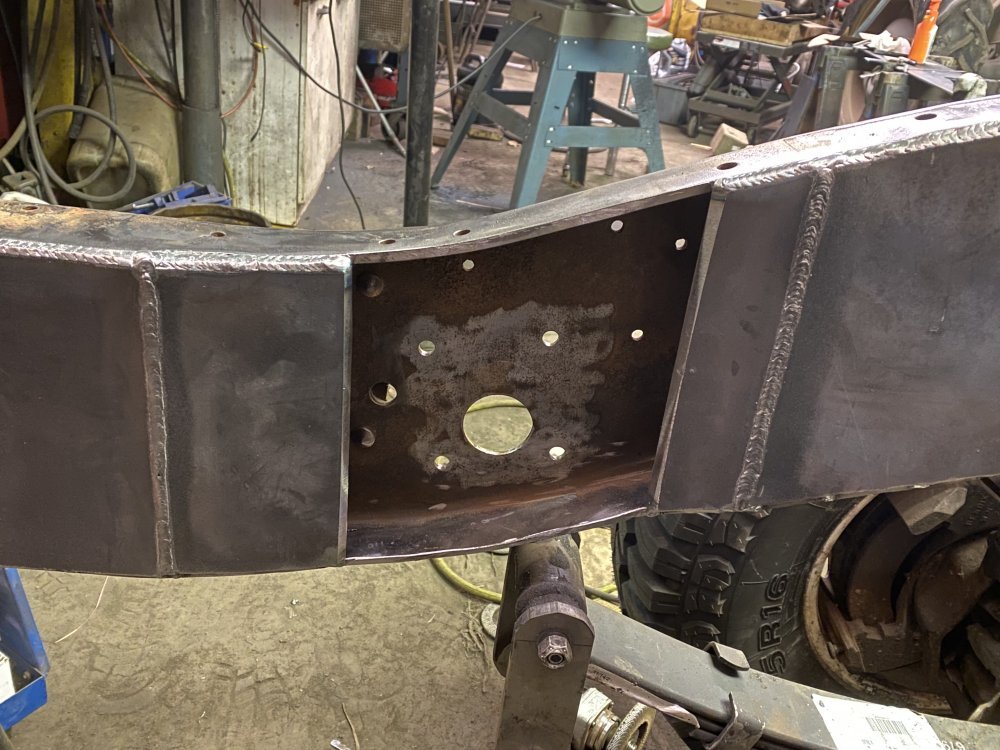
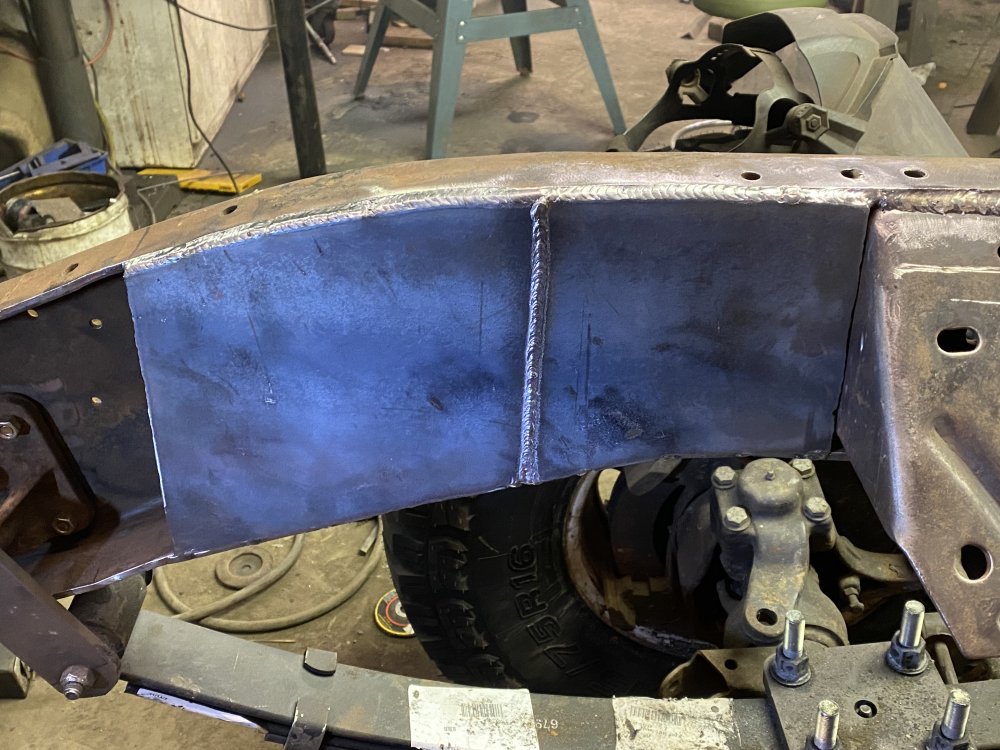
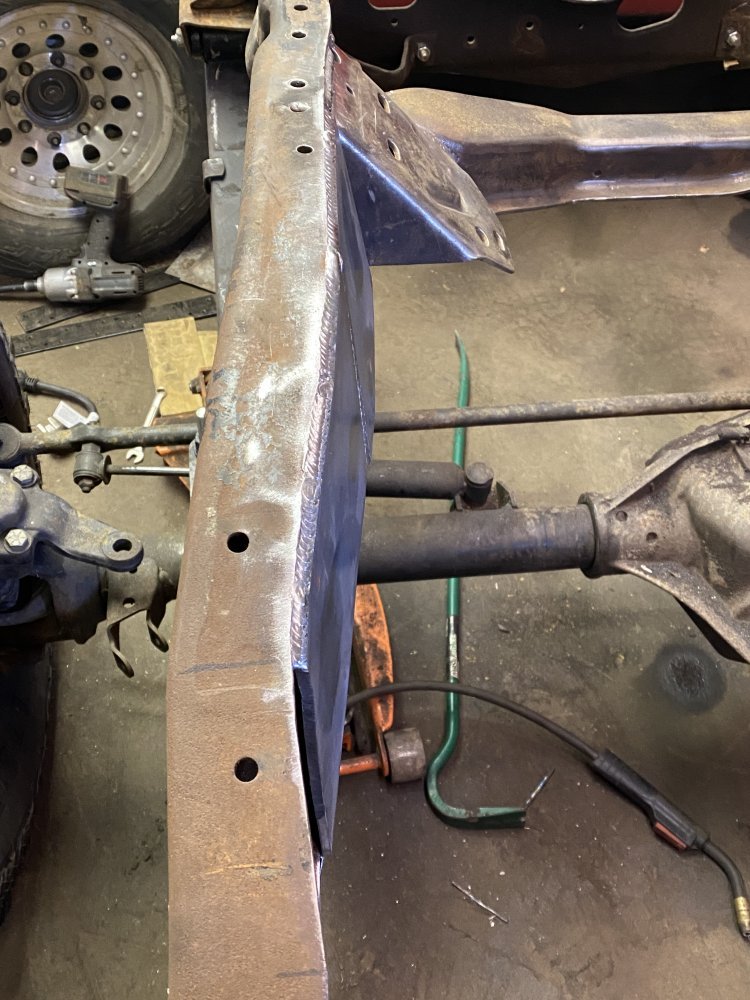
Once that was done I started working on boxing the frame some more. I took a while to evaluate the frame rails and then trimmed them so the contour was workable and consistent. With that done, I made a template to transfer to the steel plate. Unfortunately, the piece didn’t conform to the frame rail as nice as I wanted and I had to make a relief cut…..it still turned out pretty well though. On to the other side tomorrow.


Next up I removed the motor mount pads and engine crossmember so I could clean them up with a wire wheel. Once they were clean I reinstalled them and then welded them to the frame.


Once that was done I started working on boxing the frame some more. I took a while to evaluate the frame rails and then trimmed them so the contour was workable and consistent. With that done, I made a template to transfer to the steel plate. Unfortunately, the piece didn’t conform to the frame rail as nice as I wanted and I had to make a relief cut…..it still turned out pretty well though. On to the other side tomorrow.


Will L.
Well-Known Member
Keep that up and a hydraulics shop is gonna want to hire you for reinforcement on low rider frames. Box then wrap- those guys are amazing. You look well on your way for it.
dbrannon79
I'm getting there!
That frame isn't gonna have any flex to it! it's gonna be stout but if you do any off-roading with rocks I would think the truck will be teeter-tottering between the front and rear opposite wheels
n8in8or
I never met a project I didn’t like
Nope, shouldn't be much flex - just what the suspension wants to do, which I think will be appropriate for how this truck will get used.That frame isn't gonna have any flex to it! it's gonna be stout but if you do any off-roading with rocks I would think the truck will be teeter-tottering between the front and rear opposite wheels
Husker6.5
135' diagonal 16:9HD, 25KW sound!
Yeah, it'll ride like a skateboard until you put 2-3 tons in the dump box!
n8in8or
I never met a project I didn’t like
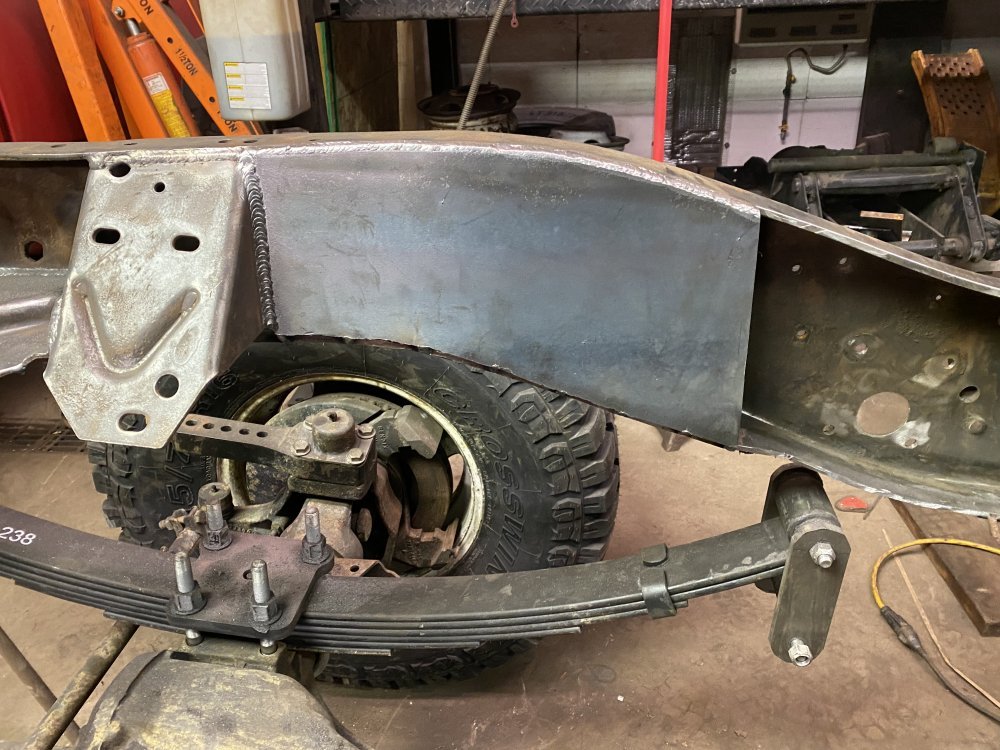
Yesterday I got the boxing plate next to the motor mount on the passenger side made and installed, but forgot to take a picture. I managed to get that side installed without a relief cut, so I was very pleased with that.
Tonight I spent most of the evening making sure the frame was flat and supported well in the front so I could remove the upper shackle hangers for the front springs. I needed to do that so I could get ready for boxing the frame in that location. After that I got the frame trimmed how I want it so the shackles will clear the frame once the boxing plates are installed. With the funky contour here, I’m planning on doing each side in 3 pieces.
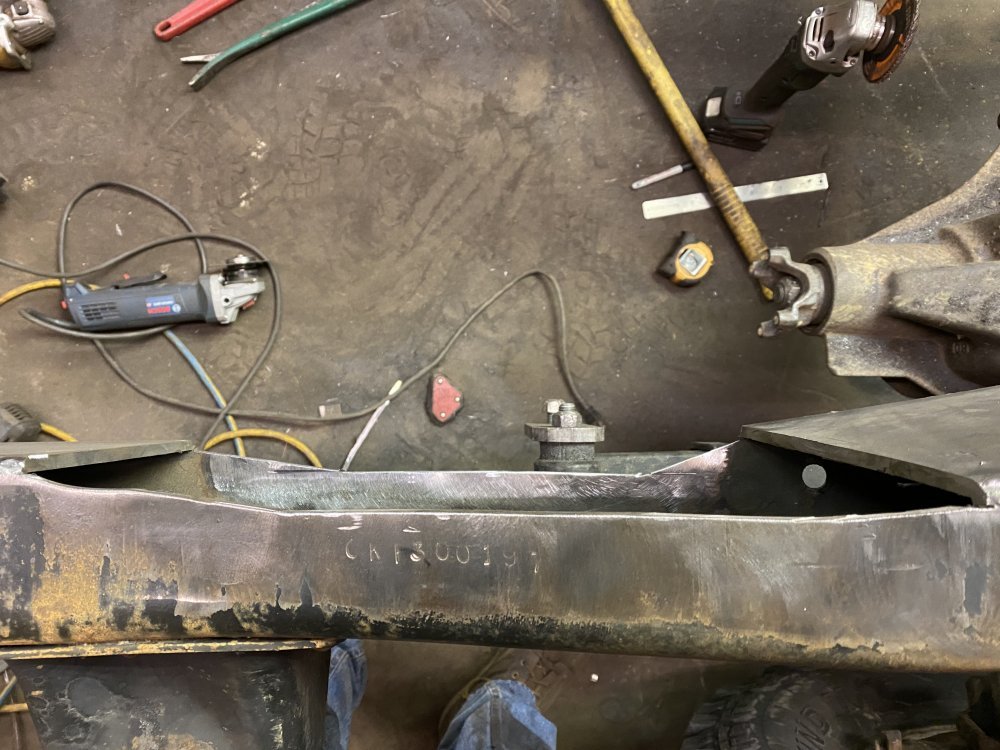
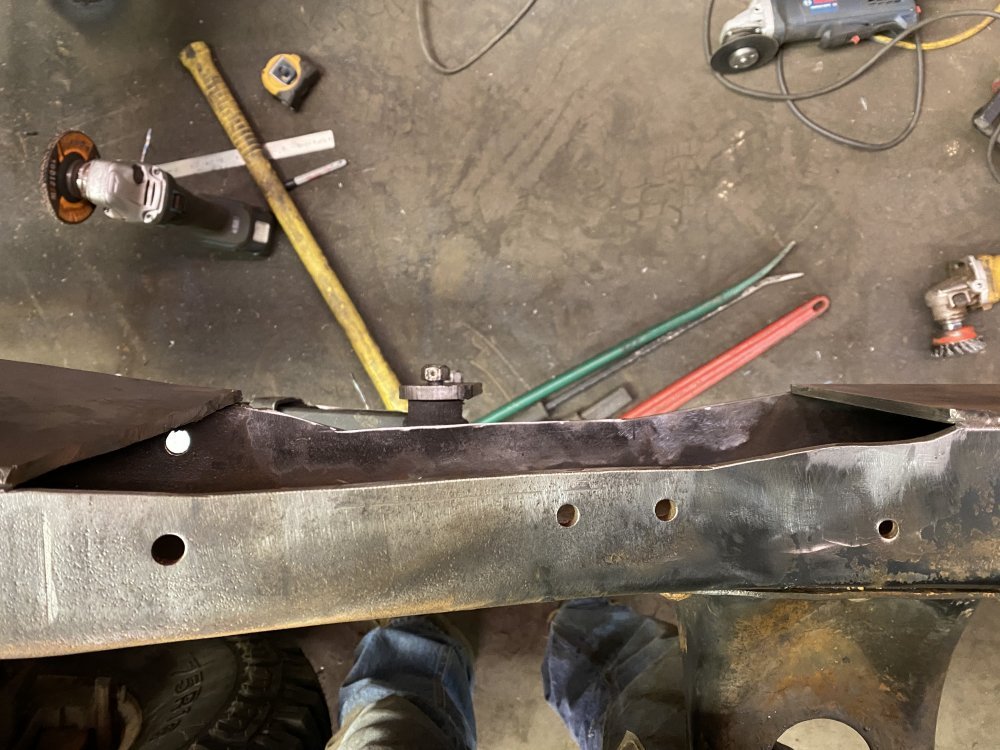

Tonight I spent most of the evening making sure the frame was flat and supported well in the front so I could remove the upper shackle hangers for the front springs. I needed to do that so I could get ready for boxing the frame in that location. After that I got the frame trimmed how I want it so the shackles will clear the frame once the boxing plates are installed. With the funky contour here, I’m planning on doing each side in 3 pieces.


BIGR
Lucky To Be Here
Very nice work, indeed. Did you have to stamp a VIN number on top of the frame?
n8in8or
I never met a project I didn’t like
That’s the factory VIN stamp.Very nice work, indeed. Did you have to stamp a VIN number on top of the frame?
n8in8or
I never met a project I didn’t like
SnowDrift
Ultra Conservative. ULTRA!
With the boxing you're doing, how will you assure you keep the crud and moisture out so rot doesn't set in?
n8in8or
I never met a project I didn’t like
I’m planning on doing a generous drain hole somewhere in the lowest point of the rail. I’m also going to spray the interior of the rails with cavity wax for protection.With the boxing you're doing, how will you assure you keep the crud and moisture out so rot doesn't set in?
Will L.
Well-Known Member
Silver, gold, and platinum do not rust. Maybe just have it dip plated.
SnowDrift
Ultra Conservative. ULTRA!
Gold, please. 
ak diesel driver
6.5 driver
some people are doing hot dipped galvanized. That's what I'd like to do. Nothing like that even sort of close to me though
dbrannon79
I'm getting there!
for a bare frame, it's not difficult to electro-plate it once's clean and oil free. you just need a BIG tub the submerge it into the water mixture with the chemical for the plating. attach a pos and neg from a battery or some other power source. iirc you hang a pos lead in the tub and connect the neg to the part you want to plate. I could be wrong, but there are a ton of videos online for how too's
once plated, paint or powder coat it
once plated, paint or powder coat it
n8in8or
I never met a project I didn’t like
At work, we send our products to a place in Indiana to have them dipped in e-coat. It's the same factory that e-coats Hummer frames (or at least it was the same place, but it's been about 15 years since I visited). Right now, they charge us about $17/foot to dip product in baskets. I don't know if that rate would also apply to something like a truck frame or not. However, I didn't go into the boxing with that in mind, and so I didn't clean the frame on the inside like I would have if that was the plan. I think the cavity wax and drain(s) should be a sufficient strategy for this truck. I will probably also try to plug as many of the factory holes as possible to reduce the methods of ingress for dirt/mud/debris, though there will still likely be large openings in the front and rear of the frame rails.
ak diesel driver
6.5 driver
That's one of the nice things about the hot dipped. It basically burns off the impurities.

