• Welcome to The Truck Stop! We see you haven't REGISTERED yet.

    Your truck knowledge is missing!
    • Registration is FREE , all we need is your birthday and email. (We don't share ANY data with ANYONE)
    • We have tons of knowledge here for your diesel truck!
    • Post your own topics and reply to existing threads to help others out!
    • NO ADS! The site is fully functional and ad free!
    CLICK HERE TO REGISTER!

    Problems registering? Click here to contact us!

    Already registered, but need a PASSWORD RESET? CLICK HERE TO RESET YOUR PASSWORD!

1994 K3500 extended cab dually

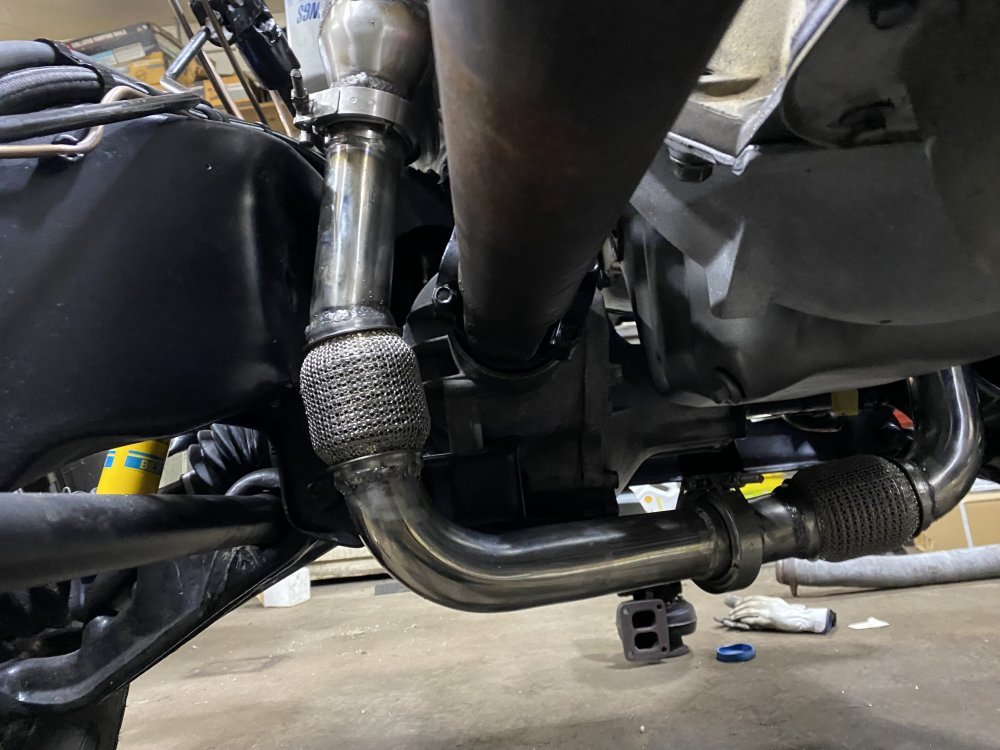
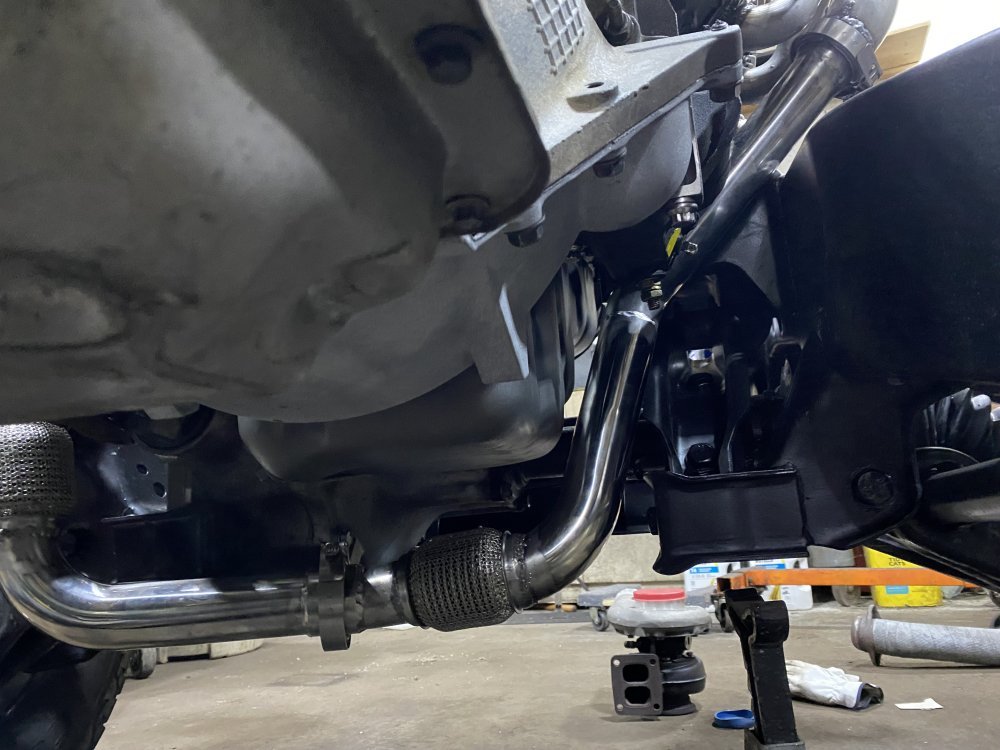
just an idea too, is a bolt on brace for the turbo or manifold at the turbo flange to the head or block to help support the weight of the turbo. the constant shake and heat cycles could put too much on the exhaust port flange causing it to bend over time creating a leak point.
 
On your flange, that arched section connecting to the next port almost looks as if it might make things harder to work around the GP's. wonder if once the headers are done, you could cut each section out so each port is separated? the flange is good n flat in those area so you could also install studs in the head and not have issues removing the headers for future work too!
That flange design is the same as the flange on my existing turbo header and it doesn't impede the GPs at all. Studs could be a problem because with the GPs installed, the header gets lowered down past the GPs and studs might could get in the way of that. Good thoughts though!
 
just an idea too, is a bolt on brace for the turbo or manifold at the turbo flange to the head or block to help support the weight of the turbo. the constant shake and heat cycles could put too much on the exhaust port flange causing it to bend over time creating a leak point.
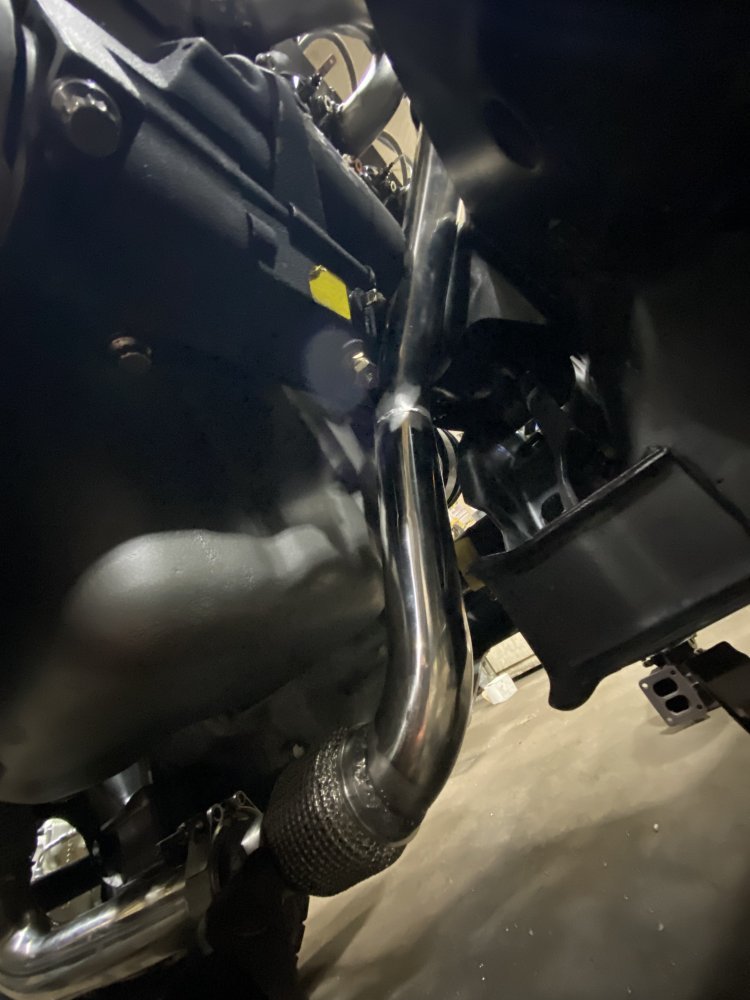
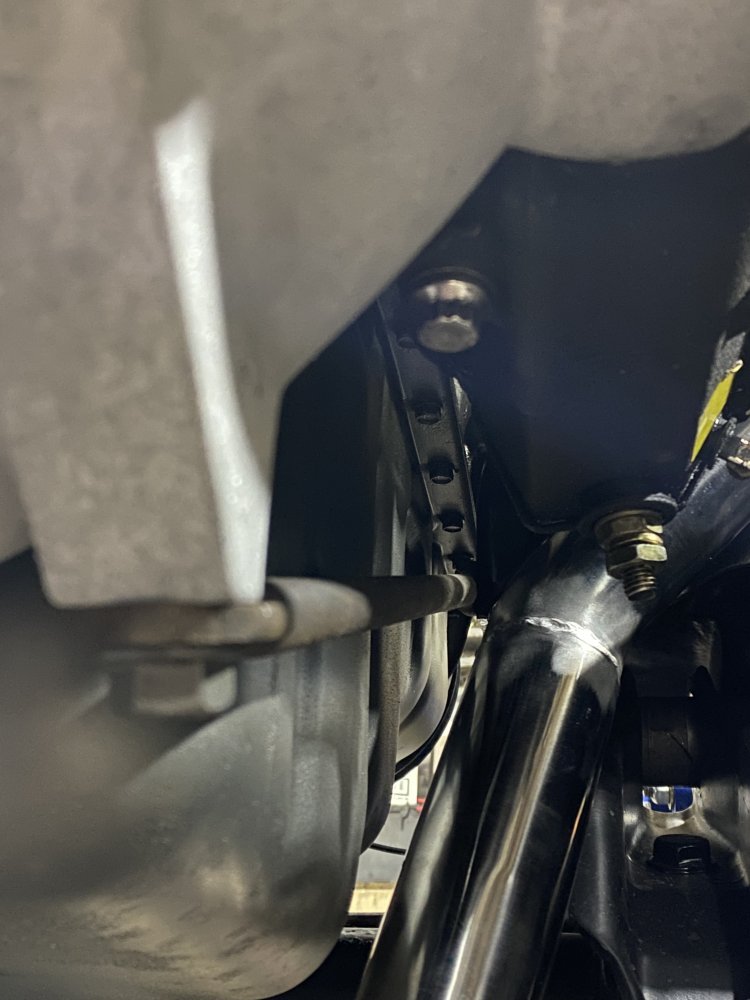
Yup, I had a brace on the past one and will have a brace for this version as well. There is definitely a lot of stress on the brace because it broke the casting boss on my turbo in the past, so now I have the brace going right to one of the 4 main mounting bolts.
 
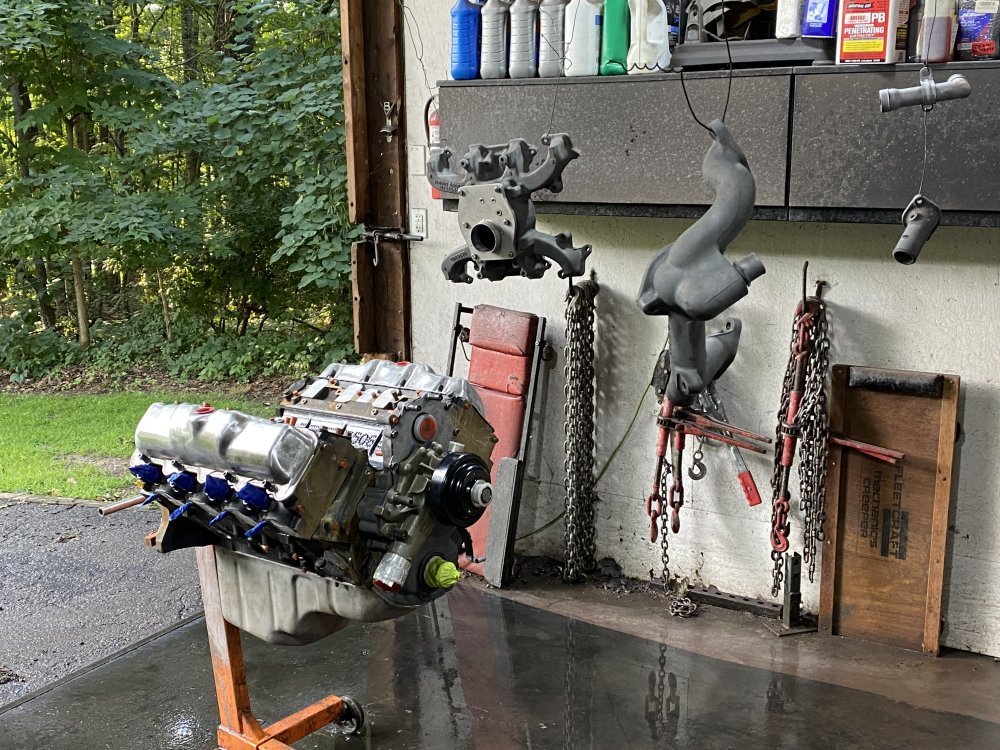
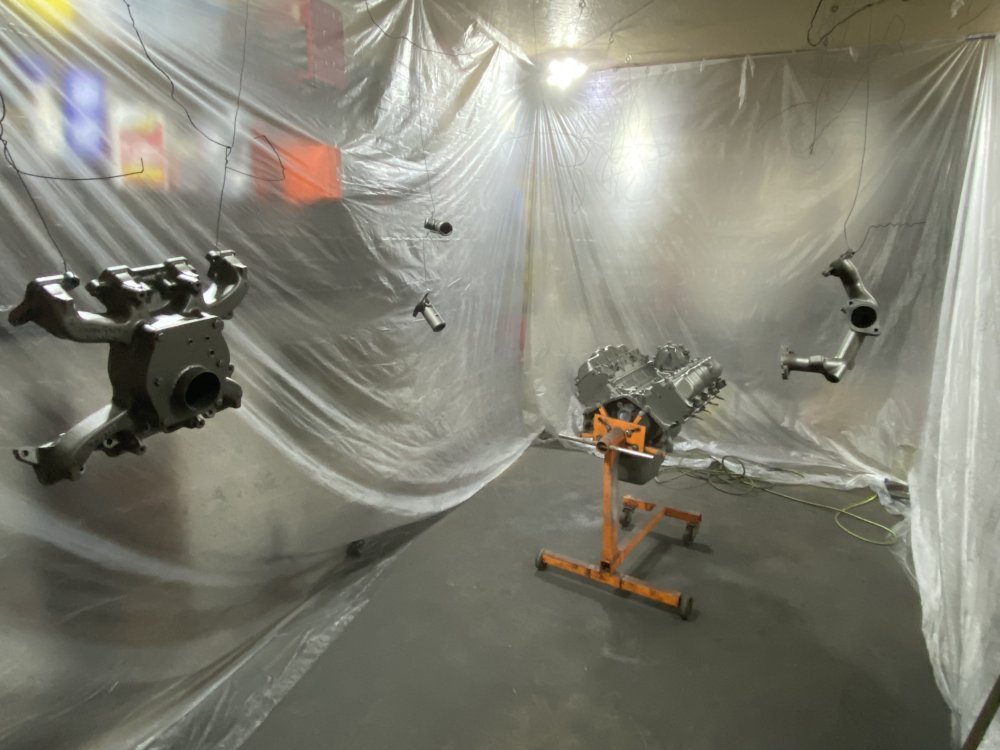
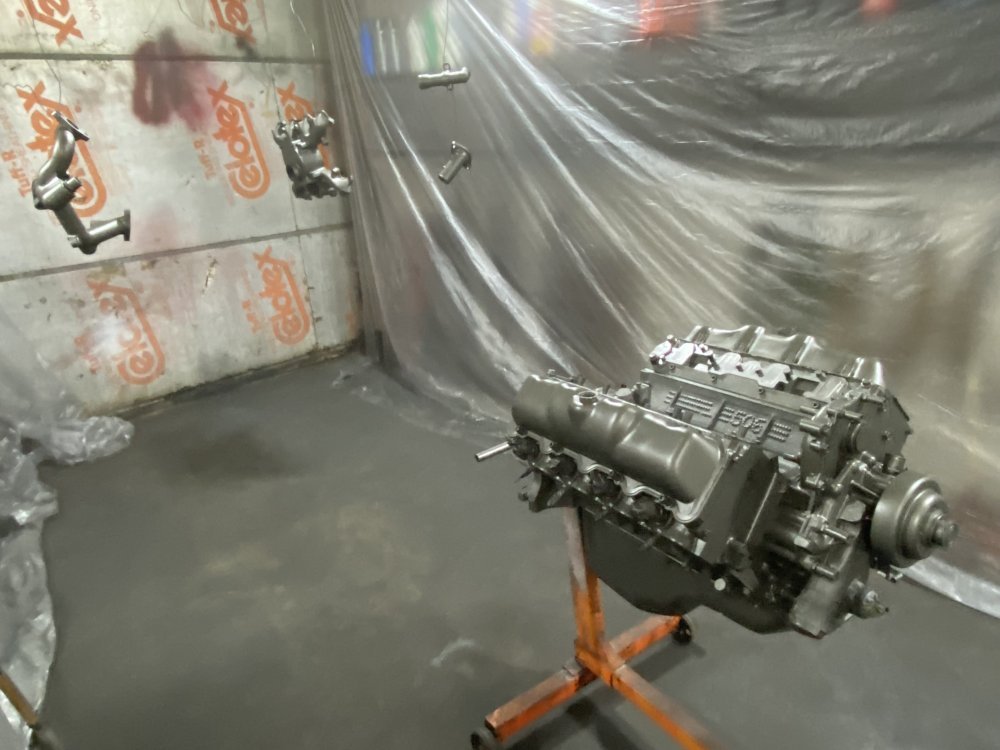
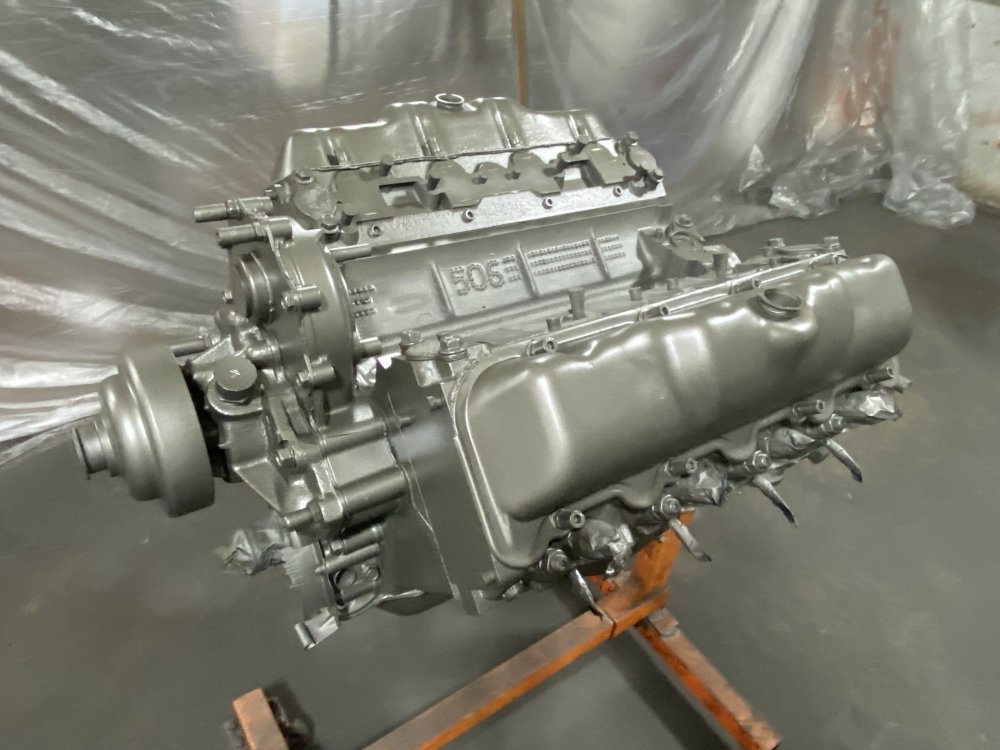
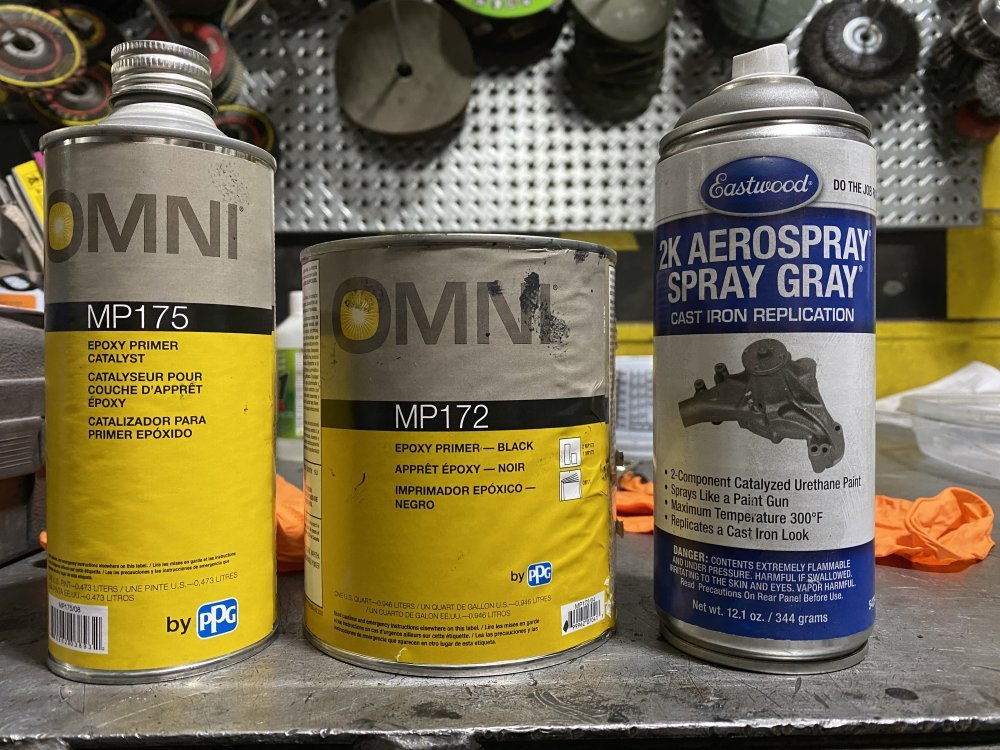
I’ve been really happy with my paint choice for this engine so far. In the past I’ve just used engine paint enamels, and I have always been disappointed with the durability of them…..they look nice on the stand, but then during installation or assembly something gets bumped and BAM, a scratch or chip. I did some searching online for alternatives and saw people were just using epoxy primer and 2-part automotive paint, so I decided to go that route…..or something similar. I got black epoxy primer from the store I have been buying body paint from, but got the color coat from Eastwood. The engine paint I had put on the Tahoe’s engine was VHT that they called a cast iron gray. I wanted to do a color like that again, but I didn’t want to flip through paint chips at the paint store to try to find something I liked. I could just imagine the rabbit hole I would go down. Plus I was concerned how much a alight change in color might affect cost and have that entered into the equation. Then I found an alternative. While not cheap, I at least knew the cost and being aerosol it would make application easy, so I went with it.


I’m very happy so far. While assembling, I have bumped the engine a few times with brackets or headers and not a scratch or nick. And I love the color and sheen.

I did 2 coats of primer and 2 coats of paint. 2 cans of aerosol was just enough to cover it.

I prepped everything with KBS Klean and then KBS Rust Blast to make sure they were degreased well and any flash rust after paint removal was addressed. The block’s valley had lots of rust, so I coated that with KBS Rust Seal before the primer.

IMG_2048.jpegIMG_2059.jpegIMG_2060.jpegIMG_2061.jpegIMG_2068.jpeg
 
Back
Top