• Welcome to The Truck Stop! We see you haven't REGISTERED yet.

    Your truck knowledge is missing!
    • Registration is FREE , all we need is your birthday and email. (We don't share ANY data with ANYONE)
    • We have tons of knowledge here for your diesel truck!
    • Post your own topics and reply to existing threads to help others out!
    • NO ADS! The site is fully functional and ad free!
    CLICK HERE TO REGISTER!

    Problems registering? Click here to contact us!

    Already registered, but need a PASSWORD RESET? CLICK HERE TO RESET YOUR PASSWORD!

1994 K3500 extended cab dually

I can see the salt getting ready to attack this winter šŸ˜‚...

Looking good..
I know, I think the same thing when I put in extra effort to make a part look nice: ā€œWill I be ok with this looking like poop again someday?ā€ ā€œDo I need to get another truck so I won’t drive this one in the winter?ā€ or ā€œI hope this paint is good enough to keep this thing looking good after I inevitably have to drive this thing in the winter some timeā€. Ugh. I need to move out of the rust belt……

And thank you.
 
Yesterday I got the fuel system all reattached. I hooked up the lines by the engine, but didn’t mount them yet because I need to make sure everything clears once I start putting sheet metal on. I made the fuel filter mounting bracket a couple days ago and that is also raw in case I need to modify it later.

IMG_2136.jpegIMG_2137.jpegIMG_2138.jpegIMG_2139.jpeg
 
After the fuel system I started on the next mod: a new turbo header. I was originally going to rework the one I made years ago so it had a divided T4 flange, but I decided to make a new one since the old one is getting rusty. I also figured I could improve on the old design. I decided to make this one out of 1.5ā€ primary tubing instead of 1.625ā€. The larger tubing wasn’t necessary and it also made packaging harder. I also decided I will be making my own crossover tube as well as driver side header, so that gives me some leeway for packaging design.

Yesterday I made a die for the press so I could flare round tubes to match the oval ports in the flanges. Then I tacked them to the flange.

IMG_2144.jpegIMG_2143.jpegIMG_2145.jpeg

By the end of yesterday, I had the 2 easy tubes figured out.

IMG_2146.jpeg

Today I got the rest of it done. I am going to route the crossover in front of the starter so I have more room for the downpipe. This makes for a much more compact design. I threw the Borg Warner S366 turbo on that I’m going to be running just to see….it still needs to be clocked, but the turbine is stuck to the center section right now, so that will wait. The turbo is still in the stock location so I should be able to run my existing intercooler and intake situation. I used the MIG to weld it all together for a couple reasons 1. I’m most proficient with MIG and 2. that’s what I used for the first one and that survived daily driver duty, so I felt most confident in that surviving again. Plus, MIG is more forgiving of gaps between tubes so I don’t have to be as picky when mating tubes to each other.

IMG_2164.jpegIMG_2165.jpegIMG_2163.jpegIMG_2160.jpegIMG_2161.jpegIMG_2162.jpeg

I still have grinding to do on the header both inside and out and then it will get sandblasted before paint.
 
I got a neat tool yesterday and tried it out......

Once the truck was out of the barn and I got in and out of the driver’s door a few times, it became very apparent that the door was out of alignment. I didn’t really want to do the 2x4 trick with the fresh sheet metal so I went looking for an alignment tool. This one was a good price and had good reviews so I bought it.

Steck Manufacturing 21845 E-Z Store Door Alignment Bar https://www.amazon.com/dp/B000JFL8S...abc_0BFSVXPPG9S5WE3WAAM8?_encoding=UTF8&psc=1

It worked great! FYI, the before and after pics of the door were taken with the door unlatched.

View attachment 64832View attachment 64833View attachment 64834View attachment 64836View attachment 64835

Then I spent the rest of the night prepping the wheels for paint.
I know this is an old part of the thread, I do apologize.
How does the door alignment tool actually work? Does it bend the hinge back into place or are you moving the striker?
 
As an Amazon Associate we earn from qualifying purchases.
I know this is an old part of the thread, I do apologize.
How does the door alignment tool actually work? Does it bend the hinge back into place or are you moving the striker?
It doesn’t move the striker, so it is using the leverage applied to the tool to manipulate the surface that the hinges are bolted to on the door.
 
I know this is an old part of the thread, I do apologize.
How does the door alignment tool actually work? Does it bend the hinge back into place or are you moving the striker?
Also, I found out the hard way that Dorman hinge bushings won’t stand up to this tool - the force eventually breaks the cheap bushings apart. I’m going to be putting Cunningham Machine bushings in it this time.
 
I should share one more thing I did this weekend since I think it’s going to be best for me to keep the thread up to date as I make progress and then do a catch-up post on the engine build portion later.

I didn’t want to put crappy looking injection lines on my freshly painted engine and I also didn’t want to spend money on new lines. I tried quickly cleaning up the lines with some Scotchbrite and that looked pretty good. However, I knew they would rust again in short order. I started thinking up ways to protect the lines.

I thought of a clearcoat, but I didn’t like that option for a couple reasons: 1. A durable clearcoat would be a 2-part mix and would be kind of pricey for a small job, plus I would have product leftover that would be wasted. 2. I didn’t want something that increased the tube diameter significantly for when I install the clamp for my timing meter. I figured the clamp would also mar the clearcoat and maybe even chip it off.

I then thought about gun bluing. I did some asking around and research on that. I found out that the wipe-on stuff you can easily find at most places doesn’t do a ton for rust prevention….you still need to oil the metal to keep rust at bay. While the idea of having the best smelling 6.5 diesel out there and cool looking injection lines was tempting, that didn’t seem like a great option. There are other bluing kits where you submerge the parts in a hot mixture of product, and this is much more effective at preventing rust, but I didn’t feel I’d be able to effectively mask the ends of the lines, so that was also out.

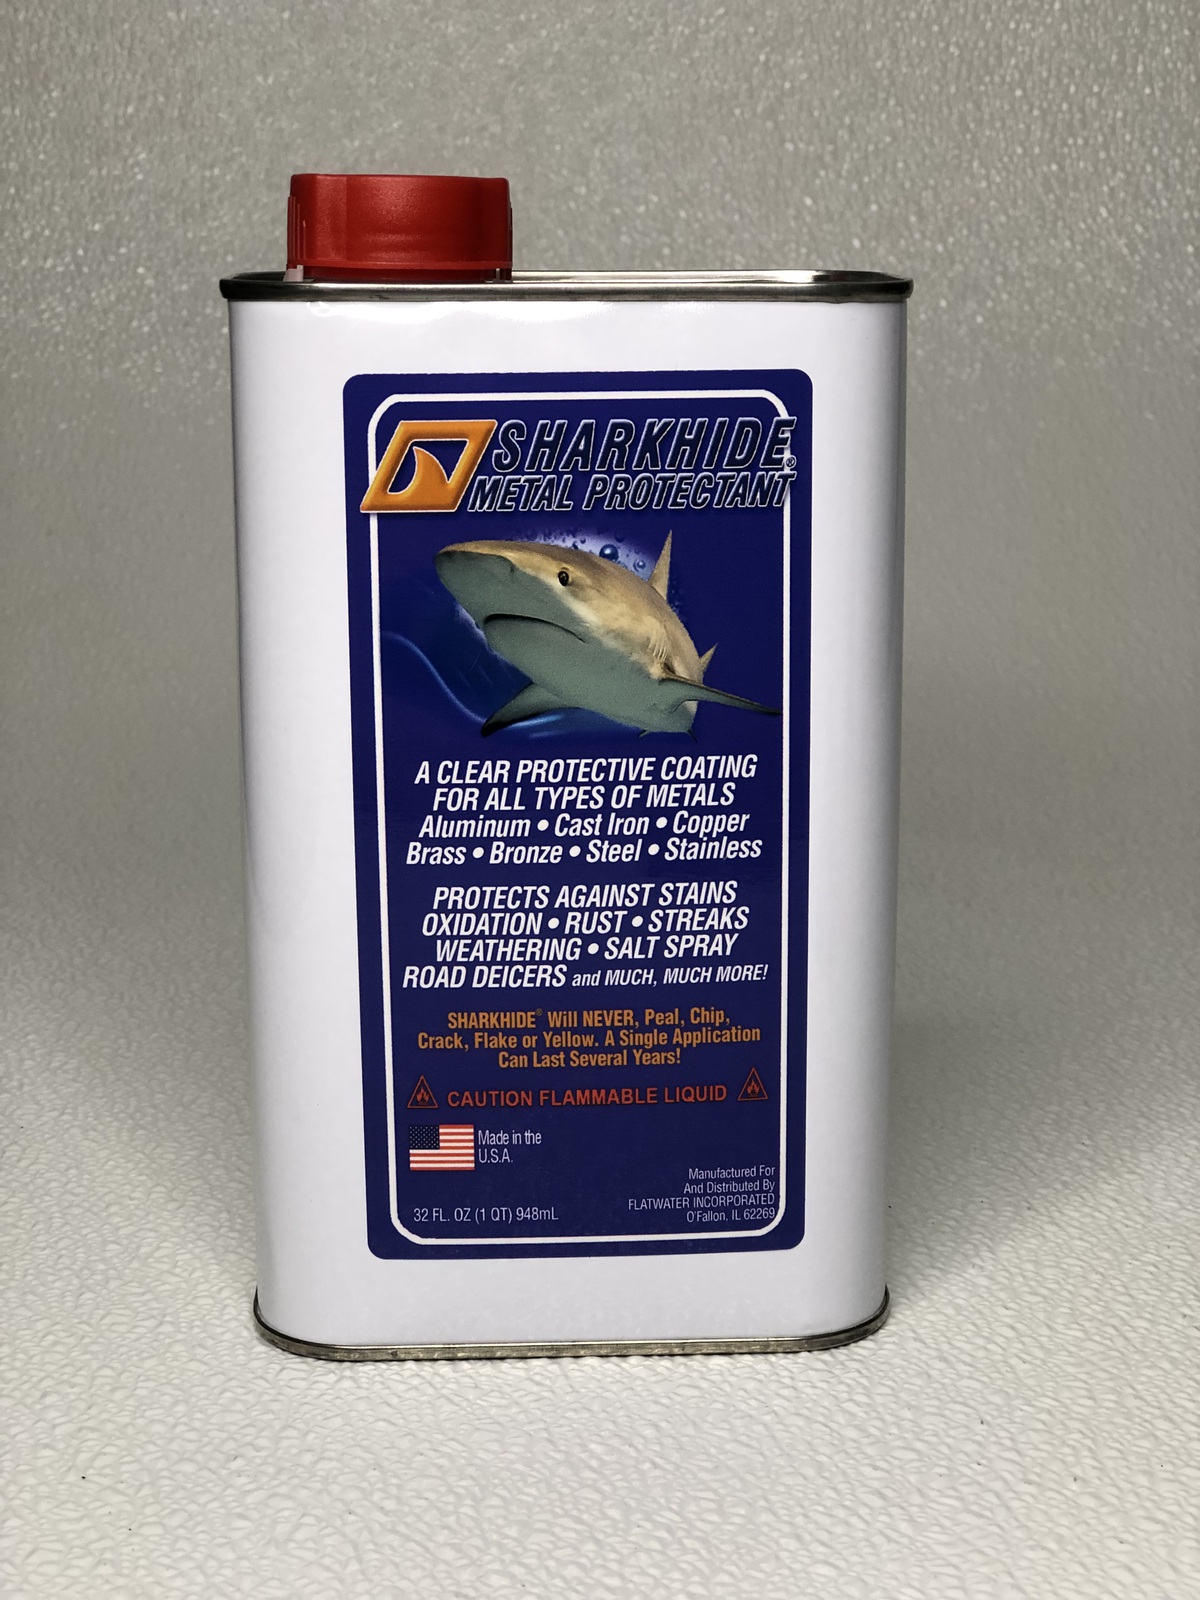
So I started searching for products to protect bare steel. There are a few products out there. After some reading of reviews, I landed on Sharkhide. It’s pricey, but it sounds like the right product for me. Plus, I’ll be putting some aluminum wheels on the truck later and this stuff should also help with protecting those.

So I took the line sets apart and cleaned up each individual line. I used a wire wheel and 180 grit sandpaper on the spots that had more corrosion and then I went over the whole line with a Scotchbrite pad. I then hung up the lines and sprayed them with lacquer thinner for cleaning and then let them air dry. Finally, I used a rag made from an old t-shirt and wiped the Sharkhide on. The stuff is interesting. It smelled familiar, but couldn’t place it. It started getting sticky on my hands as I was wiping it on. It went on nicely without streaks or smudges. I checked on the lines after 10 minutes or so and they were already dry - not tacky at all. They didn’t smudge while I installed them. I don’t know how well this will protect from rust, but so far I like how the product is behaving.

IMG_2120.jpegIMG_2121.jpeg

I also repopped my injectors to make sure they had survived storage ok. They all popped to 1950-2000.

IMG_2108.jpeg

Installed.

IMG_2122.jpeg

The line clamps were being painted at this time, that’s why there isn’t a clamp in this photo.
 
Back
Top