• Welcome to The Truck Stop! We see you haven't REGISTERED yet.

    Your truck knowledge is missing!
    • Registration is FREE , all we need is your birthday and email. (We don't share ANY data with ANYONE)
    • We have tons of knowledge here for your diesel truck!
    • Post your own topics and reply to existing threads to help others out!
    • NO ADS! The site is fully functional and ad free!
    CLICK HERE TO REGISTER!

    Problems registering? Click here to contact us!

    Already registered, but need a PASSWORD RESET? CLICK HERE TO RESET YOUR PASSWORD!

1994 K3500 extended cab dually

The harnesses are pretty much stripped of excess stuff.

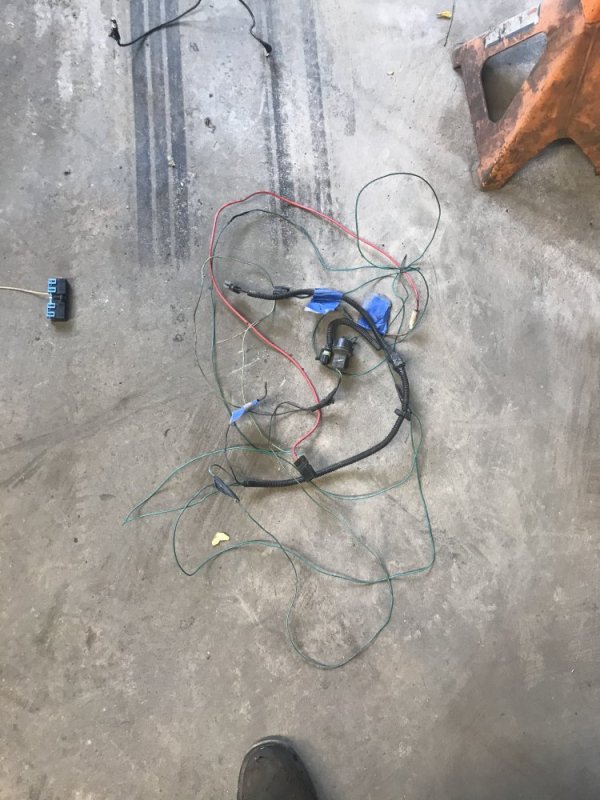
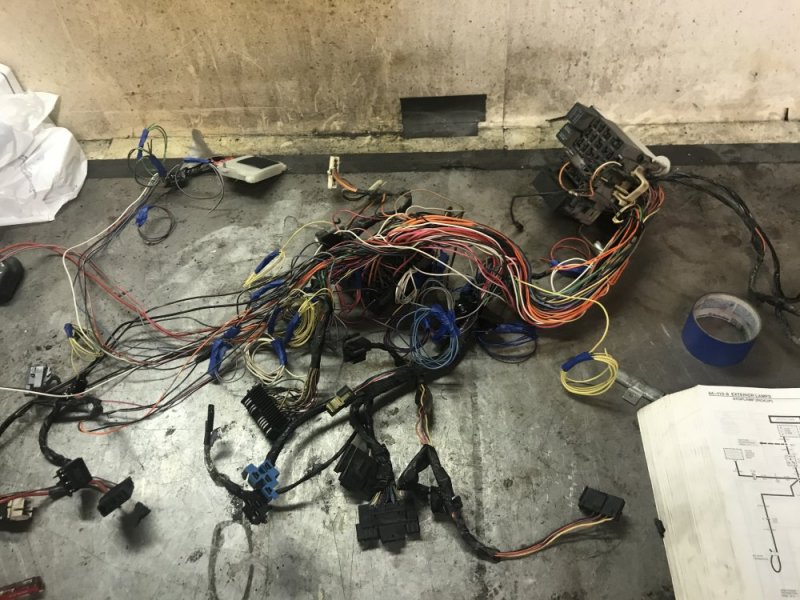
I actually removed less from the dash harness than I expected. Most of the computer control stuff is contained in the engine harness. Here’s the dash harness...not much to look at, at this point, but it’s ready to re-loom and install in the dash. I kept a couple extra wires for the idiot lights in the dash that I may repurpose later.
B40D893B-2E0A-42B3-B1A9-B2D1F714EF3F.jpeg

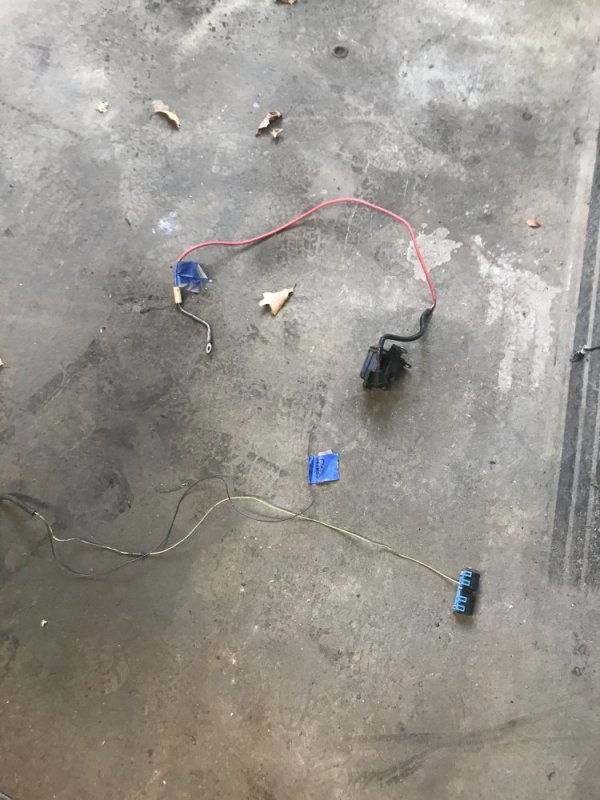
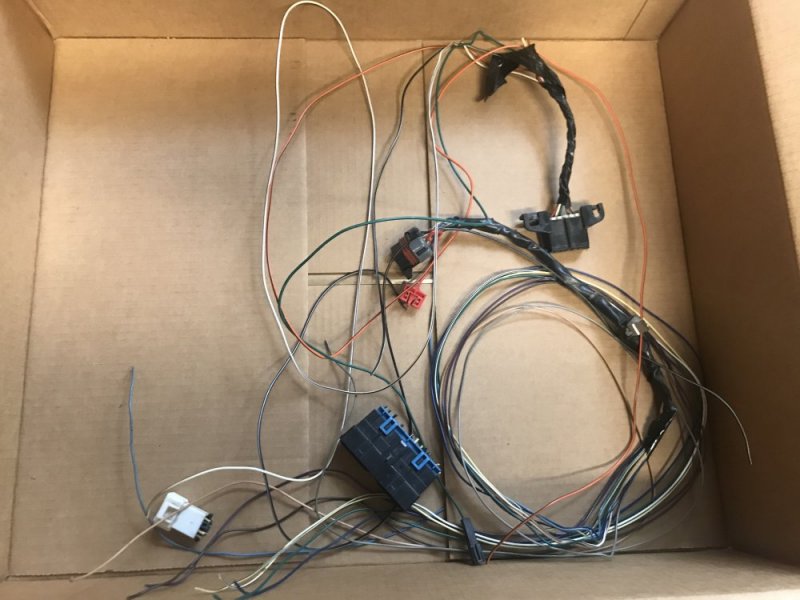
This is all I removed from the dash harness to remove the computer controls.
A18AC787-5EEC-4B22-B120-27F82BB7D892.jpeg

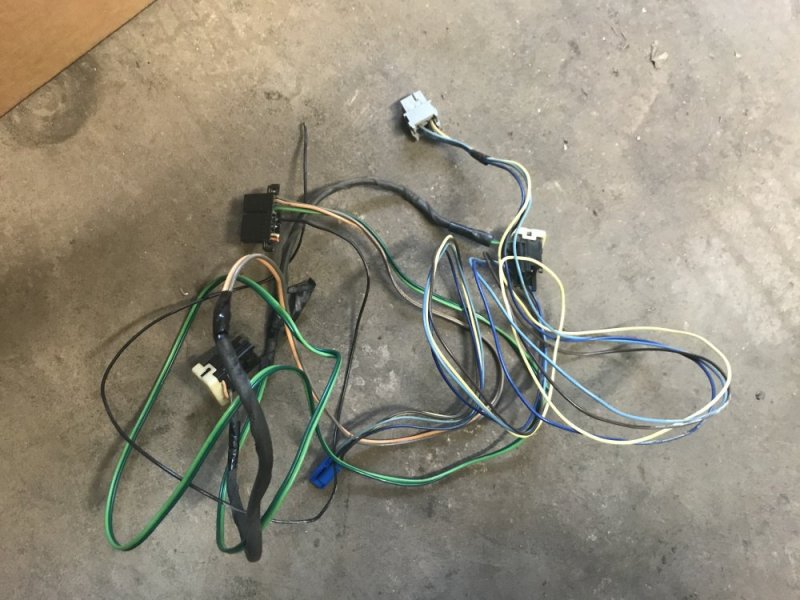
And this is all I removed for the factory stereo.
33F15DD8-E171-4975-BF20-60BDFB3865E0.jpeg

Then I switched back to the engine harness. It was a tangled mess, but I finally got it organized. I’ll be redoing some of this I’m sure as I reinstall it, but this is a good baseline.
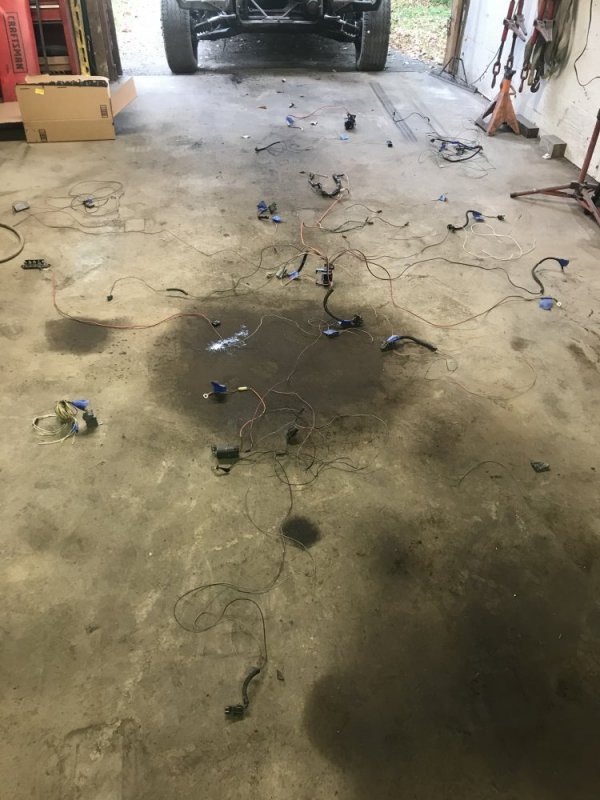
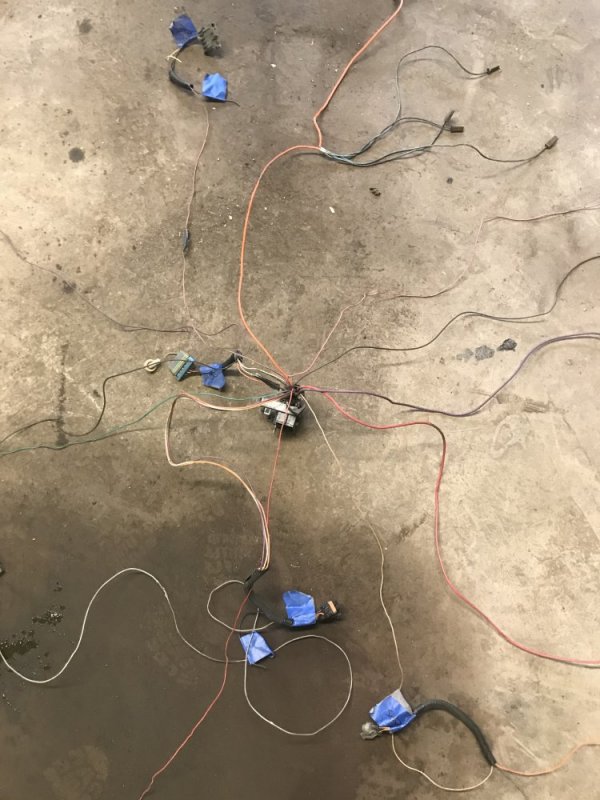
A1398CB3-7482-4DCA-8411-7626059412B9.jpeg5F0CCA25-5CFB-478E-84EC-E36EC6B6BD7F.jpeg7A269E78-753E-465A-BBC9-544A6C8D4202.jpegB7988239-0950-4722-8D4C-3AF45DA0E79F.jpeg

This is all that’s left from one of the main connectors on the passenger side. I’m going to be removing this connector so this is just for illustration purposes.
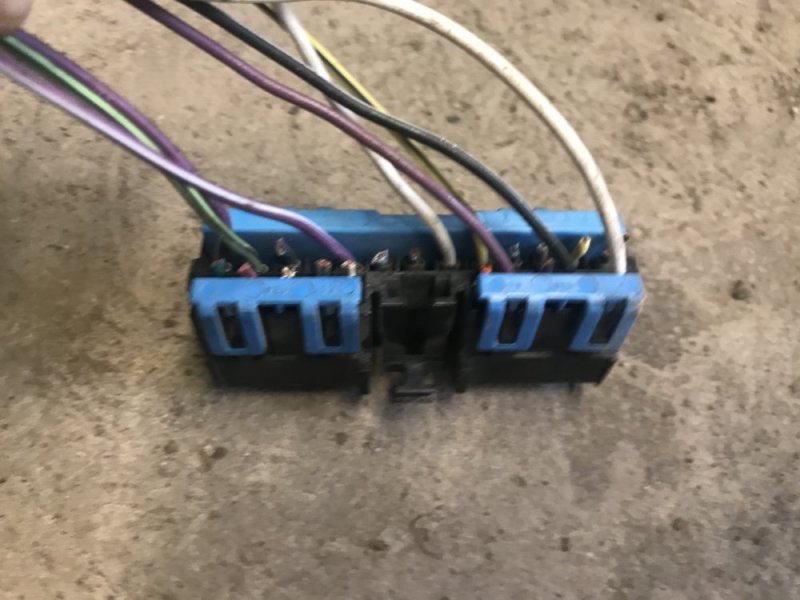
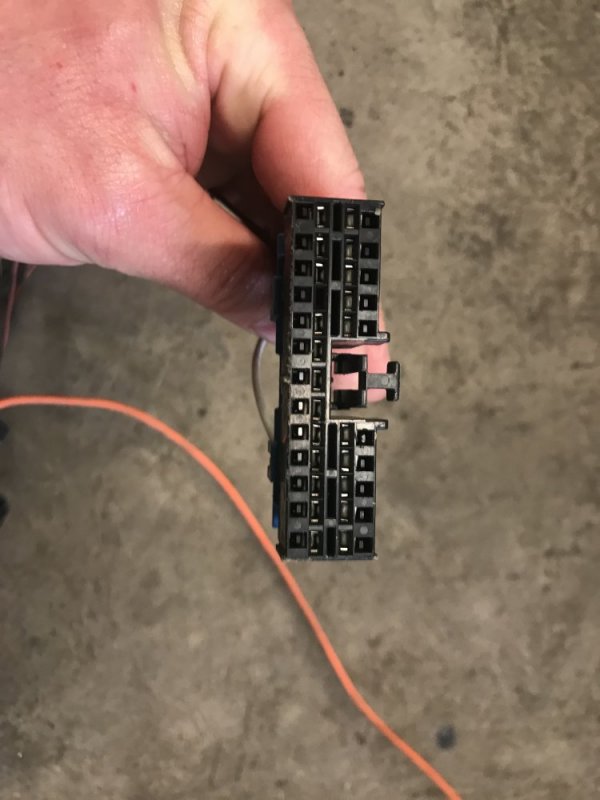
3305F525-04AA-43A6-80CC-D99AF995E911.jpegC736A614-4E77-469B-9778-4CB2B819E494.jpeg

And these are all the wires I removed from the engine side of the harness. Good riddance.
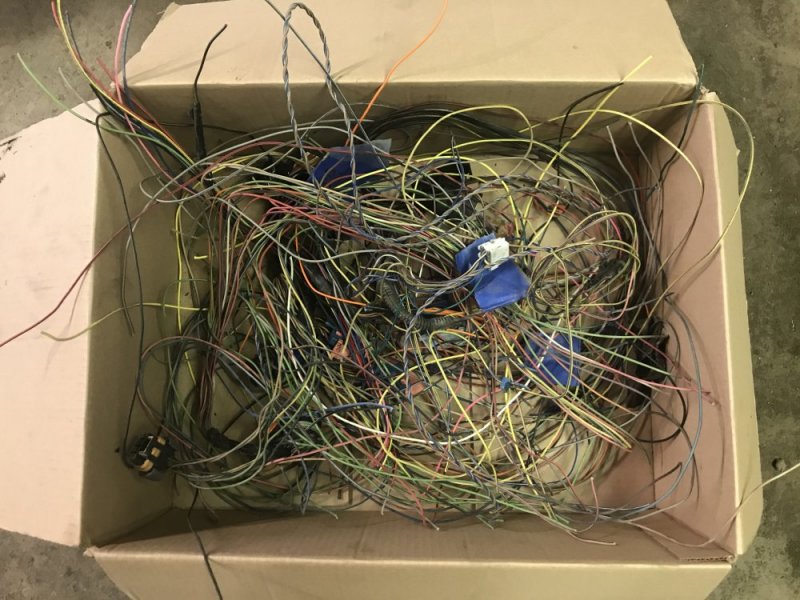
C41CE7FA-272C-4948-8844-B7F6B5C01491.jpeg
 
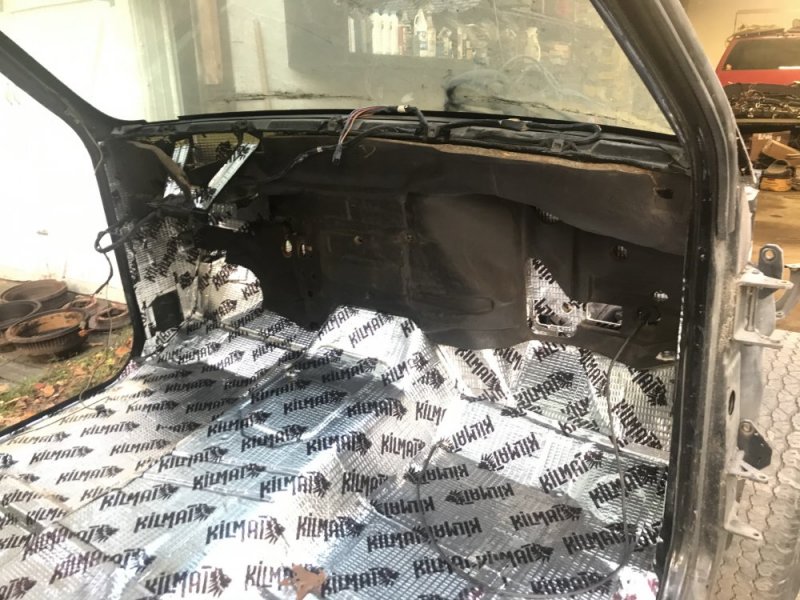
Last night and today I have been doing the KBS prep in the inside of the rockers and cab corners so I can paint the inside of my metal repair and then after applying sound deadener I’ll spray cavity wax inside to prevent future rust. So that was part of my work today. After wrapping up harness work I switched to reinstalling the HVAC. I got the firewall mat cleaned and reinstalled.

6E872616-A173-41AB-AC4A-C25CE0B1BEB7.jpeg

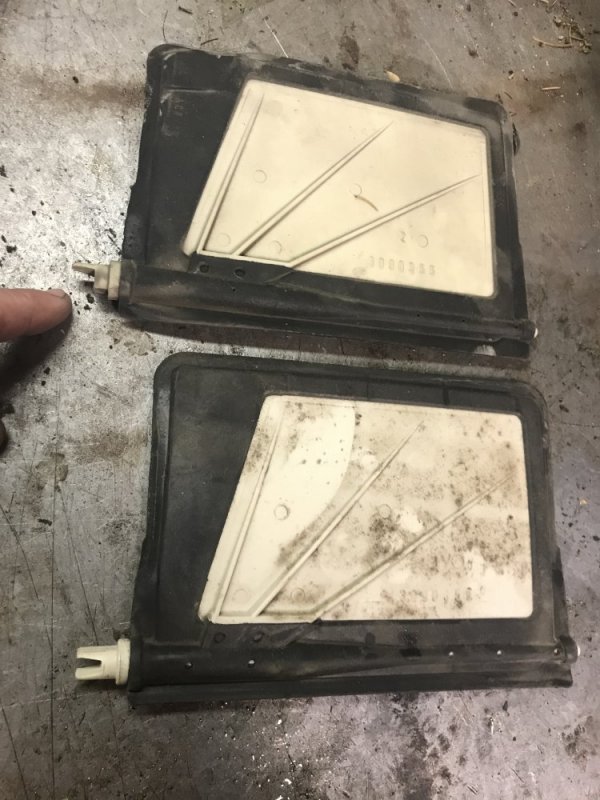
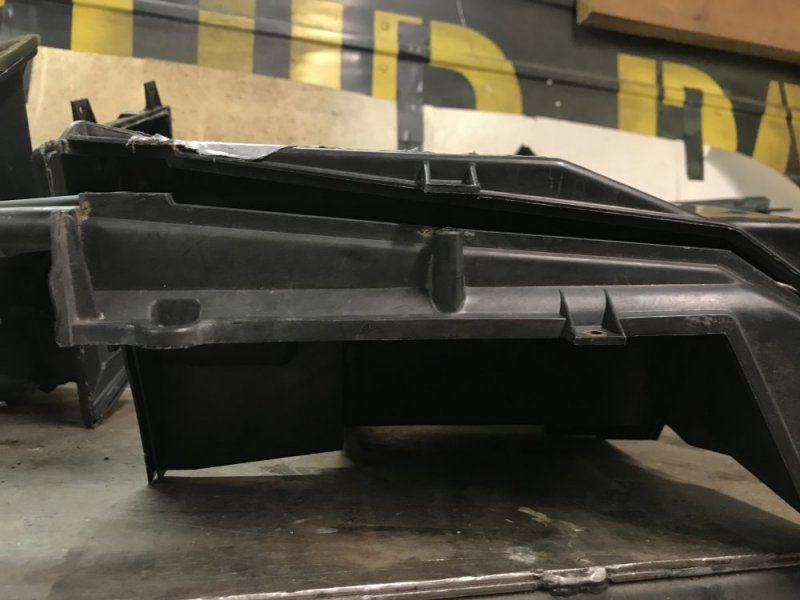
Then I started rebuilding the HVAC box. Unfortunately I hadn’t noticed before that the recirc door was broken. I looked it up and it doesn’t seem to be available anymore either from GM or in the aftermarket. So to get this back together I stole the door out of Krovvy. Good thing I have a few of these trucks sitting here 😅. Now I’ll have to source another one for Krovvy.

F0A64663-98C0-4908-A817-8650E248EA8C.jpeg

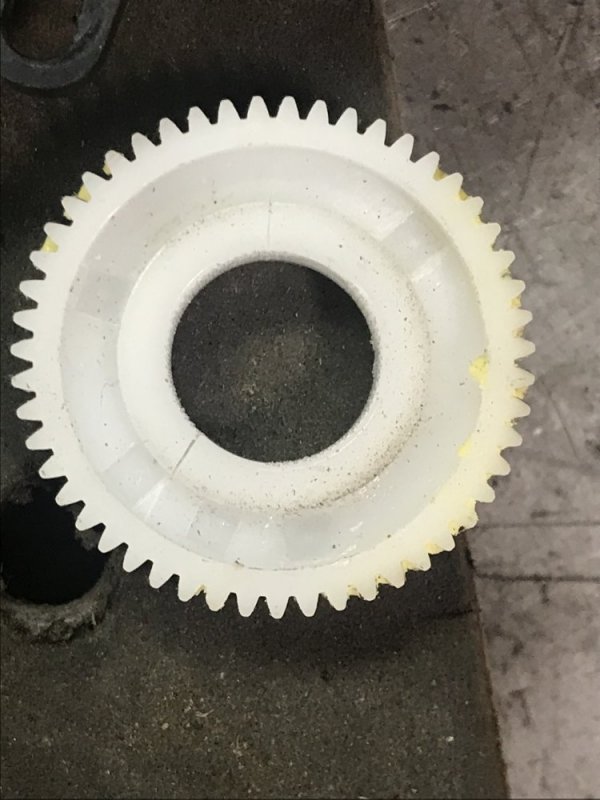
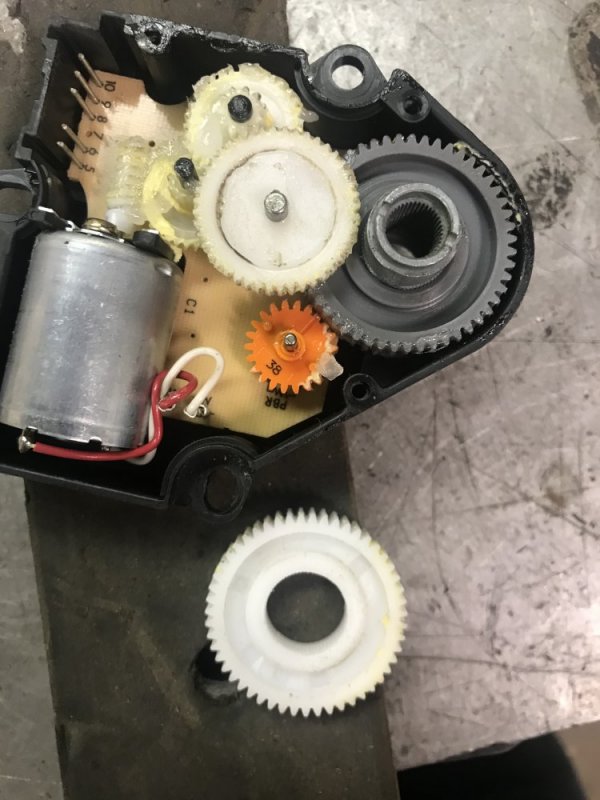
After getting everything apart I sprayed all the parts with Simple Green to clean them. While they dried after rinsing I tended to the door actuators. I bought 3 new gears for the actuators from blenddoor.com to keep them working for many years hopefully. 2 of the gears had cracks starting, but were still intact.

DE3CD949-2327-47CB-A10C-36D5B7F1D0CB.jpegF6654A41-A0B9-45CB-BA1F-1579F120BC27.jpeg

The third actuator had a split gear.

90E25785-A9E7-4747-94E0-653A2D6EE9E5.jpeg

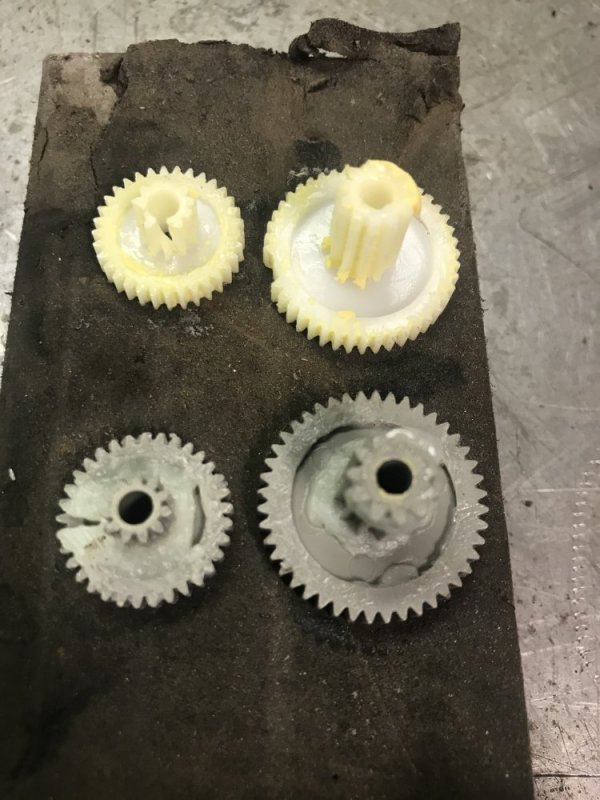
It also had 2 of the other gears with broken teeth. I had an old actuator from the Envoy in my electronics scrap pile and was able to rob the needed gears from it to fix the truck’s actuator.

4D74B181-8ECD-47D0-AD50-E450193362B1.jpeg

That’s it for today.
 
I’ve been on vacation this week and hoped to get a lot done, but I’ve had some struggles.

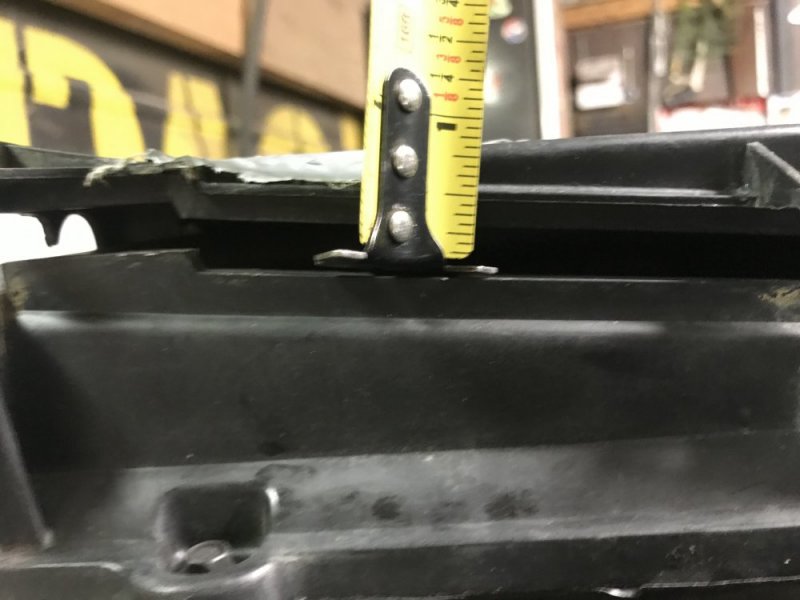
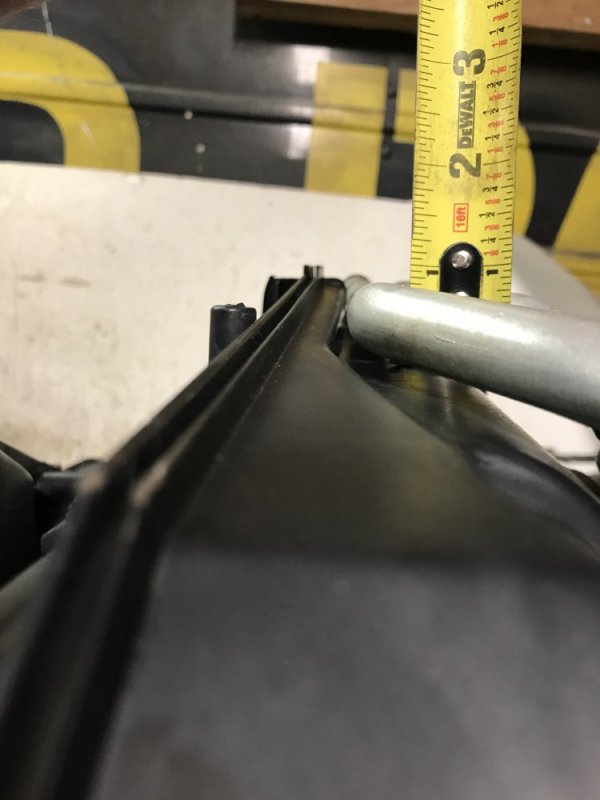
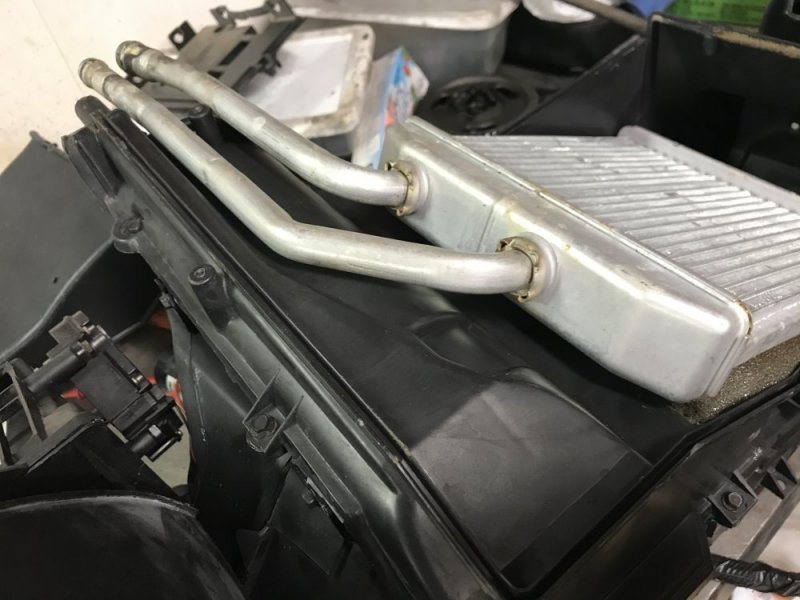
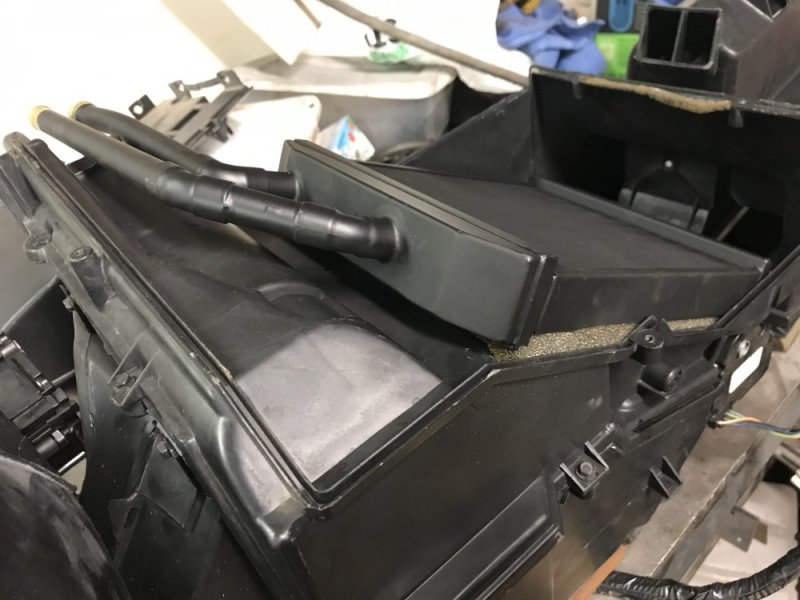
First I went to install the heater core from The Brassworks into the heater box. No dice. One of the tubes was wrong and it wouldn’t allow the lid to close. After some back and forth with them we decided I should ship the heater box to them so they can be sure it fits correctly. This sucks because I was hoping to get the dash installed and work on wiring the truck.

03A76B0D-1F02-442A-809B-DF51794E9FB9.jpeg8C20884C-9B4A-402D-BA16-9DBAEC1E604D.jpegD356495C-C70B-437A-84F8-7B658115B50F.jpeg82475C41-5AD4-49B8-BAFB-CF65B452A83A.jpeg92734AFD-BC1D-4537-A5D4-F67EFF0D97B5.jpeg57B06ECC-A92B-479B-B978-83B206C32DD1.jpeg

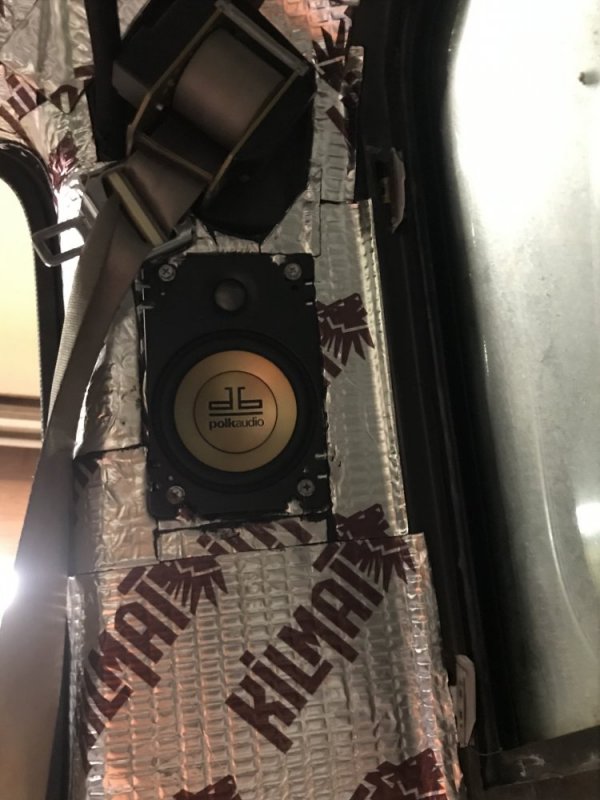
I did get the Rust Seal applied to the inside of the cab corners and then after it was dry I applied sound deadener inside the extended cab. Then I was going to replace the rear speakers so I could start assembling the rear trim, but I didn’t have the right terminals so I had to scrap that idea.

I painted the engine brackets so those would be ready to install.

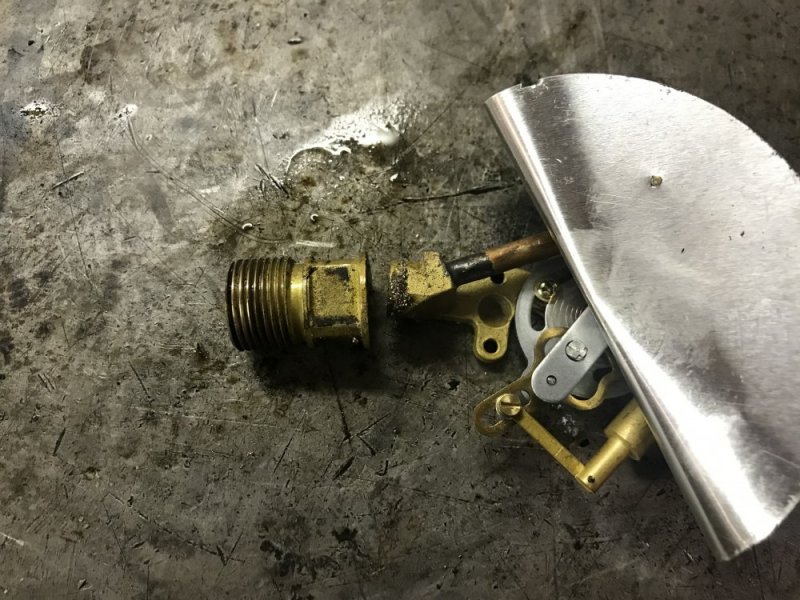
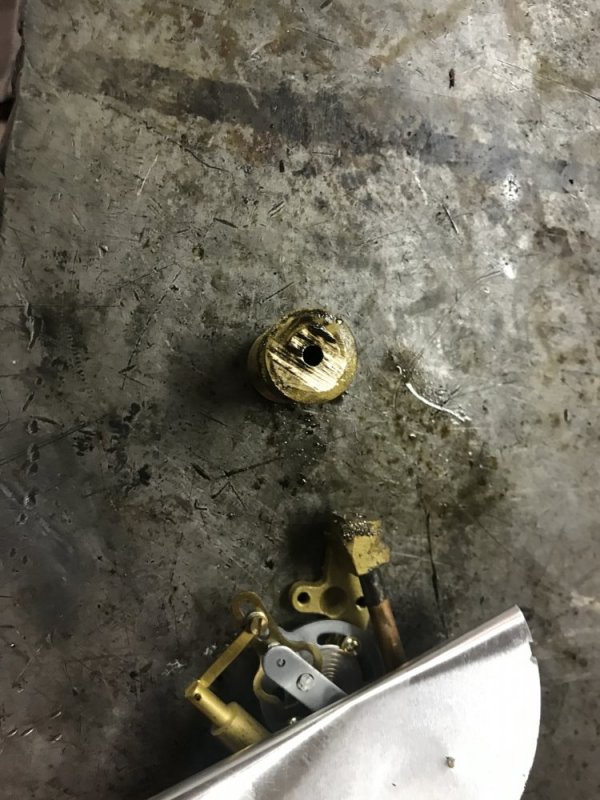
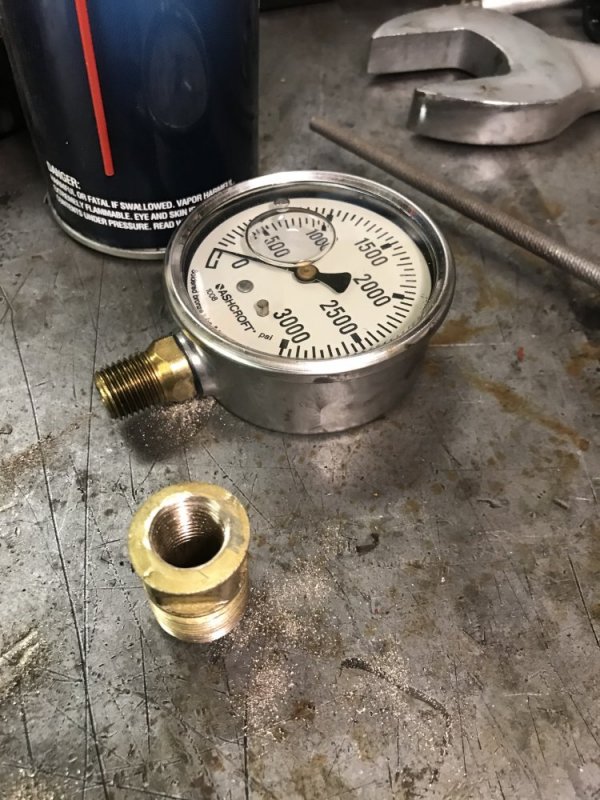
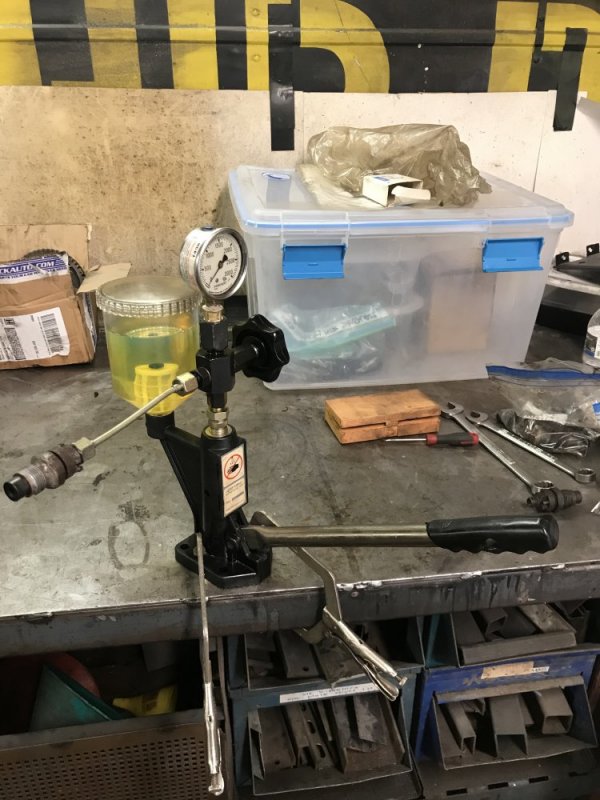
I decided I could work on the exhaust, but then realized I should install the injectors before I install the turbo, so I switched to working on those and that consumed a ton of my day yesterday. I wanted to repop the ones from the Tahoe since I had them set low currently. I recently purchased a good liquid-filled gauge for my tester so I could get more accurate results. Of course the tester had some weird metric straight-thread fitting so the gauge wasn’t a direct swap. After opening the old gauge to see what I had to work with I decided to cut the bottom off of it and use that to make an adapter. It worked fine.

207EACB9-F449-4452-B2CF-3573897E2873.jpegDA4324AF-89CC-409B-96C7-25DD70EBCF58.jpegE62190CB-5BE2-40D6-9FA9-5EEBC1CB9D4A.jpeg324ECE79-3D26-400A-95B8-529A4B951865.jpeg

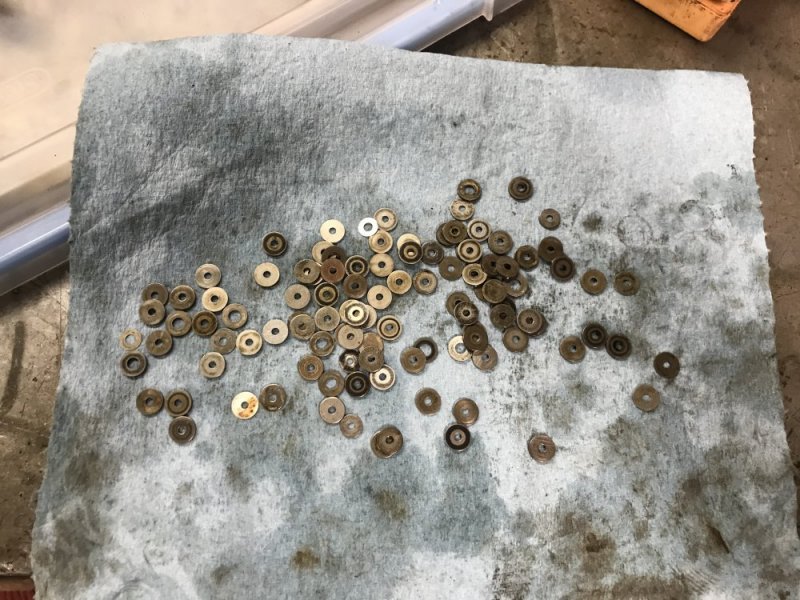
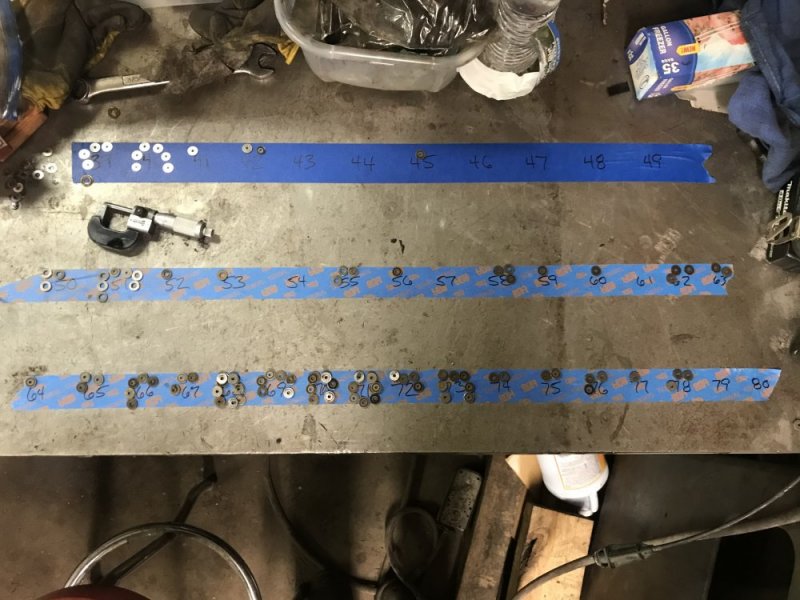
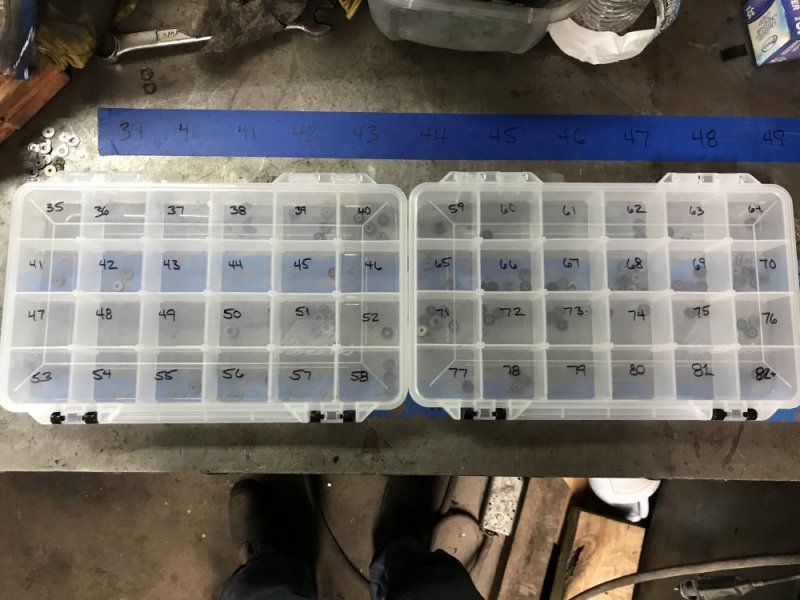
Then I started popping injectors. Unfortunately I couldn’t get my pressures set with the few shims I had, so I had to start gathering shims from cores. I made a party of it and disassembled most of my core injectors so I would have a good supply to choose from. I ended up with a pretty good pile. Then I sorted them by size so I knew what I had to work with. I also picked up some organizers so I can start better prepared for future injectors. In the end I finally got my injectors set, but it took all afternoon.
 
Hard at it today we sawed and split everything that needed to be split, worked from 830 am til 145pm as hard as we could go, no stopping for lunch or messing around.

My brother in law has serious issues with both shoulders, I am his muscle right now. He is wanting to get his wood worked up before he gets shoulder treatment. He is one tough guy to be sawing and splitting wood. Alot of people in his condition would just lay down and do nothing.

We did have this sight seeier, he pulled up in a white Ford F150. As I was approaching the truck, the driver rolled down the window, I told my brother in, where is my pistol and I reached down in my pants pockets like I was digging out my pistol. Driver of the Ford truck said I have a pistol right here beside me if you need it... :D

Don't be alarmed guys I knew the guy, it's just an ole country saying. Neither one of us were going to engage each other.

The man's wife was laughing, she actually said she did not recognize me, heck I had a cooling gaiter around my head and a 3 week beard I am looking pretty rough. They are good people, I know when and what to say to these people.
 
Be nice if you could do a video of how your testing them. I've read lots of things but never actually seen anyone doing it. I know mine has a knob that seem to control pressure to the gauge but I'm not sure it's working right, might just be me.

I know this knob you speak of. I’m not really sure what it’s purpose is other than if it’s fully closed it doesn’t read on the gauge at all. I cracked it so there would be less volume for fluid to transfer through. To be honest, I don’t know if I’m doing it 100% right either, but when I compared these injectors to some others I had that have low miles, I was getting reasonable results. I also had a lot more confidence in my numbers with this liquid filled gauge rather than the original air filled gauge, though I did have to modify my technique a little because the needle doesn’t rise as fast if you just rapidly pump the handle on the tester.
 
Hard at it today we sawed and split everything that needed to be split, worked from 830 am til 145pm as hard as we could go, no stopping for lunch or messing around.

My brother in law has serious issues with both shoulders, I am his muscle right now. He is wanting to get his wood worked up before he gets shoulder treatment. He is one tough guy to be sawing and splitting wood. Alot of people in his condition would just lay down and do nothing.

We did have this sight seeier, he pulled up in a white Ford F150. As I was approaching the truck, the driver rolled down the window, I told my brother in, where is my pistol and I reached down in my pants pockets like I was digging out my pistol. Driver of the Ford truck said I have a pistol right here beside me if you need it... :D

Don't be alarmed guys I knew the guy, it's just an ole country saying. Neither one of us were going to engage each other.

The man's wife was laughing, she actually said she did not recognize me, heck I had a cooling gaiter around my head and a 3 week beard I am looking pretty rough. They are good people, I know when and what to say to these people.


Sorry guys and mods, I have got into the wrong area, i blame my smart phone.....

Mods delete this post if you need to, or chalk it up to error.... 🤔
 
Oh my... no, dont use an air filled gauge. You could use one if you have a “hold” valve which stays at top pressure like a compression tester, but still a low budget liquid filled will do you better. Remember on liquid filled, sometimes they dont fill it all the way. So you might need to add a bit of mineral oil- the heavy mineral oil, not baby oil.

Also remember to pierce a hole in the rubber cap. They are sealed for shipping but need to vent to work properly. On service trucks we just removed the cap for use then pop it back in for transport until needed the next time, just need to be cautious of cleanliness with it open.

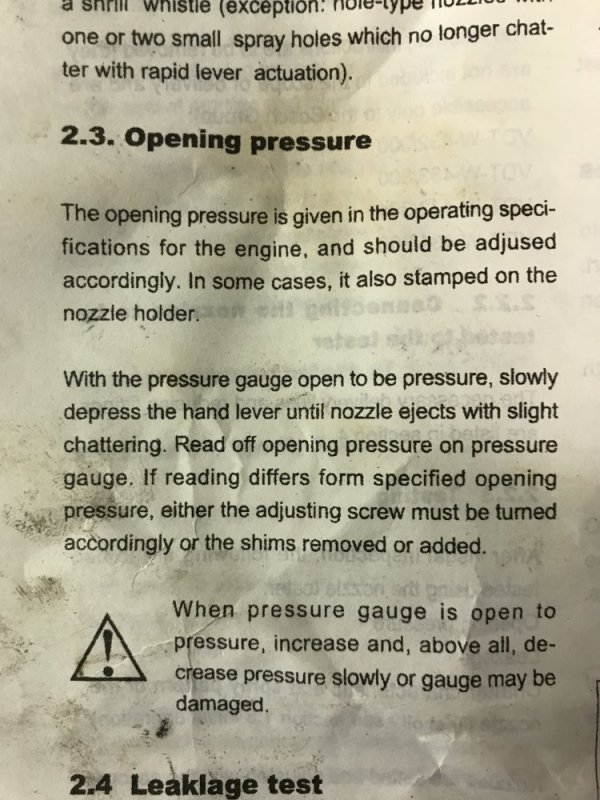
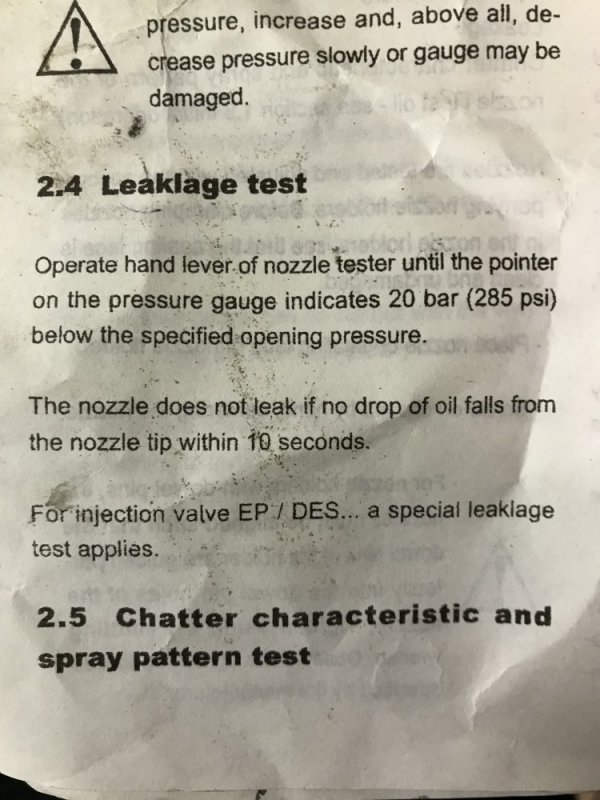
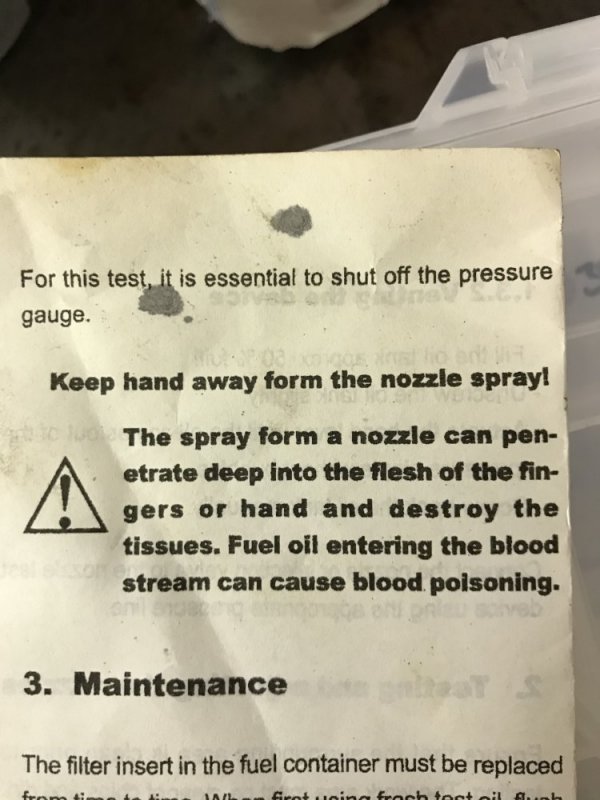
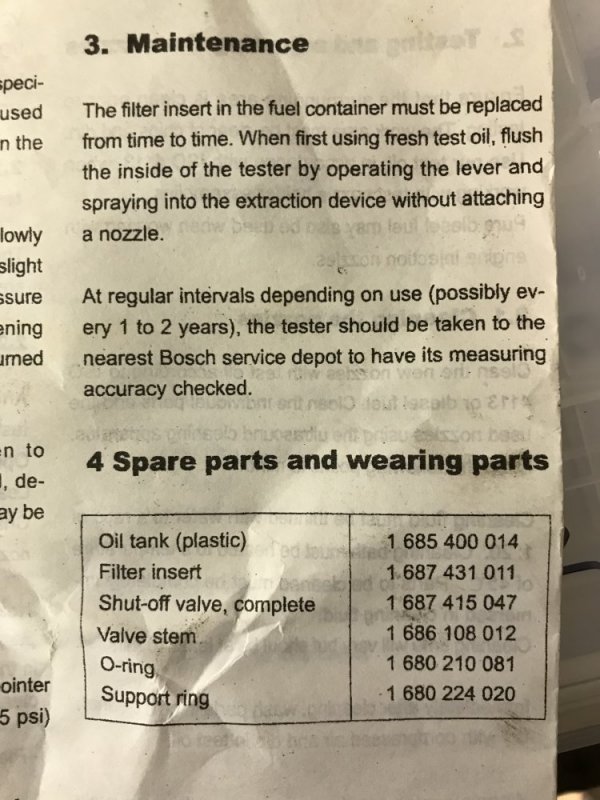
Well sum bitch. I decided to read the instructions (GASP) and found what that knob is for. It also confirmed that how I was using the tester yesterday was the proper technique for testing pop pressure. I found it funny that they tell you to take the tester to a Bosch dealer for service. Yeah....I doubt they’d work on this knock-off!!

09D78162-CD52-47DC-BC9D-3620608B9B3F.jpegD02BEED8-D44F-4ED3-882F-79AB8BEBE7B4.jpeg77D3746A-90DA-49F3-9556-295D26BD1795.jpegCF4EC3B6-E6BD-4CA9-94DF-C66CBF50F6BD.jpeg

So as I was going to post this I saw Will’s post about the vent. D’oh!! So I looked and sure enough there’s a cap and it says “pull” on it. I pull it and a little fluid comes out and I see a little hole.....so there’s my vent. Handy you can push and pull it so it can be capped back up for storage. So I repopped an injector to see if it changed the setting. It is about 50 psi higher now so that’s interesting. I used the opportunity to take a vid so hopefully that helps. Oh and yes Will, I still don’t have a box to spray into - yesterday I had my big fan going to blow the mist outside.....eventually I’ll get that box made.

 
Wow instructions! Awesome! So I was doing it correctly. I had people telling me just like you had heard that it needed to be pumped quickly. I need to rebuild another set this winter so this helps alot. Thanks Nate!
 
You’re welcome. I feel like I read them when I first got the tester years ago, but somehow the fast pump thing got in my head. The readings just didn’t make sense once I had a quality gauge on it. If yours is like mine and one of the knock-offs with the air filled gauge, get yourself a liquid filled gauge - it’s a night and day difference. I found this Ashcroft gauge on eBay for cheap, you just have to search a little bit. The dial is smaller than the old gauge, but the increased needle accuracy makes up for that.
 
I got the terminals I was waiting for so I made a new 14 gauge harness and installed the rear speakers.

68960E28-DA16-4B6F-9BDF-841D4E0DA4EE.jpeg

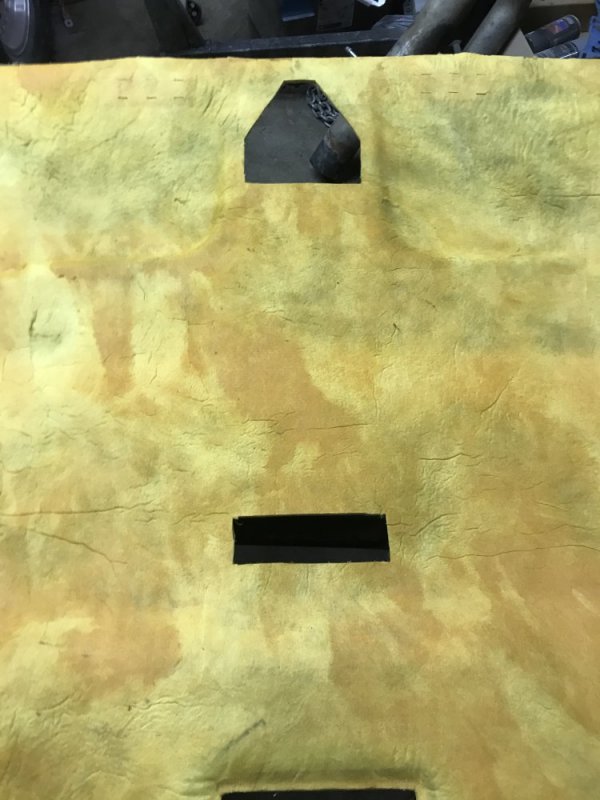
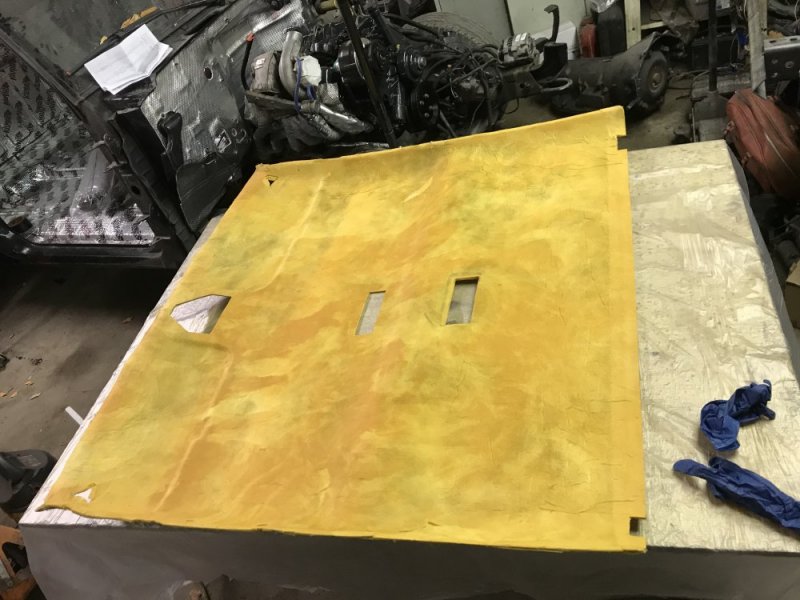
Then yesterday I started working on the headliner. I removed the old fabric easily. I’m going to be adding an overhead console so I figured out where I needed to add holes and did so.

D26B1AA5-B607-47B7-A63B-C0D1E6046CEF.jpeg40B1DAEE-A64D-4F5F-BBE2-31F1FE057AA3.jpeg

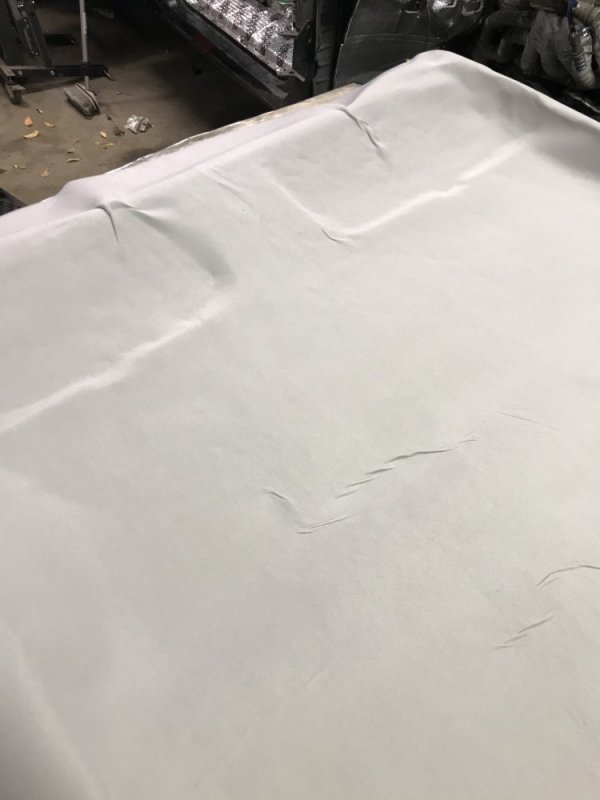
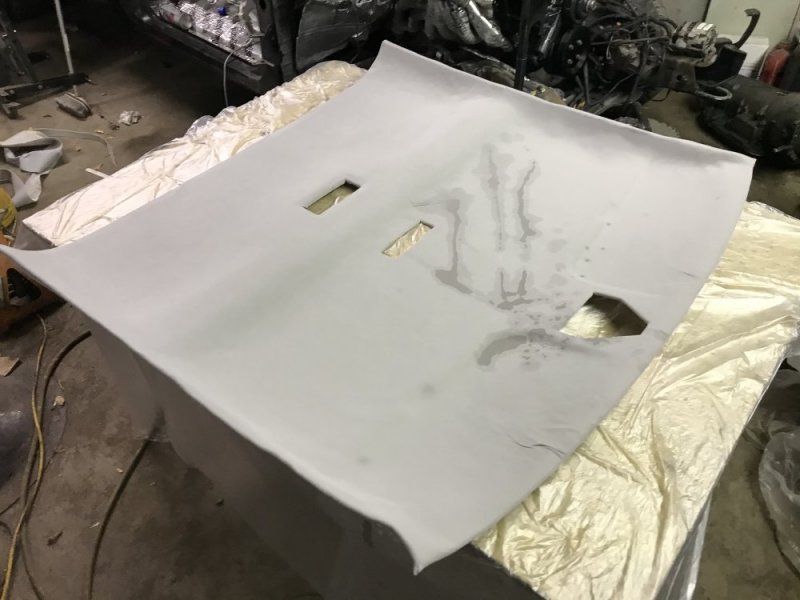
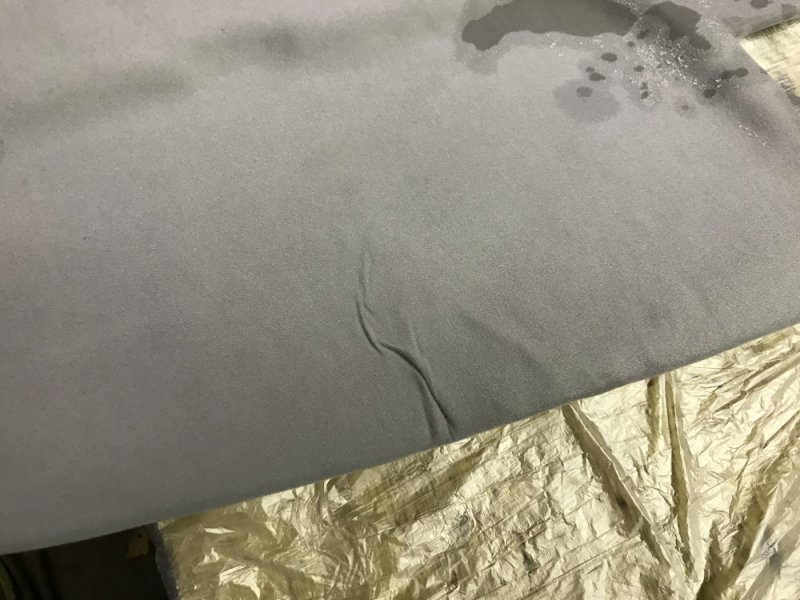
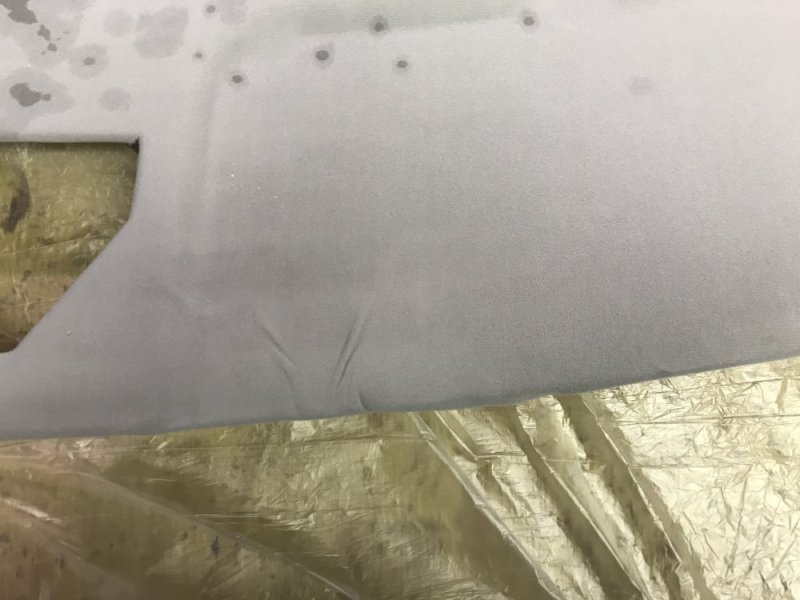
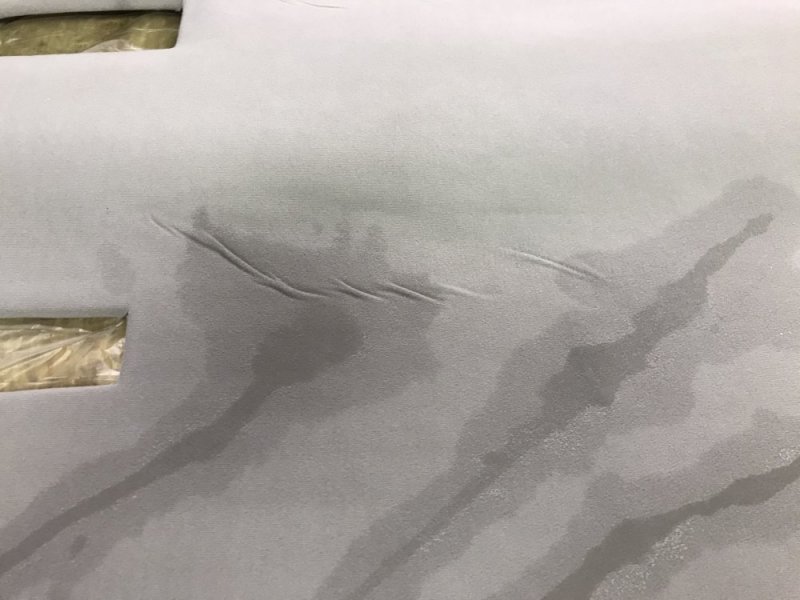
After that is where my theme of not being able to complete a task continued. This summer I ordered some fabric and spray adhesive from Headliner Magic. It took weeks to get the order shipped. I called 2 times and got a different reason for why it hadn’t shipped each time. Finally a 3rd call went to a full voicemail box so I looked them up on Facebook and sent a message that I was ready to cancel my order. Magically it shipped that day. Huh. So now fast forward to yesterday and I go to install the fabric. I’ve never done this before so I was kind of nervous, but I watched their video and it didn’t look like too bad a deal to tackle. Oh and when I went to their website to look for install info the site looks kind of dead so maybe they’re going out of business? I did manage to find their video on YouTube though. Anyway, I spray the first can of adhesive and I couldn’t get the fabric to stick to the board! Defective glue!!! Dammit!! So I did some looking and today I picked up a couple cans of 3M headliner adhesive from O’Reilley. Holy balls does that stuff stick!! Too good in fact. In hindsight I should have probably sprayed a little less glue and also laid the fabric sooner before it got so tacky. I ended up with some folds and wrinkles because I couldn’t lift the fabric back up. The fiberglass headboard didn’t help either because if you pull too hard that starts to come apart. So screw it. I finished it. I tried running a steam iron over it to smooth it. It helped a little (and also got a bunch of water on the board). Whatever. Not a show truck I guess, but still it ticks me off. I’ll install it and hopefully the wrinkles eventually work themselves out through heat cycles. At least two of them are hidden by the visors....unfortunately a third is right in the middle. I may go to the junkyard and see if there’s a good headliner there, but I’m not going to hold my breath.

2FF2023B-87EB-4D5A-BF6F-768A8E821AAC.jpeg76A352BA-7C2B-46A6-B461-7392677D0991.jpeg549BABA4-4461-4AB5-8B1A-E80D422E36CC.jpegBF68B9C0-39AD-4D4E-B51D-EC92FA316147.jpegBD705CCA-72CB-4CB5-87EB-3DBF8B0F889A.jpeg01AD2522-612A-4D7F-9785-60634F2EBE2B.jpeg
 
A trick I've used before is to put something between that won't stick to the glue and slowly pull it out while working from the center outwards. To late now but if you get the urge later.
 
Back
Top