• Welcome to The Truck Stop! We see you haven't REGISTERED yet.

    Your truck knowledge is missing!
    • Registration is FREE , all we need is your birthday and email. (We don't share ANY data with ANYONE)
    • We have tons of knowledge here for your diesel truck!
    • Post your own topics and reply to existing threads to help others out!
    • NO ADS! The site is fully functional and ad free!
    CLICK HERE TO REGISTER!

    Problems registering? Click here to contact us!

    Already registered, but need a PASSWORD RESET? CLICK HERE TO RESET YOUR PASSWORD!

1994 K3500 extended cab dually

And one last one for your funny bone from History of the World: Part 1 "Moses at Mt. Sinai - The Ten Commandments"
 
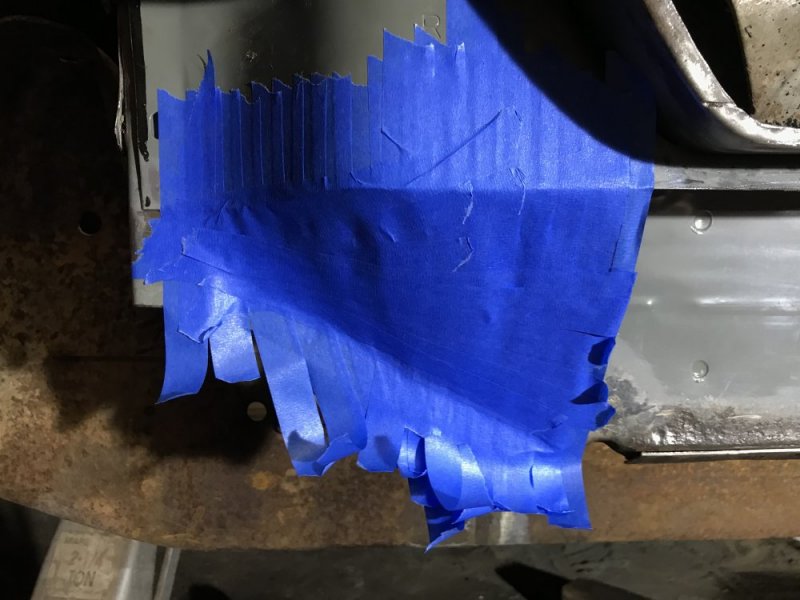
Made some good progress today, but not without some struggling last night. I started working on the inner panel last night and I was thinking it was going to be a fairly easy process. Not so. I wanted to make the patch in one piece to give myself a challenge, but first I needed to figure out how to do the complex part at the rear. I couldn’t get it figured out in cardboard so I started playing with sheet metal. That didn’t work either. I picked up a shrinker/stretcher from Harbor Freight and played with that. I was actually able to over-stretch the metal so that was encouraging to me, but that’s where I stopped for the night. Later that night I was thinking about the patch and realized making the patch in masking tape would be a good way to understand the shape I needed.

So that is how I started today. I layered more and more tape until I had a stable piece.

EFCD8BBF-EC02-4D9C-BBCC-16C8D7944C58.jpeg

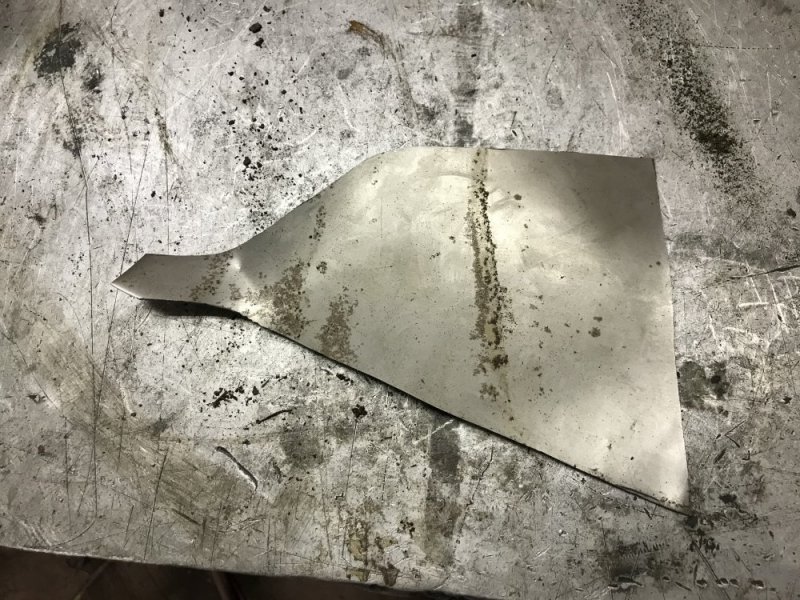
Then I cut it out with an X-acto knife so I could use it as a template. Before going with the large patch I decided to try a smaller piece first. I was actually able to get it to fit with just a little handwork, so I felt confident I could make it work.

7B24C0B8-D9B8-4C4A-B653-DD41F97F8294.jpeg

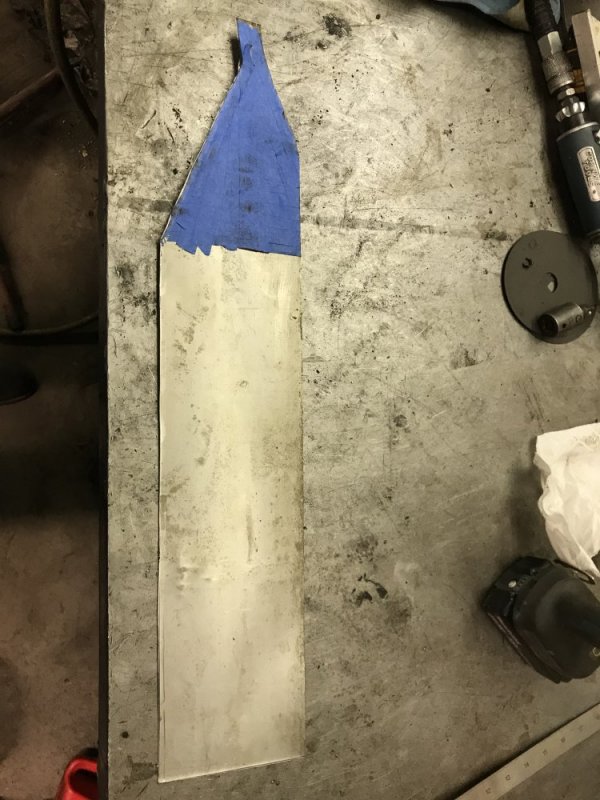
Now it was time to make the full patch. I laid the template on one end and then drew the rest of the rectangle that was going to be needed.

39F31C47-0B8B-4070-B6F5-714B081272ED.jpeg

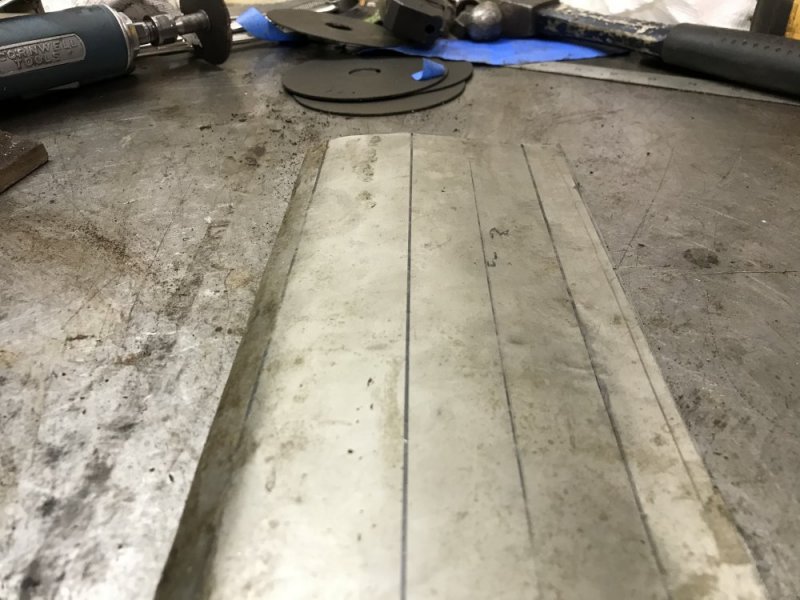
I then kept messing with it, putting some slight contours in it so it matched the original piece accurately.

74E2D424-98FF-4611-83ED-3736F63D398E.jpegE813B84C-2F0B-4DFF-A78E-EC33C219DC16.jpeg

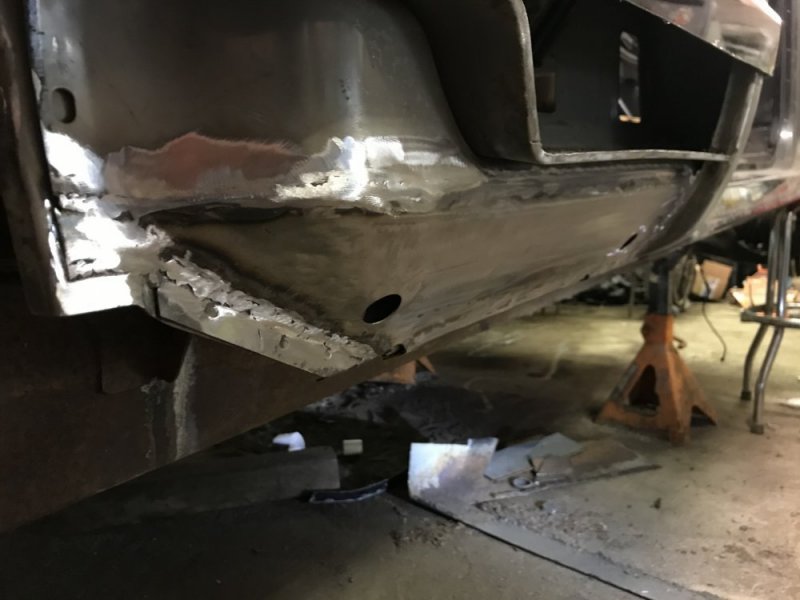
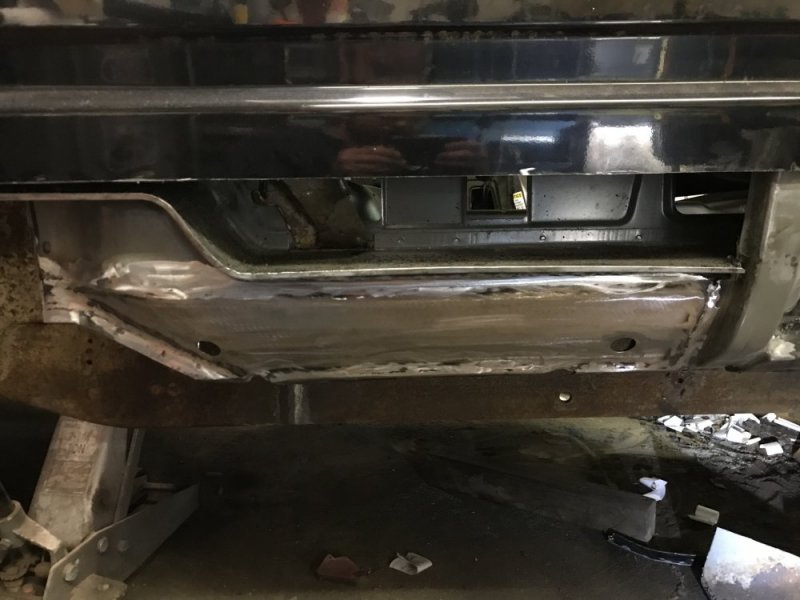
Once it was contoured I put it in place and got it welded in. The rear was more of a struggle than I expected due to my earlier trial success, but I eventually got it to fit and welded in. It isn’t perfect, but it’s more than good enough for a panel that’s never going to be seen. It was good practice for me to do this so I’m glad I did. I also added some holes that are inline with the inspection plugs so I can spray cavity wax in both cavities that will be here when it’s all back together.

D852427E-6DE2-4E9C-A0E0-A4AEF36221E5.jpegDB341DF1-F4A9-44FC-B5BF-C04909DCB8F7.jpeg

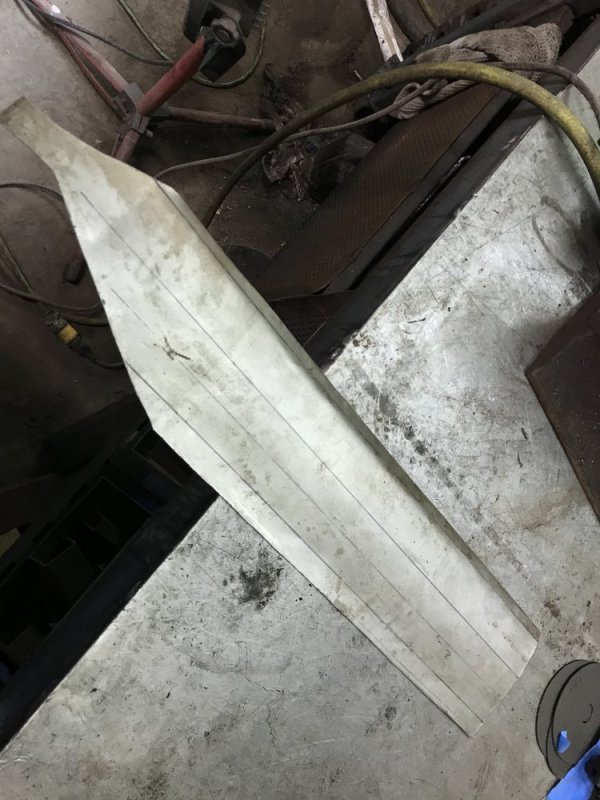
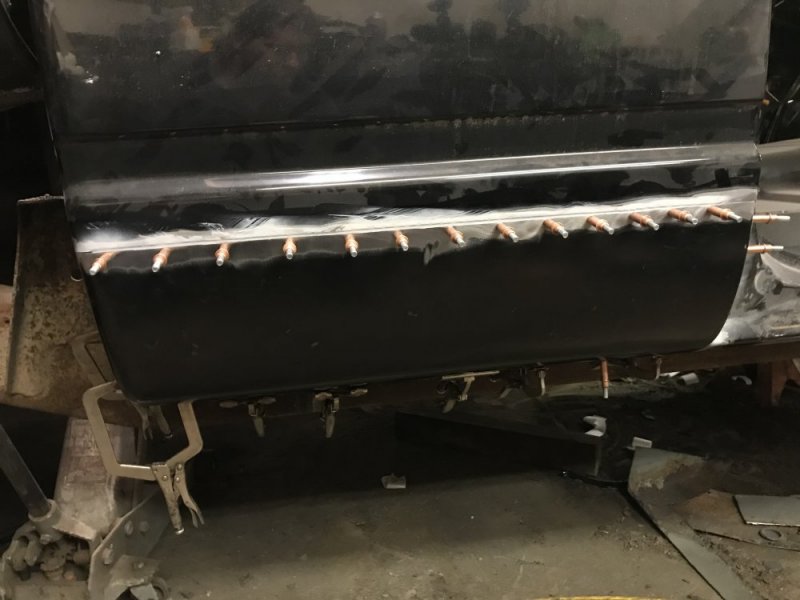
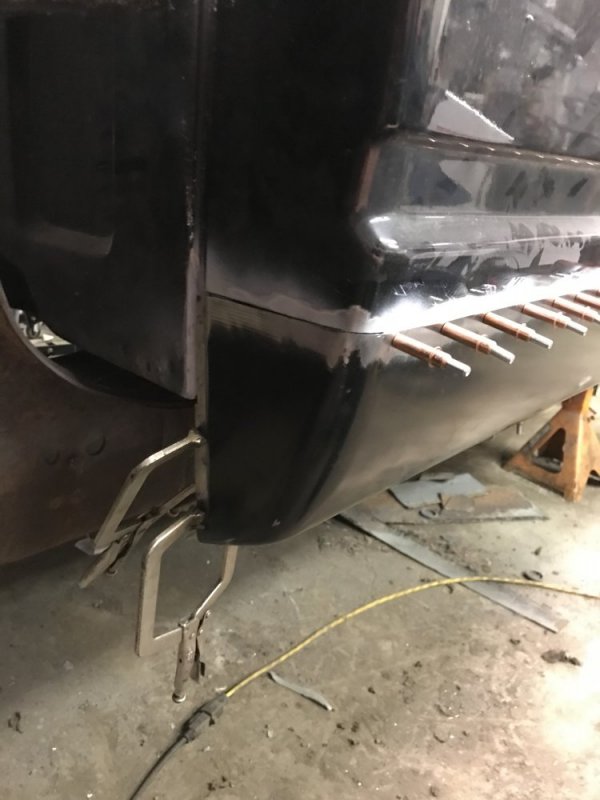
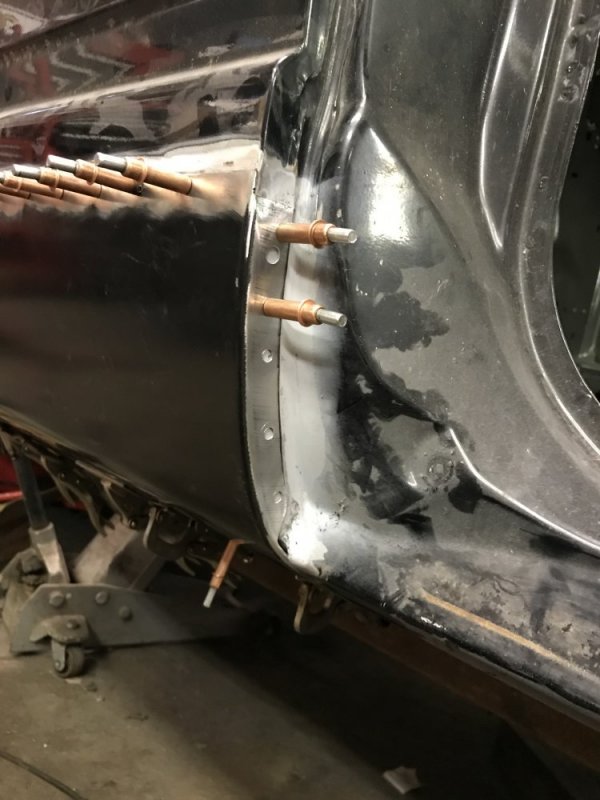
Then it was time to get the outer patch in place. It took a few attempts at trimming, but I got it all ready to go. Tomorrow I can start welding it in place.

E90A36FC-FA15-4199-A372-C8DC7C2F3A1B.jpeg7BF8E765-A39D-4CE2-A567-8C854B08FDD8.jpegA83E658B-F5C9-4C87-B438-C7B5CCBEC814.jpeg
 
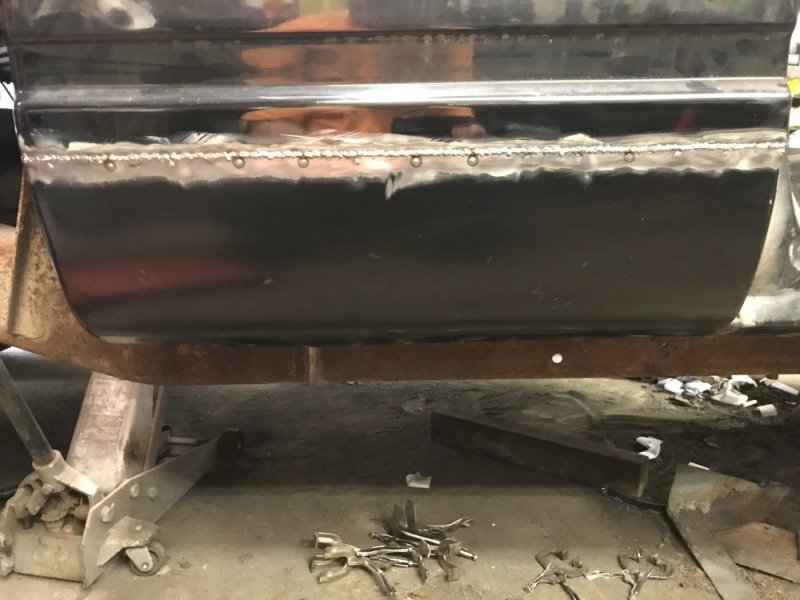
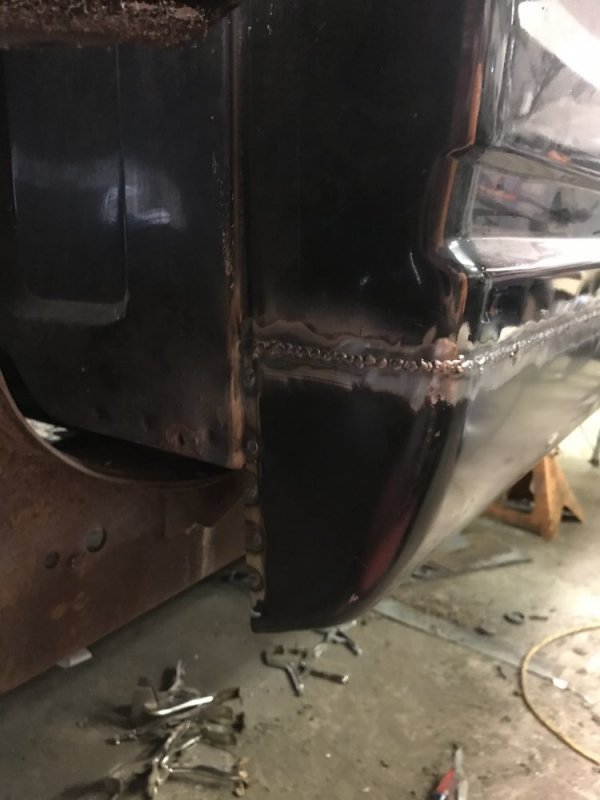
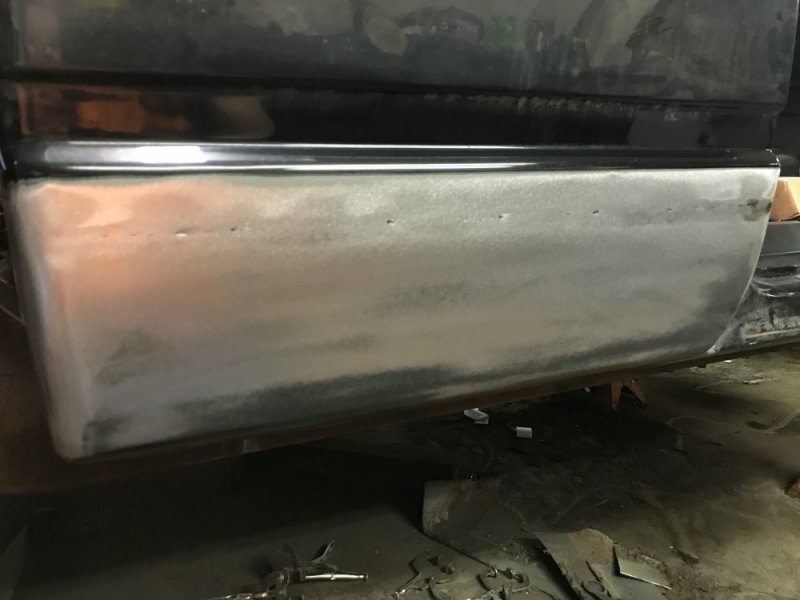
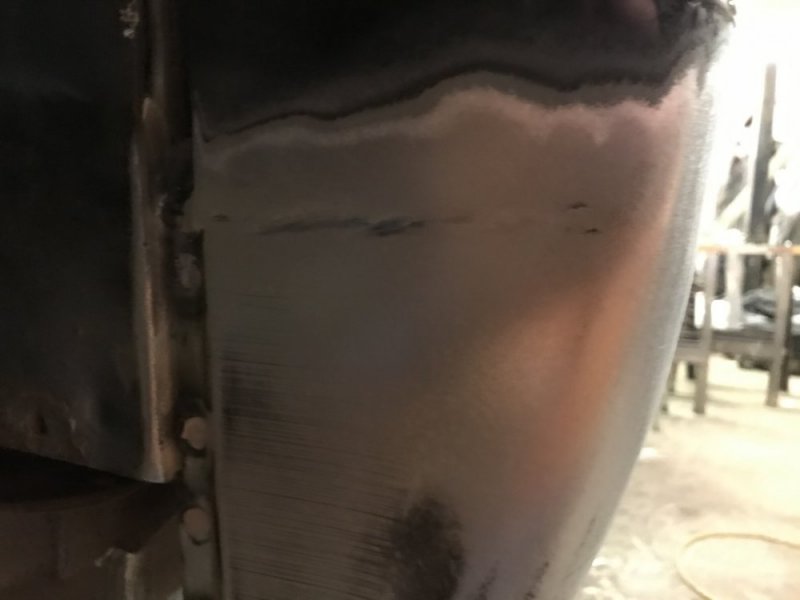
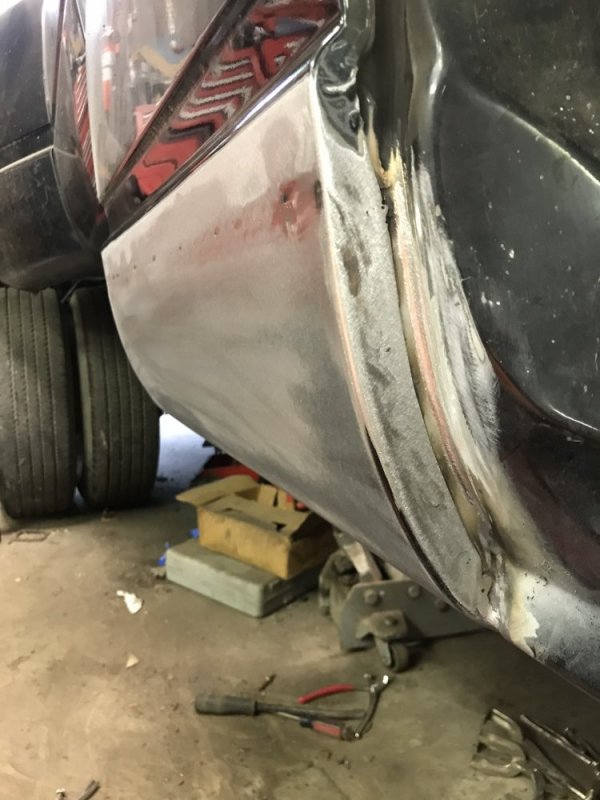
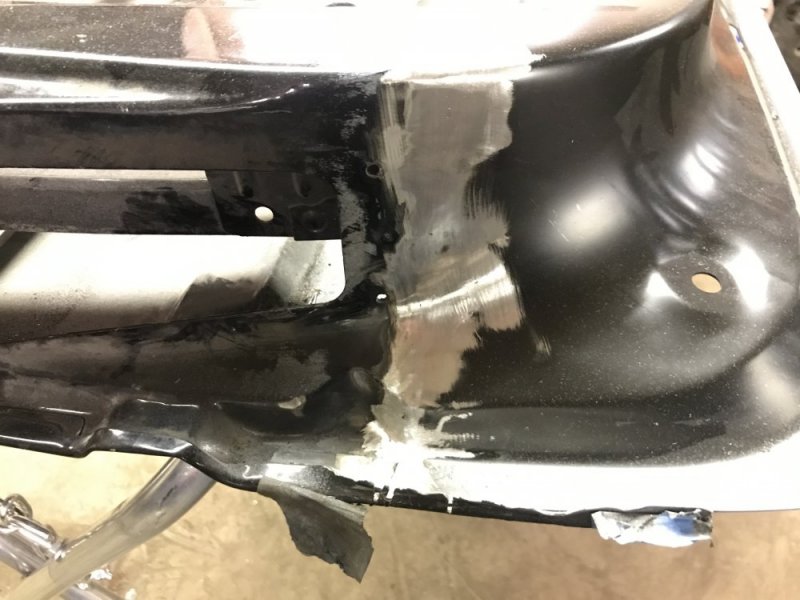
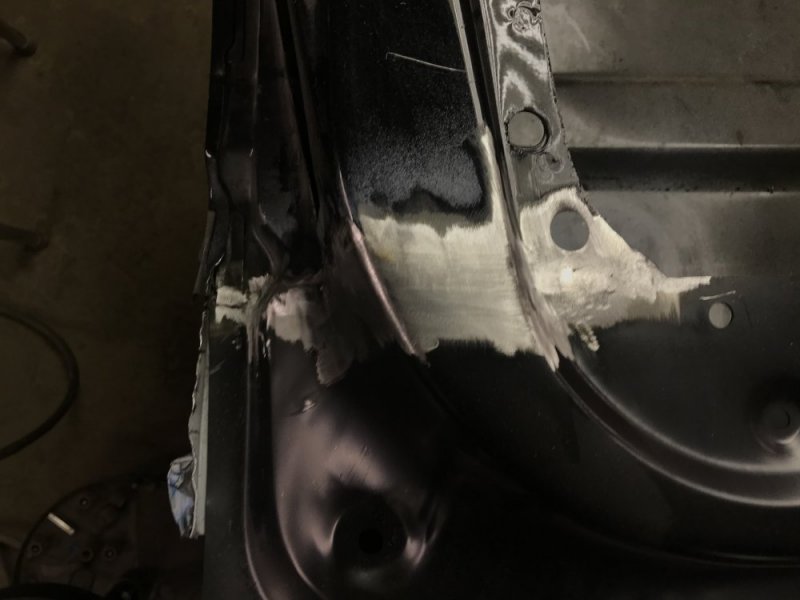
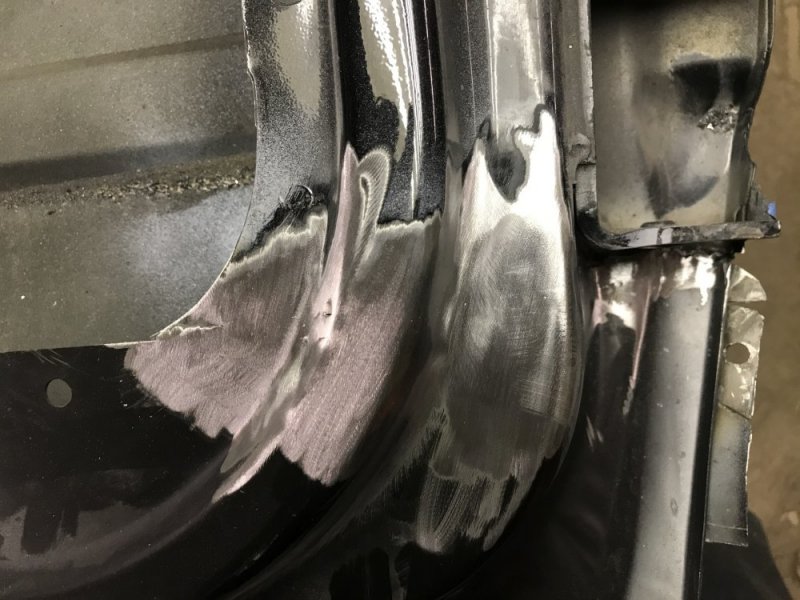
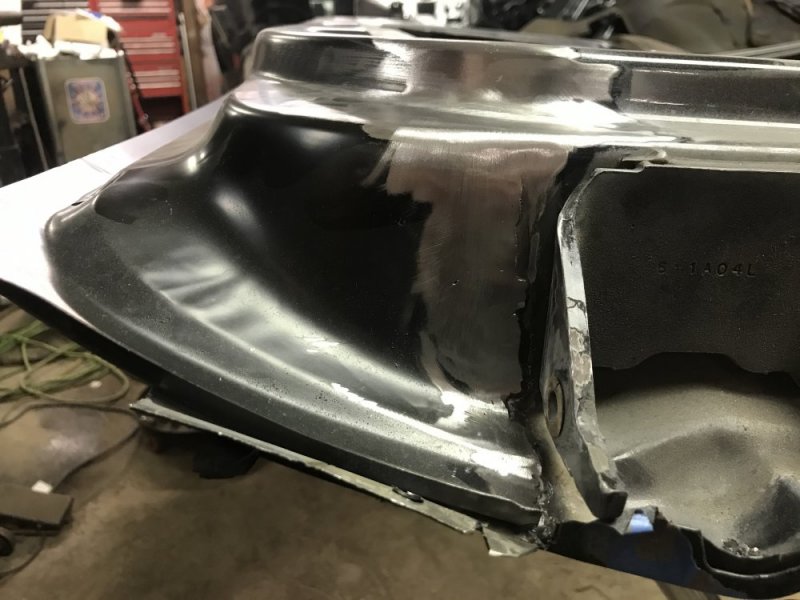
Today I got the panel welded, ground and DA’d. It shouldn’t take much filler to make it straight and smooth.

75C21FAC-F3E3-46F4-8A9C-8A5A373DC75B.jpeg27A3F600-88E3-4299-8740-EE34BB45ABB2.jpeg5D5E217F-0D01-47D8-BF23-1A4CC7AE0D35.jpeg27DC4276-2705-422B-BE90-754A3C48EE2B.jpeg08700D36-3731-46F3-AACF-0A8EFD750DB7.jpeg2CB6A0BE-B1AC-426B-9DFD-D89225C074DB.jpeg

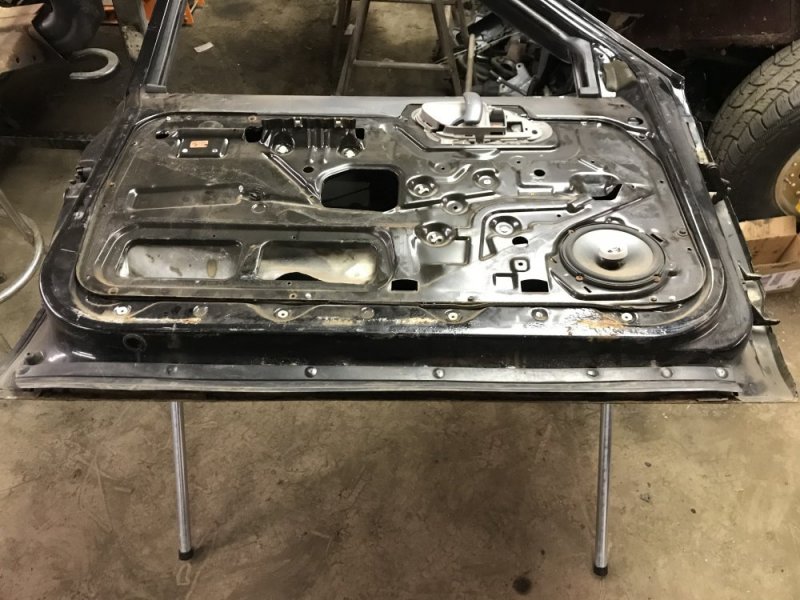
Next up I’m going to try patching the inner and outer door skins on a driver side door. The door that came on the truck had some rust on the bottom of the door, which isn’t unusual, but it was also rusted through under the outer glass sweep, which is weird. So I decided to repair the original door from the Tahoe to put on this truck. I got the door on a stand, but that’s as far as I got with that.

B4F54A9C-9D25-4971-81B3-E4239578AD71.jpeg
 
Hard to describe it, but I'd cut the old inner panel straight along the step down line above those four big dimpled holes. Basically, along the line being made by the bottom edge of the new inner panel as you have it laying in the last two pictures, so that lip at the top of the new inner panel would overlap the 1" or so of the old inner panel that's left hanging down from the cut. You would have part of that upward curving emboss on the hinge side overlapping between the two, but who'd notice since the door trim panel would be covering all of that, same with the horizontal overlap seam, anyway?
 
Last edited:
Hard to describe it, but I'd cut the old inner panel straight along the step down line above those four big dimpled holes. Basically, along the line being made by the bottom edge of the new inner panel as you have it laying in the last two pictures, so that lip at the top of the new inner panel would overlap the 1" or so of the old inner panel that's left hanging down from the cut. You would have part of that upward curving emboss on the hinge side overlapping between the two, but who'd notice since the door trim panel would be covering all of that, same with the horizontal overlap seam, anyway?
That was one of my initial thoughts as well (if I'm understanding what you're describing), but then I needed to figure out cuts in the jambs that would be easy to grind the welds flush on later. What I didn't show in the pictures is that the top of the patch panel is even with the bottom of the opening in the door - I'm thinking about just using the top of the patch as the cut line on the inner panel of the door. That way I just have to weld and grind the 6" or so of the door jamb on each side of the opening and not the whole 36" or whatever it is that the entire width of the door is. I need to double-check the patch and make sure it has all the features there and in the right places, but when I was dreaming about this overnight, that was the direction I was leaning......
 
I made some progress on the inner panel tonight.

I decided where to cut, scribed the line and then got the grinder out. Right about here is where I wondered if I had made the right choice, deciding to attempt this repair....

274EF085-D33A-4EA5-AB78-B23BB0CD90FA.jpeg1DAC859F-CC6E-435C-B70A-80ACB42F332D.jpeg

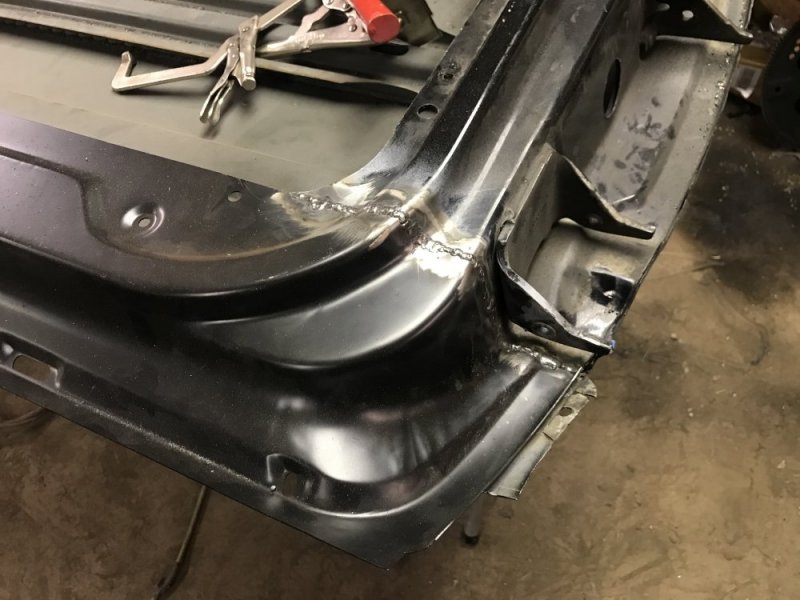
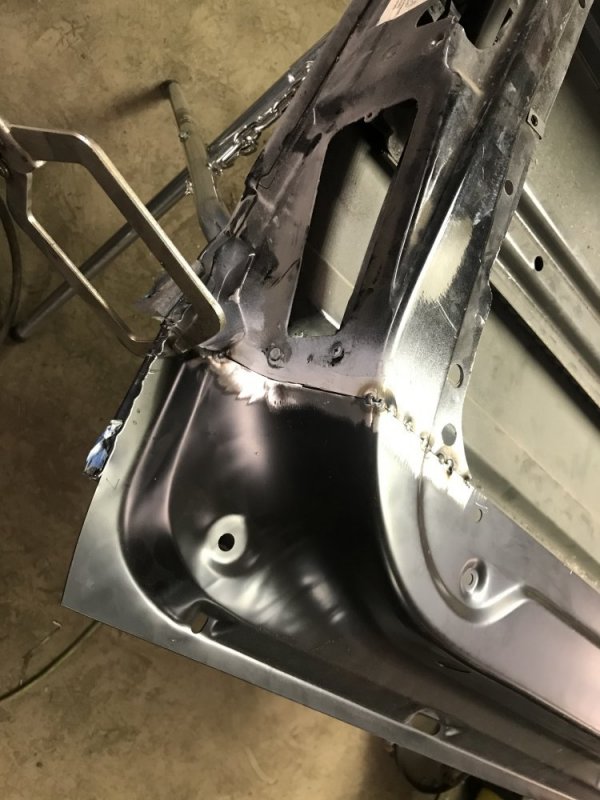
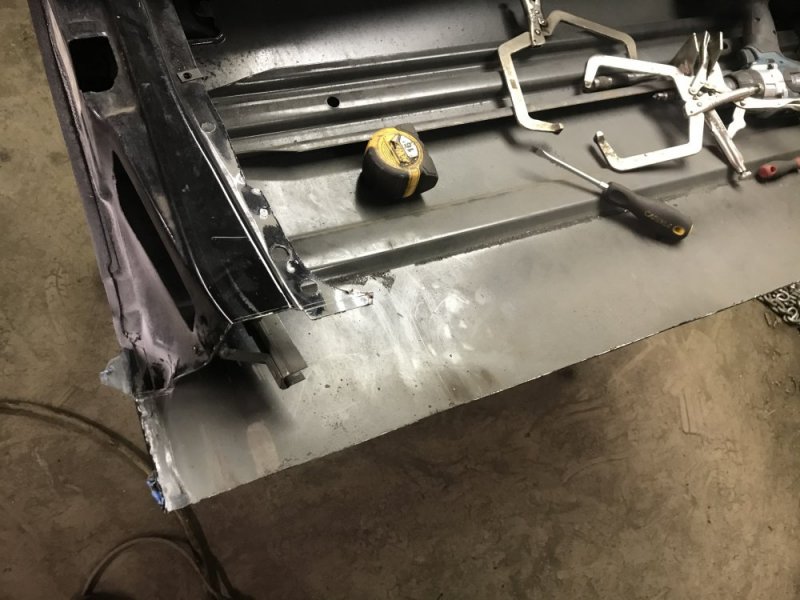
I laid the patch in place and got a bit of the welding done. The hinge side is all welded, not pretty, but it’s together.

C5F9E227-93E2-42BB-8E3F-94156E027E1E.jpeg

The other side is just tacked together. That side is going to take a lot more massaging to get it to line up. Of course, the side that will be the most visible is the one that’s going to be the toughest. Oh well, just gotta be like Joe Dirt and keep on keepin’ on.

8D6E4D80-8214-4F5B-93E9-D04B8404981C.jpeg
 
Remember, Nate, it doesn't have to be all be perfect, a good portion of those patch welds will be hidden behind the door panel. Unless you're so Type A Anal-Retentive that just knowing that spot welds lurk behind your door panel will keep you up at night and a year from now you're popping off the door panel and finishing the bead, DAing, priming and painting your farm beater. o_O :smuggrin:
 
What I have learned so far about you fixin trucks n stuff. If you think it might work, you will make it work at an excellent level. In fact, I’m starting to think you have to show us a mistake somewhere that turned out bad so we know your not just tricking us all the time! Haha. Chef Ramsey, Martha Stewart, and Nate...
 
Remember, Nate, it doesn't have to be all be perfect, a good portion of those patch welds will be hidden behind the door panel. Unless you're so Type A Anal-Retentive that just knowing that spot welds lurk behind your door panel will keep you up at night and a year from now you're popping off the door panel and finishing the bead, DAing, priming and painting your farm beater. o_O :smuggrin:

Ha! I think I'll be fine with however it turns out. This is my first time attempting a door repair, so I can allow myself a little fudge factor because of that. When the truck gets taken apart in the future to do frame stuff, I can always choose to do a whole new door at that time because I'll likely be doing bodywork and paint as well. One thing that does disappoint me is how thin the inner door skin is and the patch as well....it doesn't give me a lot of wiggle room for getting the seam right - sure can't grind much material off.

What I have learned so far about you fixin trucks n stuff. If you think it might work, you will make it work at an excellent level. In fact, I’m starting to think you have to show us a mistake somewhere that turned out bad so we know your not just tricking us all the time! Haha. Chef Ramsey, Martha Stewart, and Nate...

Wow!! You're too kind. I feel like I've shown plenty of my screw-ups, but that's ok, I don't mind showing some failures now and then as long as I push through them and end up successful. I'm here to learn and failure unfortunately is one of the best ways to learn. This forum pushes me to try to do things better, so it's really you guys that are to blame.

Now, about that skid steer. . . . :hilarious: :hilarious::hilarious::hilarious::hilarious:
:facepalm::facepalm::facepalm::facepalm::facepalm:
 
And 2,000 years from now archeologists will unearth it buried under the rubble of what used to be the corner of the shed and ponder, "Hmmm, wonder what prevented the completion of this finely crafted contraption?" :joyful:
 
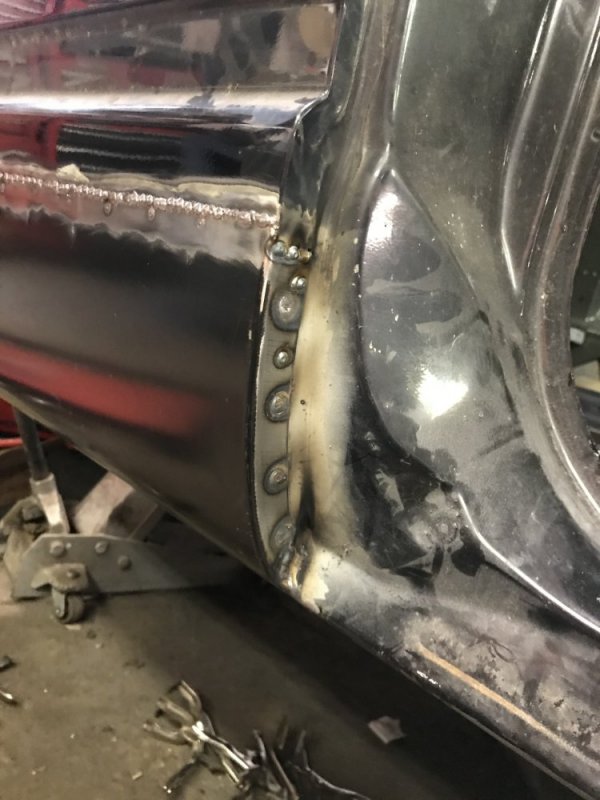
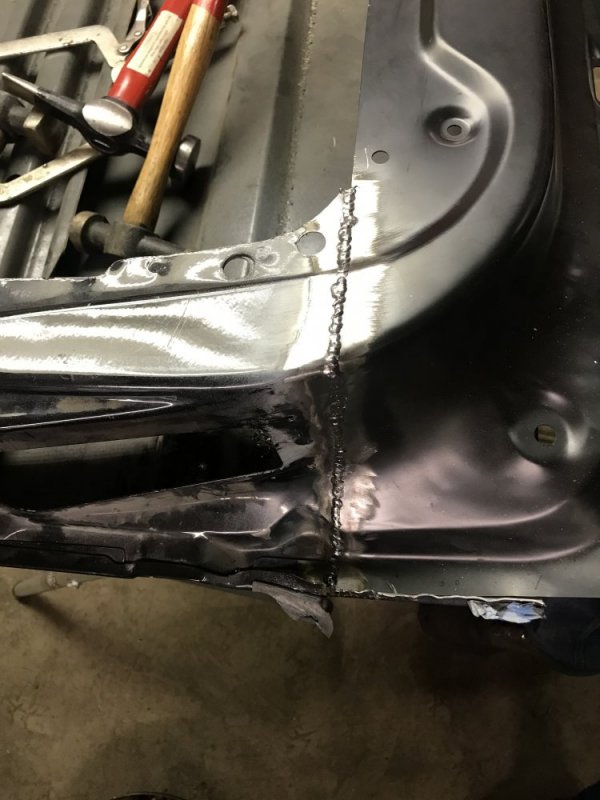
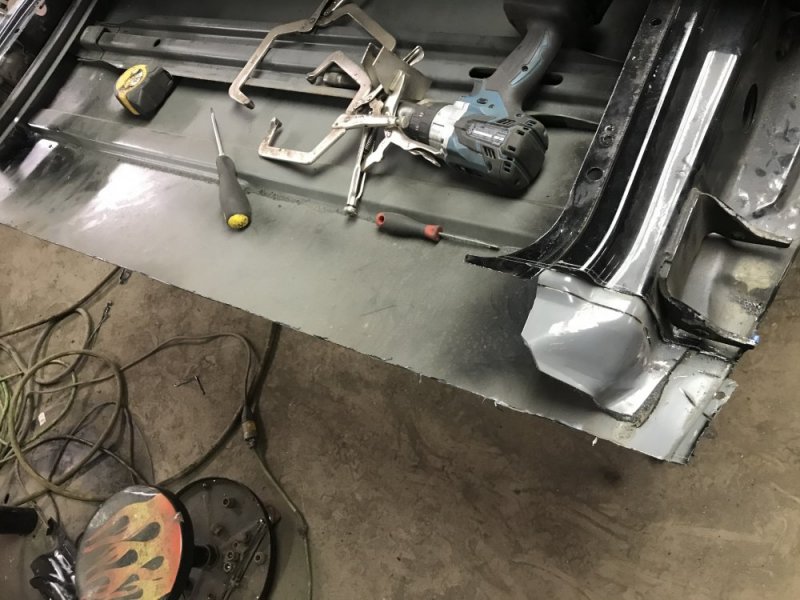
I got the other side of the inner panel welded up tonight. It actually didn’t take as much massaging as I thought so that was nice.

264D4D12-0047-4948-952B-3F1F1E9117A4.jpeg

Then I got the grinders out. The latch side turned out pretty nice.

7349309C-8FA5-4AA3-B5F6-A415A03FDD62.jpeg1564DE24-6656-484C-A7B2-87A11C099121.jpeg

The hinge side isn’t as nice, but it won’t be seen so that’s fine. It’s good enough for who it’s for 😅

B0BED104-7AA1-47FE-937E-79D35A08932C.jpegC17666B5-383B-4F6E-B9C9-9A3504B1288C.jpeg


On to the skin tomorrow night.
 
Back
Top