• Welcome to The Truck Stop! We see you haven't REGISTERED yet.

    Your truck knowledge is missing!
    • Registration is FREE , all we need is your birthday and email. (We don't share ANY data with ANYONE)
    • We have tons of knowledge here for your diesel truck!
    • Post your own topics and reply to existing threads to help others out!
    • NO ADS! The site is fully functional and ad free!
    CLICK HERE TO REGISTER!

    Problems registering? Click here to contact us!

    Already registered, but need a PASSWORD RESET? CLICK HERE TO RESET YOUR PASSWORD!

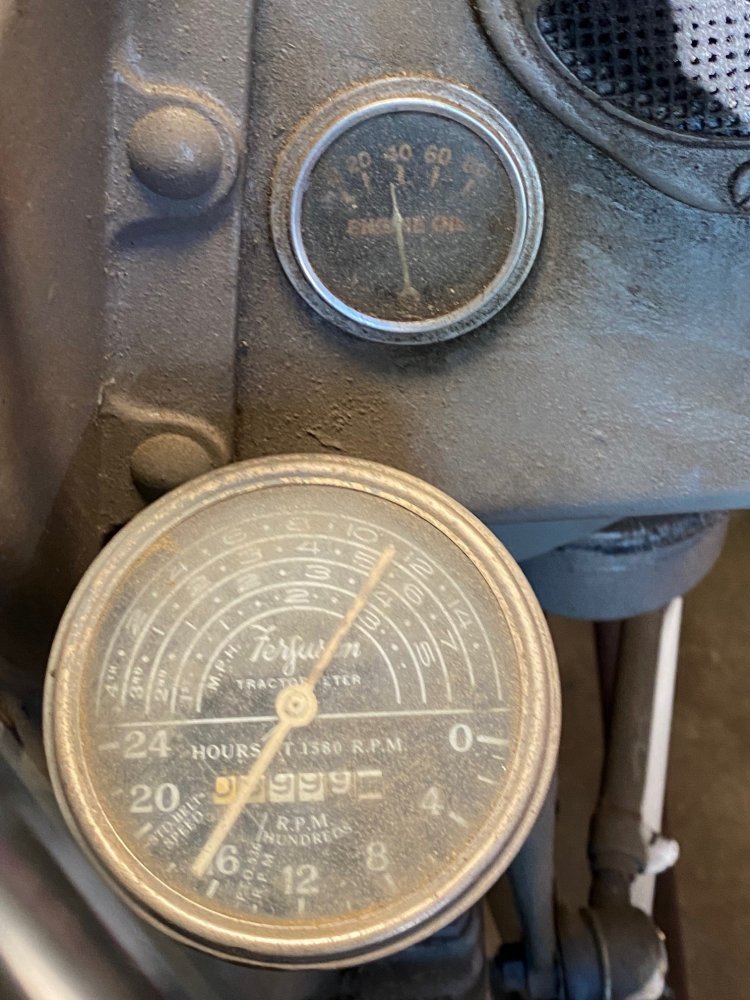
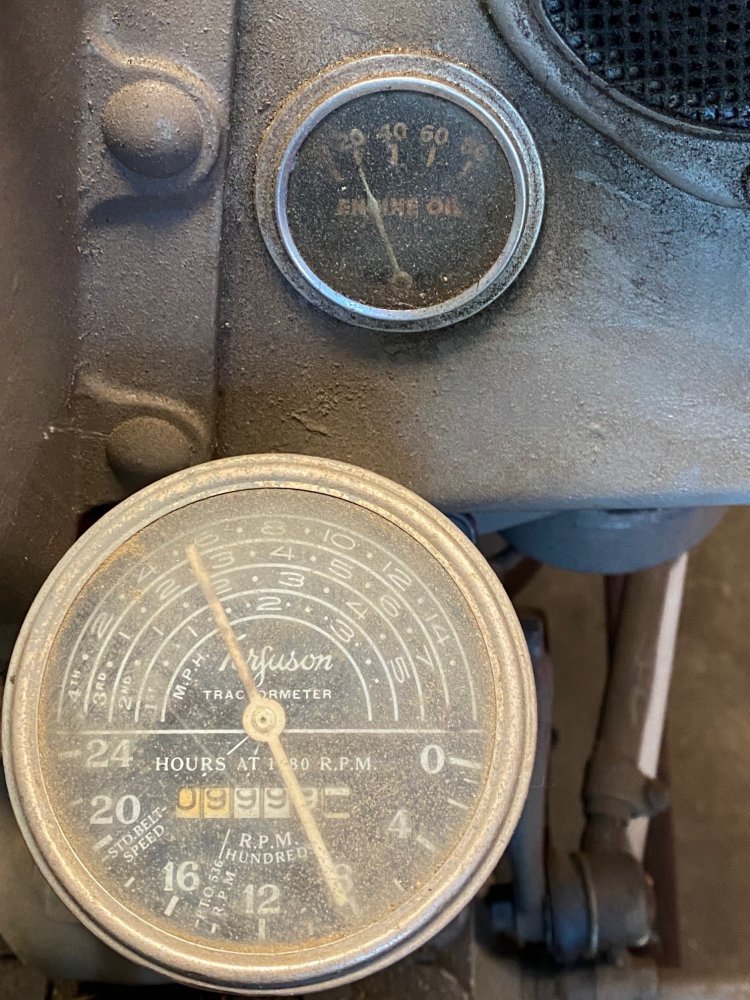
1952 Ferguson TO30

This year I’ve been struggling with keeping the Turd Ferguson running right. I was using it to pull a rolling chassis out and ran out of gas. The only gas I had was the 6 month old gas I drained out of the Envoy, but hey, it’s just an old tractor so it’ll burn it. I put that old gas in it and it was running like crap. Huh. So I topped it off with some fresh gas and it was better....but then as I was pushing the chassis onto a trailer it started running like crap again....so bad that it even started backfiring super loud out of the exhaust. Dammit! So I figured the carb was dirty. I ordered a carb kit and rebuilt the carb. It didn’t look bad, especially since it was just a couple years since the last rebuild, but I figured there must have been some small junk I couldn’t see in the jets or passages. I put it back together and it was running the same. Dammit!! So I thought maybe it was the condenser. I took it off and checked the capacitance. It checked good. Huh. I changed the Autolite 386 plugs out and put some D21 Champions in after reading some other peoples’ experiences. It ran good for a little while and then started acting up again. After letting it sit for a while this summer I went back to try to get it running right. After thinking about it I decided it must have been the coil going bad. So I bought a new one from Napa. I put that coil in as well as a new set of D21 plugs and it was running great. Yes!! I used it a few times and it was running pretty well. Then one day it started acting up again. Dammit!! So I guess maybe it’s the wires? The #4 plug kept fouling so I figured that wire was worse than the others, but maybe they all are going bad. So I got a new set of Belken wires from Napa and another set of D21s. Fired it up and it was running the best it ever had, but in less than 5 minutes it was acting up again. Dammit!! Ok, so now I think it’s the condenser - it’s ok when it’s cold, but as it warms up it must be failing (this was my same theory with the coil, too). But I didn’t want to install a new set of points and condenser just to have them fail again eventually so I decided to put one of the electronic ignition kits from Pertronix in it. They make one for my 6V positive ground system. I put that in a couple weeks ago and so far all is well. It starts up quickly, runs well cold and hasn’t acted up once. This was the last thing I could change so it better have fixed it! Oh and it has been smoking from burning oil for a while, but now with the electonic ignition it has very little smoke, so it must be getting a hot spark and burning the oil better. Today I used it to plow the driveway for 50 minutes and it worked great the whole time. I’m very happy now, it sucked this summer not knowing what it was going to do from one day to the next and it made me realize how handy a tool the tractor is. So far I give the Pertronix electronic ignition 2 thumbs up.


I was told this is a must for my 69 IH. So eventually I will do it but agreed with above, these setups seem like substantial money for something that's been out for so long and not really that complicated. My dad has converted all of his old cars.
 
I was told this is a must for my 69 IH. So eventually I will do it but agreed with above, these setups seem like substantial money for something that's been out for so long and not really that complicated. My dad has converted all of his old cars.
I agree, they are a lot of money, but they seem to be the only game in town for doing the conversion.....well I guess I should say at least for 6V, positive ground. Last year I was searching for electronic ignition conversions and I did find another company that did it, but they didn't offer it for the 6V, PG. The other company seemed a little more home-spun, but still looked like decent quality.

I don't know that I'd call it a "must".....I mean vehicles have run on points ignition for decades, but if you want to do it once and be done (assuming the conversion part lasts), then it's a pretty good idea.
 
My old Ford2000 however, still runs well on the points system that I installed over 25 years ago. And I run it a good 100+ hours per year. It's 12v negative ground though so it's less prone to problems, even with the ancient Lucas voltage regulator.
 
Once upon a time in Eastern Montana : LOL
The electronic ignition system on the 78 MG-B Roadster failed. No parts available for that distributor. I was very broke, so, it was off to a friends shop.
He gave Me a Delco HEI distributor from a 455 Oldsmobile, or maybe a Cadillac. I needed one with the CC wise rotation of the rotor, when looking down on distributor. the Delco book lists them as a clockwise rotating unit because the look at them from the gear/shaft end.
I did some machining on that big distributor then sawed off the shaft, installed components from a four cylinder HEI distributor and then the drive gear from the MG-B distributor.
Talk about a spark. LOLOLOL
That hot ignition system caused that engine to smoke for a month. LOL Wonders what a good sparking system will do.
 
Time to put the Turd Ferguson to work.....

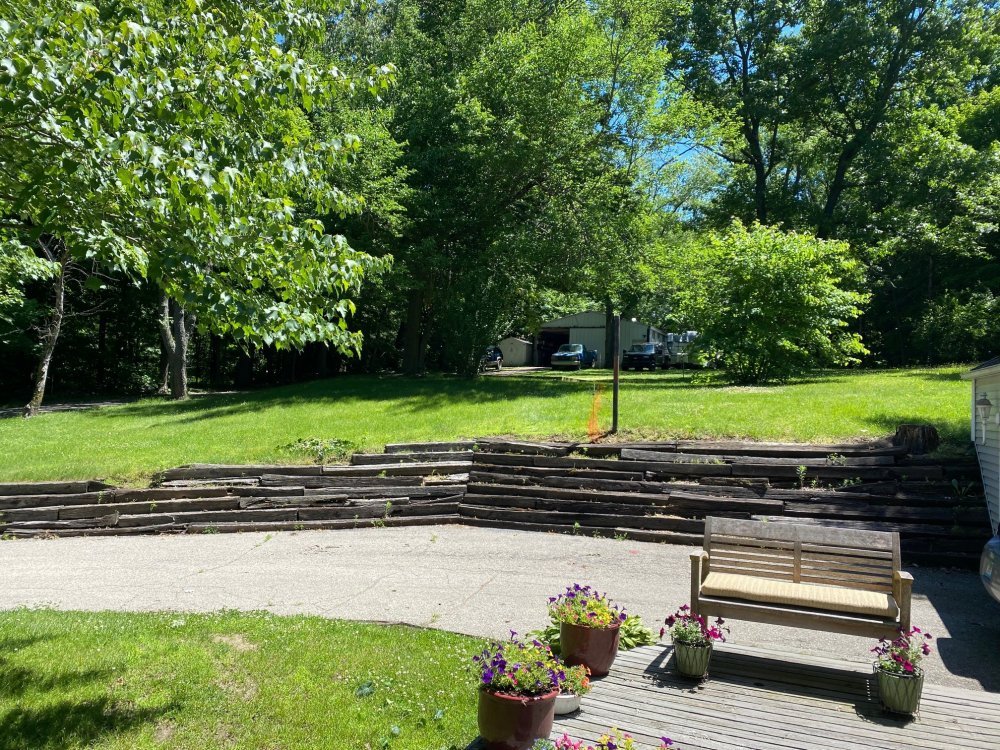
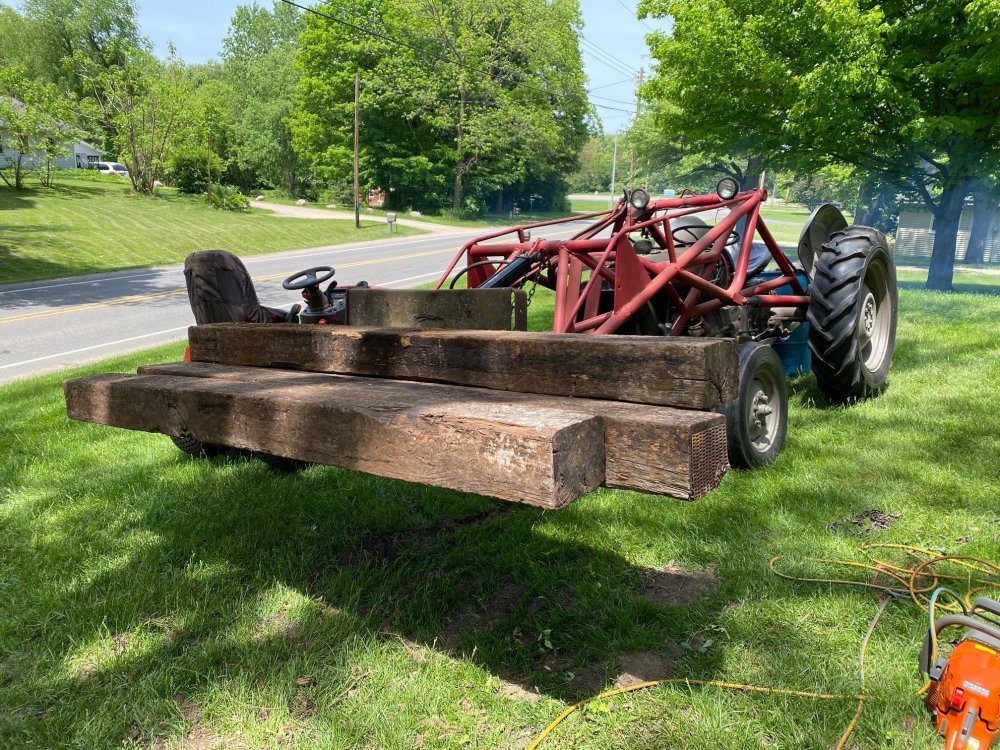
Last month I used the tractor a little to rebuild a small retaining wall that was made out of railroad ties. Unfortunately I forgot to take a "before" picture, but it was bad.......in fact, as I tore into it, it was much worse than I anticipated - most of the ties had turned into dirt and I hauled them away in shards. Once the shards were hauled away, I used the tractor to haul 3 or 4 scoops of dirt away because I was going to be changing the contour of the wall from what it was before. Now it was time to start rebuilding.

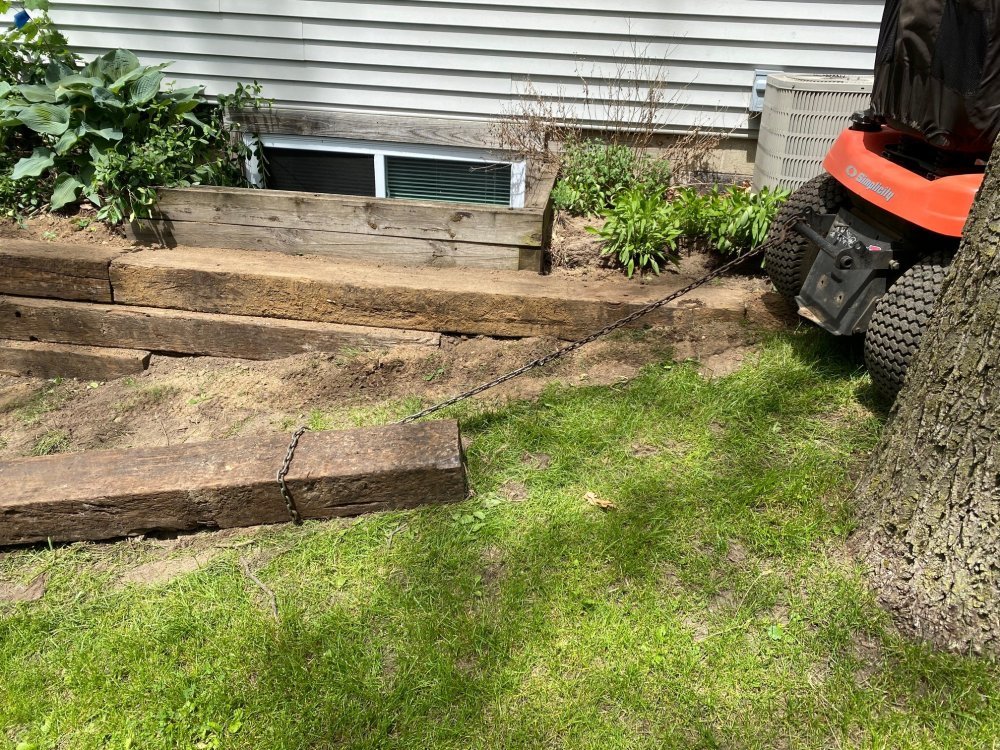
I used the tractor to haul the ties to the retaining wall location.

TO30 RET WALL1.jpg

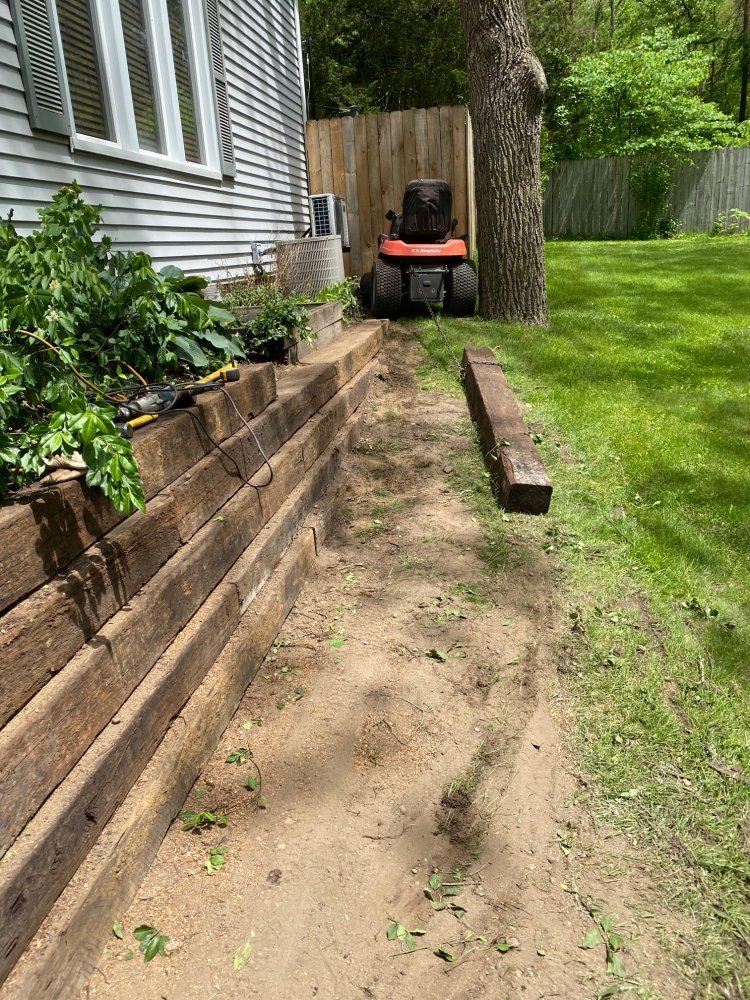
Most of the wall is just a few feet from my neighbor's property line and I didn't figure they'd appreciate me driving all over their lawn, so after dragging a couple ties into place by hand I got smart and decided to use my garden tractor to drag them into position, then I only needed to lift them up into place by hand.

TO30 RET WALL2.jpgTO30 RET WALL3.jpg

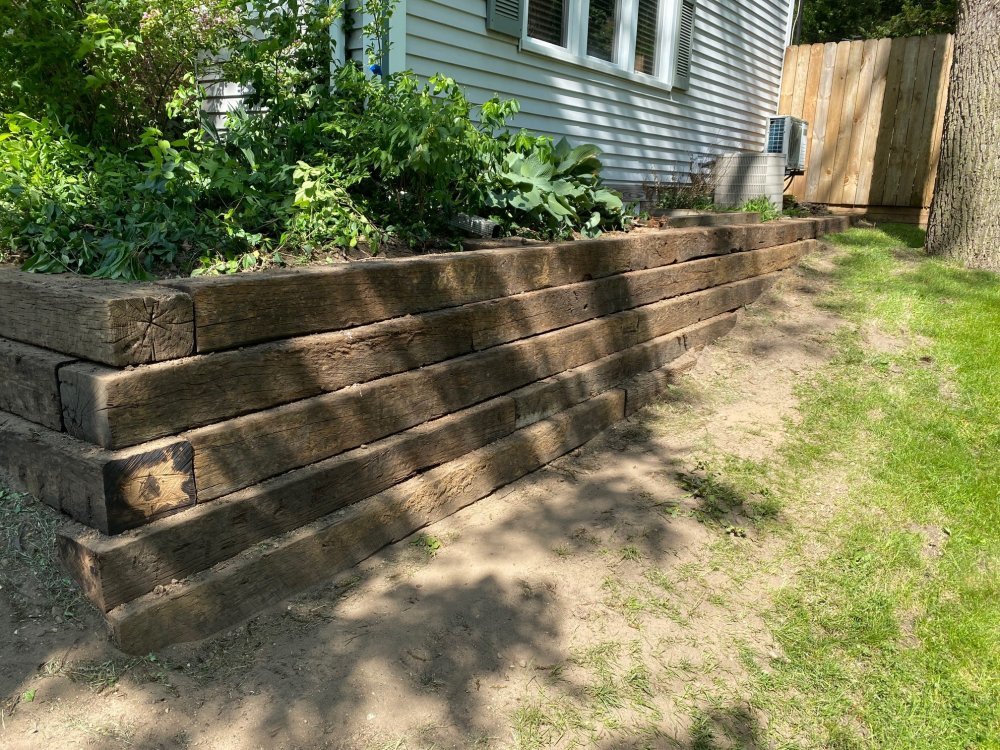
Each time I placed a new tie, I used an 18" long, 1/2" diameter drill bit to drill through it and the tie below it (plus a couple inches into the tie below that), then I used some 1/2" steel round bar drops that I purchased from the local metal supply place (Alro) and drove them into the hole I drilled with the sledge - basically creating giant nails (so how many "pennies" is a 1/2" x 24" nail???). This fastening method worked really well I later found out because as I was working in one section I noticed the end of my wall was running downhill a little relative to the window well there, which I didn't like......so I grabbed the hi-lift jack and jacked the end up.......well when I did that, the whole wall lifted! That was with 3 tiers in place. I was happy it worked so well.

It took me two days and was happy with the results. After this picture I tackled some of the neglected vegetation and planted grass seed in the bare spots.

TO30 RET WALL4.jpgTO30 RET WALL5.jpg

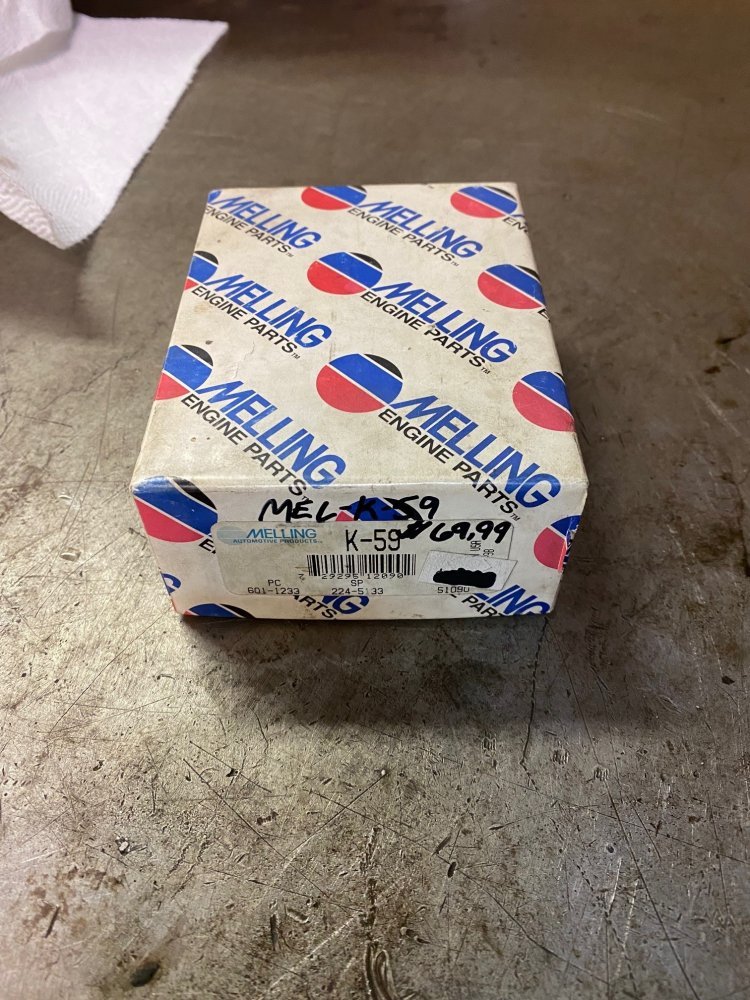
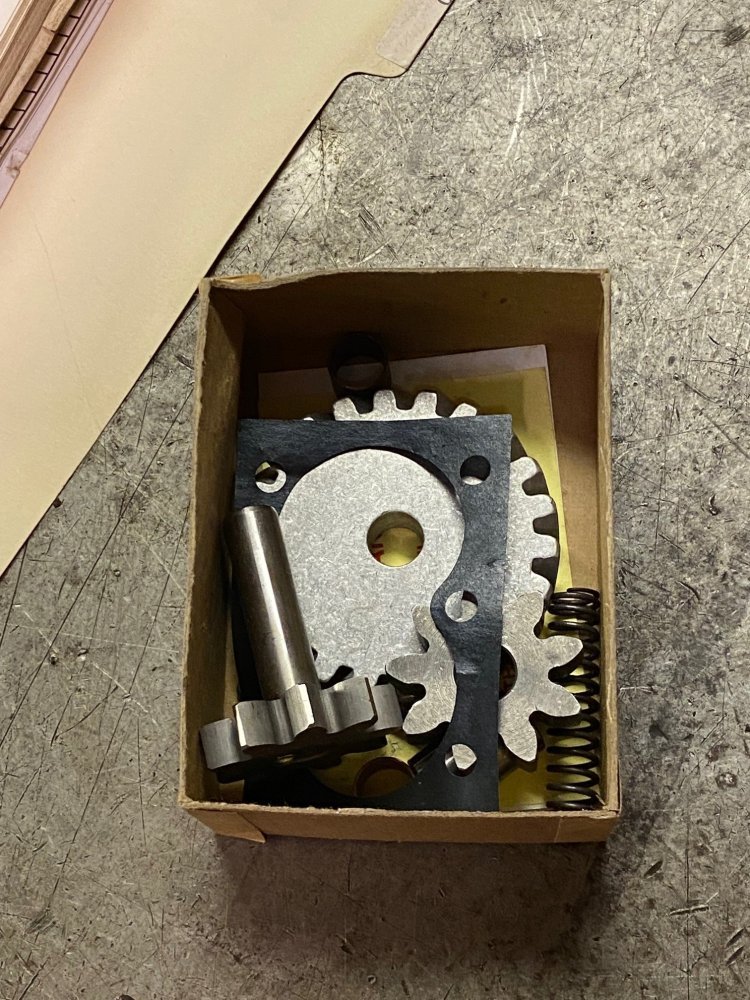
While I was doing this project, I was disappointed with how much smoke the tractor was blowing out of the exhaust and was also disappointed with the oil pressure it was running. I had been running an ATF-rich oil concoction before, in an attempt to get the piston rings unstuck, if that was the problem, so naturally the oil pressure hadn't been awesome before, but when I changed the oil and put some 15w40 in it, the pressure wasn't that much better, which was odd. I started looking at rebuild kits and information. To my surprise, this Continental Z129 engine is a wet sleeve engine, so it's pretty easy to do an in-frame rebuild of them. Also, a lot of the kits come standard with larger sleeves and pistons so the 129 cu in engine becomes a 139 cube monster, ha. Not that I really need to be pushing anything harder, but the 10 extra cubes probably couldn't hurt...........but that's a project for another day. Anyway, while I was looking into rebuild info, I found out that it's common for the relief valve in the oil pump to stick open, which then reduces oil pressure. I also found out they have rebuild kits for the pump and it's an easy task. Well I had some more work (a LOT more as you'll see) to do with the tractor so this sounded like a good thing to do before I started that. Rebuild kits varied from $75 to $125, but I found an NOS Melling kit on eBay for $69 or best offer. I offered $60 and they accepted. Here is what the kit looked like.

TO30 KIT1.jpgTO30 KIT2.jpg


Continued......
 
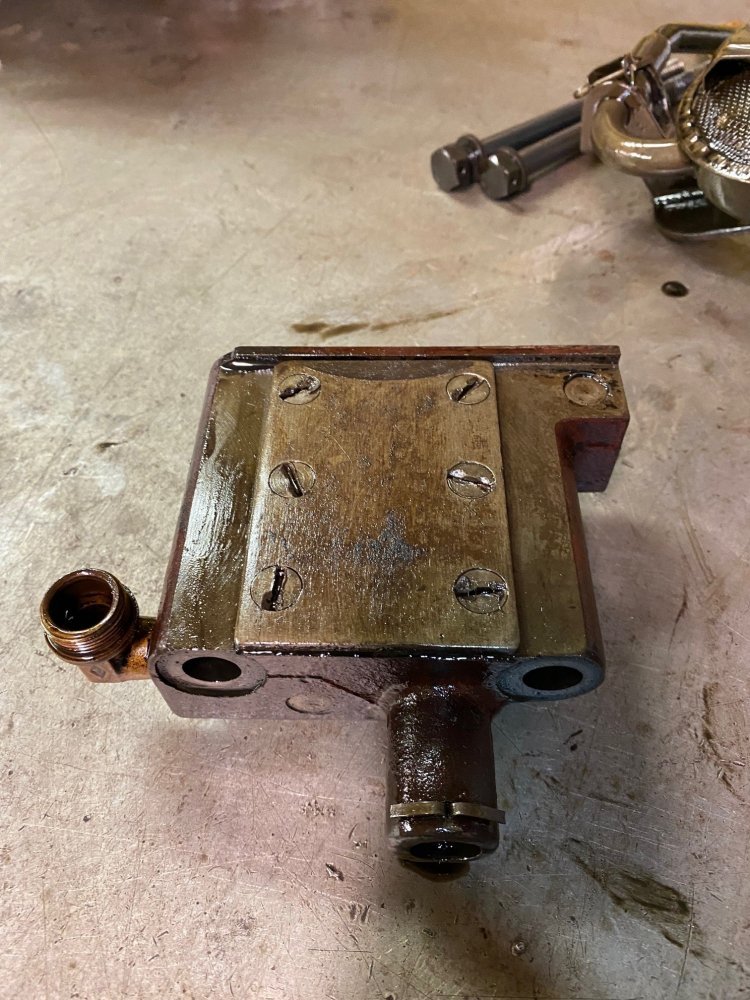
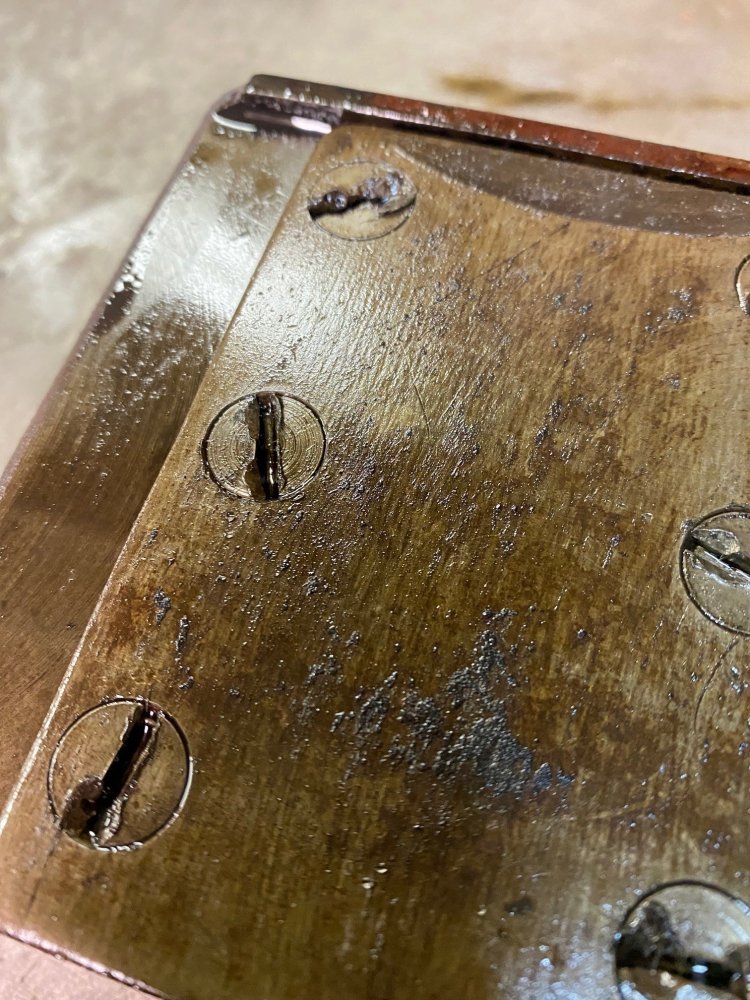
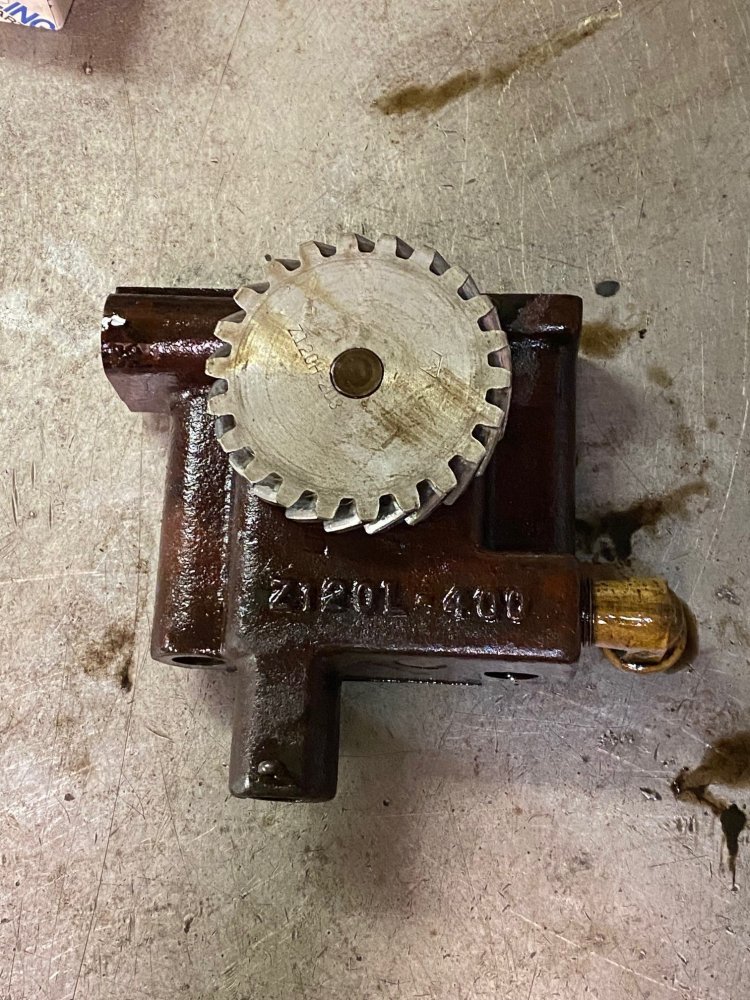
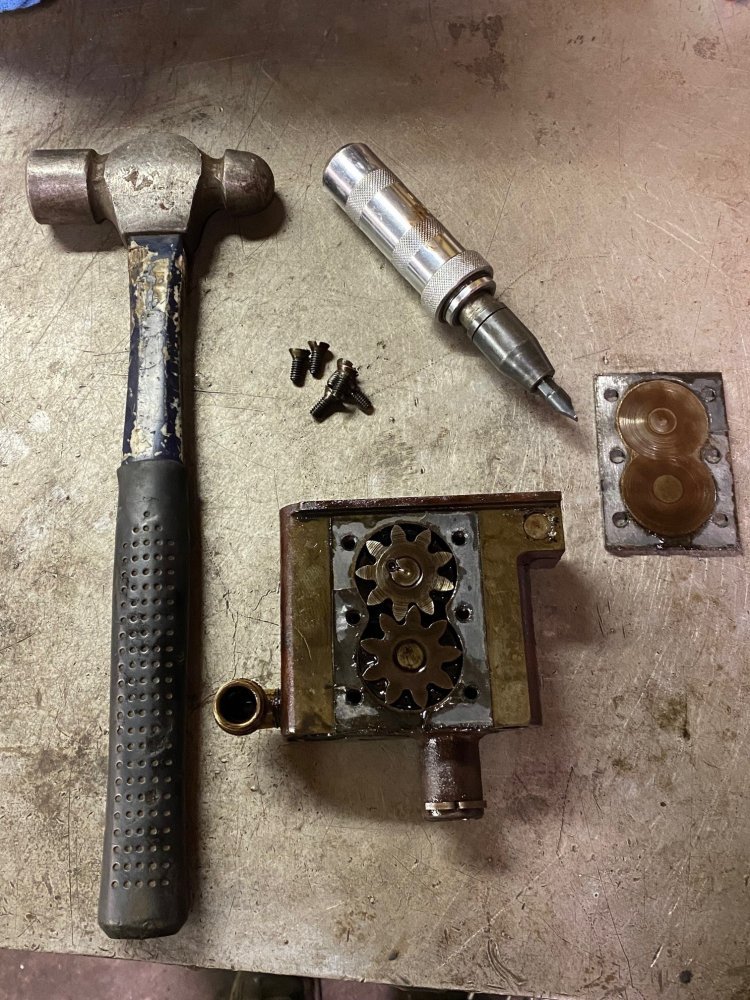
Time to remove the pump. Here it is removed. Some clod-hopper had already been in here and done a number on the screw heads. Luckily I was able to get it apart using the impact driver.

TO30 PUMP1.jpgTO30 PUMP2.jpgTO30 PUMP3.jpgTO30 PUMP4.jpg

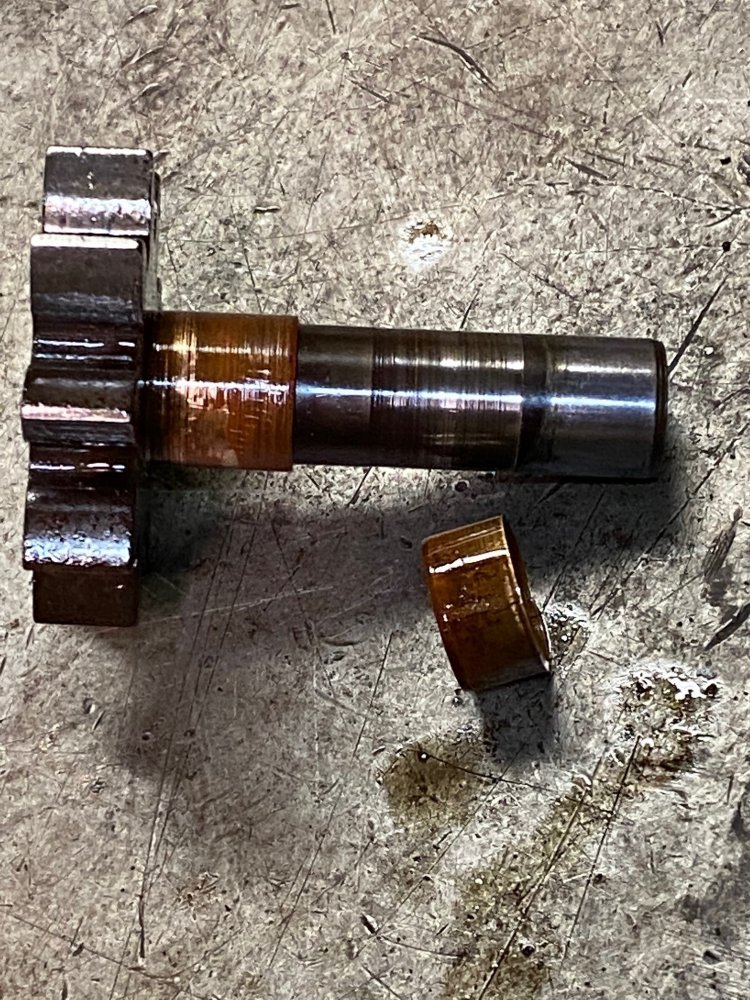
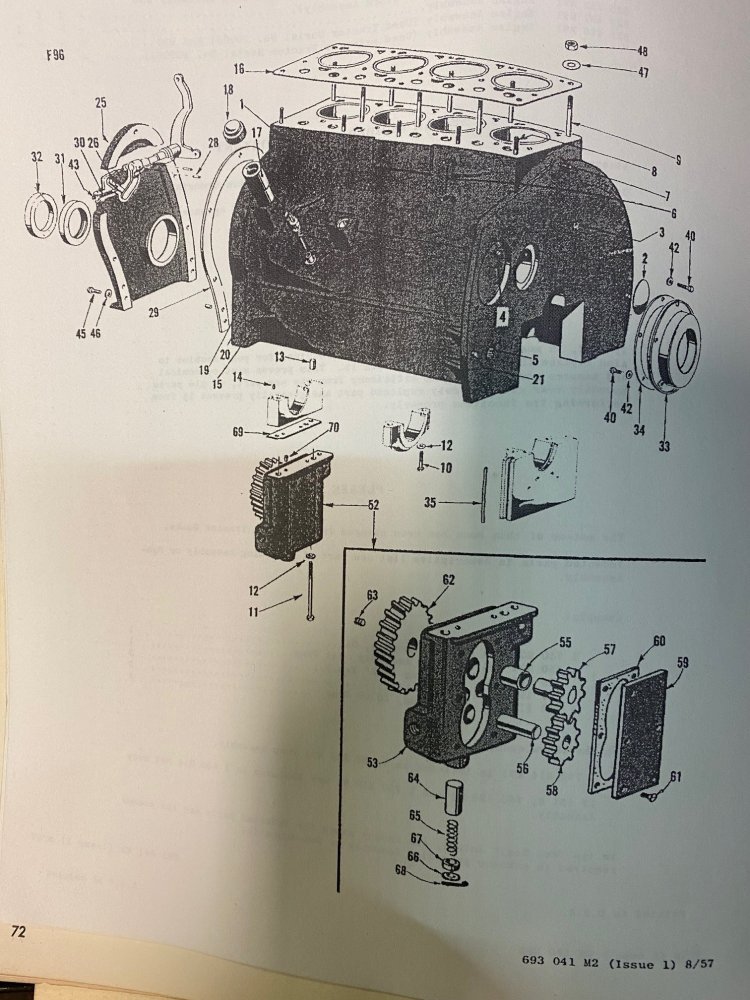
I have the factory service manual, so I measured the gear clearance with feeler gauges per the manual. It was out of spec, so I might as well do the full rebuild and not just the relief valve. I was glad I made that decision. Once I had it apart, I found that the shaft was worn and one of the bushings had been worn to almost half the width of original and the other bushing was seized to the shaft so it had been spinning in the housing......luckily the housing wasn't damaged.

TO30 PUMP5.jpg

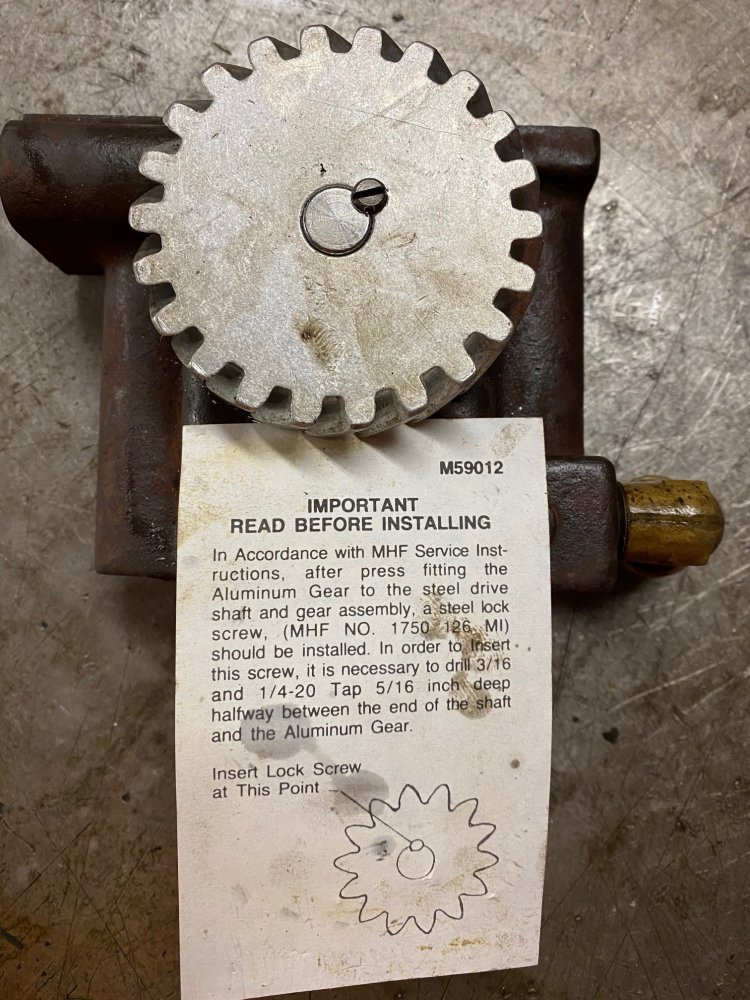
I got the kit installed. The trickiest part was drilling the set screw that locks the aluminum gear to the steel shaft - as you can imagine, the bit naturally wants to wander to the aluminum rather than split the difference with the steel. With some side pressure I managed to keep it in the steel enough so the set screw would do its job.

TO30 PUMP7.jpg

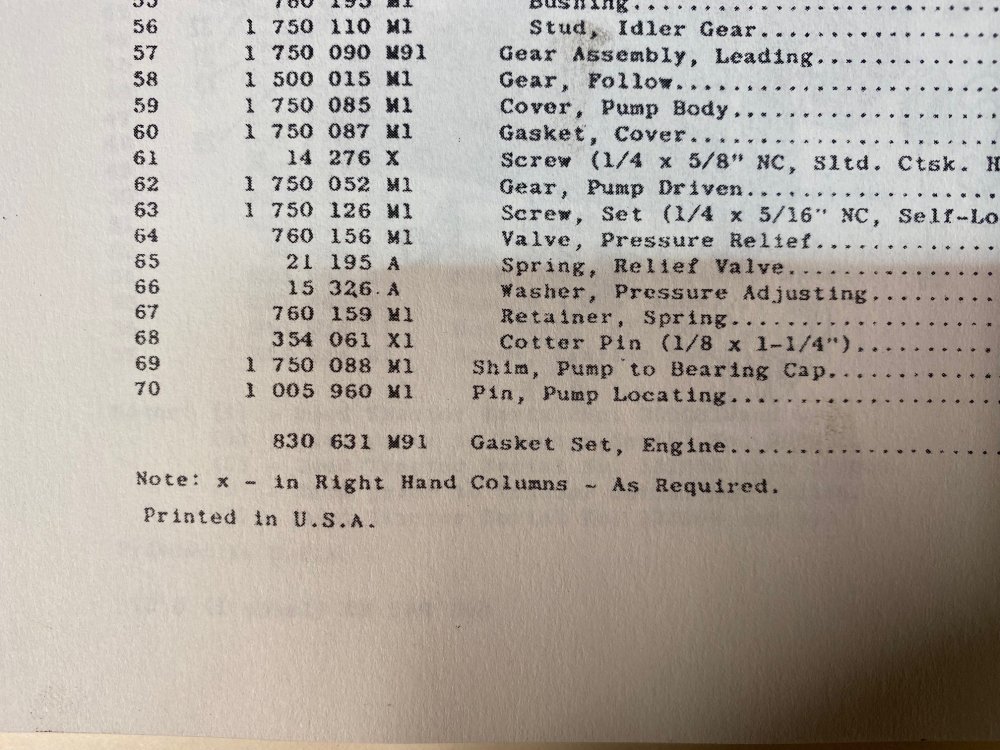
Here's where things went sideways. During oil pump removal, the manual said to make note of the number of shims between the pump and the main bearing cap. Hmmm.....mine didn't have any shims. Ok. So now it was time to reinstall it. The manual said to make sure the aluminum gear and the gear on the crank have between .005" and .010" of backlash and if it's less than .005" to add shims until it's in spec. Of course, I had ZERO backlash. Time to find some shims. Well who knew nobody would stock shims for a 70 year old engine?? But worse than that, even places that carry the oil pump and rebuild kits don't have shims available. This was Wednesday evening and I was really hoping to have the tractor together Friday night at the latest so I could use it for my next project that weekend. I decided to see if there was anyone nearby that specialized in used tractor parts. I found one about an hour away and messaged them. They responded pretty quickly and they found an engine that was already removed that they said they could take apart for the shims Thursday morning and then ship them to me. Cool!! Thursday morning rolled around and they messaged me, telling me they took apart 2 engines and neither had shims. Damn. They figured what I was dealing with was an aftermarket gear that wasn't quite to factory tolerances. Their proposal was to ship me a used, but good oil pump that they had. Deal. They shipped it to me and I had it Friday. After work I inspected the relief valve of the pump - it wasn't stuck, but it did have some wear, so I removed the new relief valve from the other pump and installed it in this one. I also dug the original aluminum gear from the other pump out of the scrap pile so if I had to I could install that on my rebuilt pump. I installed the new/used pump and my oil pressure was much better! It was over twice what it was before. It isn't amazing pressure, but it's better than the 10psi/1000rpm rule, so it'll do. Here's the pressure at 800rpm and 1700rpm (I forgot to take "before" pics of the pressure).

TO30 PUMP8.jpgTO30 PUMP9.jpgTO30 PUMP10.jpgTO30 PUMP11.jpg
 
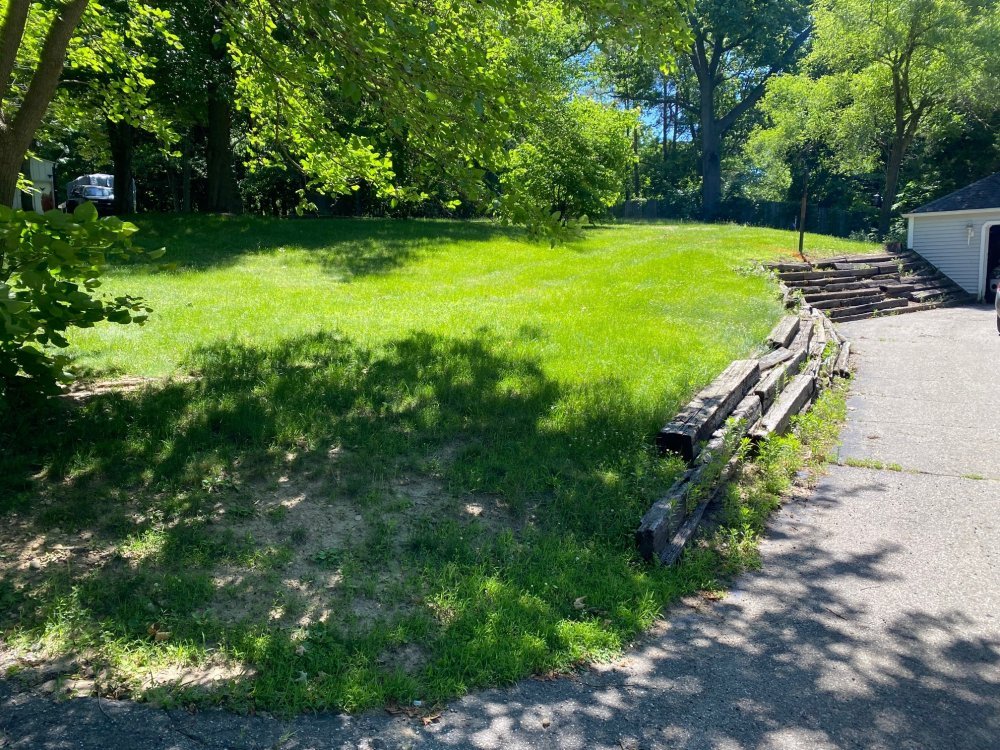
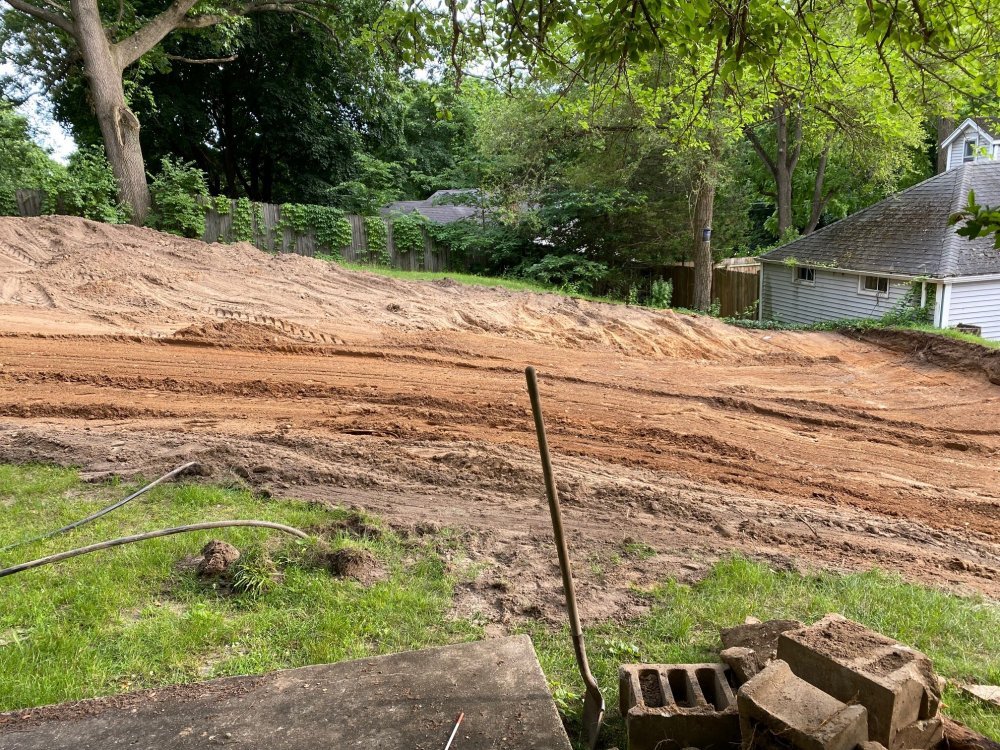
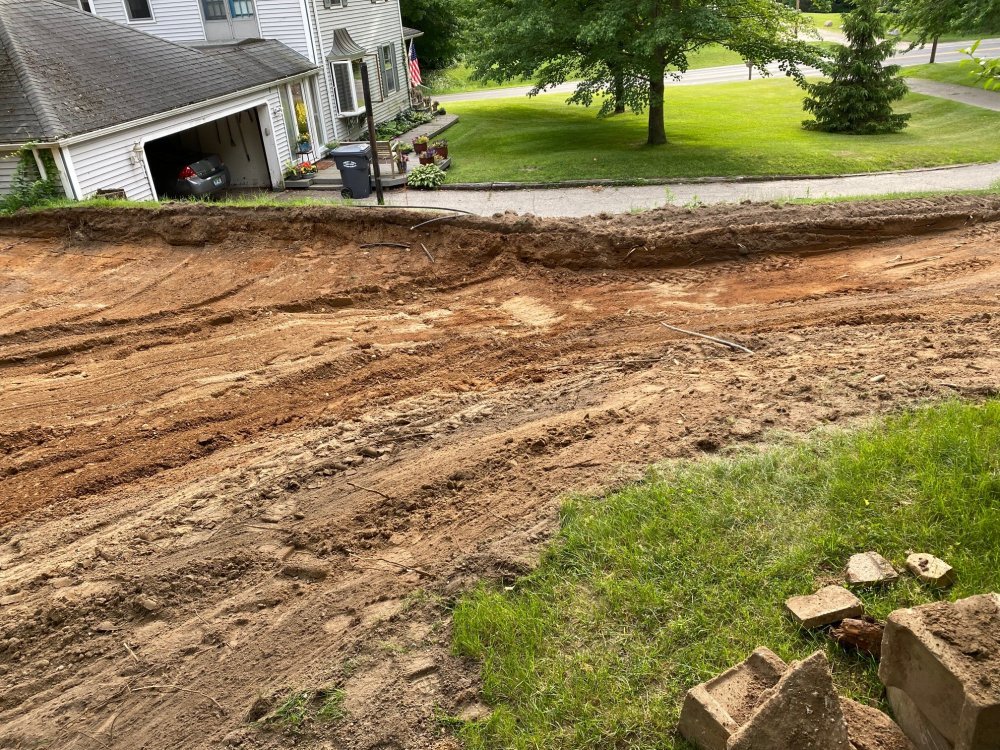
Time to get to work. There's a larger retaining wall next to our driveway that is years overdue for repair. The railroad ties are crumbling and it looks terrible. Time to replace it. I have gone back-and-forth between removing the old ties and replacing with new ties or remove the wall altogether and make the lawn a slope right there. I landed on making it a slope, so lots of dirt to excavate.

TO30 DIRT1.jpgTO30 DIRT2.jpg

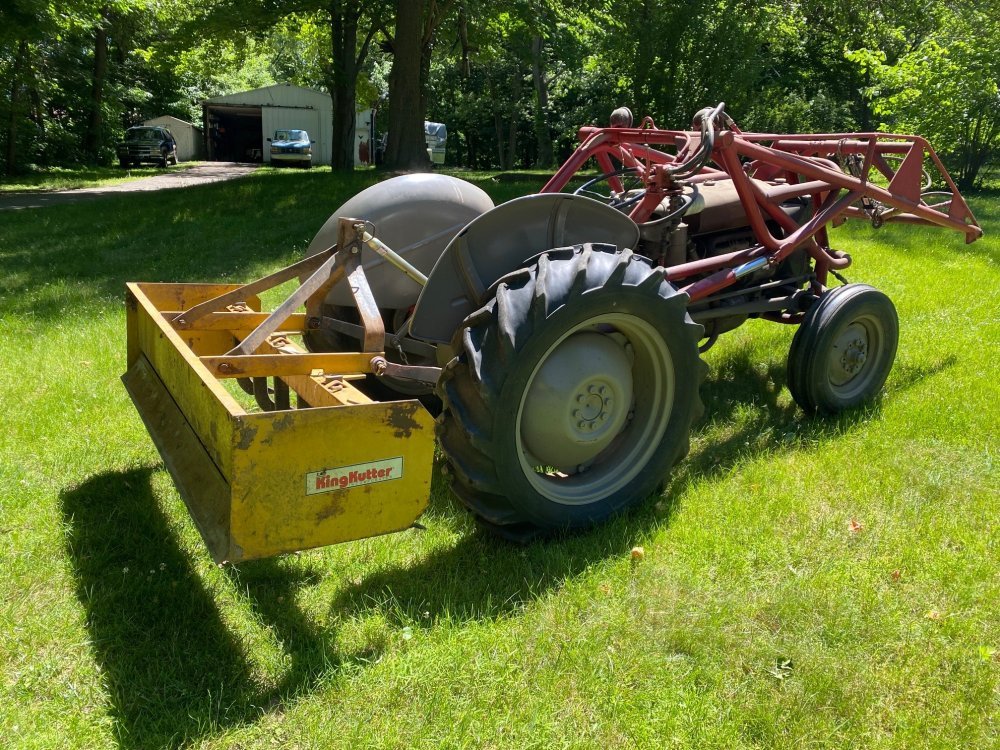
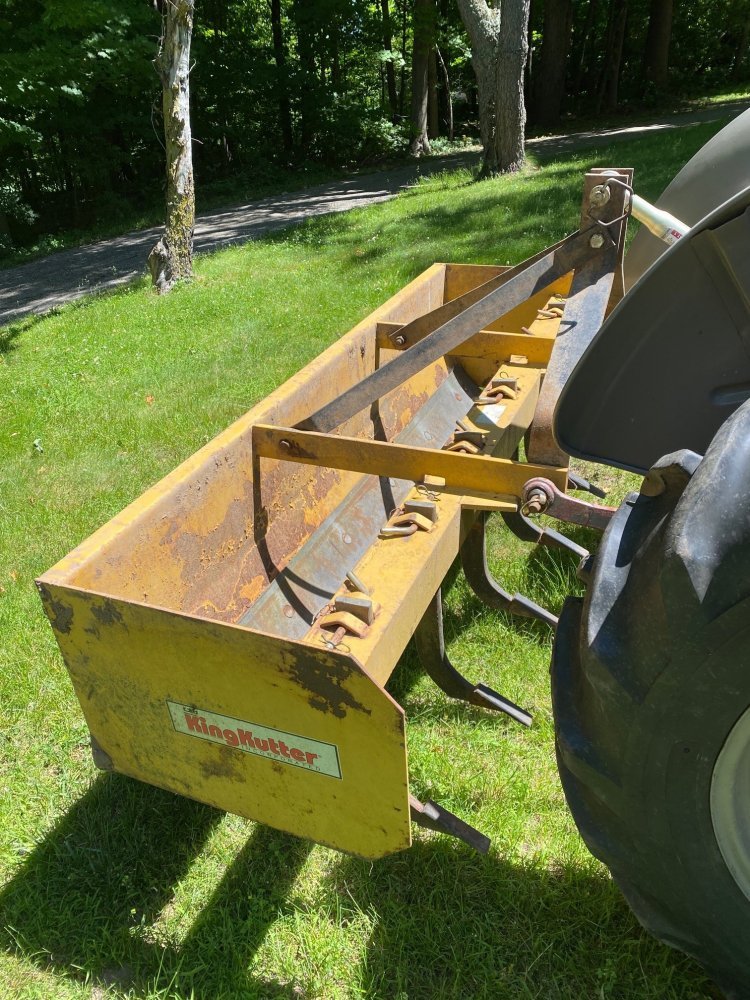
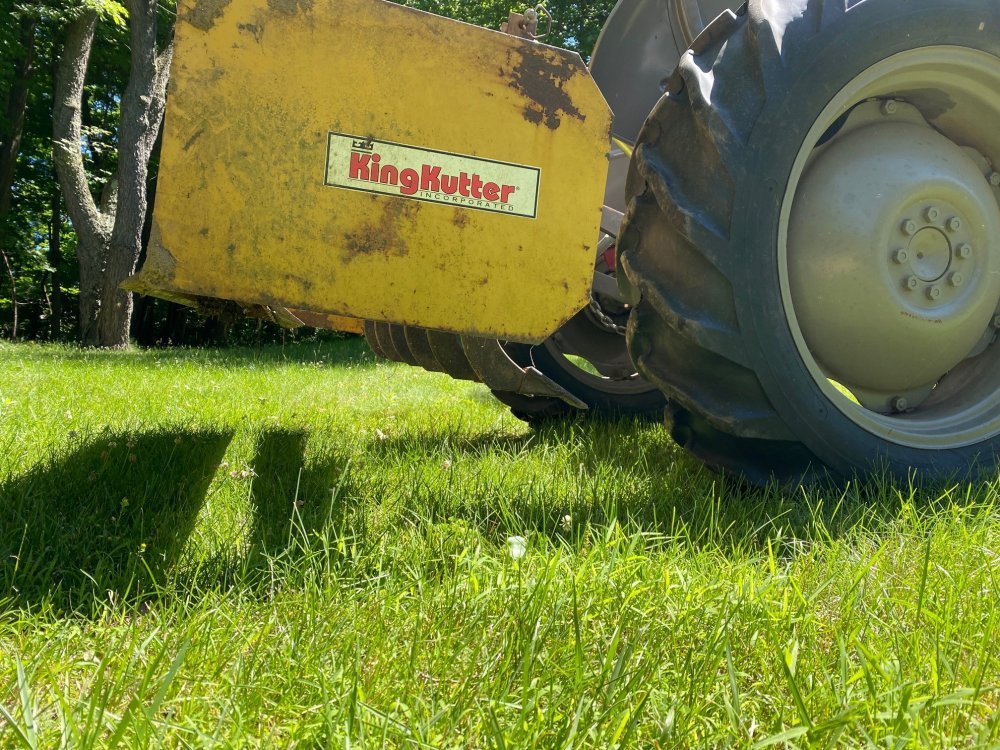
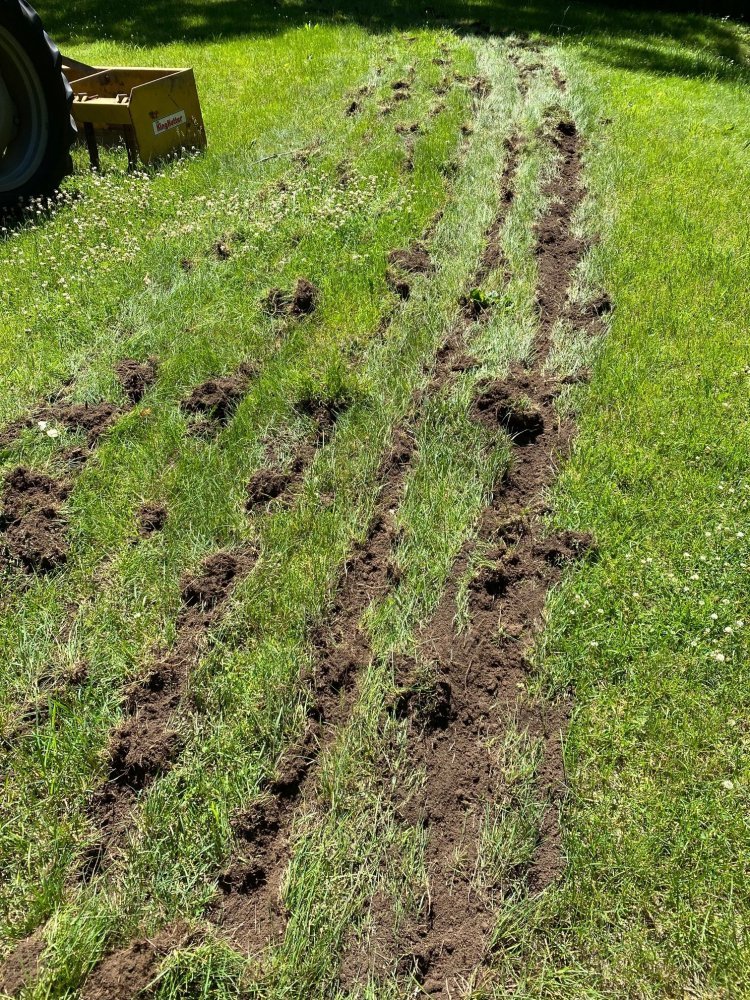
I got a 6' box blade from my dad and installed in on the tractor.

TO30 DIRT3.jpgTO30 DIRT4.jpgTO30 DIRT5.jpg

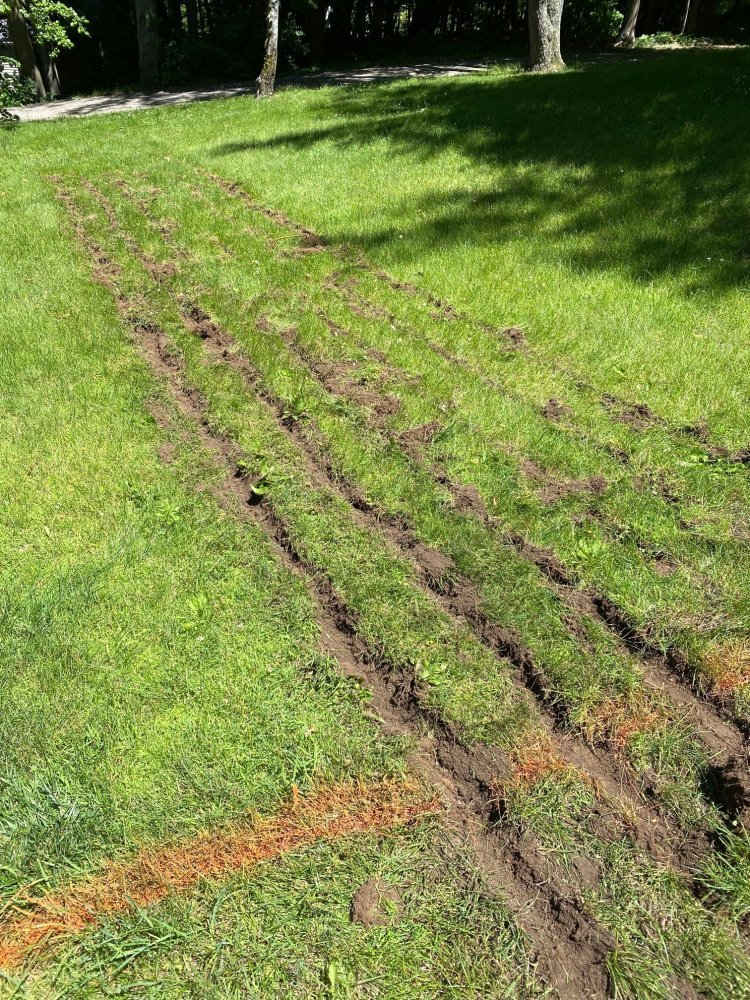
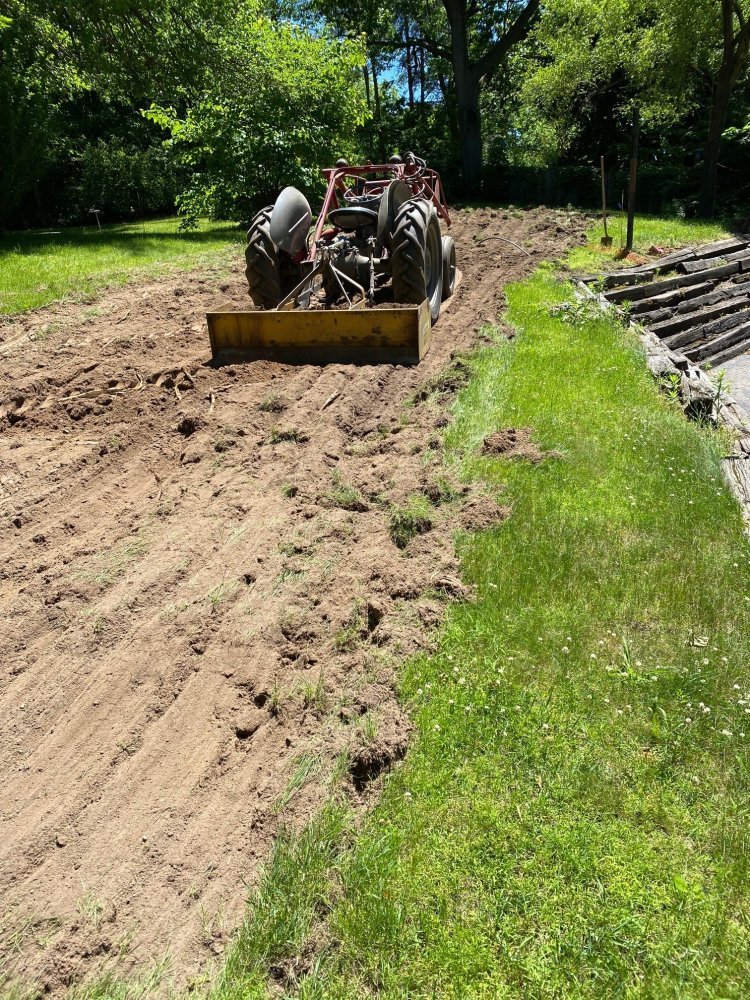
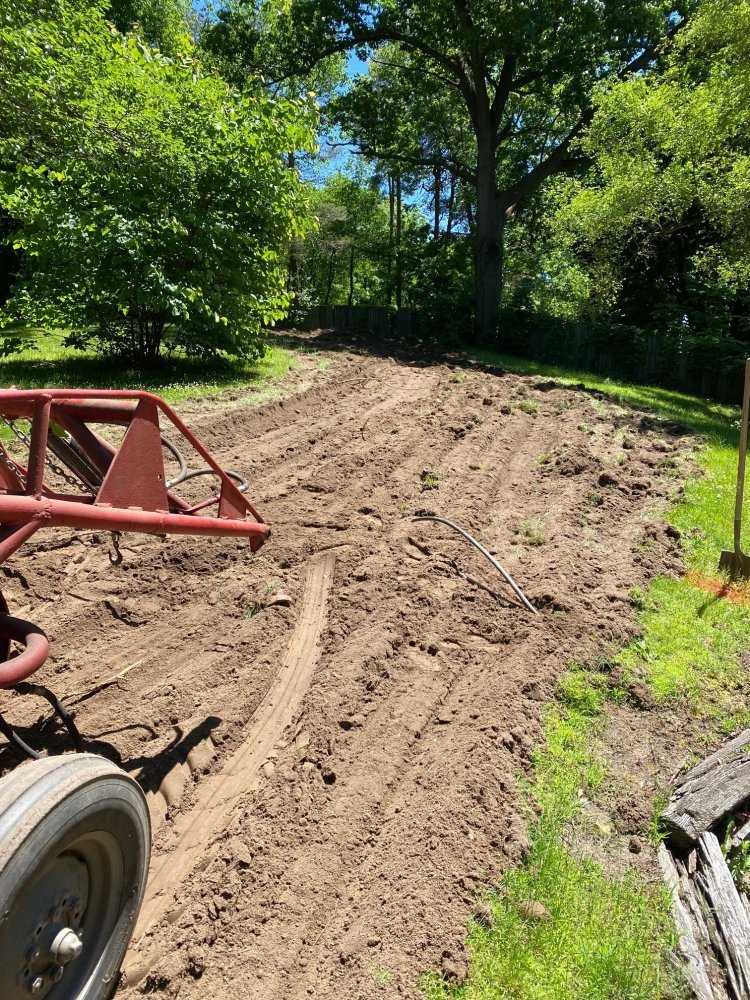
I had never used a 3 point attachment before so it took a little learning, but it was neat to see what was possible with it. Once I got through the sod it really started moving dirt.

TO30 DIRT6.jpgTO30 DIRT7.jpgTO30 DIRT8.jpgTO30 DIRT9.jpg
 
First picture, the tractor setting beside the left side of that tree. If the end of that fence and the edge of that tree is the propitty line, then You are close. Very very close to running out of room.o
 
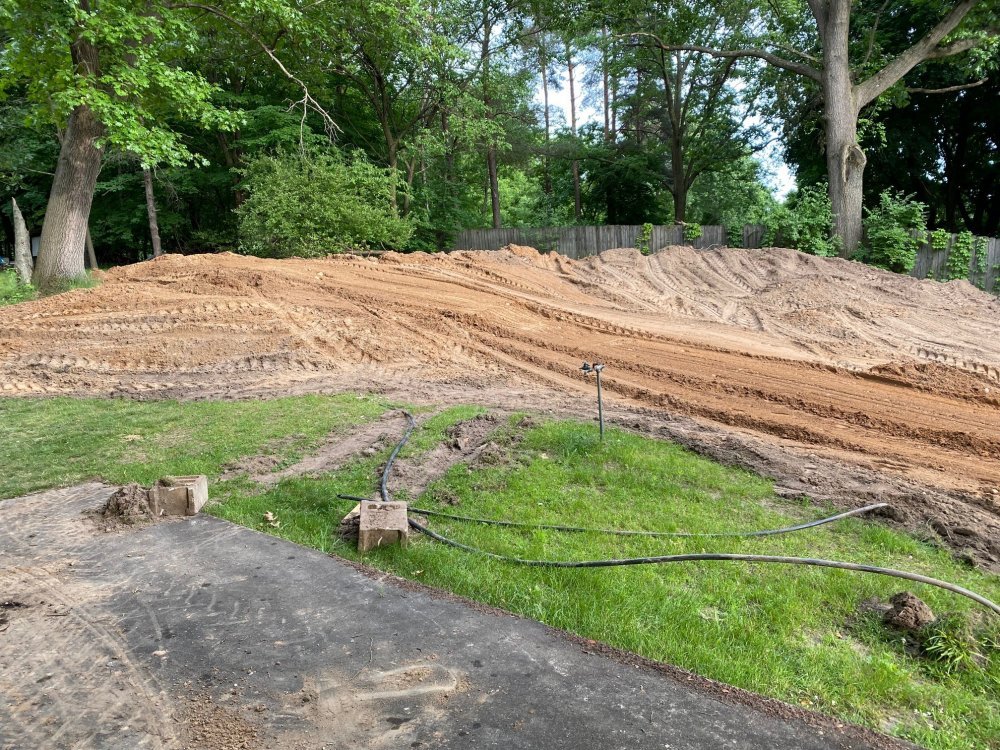
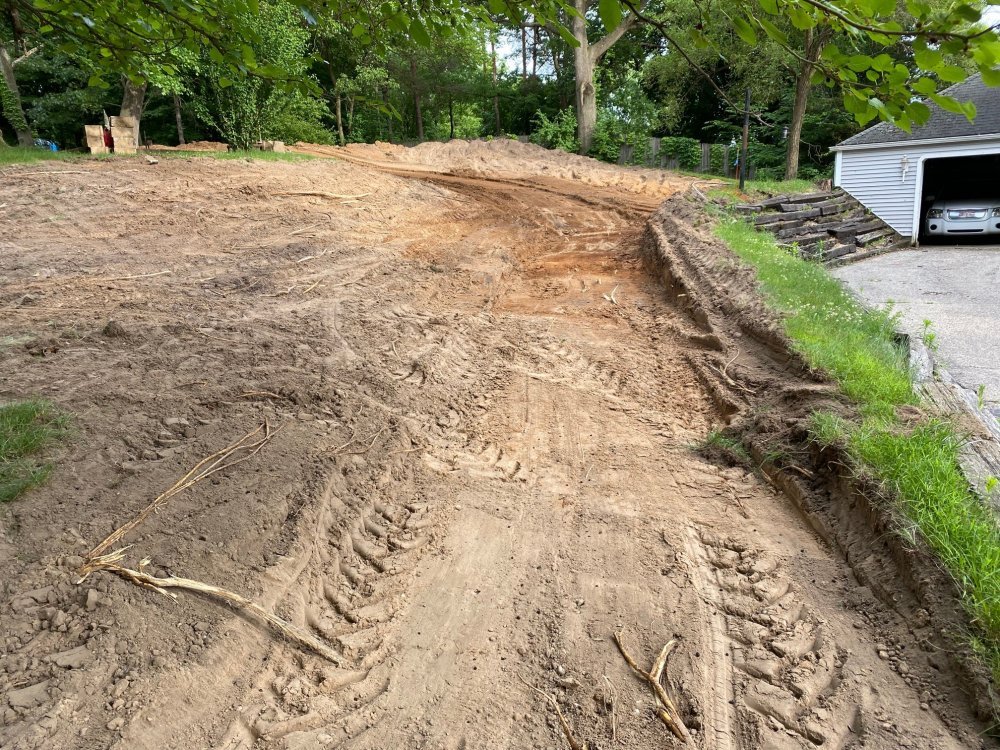
By the end of Sunday, I had made quite a mess in our yard. Pictures don't do it justice. I've ended up moving WAY more dirt than I expected, partially due to the size of this machine - if it was larger and more capable, I could drag dirt up steeper slopes, but this machine is weight, traction and power limited, so I have to do things to accommodate its capabilities.

TO30 MOON1.jpgTO30 MOON2.jpgTO30 MOON3.jpgTO30 MOON4.jpg

I have a looooong way to go. I worked a couple hours last night and moved a good amount of dirt, but I took tonight off because it's hot out and my neck needed a break.
 
As handy as you are Nate I'm surprised you didn't make the shims. Those retaining walls out of railroad ties take alot of work. Did you have to sharpen your drill bit often. Looks good good
 
As handy as you are Nate I'm surprised you didn't make the shims. Those retaining walls out of railroad ties take alot of work. Did you have to sharpen your drill bit often. Looks good good
I thought about making shims, but I wasn’t sure I’d be able to make the holes in the shims without just tearing the shim stock. Of course now that I’m typing this, it just occurred to me that I could have clamped it between 2 blocks of wood before drilling and that would have kept things from tearing I bet. Oh well.

I was surprised, I didn’t have to sharpen the drill bit once. I also had multiple chain saw chains on deck to do the job, but just one was all it took. I only had to drill 28 holes I think and maybe make 6 cuts so it wasn’t terrible.

Thanks! I’m pleased with the result.
 
Here’s a quick video of it in action. I have to play with the height if the blade a lot to keep from either spinning or bogging. This would be kind of fun if it wasn’t such a huge project.

 
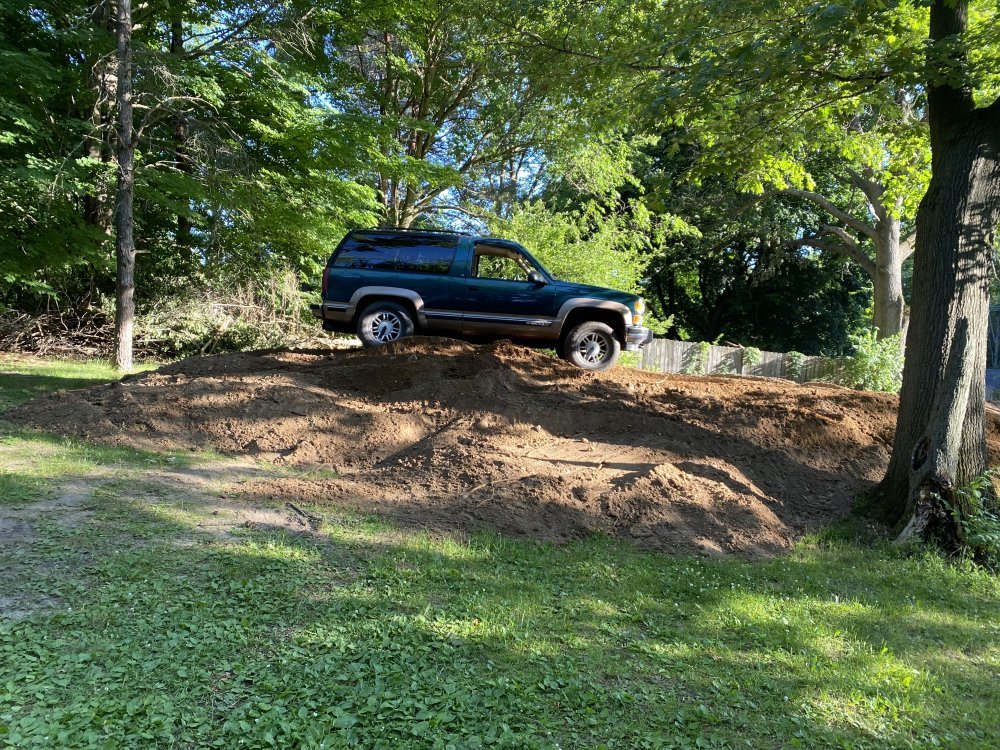
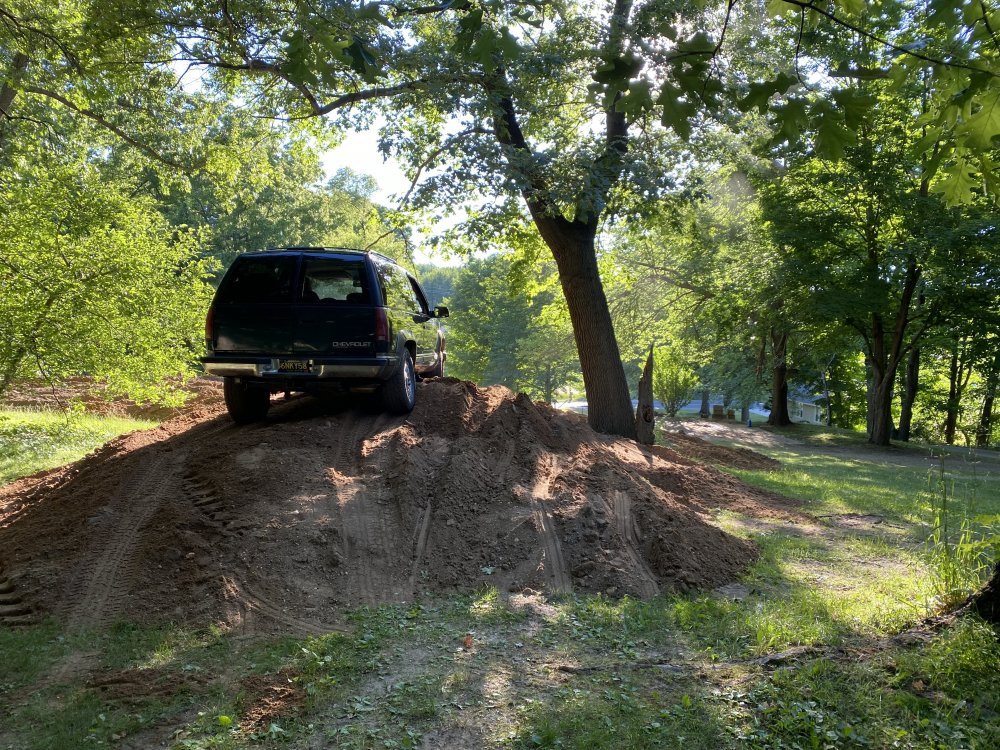
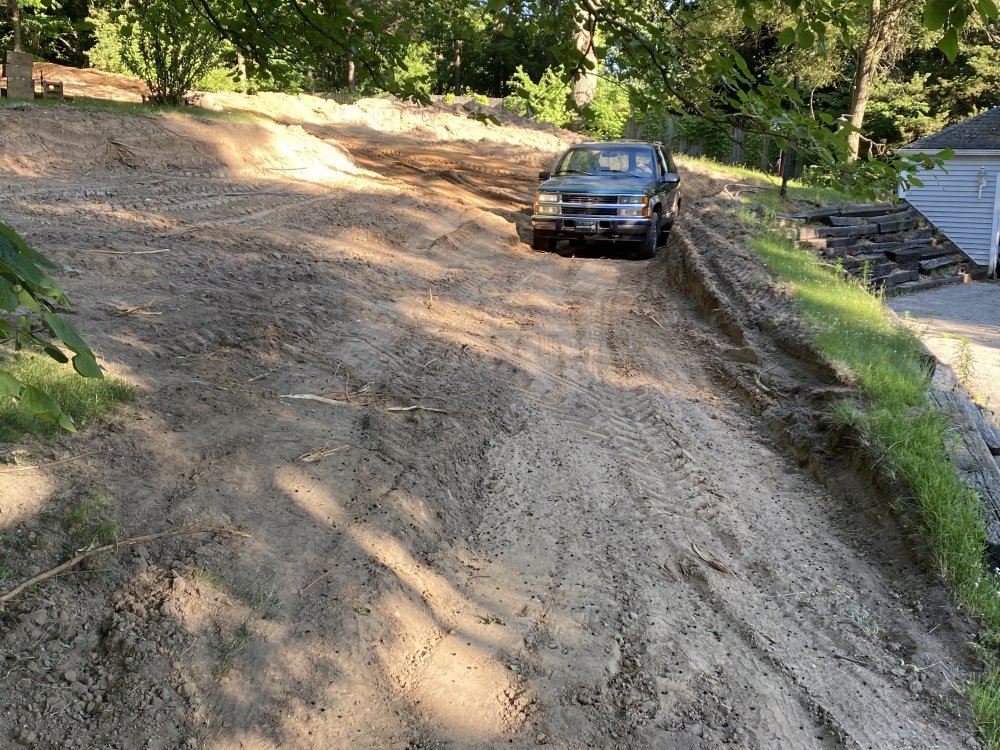
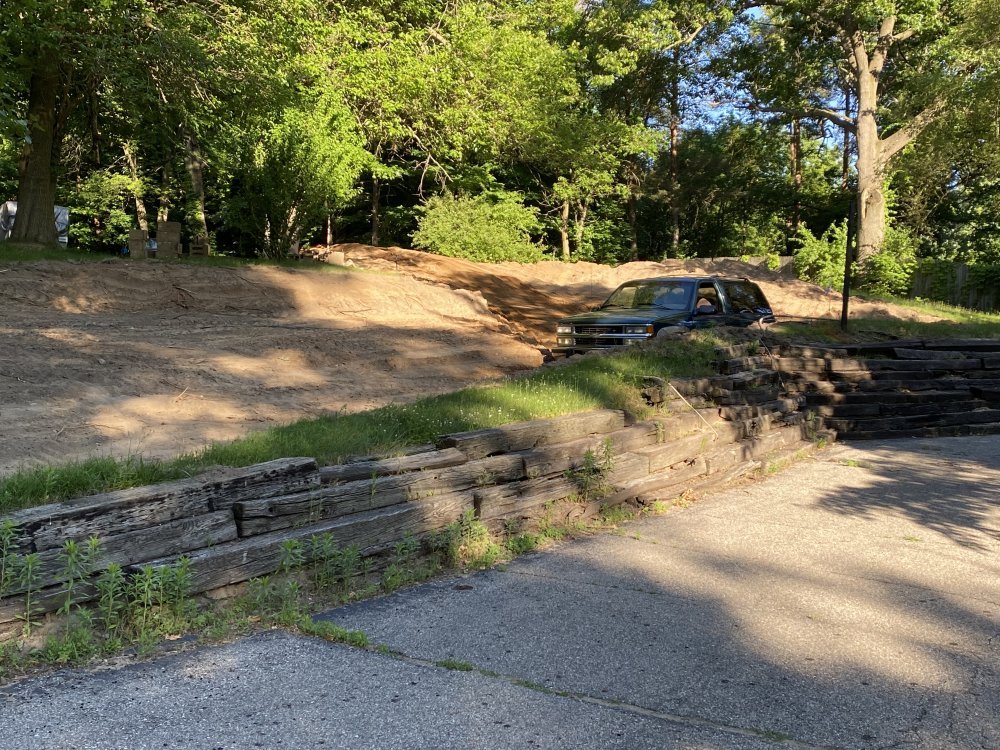
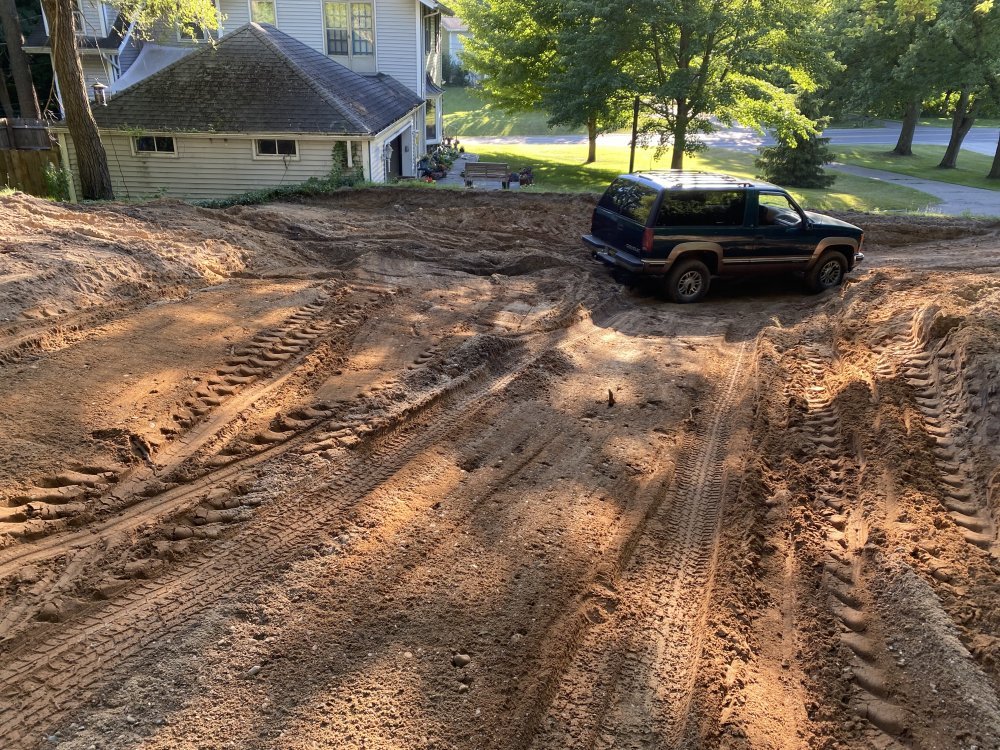
I was only able to work two nights this week for a total of about 3.5 hours. Even so, I got quite a bit moved. It was hard to see how much dirt so I put the Tahoe in the scenes for scale 573F1A5C-F02E-4C44-B2E6-B646589EB0F1.jpeg1941D845-5456-41BE-98D2-11CC4D328E99.jpegCCC0B8F5-48DF-4B38-9F17-D42370A21F24.jpeg
E3894D9E-74B8-49B6-86E6-F00DF4B4D495.jpeg

I’m struggling to move the dirt behind the Tahoe in this picture, so I think it’s time to switch to the front bucket…..which will be slower, but I think it’s where I am. Soon I’ll be switching to tearing down the wall and removing the ridge of dirt.

0D735D60-6C37-4EA8-872D-D17F49DCACAC.jpeg
 

Attachments

  • 136DD3B7-AD20-4960-883A-49CA96714595.jpeg
    136DD3B7-AD20-4960-883A-49CA96714595.jpeg
    300.6 KB · Views: 1
Back
Top