• Welcome to The Truck Stop! We see you haven't REGISTERED yet.

    Your truck knowledge is missing!
    • Registration is FREE , all we need is your birthday and email. (We don't share ANY data with ANYONE)
    • We have tons of knowledge here for your diesel truck!
    • Post your own topics and reply to existing threads to help others out!
    • NO ADS! The site is fully functional and ad free!
    CLICK HERE TO REGISTER!

    Problems registering? Click here to contact us!

    Already registered, but need a PASSWORD RESET? CLICK HERE TO RESET YOUR PASSWORD!

Super "B" turbo install

GJF

New Member
Messages
209
Reaction score
0
Location
Florida
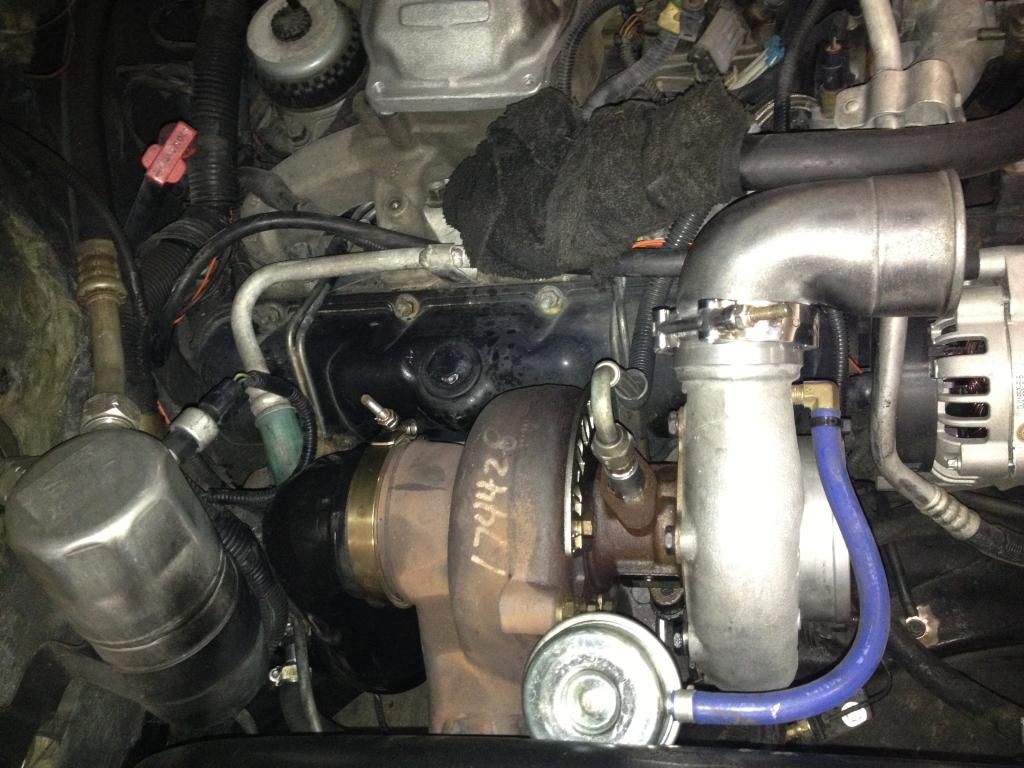
I started the Super "B" turbo install this weekend. The Down Pipe was the biggest challenge as the turbine housing protrudes back a bit further than normal.
IMG_1323.jpg

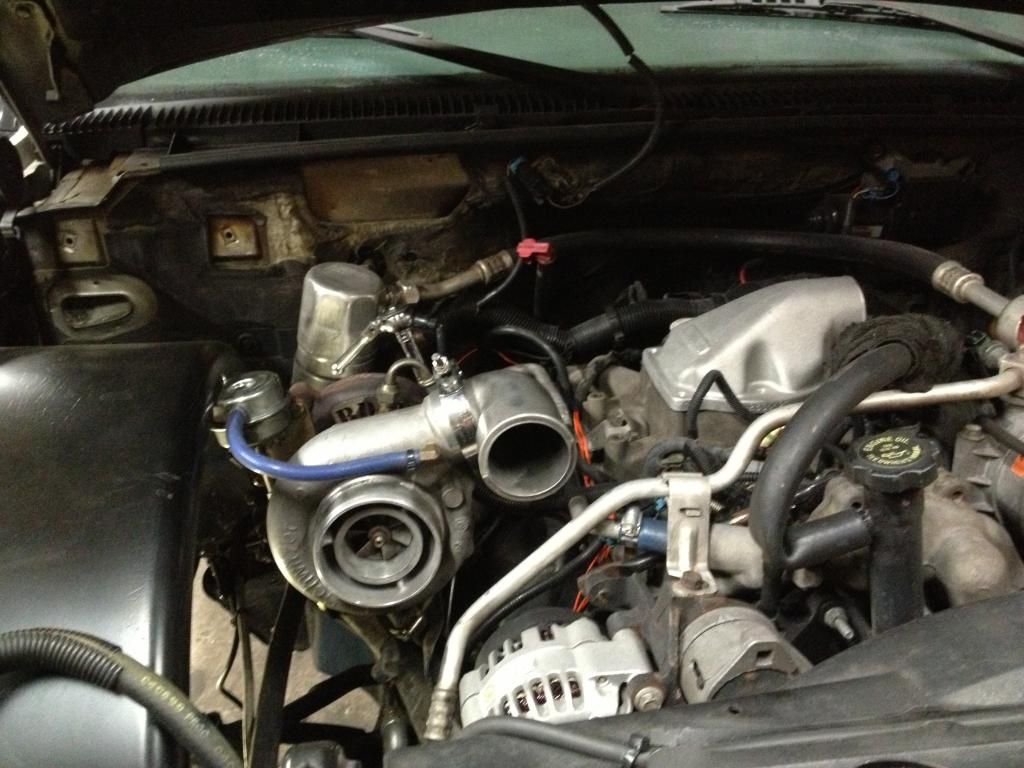
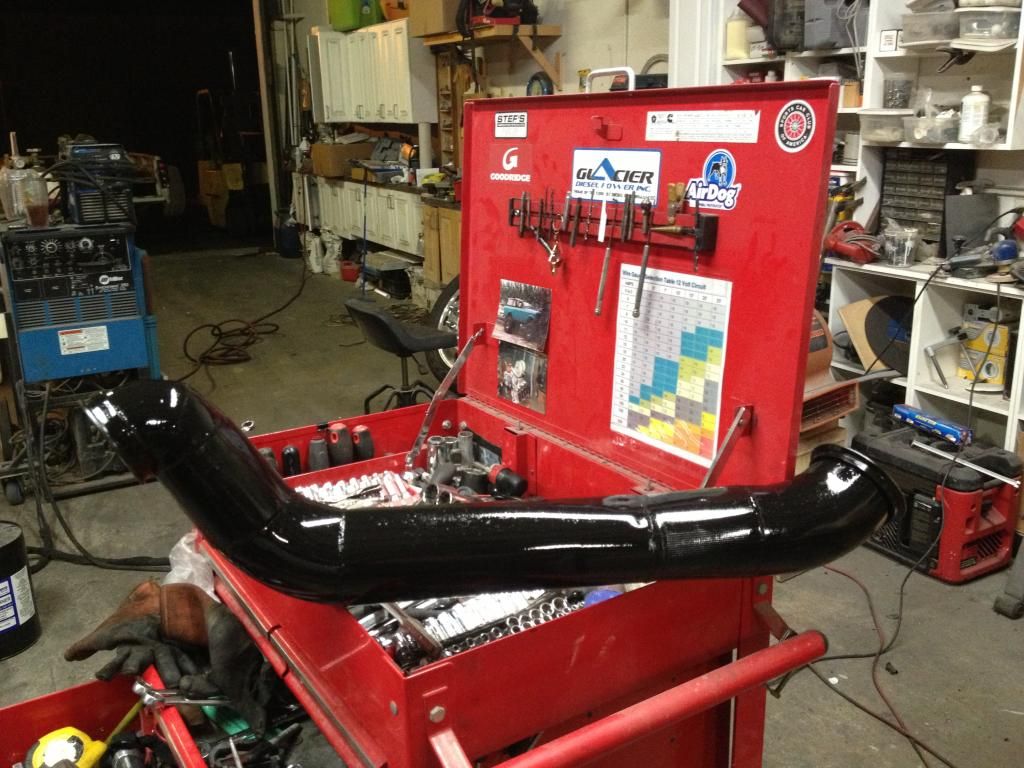
Finished fabricating the down pipe. It's 3 1/2 at the turbo and tapers to 4".
IMG_1320.jpg

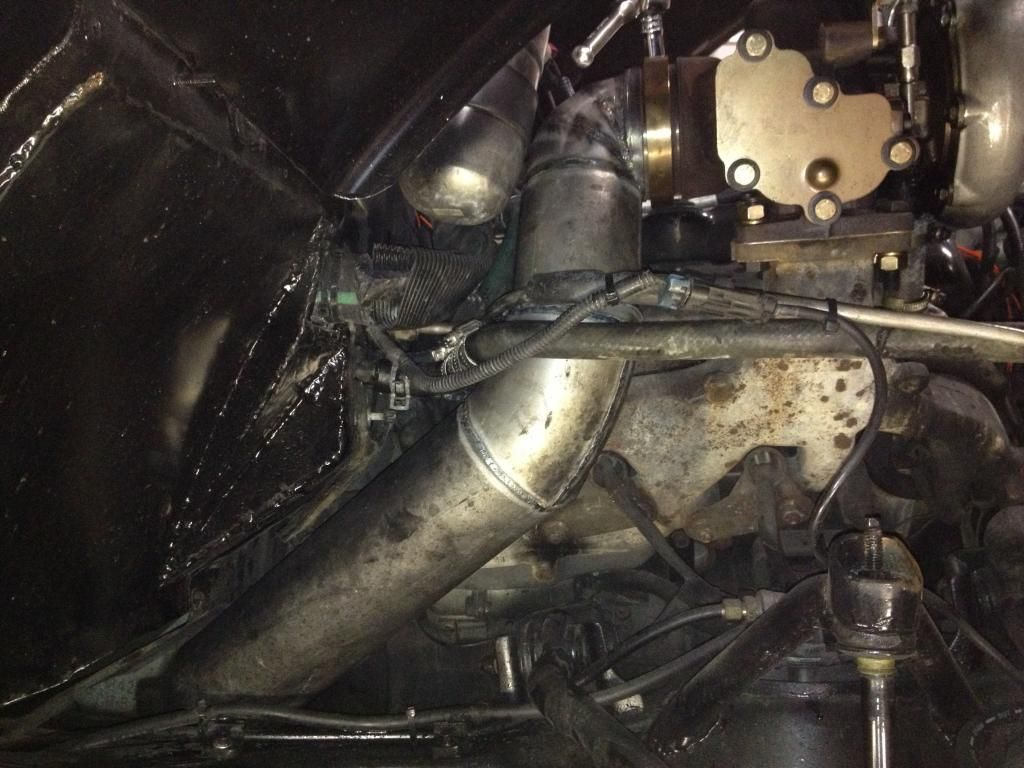
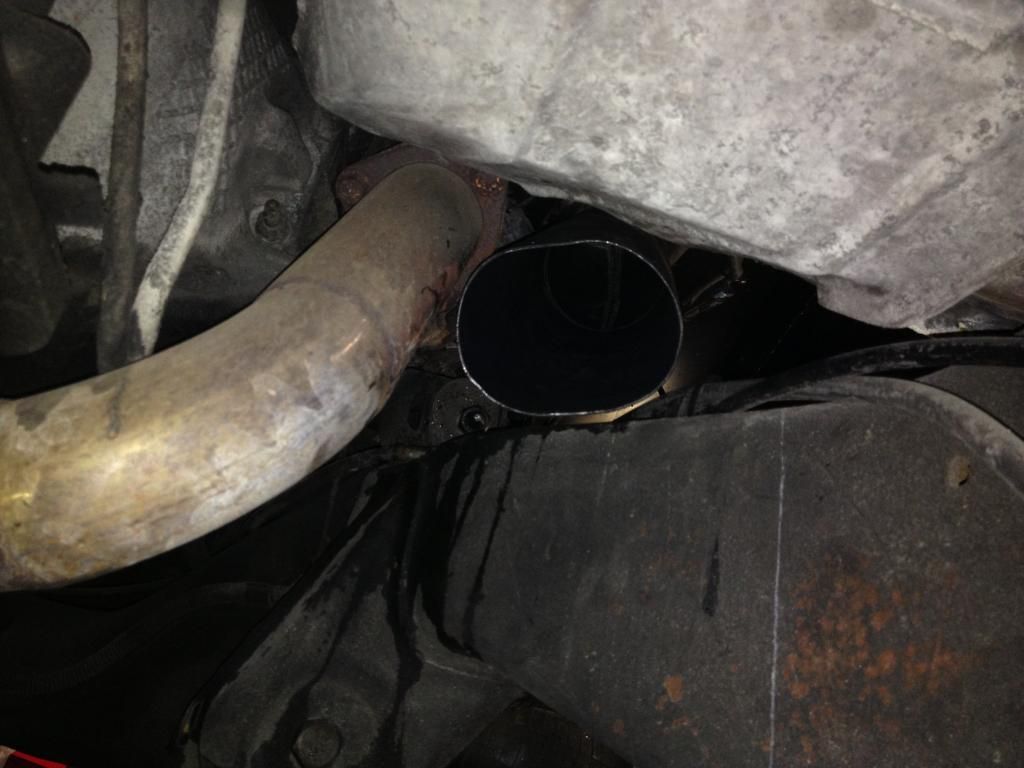
I had to Oval the 4" pipe where it passes through the cab and frame. Talk about tight!
IMG_1321.jpg

Here is the finished DP after a coat of heat paint. (I'm sure it will bake off)
IMG_1324.jpg

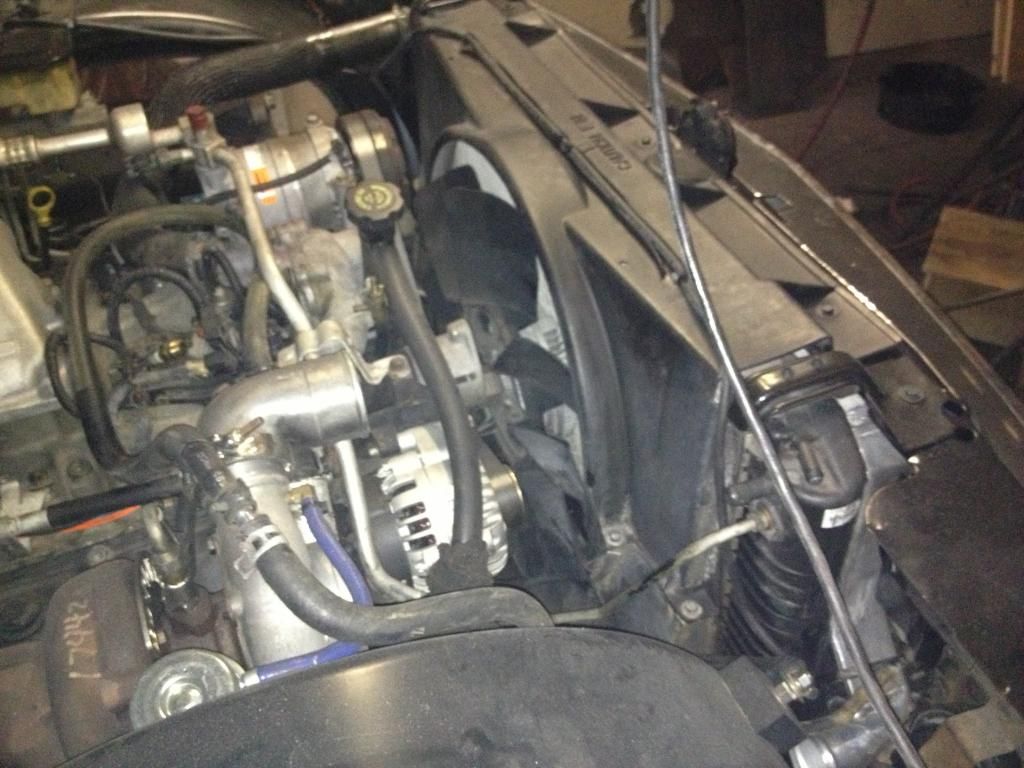
After cutting the heater hoses and moving them more torwards the firewall there is just enough clearance.
IMG_1327.jpg

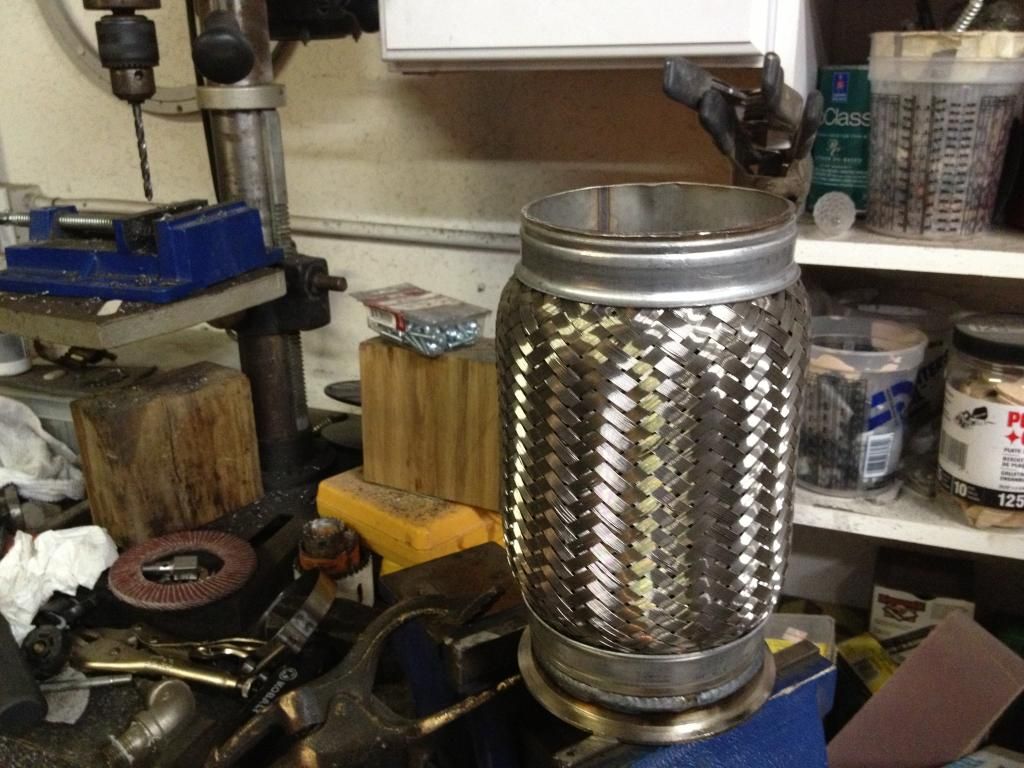
I installed a stainless flex joint at the DP with a V-Band clamp.
IMG_1325.jpg

Re-routed the exhaust to just under the rear of the cab, and added a ATS stainless muffler.
IMG_1326.jpg

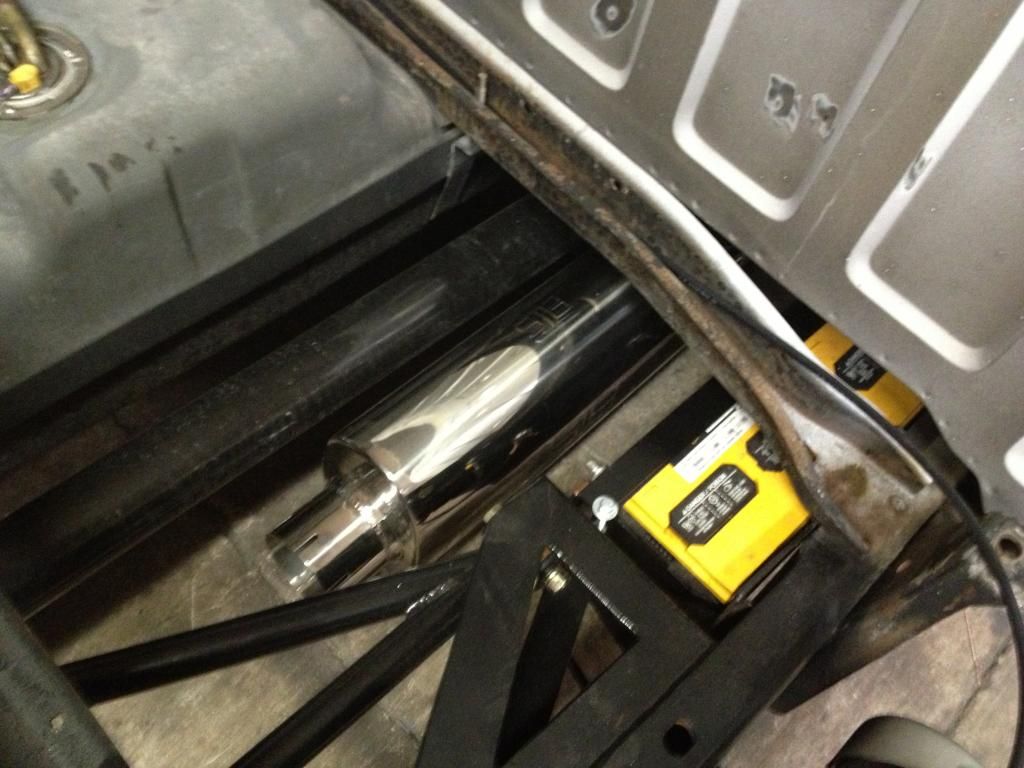
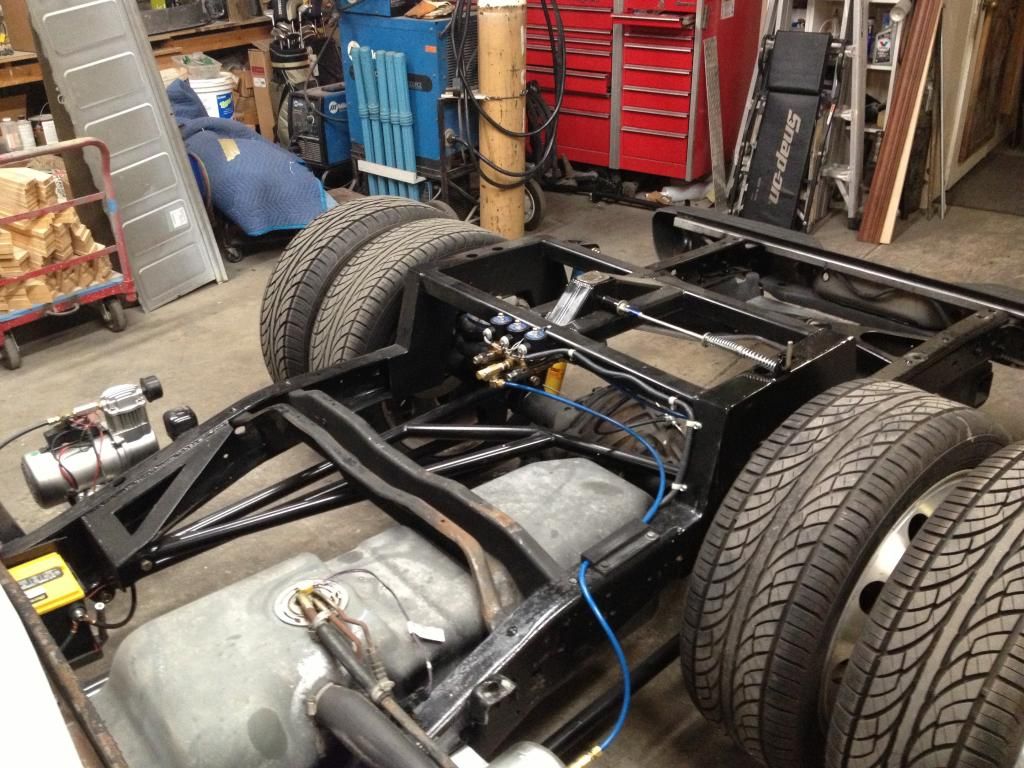
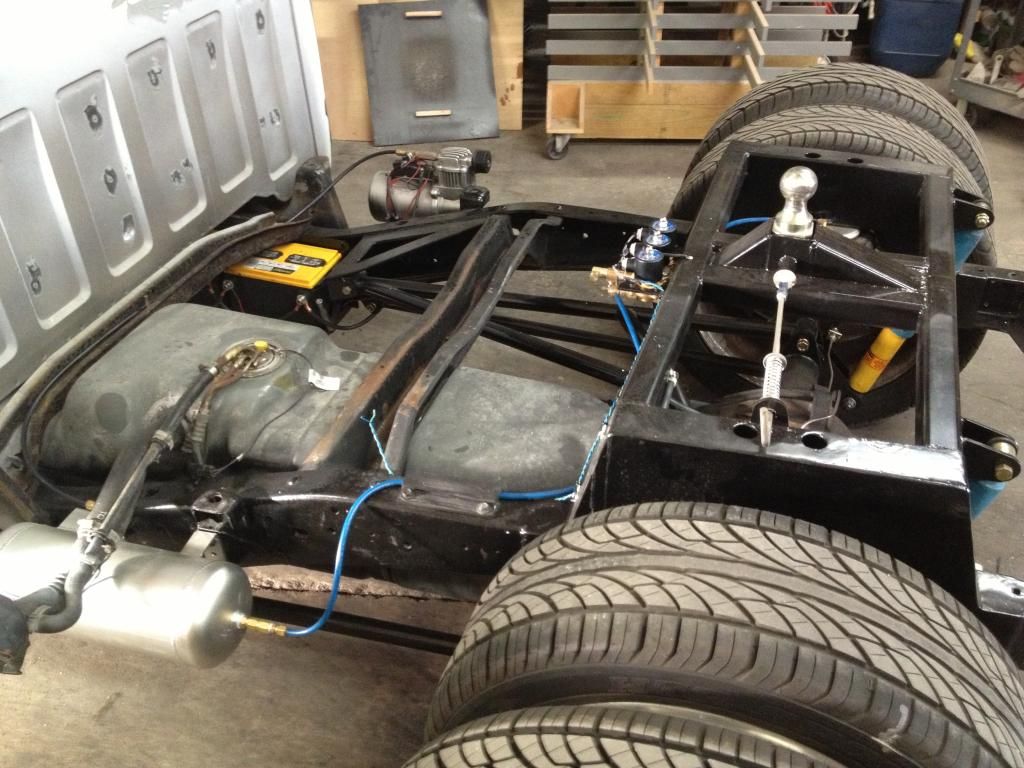
I still have to fabricate the exhaust hangers and make the tail pipe. I converted the truck to air ride suspension and moved the batteries to the frame under the cab. So, I will probably add another V-Band between the muffler and tail pipe.
IMG_1318.jpg

IMG_1311-1.jpg

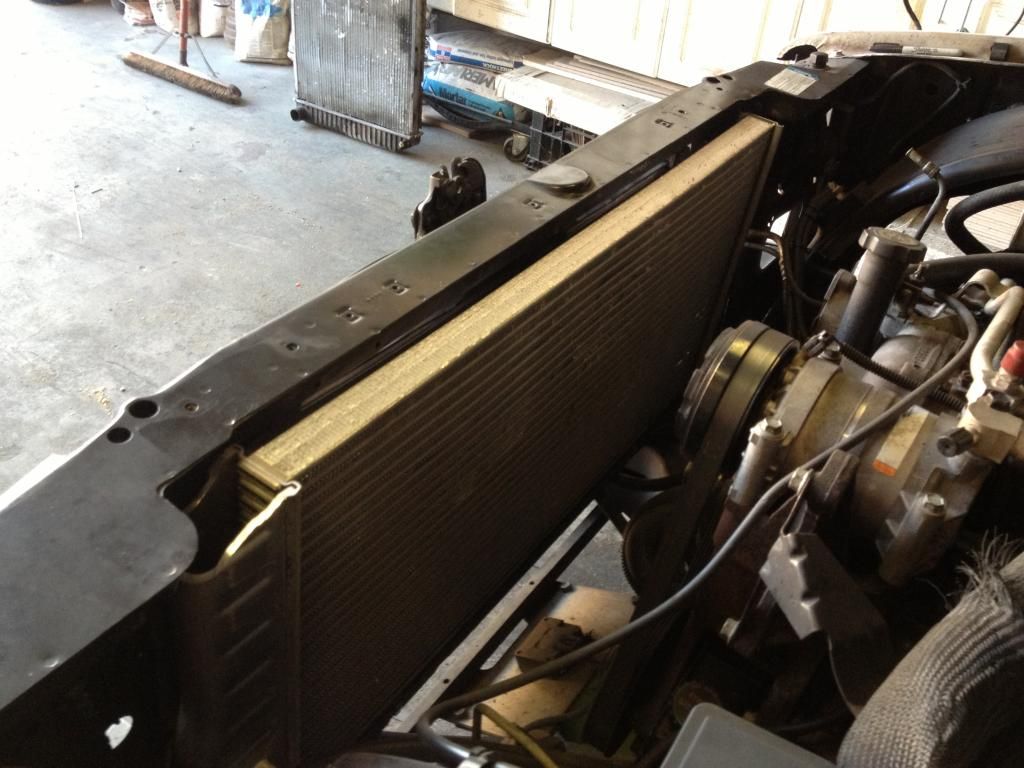
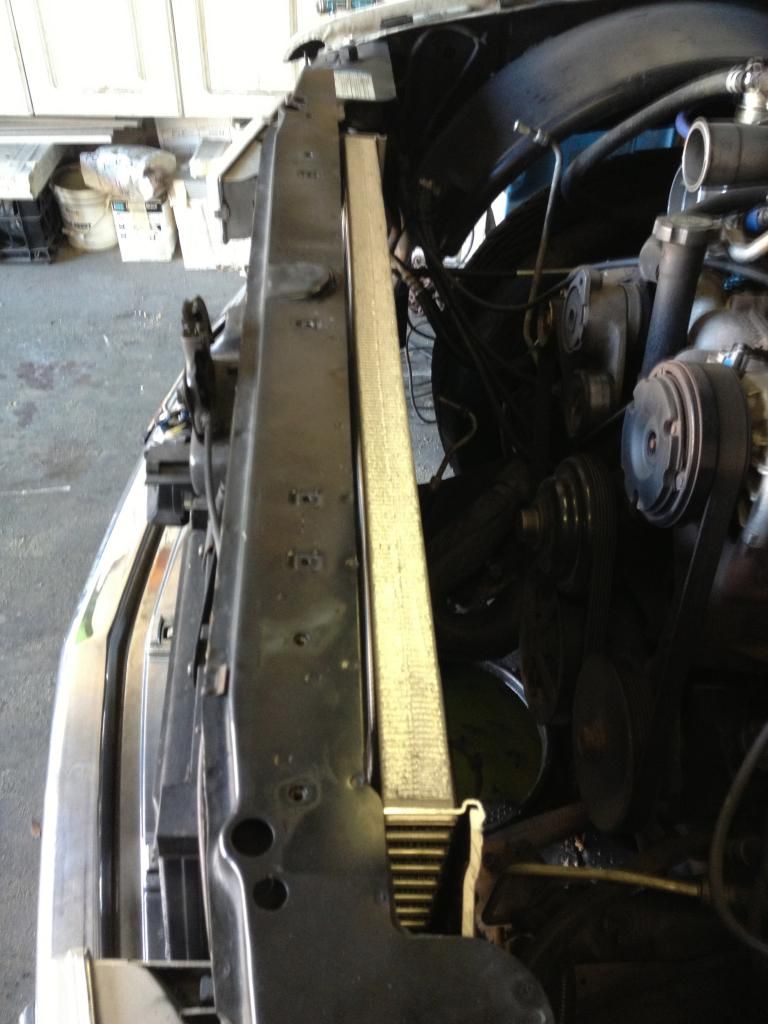
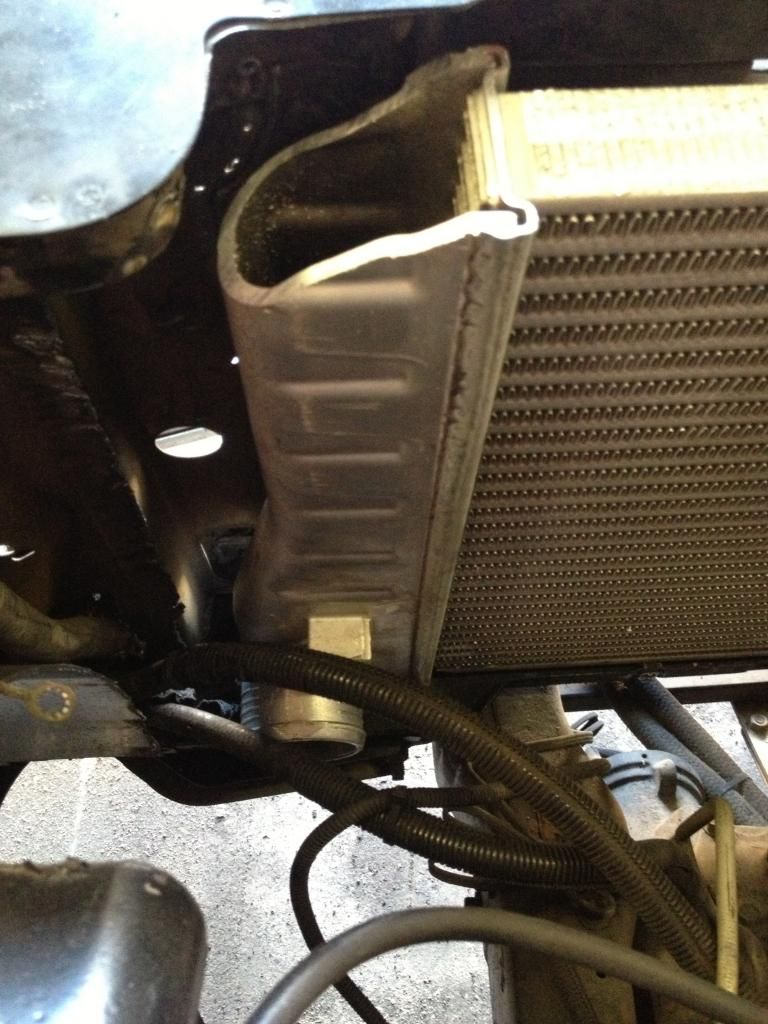
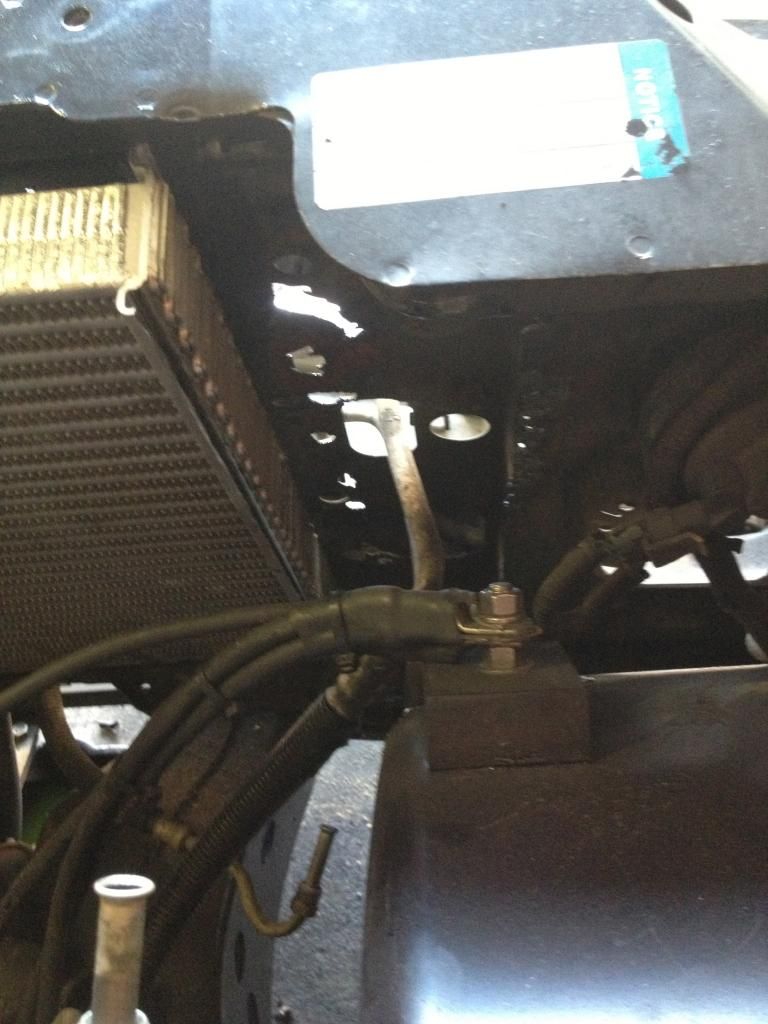
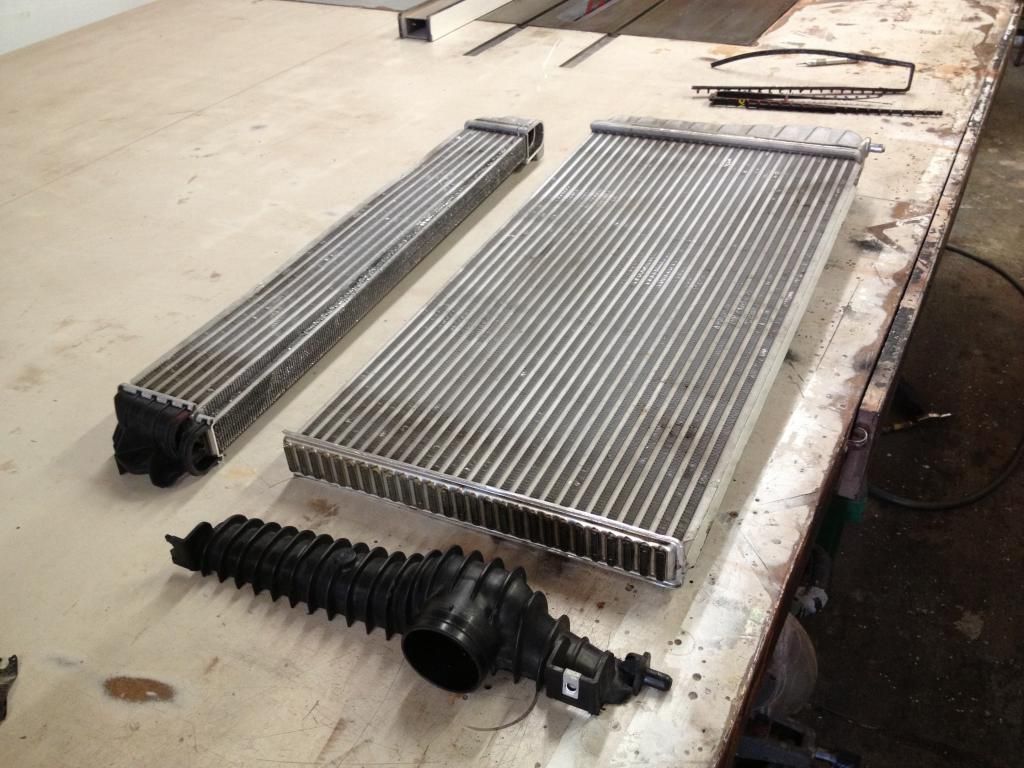
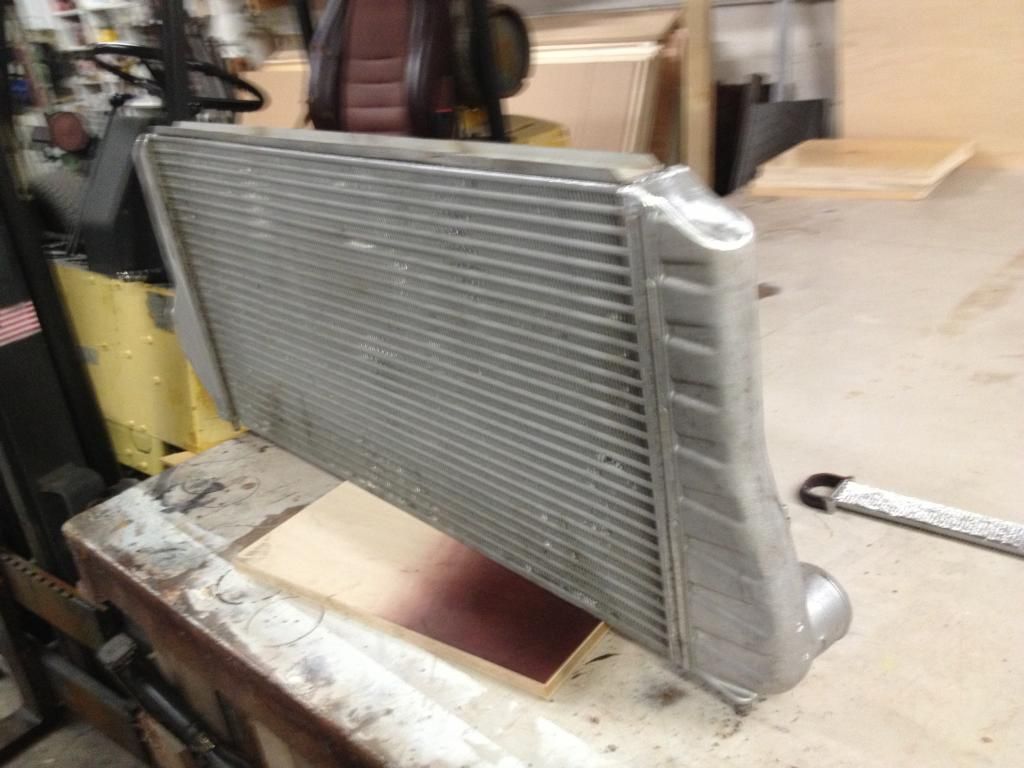
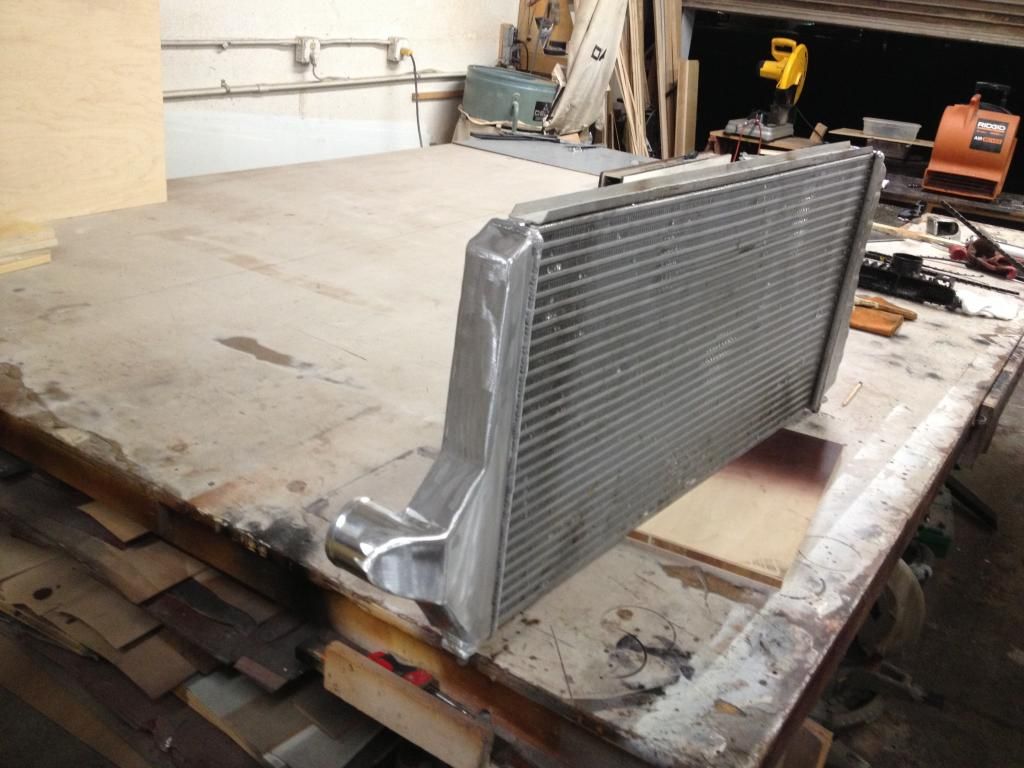
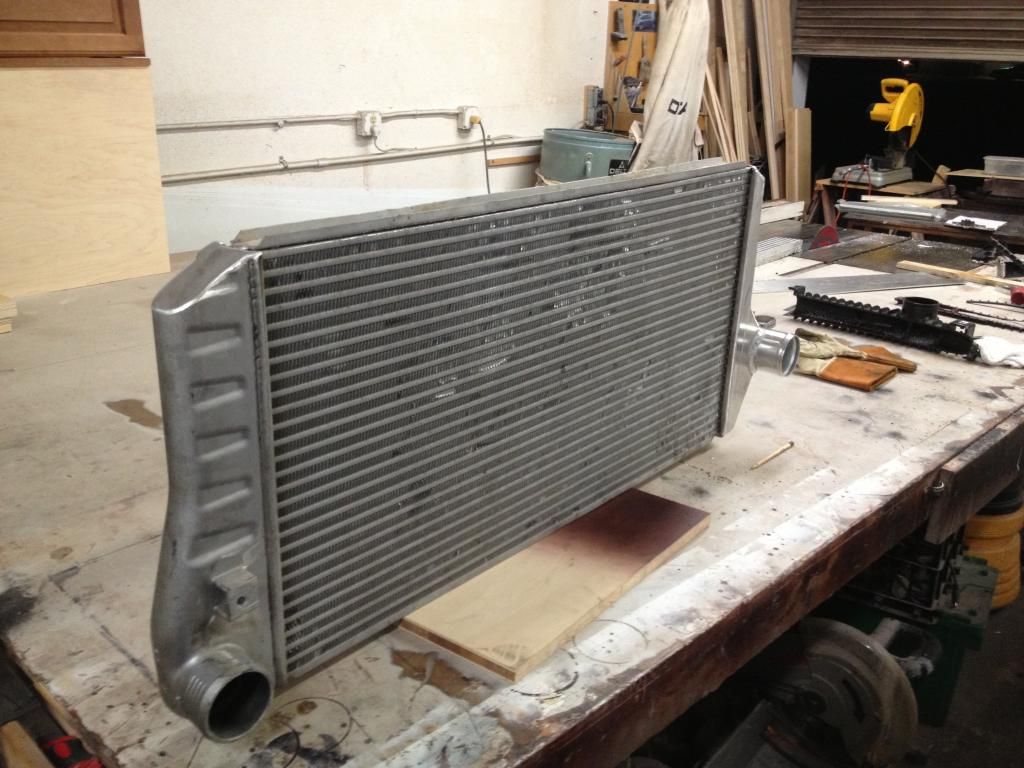
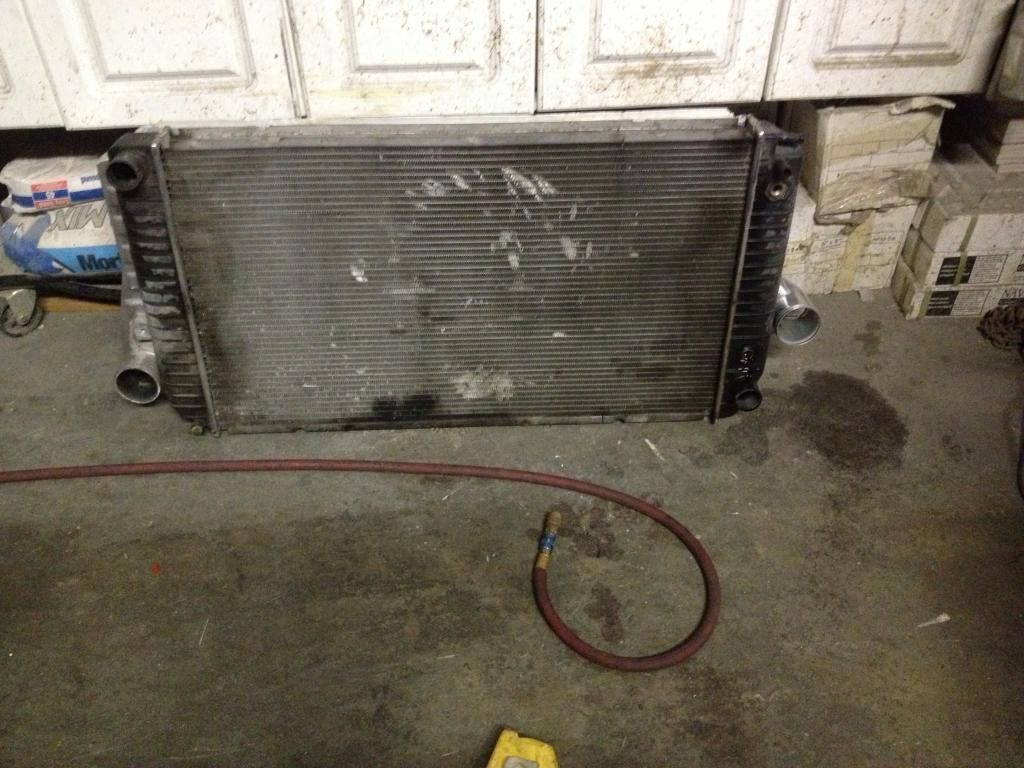
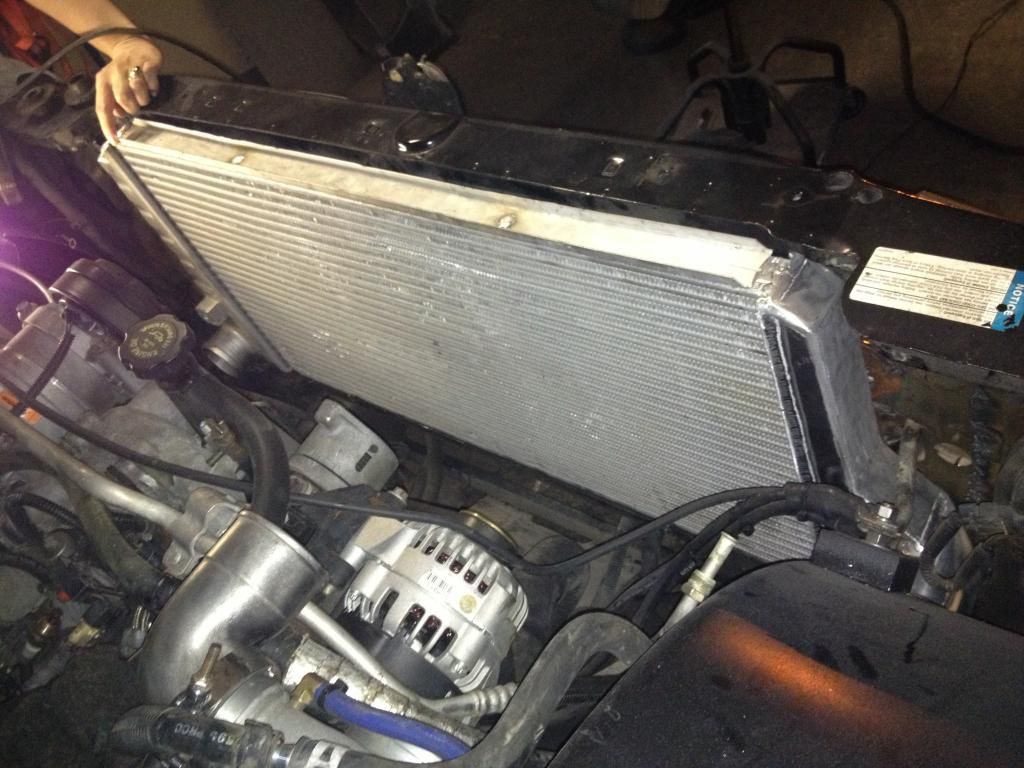
Next I will start the install of the Duramax IC and IC plumbing I picked up a Pennisular Intake so the install should be easier.
 
Thanks, It should be a solid combination.

BD super B turbo

Compressor
Inducer: 57.5mm
Exducer: 76.2mm

Turbine
Inducer: 69.75mm
Exducer: 60.5mm
housing: 14cm
T3 flange w/split ports, 4" v-band outlet

VS.

Gm-8

Compressor
Inducer: 53mm
Exducer: 75mm

Turbine
Inducer: 62mm
Exducer: 52mm
housing: about 9cm
 
Thanks NVW,
If I've learned anything in my so far life time, is to take the time and do it right, then it will work equally as good if not better. The more time used to plan a layout, and look at the big picture, the less likely it will give ya troubles. But...... There are times when simplicity does work better than anticipated.
 
WOW. very nice truck! Im really liking that 4in down pipe and exhaust. That turbo should be bad ass on your truck, i also run 14cm2 turbine housing with good results.

Very nice setup! Please post video when its all done, i would love to hear that exhaust. Should sound amazing with that turbo and 4in pipe

Im just blown away at how nice you have your whole truck setup, good job. Good luck getting it finished up
 
Thanks Jorge,
I'll will make sure to take some video for you. I am curious as to how much back pressure it will have for the turbo.... I dropped the exhaust assembly last night and finished welding all the joints. Heat painted it and fab'ed the hangers. Need to order a tail pipe kit of eBay. Hopefully tonight I will start the IC install. I don't need much to finish fabrication after that, except a little more welding on the bed. Then it's body work time. The body is in good shape just figure I do a nice paint job. Will keep it posted.
Jerry
 
If you looking for a tail pipe, would be sweet to see 5in on there. How about a 5in tail pipe for a newer duramax?

Thanks for sharing
 
I took the radiator out today and cut the core support sheet metal that isn't needed. One thing for sure is it does fit...... But NOT with factory A/C lines. The 04-05 IC is wider and shorter than the 10-13 IC. They don't fit like the 04-05 ones do. I have both but I decided to use the 2010 IC. But I am going to cut a section off and shorten the height to be the exactly what I need. I am also making a custom aluminum end tank to replace the plastic one. It will be wider than the plastic tank to help clear and straddle the 6.5 radiator. So I'll take pictures of the modifications and the fabrication of the new end tank tomorrow. By doing this I also will not have to cut the width opening of the core support, and I'll be able to still retain the stock A/C lines. if I went with a 04-05 it would fit a little easier, but I'd have to cut the upper core support for width and make new custom A/C lines. It's a bit more work with the 2010 IC, but worth it IMHO.

Thanks Jorge, I'll have to check into the new style tail pipe.

Jerry
 
FYI Update, THEFERMANATOR did make it fit without custom a/c lines. He simply moved the condenser over to the passenger side about 3" and was able to get everything to fit..... As for me, since I cut the core and started the end tank I will finish it.
 
OK, so here is how the evening went.... Cut the IC down to the height I wanted and the plastic tank off.
IMG_1332.jpg

Another angle for the mock up.
IMG_1333.jpg

Drivers side tank.
IMG_1334.jpg

Passenger side without the tank.
IMG_1335.jpg

Decapitation.
IMG_1337.jpg

Driver side after capping and welding the end tank.
IMG_1338.jpg

New passenger end tank.
IMG_1339.jpg

Engine side.
IMG_1340.jpg

Radiator and IC together.
IMG_1342.jpg

Like a glove.
IMG_1346.jpg

Tomorrow I will make a new upper mount for both the IC and radiator, and build a new overflow tank. the aluminum tubing for the IC hasn't arrived yet but I have plenty to do. ;)
 
The driver tank was never cut off, I just capped the top with a piece of.120 6061 and TIG welded it. The passenger tank I made entirely from .120 6061. After it was all TIG'd back together I smoothed the new tank to sorta look like the cast aluminum tank. If I would have had a new aftermarket core I would have fabricated all the tanks out of 6061 and left the welds untouched after welding. But you can't find aftermarket cores as narrow as the factory IC's. It really doesn't matter as no one will be able to see it after the shrouds are back in place.

Kinda not following you though........ how else would you weld the tank back on????
 
Mig, Tig or O/A, I didn't know what you have access to. I couldn't tell from the pics.
 
OK I got you. I have all Miller welders. Sync wave (TIG), a MIG but it isn't able to do aluminum. I used to own a fabrication shop but no longer do it for a living. I worked years ago for AJ Foyt and Bill Elliot for a while but decided to go a different route. But working on custom cars has always been a part of me.
 
Thanks Guys!
Here is today's update....
It was definetly a challenging day. I started fitting the IC and radiator only not enough room for the fan and clutch. So I keep cutting and cutting till I actually have the radiator in the original place. I had to move the condensor over and forward. remove the angled struts between the radiator and the condenser. After that I had only 1/4 clearance between the fan clutch and radiator. pull everything out and plasma away again. Now I modified the upper core support and there is 5/8 - 3/4 clearance.
glassKonrad002.jpg

glassKonrad006.jpg

I even got the shroud and radiator holder to bolt in the stock location
IMG_1354.jpg

Welded in a new tray for the radiator
IMG_1359.jpg

A coat of paint and til next time!'
IMG_1361.jpg
 
So today I reassembled the front end. Made little brackets, painted and cleaned up previous installed items. Here is a few pics of the front.
IMG_1364.jpg

Passenger side
IMG_1362.jpg

Drivers side
IMG_1370.jpg

Other than the modified wheel tubs it looks stock. You would never think there is a intercooler there.
IMG_1365.jpg

Tomorrow I will fabricate the new overflow tank, and continue finish welding on the tool boxes for the bed and welding on the bed itself. Once the aluminum comes in for the charge pipes I will finish off this thread with that.
Jerry
 
Back
Top