Veg_Out
Walking J Designs
Great work, nice RattleStop install! That major of a dashboard repair is a huge project, well done.

Follow along with the video below to see how to install our site as a web app on your home screen.
Note: This feature may not be available in some browsers.
Yank and throw away that blower motor. It is internally shorted and will continue to burn the hell out of the wires, relays and resistors. I tried the eliminate the connector trick you are doing and added a ground wire from the motor to a good under dash/cab ground. It simply burned up the crimp connectors I used to eliminate the connector.
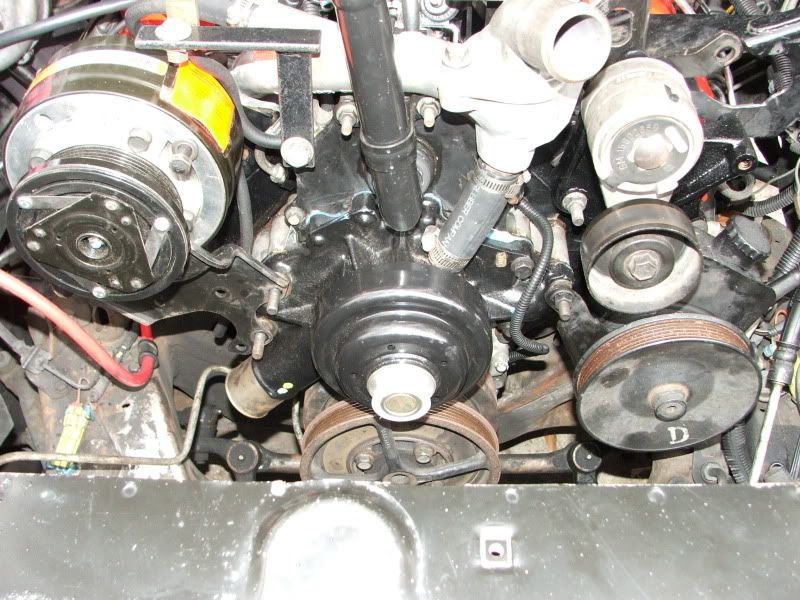
I have the latest water pump and upgraded fan & clutchLook at the fan clutch condition and upgrade it if you haven’t already. (For AC again.)
Bobbie I have a quick question for you. When you pulled the motor, did you notice if the vacuum pump mounting holes were blind (don't go all the way through into crankcase)?
Plus, from what I have read, most 4L80E transmissions do not see 200,000 without a rebuild.
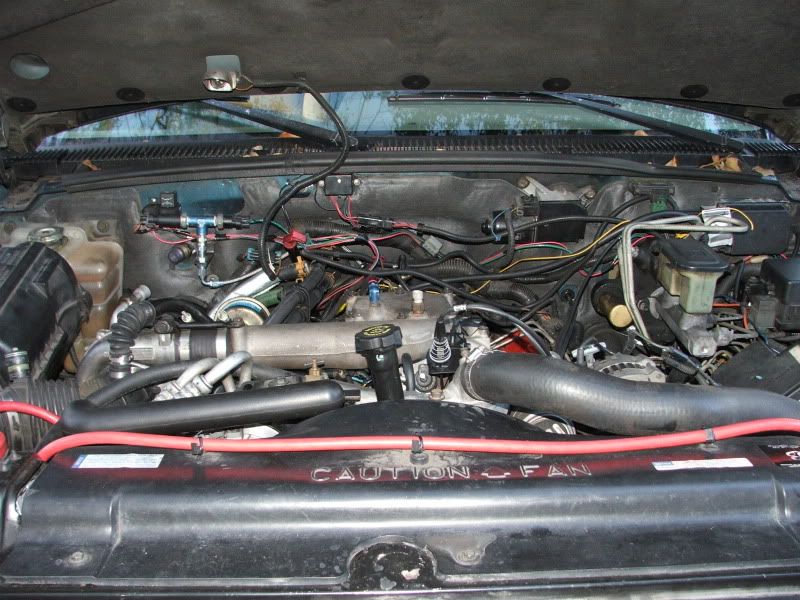

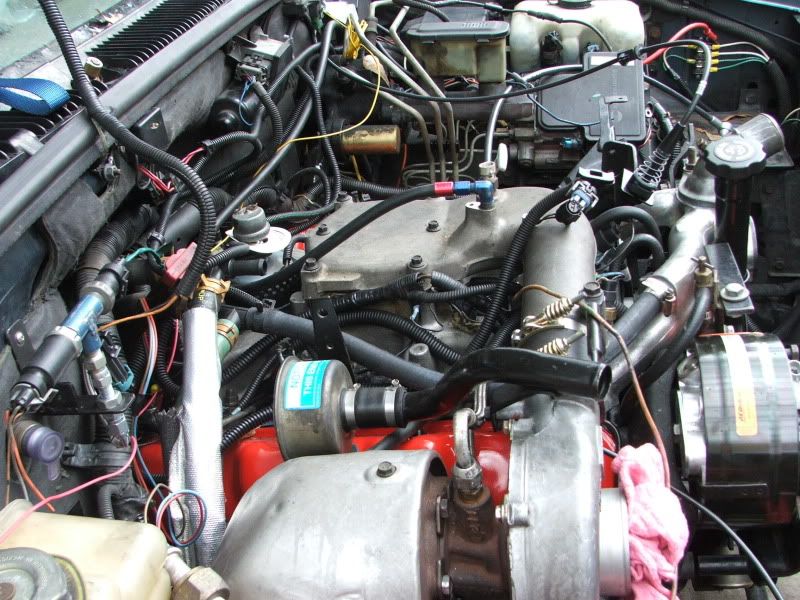
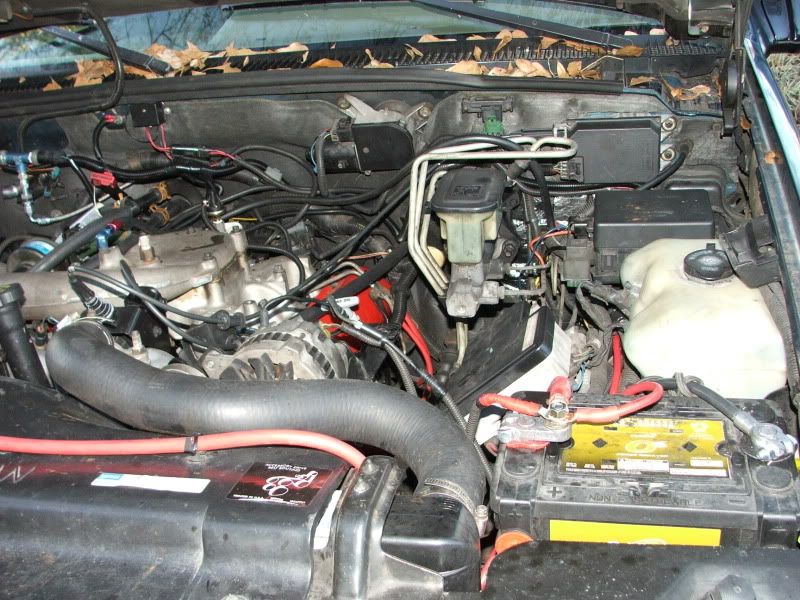
Thanks! On the cracked block, there was absolutely no outward indication of a problem. It ran fine, no unusual noise. The only thing that tipped me off was the elevated chrome & iron in the oil analysis.Bobbie: nice job on your project and the thread! I'll refer back to it if I ever yank my engine/trans. Kind of un-nerving to find out that you were driving around with cracked main brg supports(?). Makes me wonder about mine.
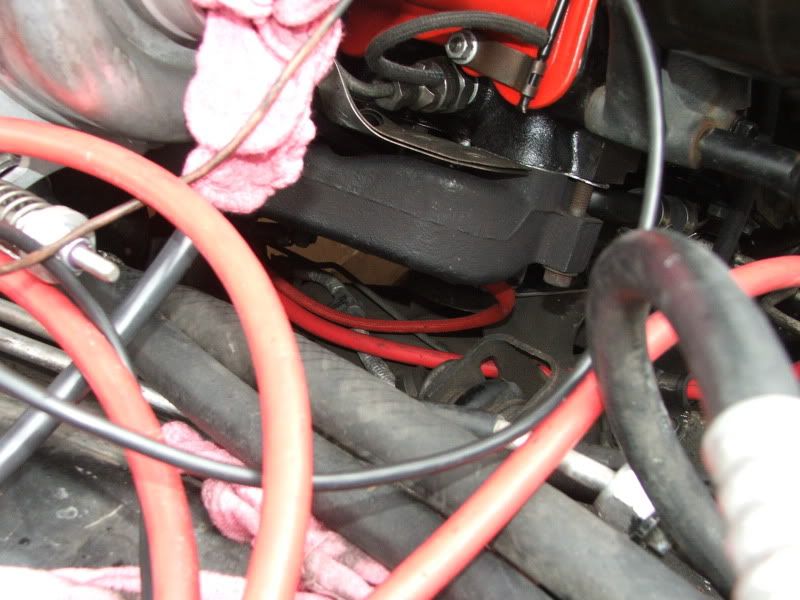
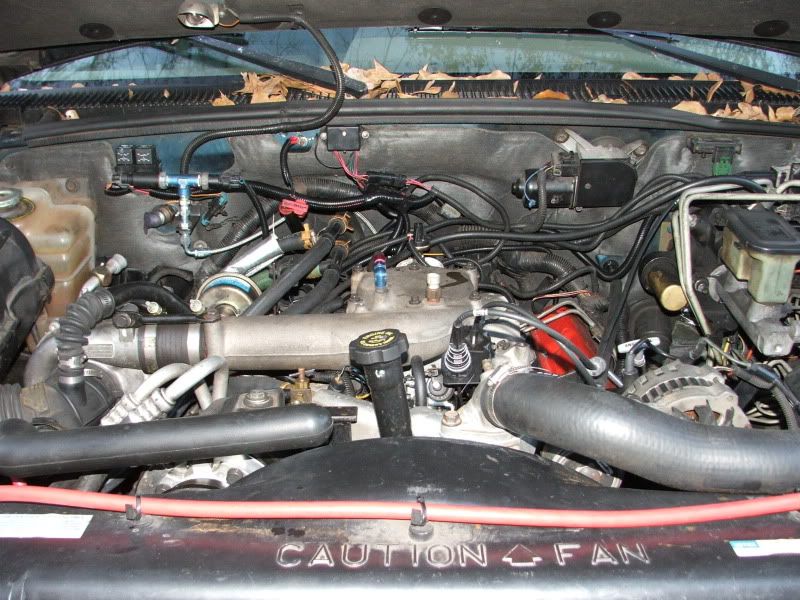
On the heater tubes, you should be able to remove them without removing the transmission. I removed them prior to removing the engine & transmission and installed after the engine & trans were in place. It is tight and with everything else, especially the accumulator its very tight in there. Removal was very hard on my truck as the firewall insulation had fallen down and made it very hard to get to the engine to transmission bolts. In fact, once I got the tubes out of the way I had decided to eliminate the rear heater. However, with the new firewall insulation, reassembly was easier. Here is a diagram of the heater tubes, part 12 is the engine to trans bolt.One of my rear heater's aluminum downtubes between the engine/bell-housing and the firewall tubes has a pin-hole that I can't change easily w/o yanking the trans. That's the only reason I would need to do it, right now anyway.
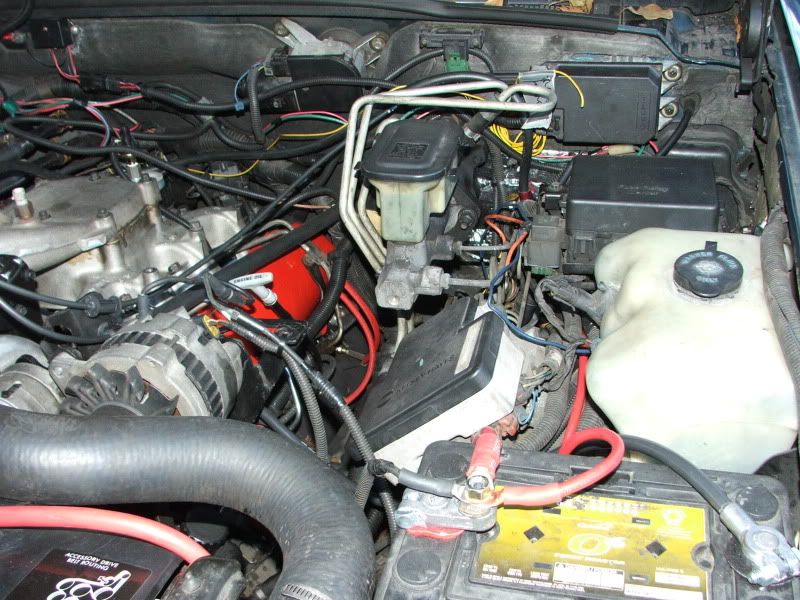
On the firewall insulation, I doubt you will find one at your GM dealer. They are NLA from GM and I got the last one in the parts locator system, so unless another pops up somewhere, there are no more. I would probably use Dynamat underhood insulation or something like that.I'd also like to replace the heat/sound shield at some point in time.
Just installed the TM I got from you, works fine. I Never-Seized the rod and linkage, adjusted to 9PSIG or so max boost. Removed the vac pump.


You have alot of work in that for sure.
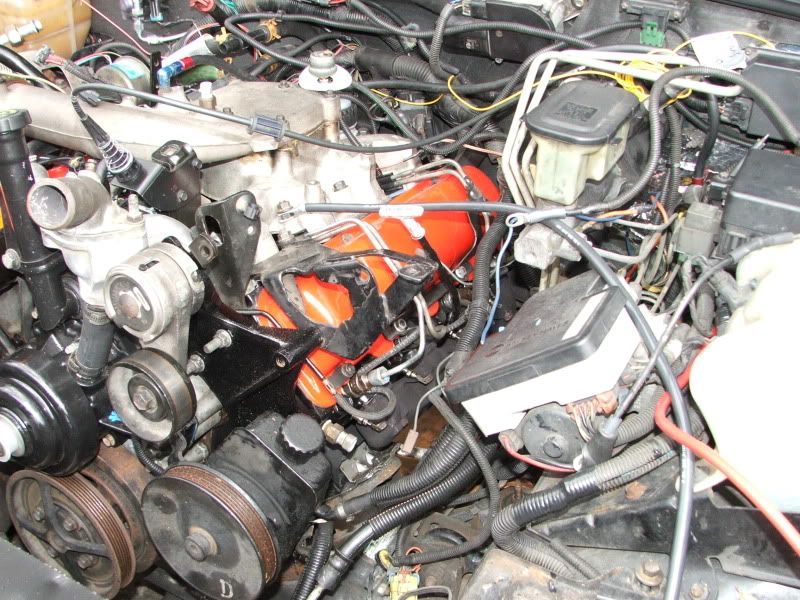
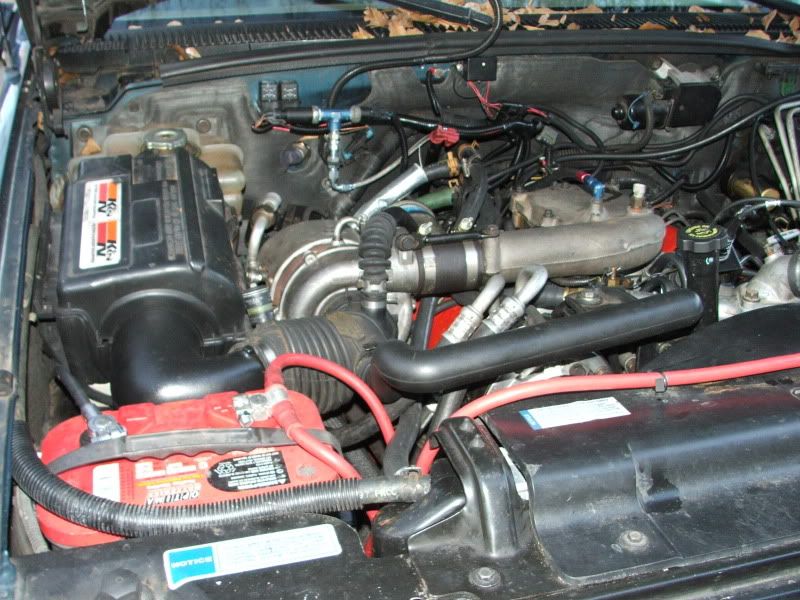
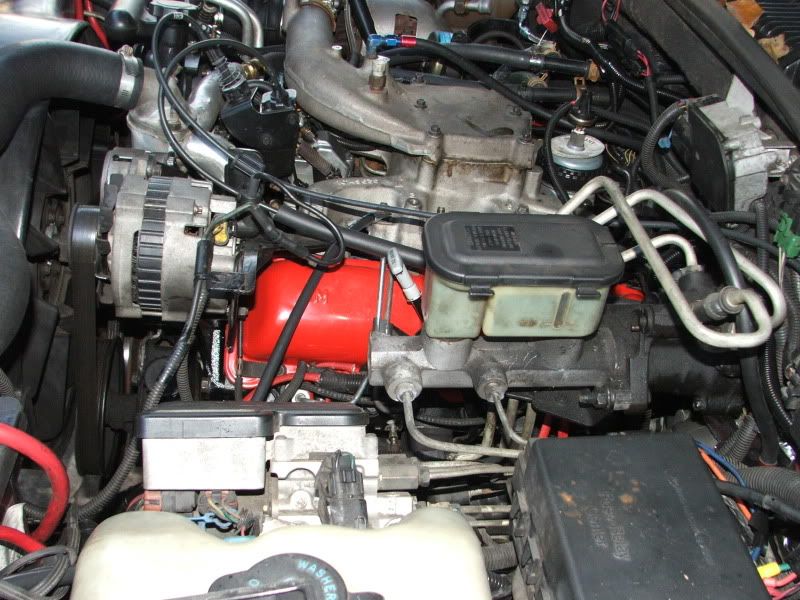
On my ds4 to db2 swap I just turned the dual Tstat upside down. That meant making a custom hose from the stock one and another that made the new bend, but by doing that it now got in the way of the upper intake so I got one from penniscular (sp?) and plumbed it in.
View attachment 11466
View attachment 11467
"I found that Hayden has a new fan clutch called a "Truck Fan Drive". The Truck Fan clutch is made for medium duty trucks, such as the Kodiak or Top Kick trucks. This is an upgrade from the normal Severe Duty fan clutch listed for our trucks. I had to do a little digging, but I found one that fits my water pump and bolts on the Duramax fan. I don't know if this is the one Heath sells, but that is what I installed."
Same model that Heath sells, but with a temp profile on the clutch spec'd to our 6.5TD engines.
I love that intake with the Penninsular. How can I part that together. Just looks better, and allows access to the pump better, and it's got to flow at least as well.
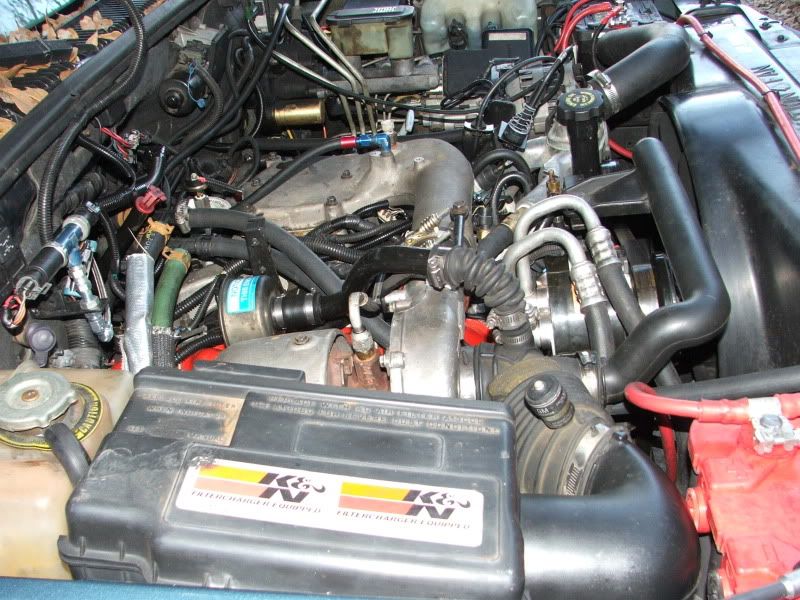
I like your work. Sucks about the head crack. Looks like a Fuel pressure tap on the filter?