• Welcome to The Truck Stop! We see you haven't REGISTERED yet.

    Your truck knowledge is missing!
    • Registration is FREE , all we need is your birthday and email. (We don't share ANY data with ANYONE)
    • We have tons of knowledge here for your diesel truck!
    • Post your own topics and reply to existing threads to help others out!
    • NO ADS! The site is fully functional and ad free!
    CLICK HERE TO REGISTER!

    Problems registering? Click here to contact us!

    Already registered, but need a PASSWORD RESET? CLICK HERE TO RESET YOUR PASSWORD!

My Shop

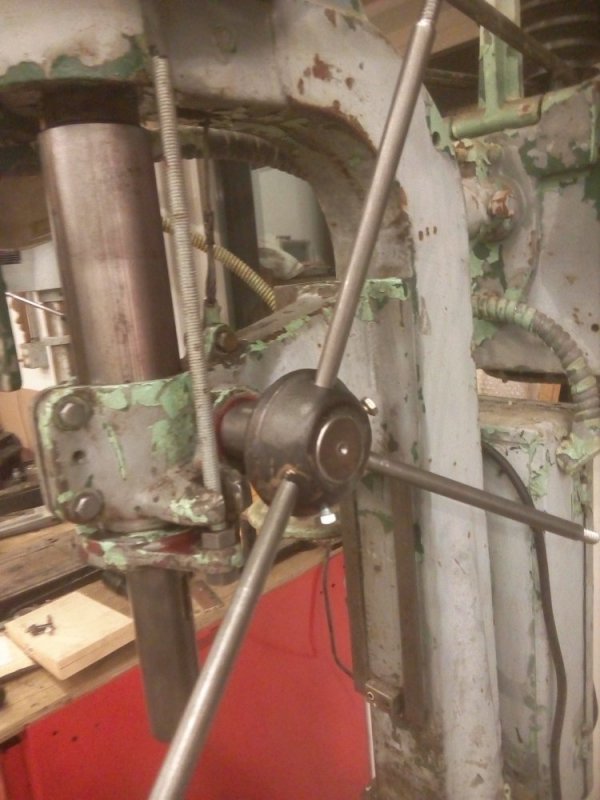
So I've been looking like a chipmunk since Monday morning, got a tooth infection on a broken tooth. Couldn't get into see the dentist until Tuesday. So anyway that's my excuse for not finishing cleaning the shop. Instead I've been messing with my drill press. So the spider was missing one of the three arms and one of the 2 had been a hatchet repair. Also I discovered that the shaft that hold the spider had lots of slop.
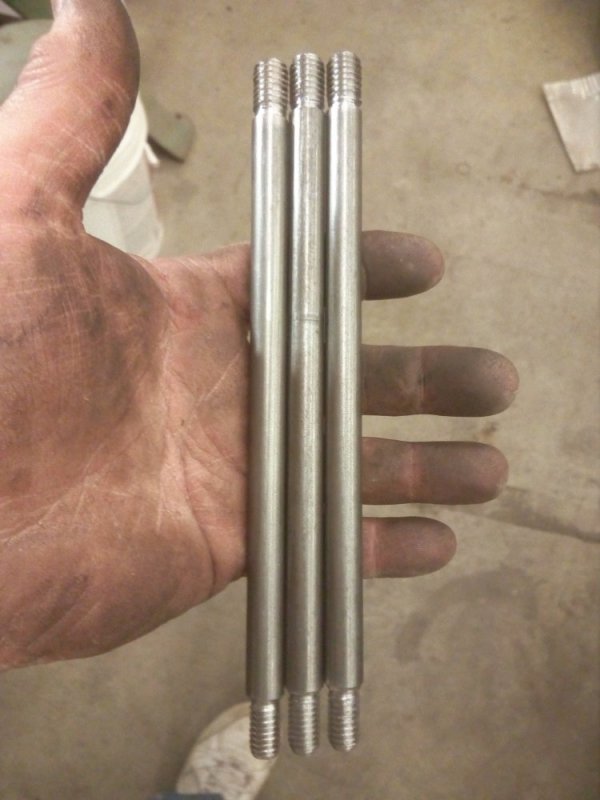
So I picked up enough steel to make a bushing for the spring end (apparently missing) and also enough for 3 new arms.
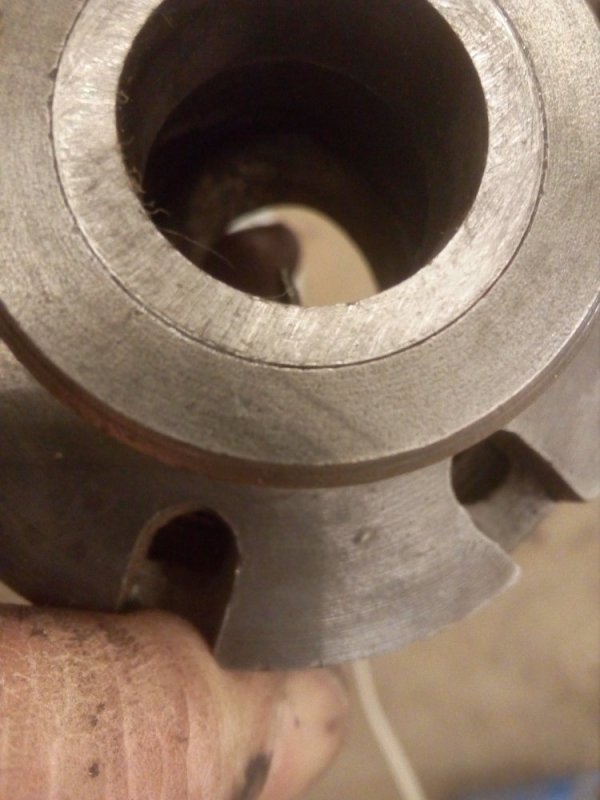
Bushing was pretty simple as the id and od we're already the correct size. So I chucked it up in my lathe and trued up the end and ththen parted off what I needed.IMG_20181128_204137.jpg
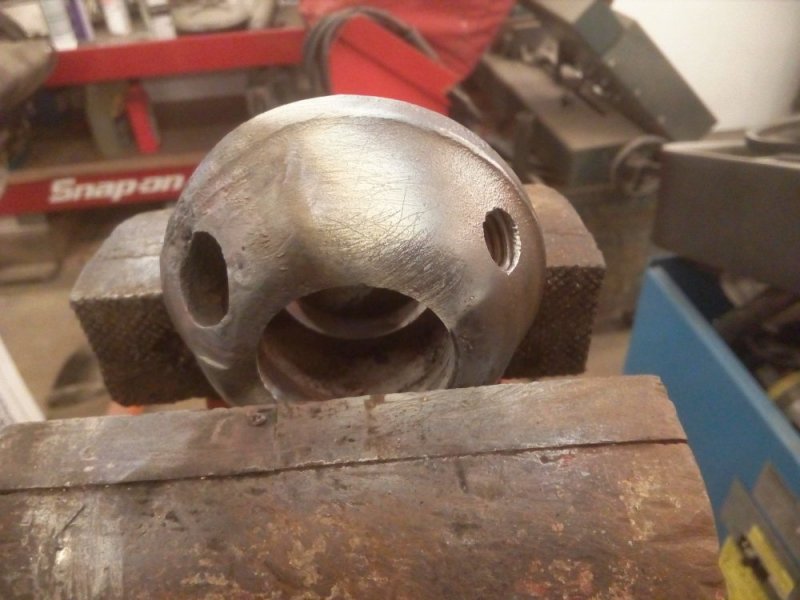
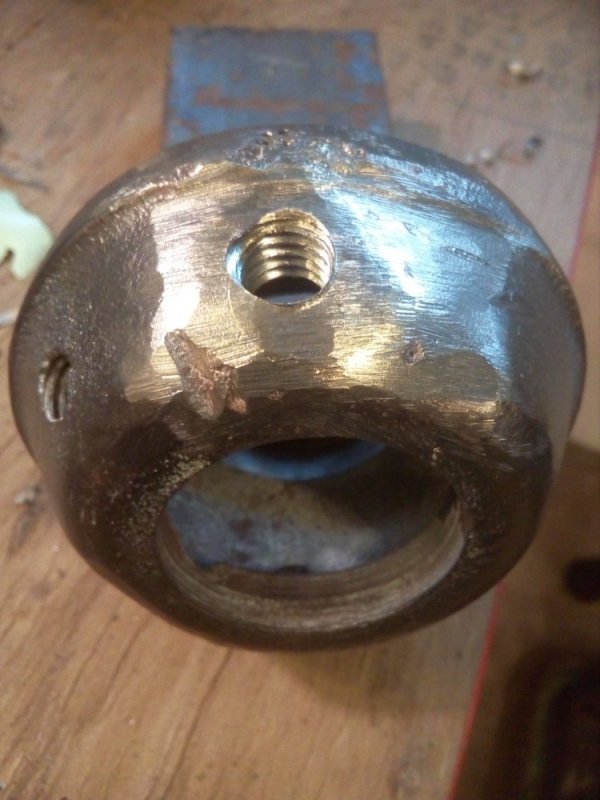
Then I set about repairing the arm hole that was too big. I had a chunk of steel about the right diameter so I beveled the end of it and then brazed it in totally filling the hole. Then went over to my smaller drill press and set up the vise at an angle so as to match the good holes. Drilled it out and got the tap started on the drill press and finished it up by hand.IMG_20181126_112647.jpgIMG_20181128_143535.jpg

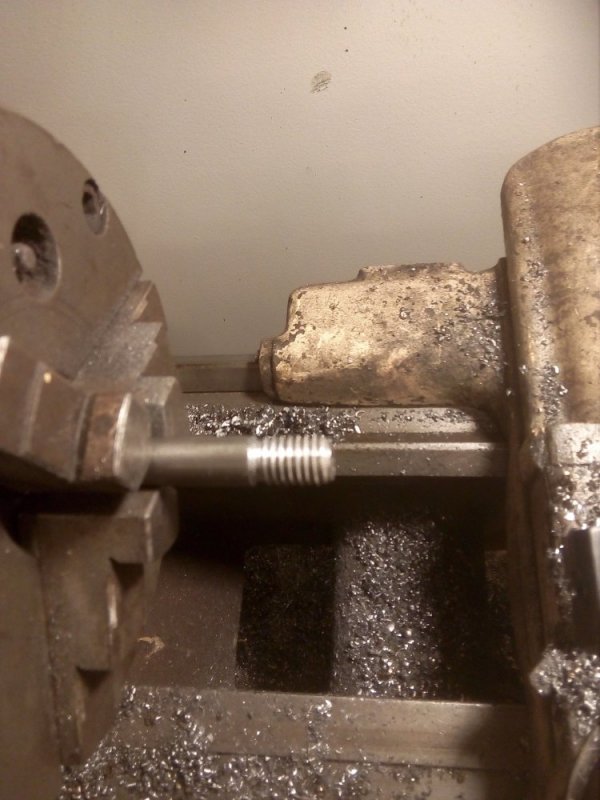
So then I set about threading the new arms I ended up cutting the threads with my lathe and then finished up with a die. Main reason was that was my first ever attempt at cutting threads.IMG_20181128_153246.jpgIMG_20181128_164030.jpg

So in the process of checking out how they fit I discovered that one of the holes that I'd thought would be ok was too loose, so I had to drill it out and brazed a plug in again.
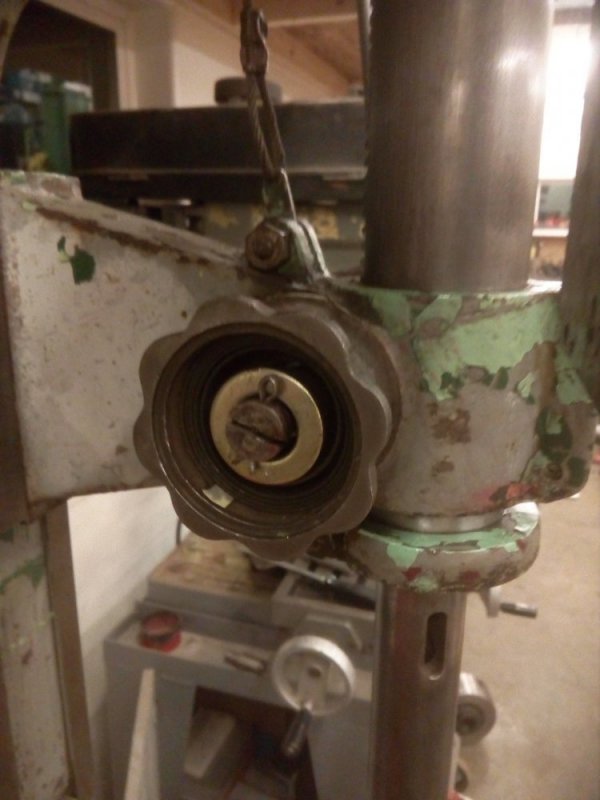
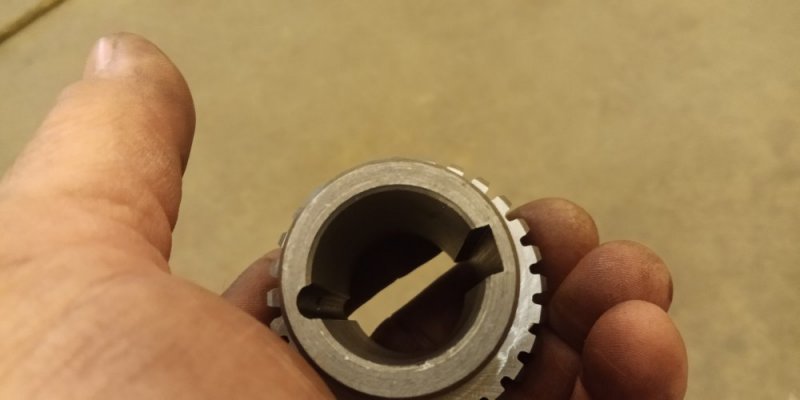
I also discovered the spider shaft had quite a bit of wear on the splines she I ended up filing them flat so I could get the shaft in. No more than I'll be using this it will probably last me a long time. Still not sure what covers the spring side of things.IMG_20181128_205123.jpgIMG_20181128_205214.jpg

Also have the ball knobs coming for it too.
 
Picked up this toolbox the other day. Had a damaged drawer from the earthquake. Other than the drawer it's in like new condition, I don't think the PO used it much. Took me about 1 1/2 hours to fix it. It's not perfect but it's pretty decent. The worst was straightening the slide
IMG_20190501_204746.jpgIMG_20190503_153737.jpg
 
I seen those boxes in Costco over in Billings, thinking, if I had the room and some moooolah, I`d a been snapping one of those up.
I`ll never get a root canal done by a dentis, again. I have two root canals that are now giving Me grief, another 1200 bucks to get each one done by a specialist that does microscopic root canals, the dentist also charged 1200 bucks to get out the big chunks, could have saved 1200 bucks a toot by getting the microscopic root canal done in the furst place. LOL
 
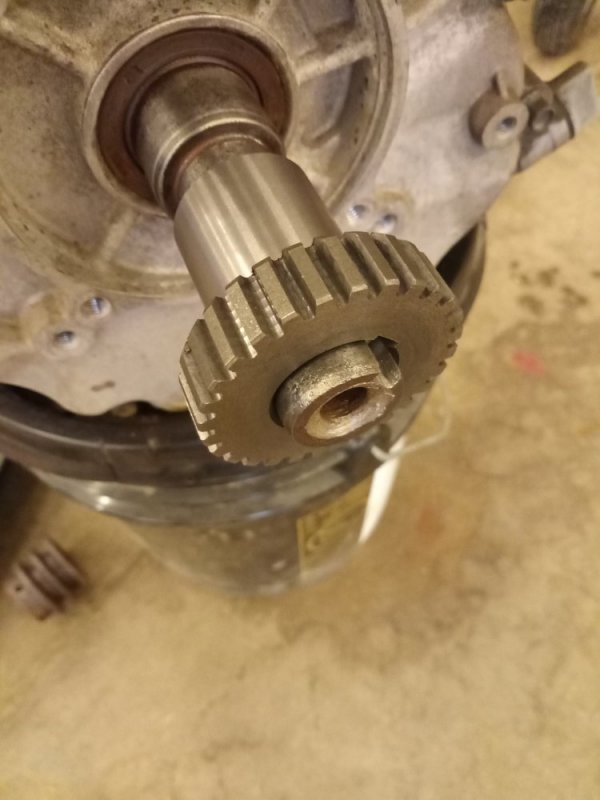
So more on the snowblower. I had alot of trouble keeping belts on the snowblower, to the point that I gave up changing them. So I decided to see if I could figure out what was going on. I called and talked to a Gates engineer, he said that they would only rate the belt setup that is on the machine for about 3.5hp. The engine is a 13hp,so that explains alot. So in my looking around I discovered I could get a 2:1 gear reduction unit that would bolt onto the motor directly. Not a bad price either $130. So I bought one. That was last winter, just getting around to it now. So it does bolt up but it turns out my motor has a different shaft end then the kit uses. Supposed to be an "s" crank. It did say in the ad that the crank may require shortening, but there was no instructions at all. So I set about trying to make it work. I had to bore out the center of the clutch, actually pretty easy ,and then drill out the hole in the end of the clutch where it bolts to the crank.
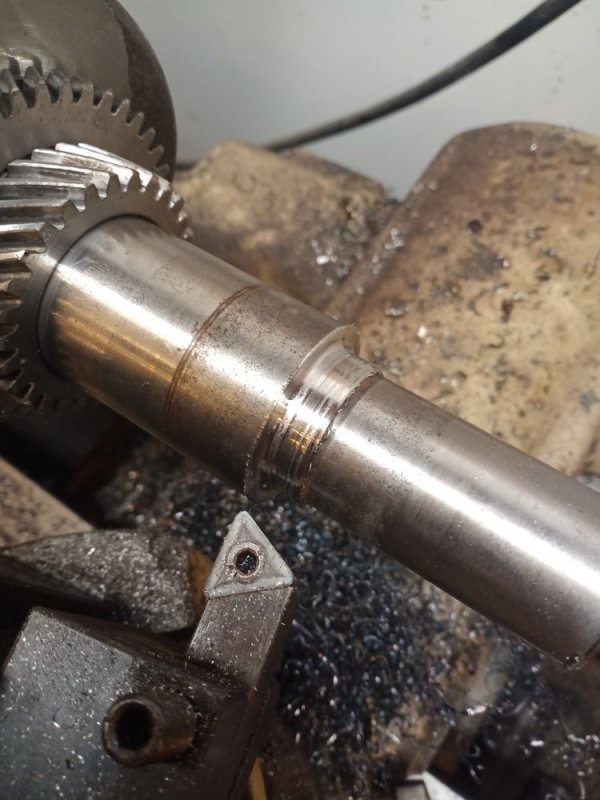
Things still didn't work right so finally I searched the internet and came up with a dimensioned drawing of an "s" crank. So I pulled the crank out and chucked it up in my lathe. Turns out the crank is pretty hard. I got it done but I went through several 3sided carbide cutters. Right on the verge of being too hard to turn.IMG_20190902_113412.jpgIMG_20190902_120822_01.jpgIMG_20190902_193220_01.jpg
In the process of reassembling the engine now need to make a crankcase gasket.
 
Back
Top