• Welcome to The Truck Stop! We see you haven't REGISTERED yet.

    Your truck knowledge is missing!
    • Registration is FREE , all we need is your birthday and email. (We don't share ANY data with ANYONE)
    • We have tons of knowledge here for your diesel truck!
    • Post your own topics and reply to existing threads to help others out!
    • NO ADS! The site is fully functional and ad free!
    CLICK HERE TO REGISTER!

    Problems registering? Click here to contact us!

    Already registered, but need a PASSWORD RESET? CLICK HERE TO RESET YOUR PASSWORD!

My Cummins Conversion

congrats on the kid. healthy lookin little one... that always a blessing.


swap looks like its comin along well.... keep u with the pics
 
Got the motor in this weekend, took me a good while longer to make the mounts, didnt help that I changed the design and the way I was going to do it 3 or 4 times, but in the end I think I decided on the best way. I just used3/8" steel to mount to the motor and then the 3/8 coming off at a 45* to tie into the factory Dodge 89-92 Cummins rubber isolator mounts. With a wedge welded between the 2 pieces of steel for support. The welds or the mounts arent to pretty but they'll do for now, there just protypes, I guess you could say, Im going to make nicer looking ones this winter, when I get the motor built.

I had trouble welding, as I was just using an arc welder and it was so humid, and I believe the rods may not of been at there best. I got the SBC clutch mounted to the motor and a few other little bits and peices taken care of, the motor fits really well into the truck and it doesnt look so big and intimidating now that its tucked nicely into the engine bay.

A picture of the motor set on the motor mount, a few clutch pics, and the motor mounts set in the truck.
 

Attachments

  • 102_0150 (Large).JPG
    102_0150 (Large).JPG
    95.1 KB · Views: 43
  • 102_0152 (Large).jpg
    102_0152 (Large).jpg
    90.3 KB · Views: 43
  • 102_0153 (Large).jpg
    102_0153 (Large).jpg
    96.3 KB · Views: 52
  • 102_0158 (Large).jpg
    102_0158 (Large).jpg
    93.2 KB · Views: 41
  • 102_0160 (Large).jpg
    102_0160 (Large).jpg
    91.9 KB · Views: 37
Some pics of the motor set in the truck, resting on the tacked motor mounts, a picture of the 3/8" motor mounts, and another picture of how the motor sits on the mounts.
 

Attachments

  • 102_0166 (Large).JPG
    102_0166 (Large).JPG
    94.1 KB · Views: 57
  • 102_0164 (Large).jpg
    102_0164 (Large).jpg
    94 KB · Views: 51
  • 102_0163 (Large).jpg
    102_0163 (Large).jpg
    93.1 KB · Views: 47
  • 102_0162 (Large).jpg
    102_0162 (Large).jpg
    92.2 KB · Views: 59
  • 102_0161 (Large).jpg
    102_0161 (Large).jpg
    88.8 KB · Views: 53
A couple more pictures of how the motor mounts work, a shot of the clearence between the firewall and the clearence between the differential and the oil pan. I can fit my hand between the motor and the firewall, which is more than enough room back there, and theres nothing to reach back there, I could of moved it to the front more, but the further back the better, theres also a good amount of clearence between the oil pan and diff, since the differential is basically rigid mounted to the frame I dont really have to worry about flex.

I am going to replace a few studs on the oil pan with bolts for a little more clearence, and if necessary I can always massage the oil pan for a little more clearence. I could of set the motor alot higher and still not have any clearence issues with the hood or anywhere, but the lower the better once again.
 

Attachments

  • 102_0179 (Large).jpg
    102_0179 (Large).jpg
    97.5 KB · Views: 46
  • 102_0174 (Large).JPG
    102_0174 (Large).JPG
    72.1 KB · Views: 42
  • 102_0169 (Large).jpg
    102_0169 (Large).jpg
    95.7 KB · Views: 34
  • 102_0168 (Large).JPG
    102_0168 (Large).JPG
    88.8 KB · Views: 35
  • 102_0167 (Large).JPG
    102_0167 (Large).JPG
    66.4 KB · Views: 32
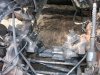
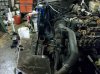
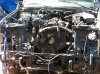
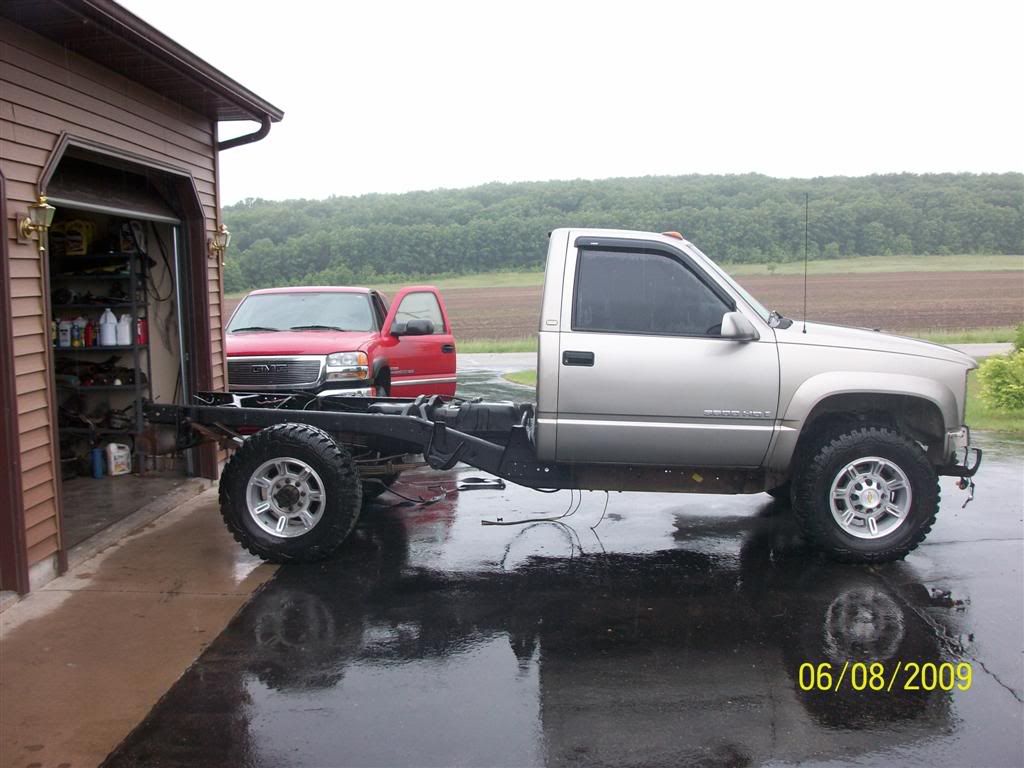
One more shot of the motor in its final resting spot, fits in there perfectly.

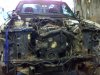
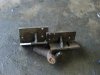
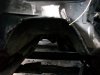
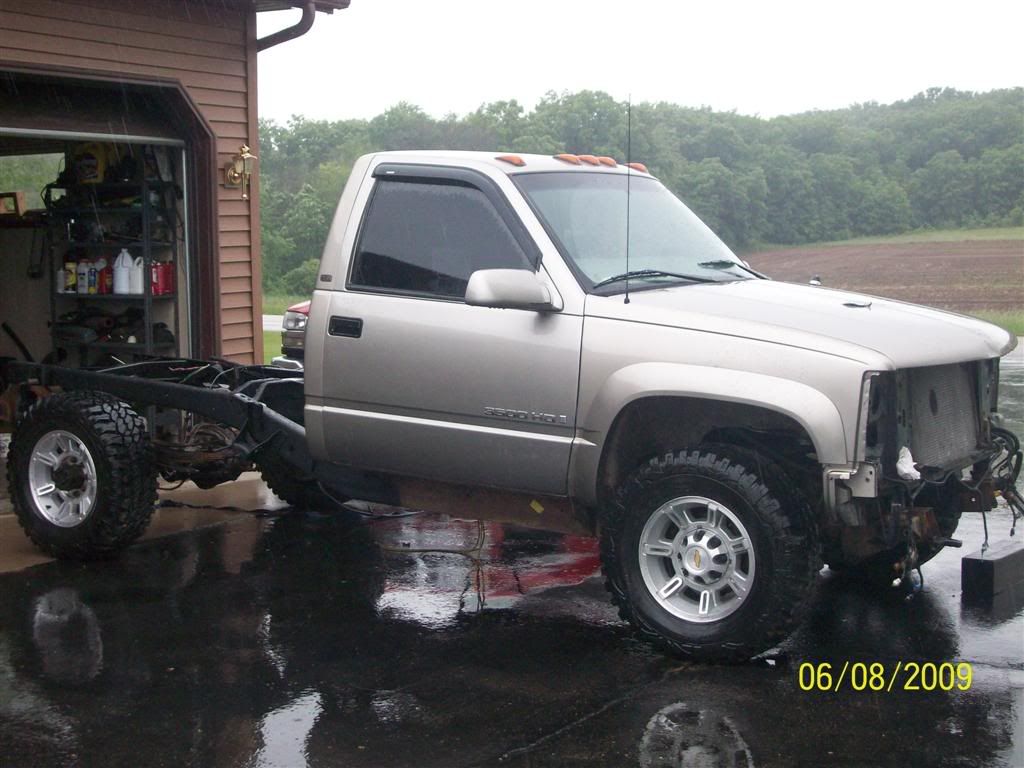
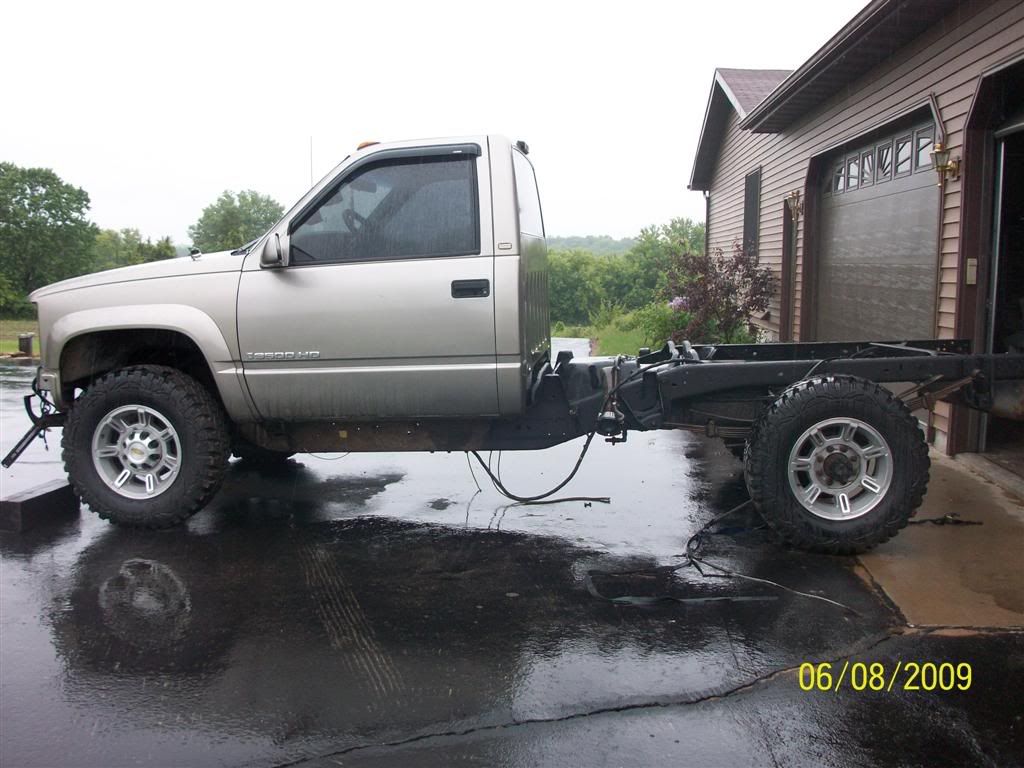
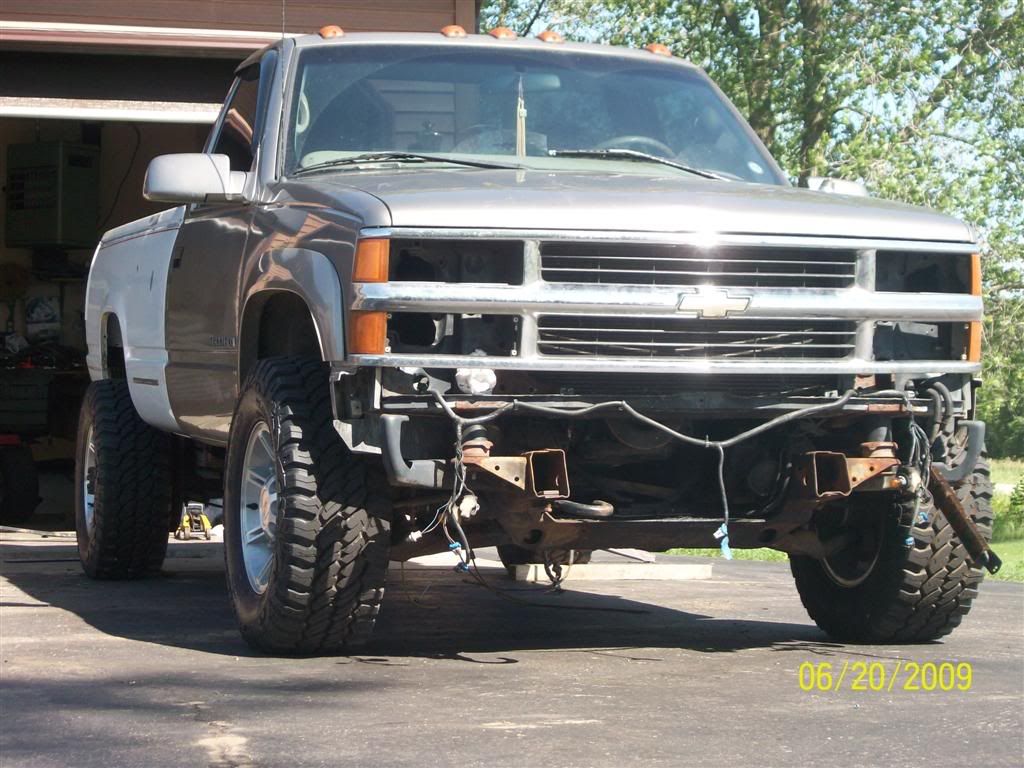
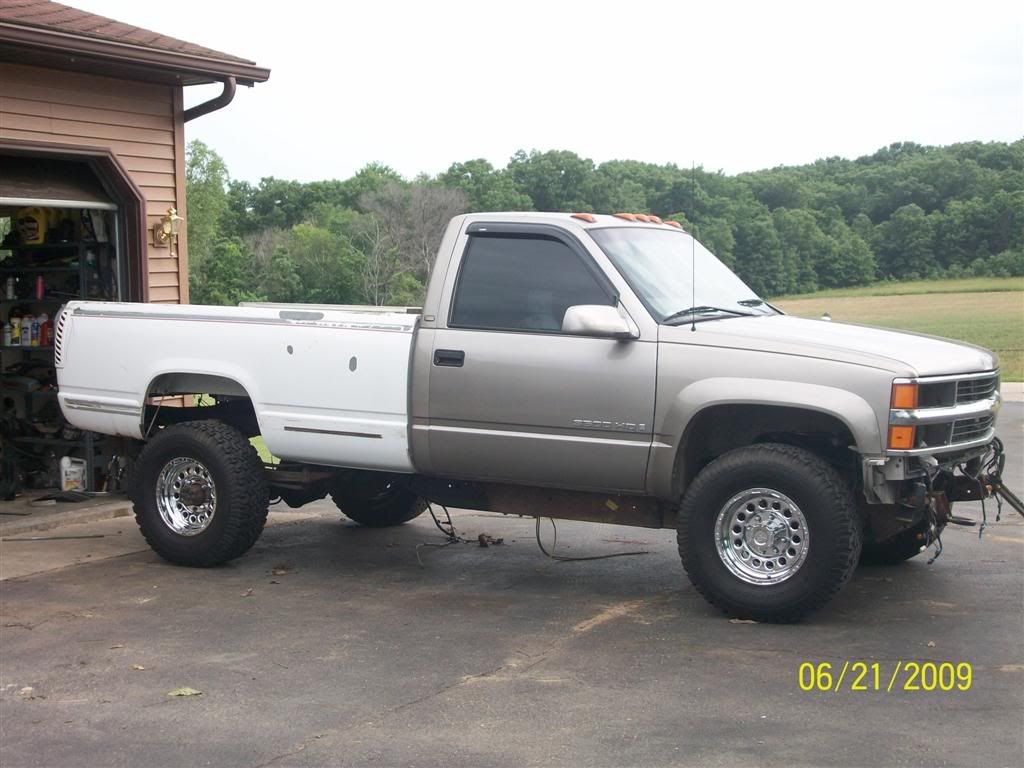
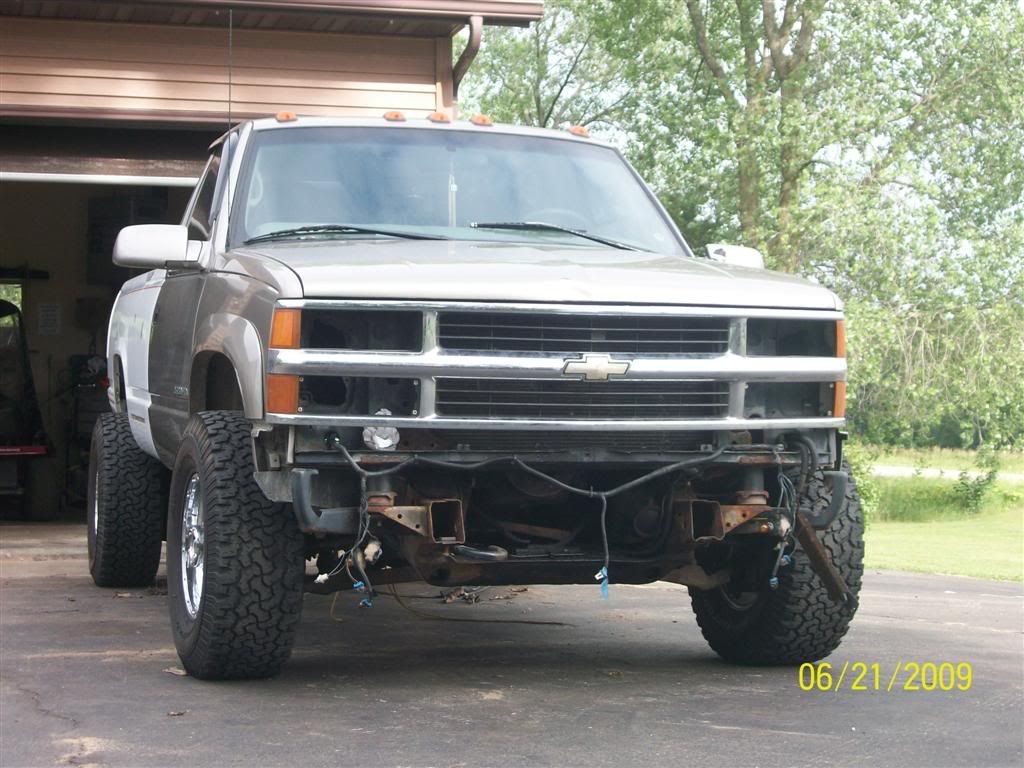
The remaining shot of are of what I had to cut or "massage" on the truck. I hear alot of people talk crap about the 6.5 to cummins conversion, saying you have to smash up your truck and cut it all up and it barely fits:rolleyes5:, You absolutely dont have to cut or smash anything if you dont want to, I did so I could fit the motor in the best possible spot in the truck as low as I could and as far back as I could.

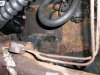
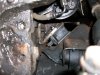
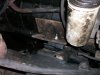
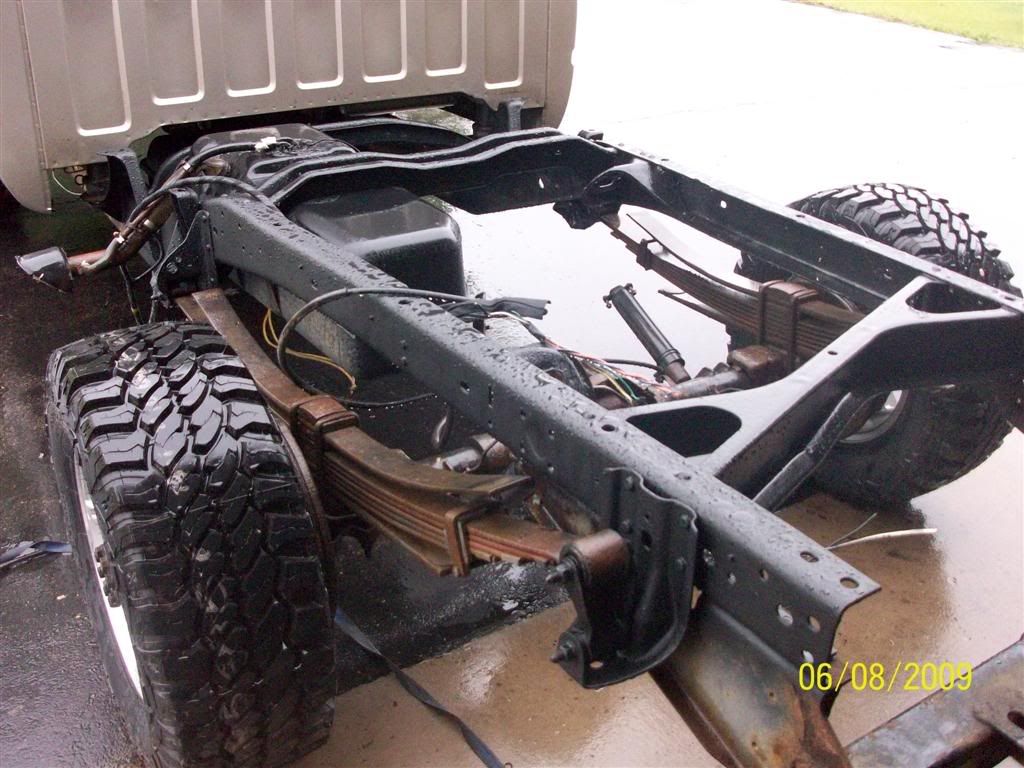
I had to shave a little ear off the old stock 6.5 engine mount pad as pictured, so i could fit the motor really low, with having to worry about any rubbing.

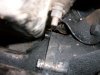
I pounded back the 3/4" lip where the firewall joins to the cab, to free up some real estate, no nessacary but it looks better without the pointless lip there, and I have more clearence now.

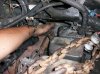
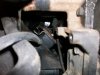
Finally I cut the top of the core support, its either that or remove it all together to put the motor in. Its alot easier to just cut it than remove the whole thing, and I still have the front structual support. I am going to make a bracket so I can just bolt the piece I cut out, back in when I am done, this way it will make it easy when I remove the motor in the future for internal engine work.

I can remove all the valve covers and service the top end of the motor and do any work I may need to with the motor in the truck. It looks like it'll be easier to work on it, in a Chevy, and it is in the cab-forward Dodge design.

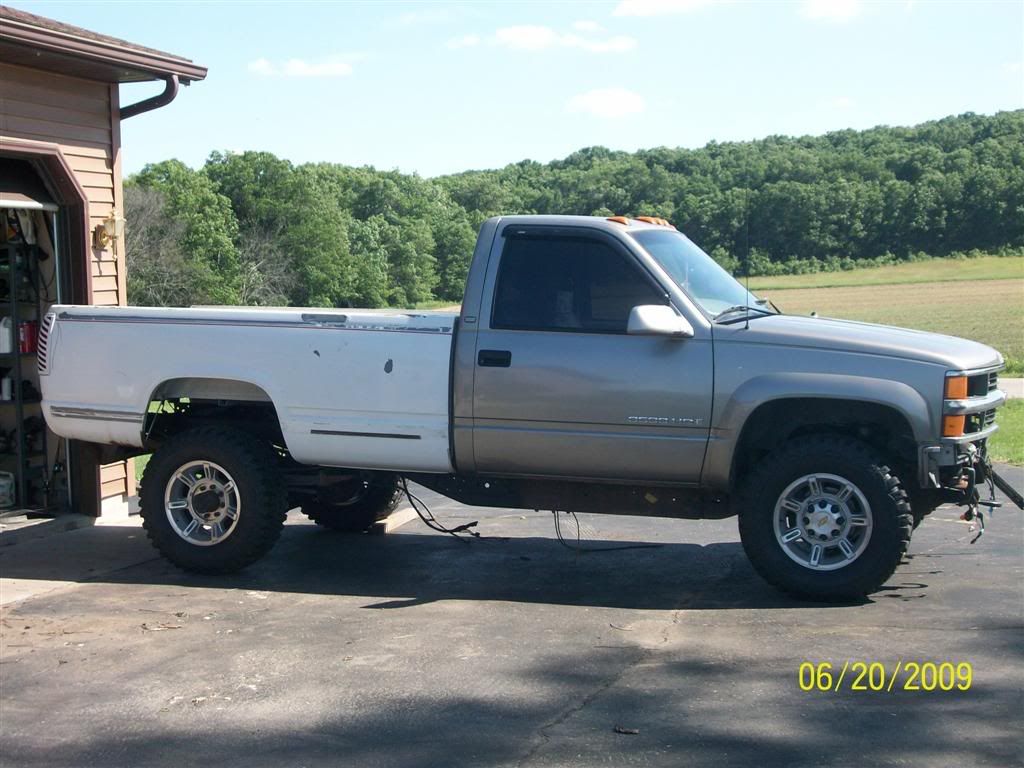
All I can say it really is a great feeling when things start coming together. Just wanted to say thanks to NYCEGUY, whos on a couple other forums for helping me get this far, he answered just about every question I could think of regarding this swap so far.
 

Attachments

  • 102_0180 (Large).jpg
    102_0180 (Large).jpg
    96.3 KB · Views: 38
  • 102_0154 (Large).jpg
    102_0154 (Large).jpg
    92.3 KB · Views: 46
  • 102_0155 (Large).JPG
    102_0155 (Large).JPG
    81.1 KB · Views: 46
  • 102_0157 (Large).jpg
    102_0157 (Large).jpg
    99.6 KB · Views: 50
Glad its coming along for you, that would take me years!

It'd probably take me years, but after 3 years of going slow, and now driving the g/f cavalier, I have all the motivation I need to get this going, that and all the money Im putting into this, it'd kill me to just leave it sit.

Looks like I'll have my 4K rpm governer spring kit, #60 valve springs, and my titanium keepers and retainers by friday, so I have to take to motor out 1 more time and I can get this stuff out of the way will the motor is out of the truck, that'll make it a little easier than doing it with the motor in the truck.
 
Got the Motor, trans, and transfer case in this weekend. Just took the torsion bars, and trans crossmember out and slid it all in, in one piece. The truck is back now on its own weight. I had to relocate the torsion bars back 1", ran out of time before I could throw in the crossmember, I may shim the motor up a little bit, before I bolt everything in for the final time. I also got the 4K governor springs installed, but the 60# valve springs and retainers wont be here until next weekend.
 
sweet. put up a video when you get it running. good to see you gettin it done. :thumbsup:

luck.
 
nick, you bought that cummins from my buddy. i am almost positive. if i would have known that was you buying it i would have met you down at the shop. what did you think of his jeep??
 
Sounds like you are making progress, I hope I can get my swap done in a timely manner because not having my Burb is making me have withdrawals.
 
When using the cummins/nv4500 and an off the shelf upgraded SBC unit your going to have to add an inch or so to the throw rod on the master cylinder to make it work with the Chevy clutch pedal, I've also been advised that, the 2 plastic pop out pins that retain the clutch pedal arent up to the added stress of a increased plate load clutch and I knockout out the plastic pins and just inserted a bolt in there.

The frame has been grinded down to bare metal POR-15ed. I dropped the tank Por-15 it as well and installed a -10 AN bulkhead in it for a gravity feed system to the lift pump. No pics this week, I'll get some up in a week or 2 when I get back home.
 
100_0509Large.jpg

100_0510Large.jpg

100_0506Large.jpg

100_0507Large.jpg
 
Lookin good. Going to SRW this time around??

Yes sir, got a mint rust-free box for $400, and a AAM 11.5" out of a Dodge Cummins for $350. So disc brakes all around and the strongest axle in a pickup you can get. Next weekend, depending on how things go, Im hoping to throw the axle underneath and get the box on. Buying a house now though, so if all goes as planned I plan on closing at the end of July which means I have to come up with lots of cash for down payment and closing costs, I was hoping to get it running before the end of August, but :nonod: We'll have to see, I've got the hard parts out of the way, now its jsut a matter of cash.

Thanks for all the compliments guys.
 
Lookin good man. I am gettin ready to start my Chummins project when I get home. But your looks killer SRW 1 tons are freakin cool.
 
Got the box on this weekend, picked up the new wheels and tires, and the axle got shipped today. It definetely looked alot meaner, with the H2's and mud tires on but, with the paint color I have planned for it, I think the rims will look at home on the truck. I got another AAM 11.5" under my D-max, but I never realized how massive of an axle it was until it showed up on a pallet from Texas. Not bad for a $150 e-bay find What do you think? Lol, just got to move the perchs in a little bit and I can throw it under the truck.

100_0512Large.jpg

100_0520Large.jpg

100_0523Large.jpg

100_0529Large.jpg

100_0533Large.jpg
 
Back
Top