Grisley1958
Well-Known Member
- Messages
- 202
- Reaction score
- 573
I remember on the video the guy said 27" worked perfectly

Follow along with the video below to see how to install our site as a web app on your home screen.
Note: This feature may not be available in some browsers.
Problem with using the old LCAs is the turning radius is cut down because of the stamped LCA. (At least that's what I hear)
I have a 7 degree taper that seems like a good fit for reaming the tie rod but doesn't fit the ball joint holes. I have a 10 degree coming tomorrow that should fit that
@Big T can you confirm where and which reamers are used on the GMT800 knuckle?
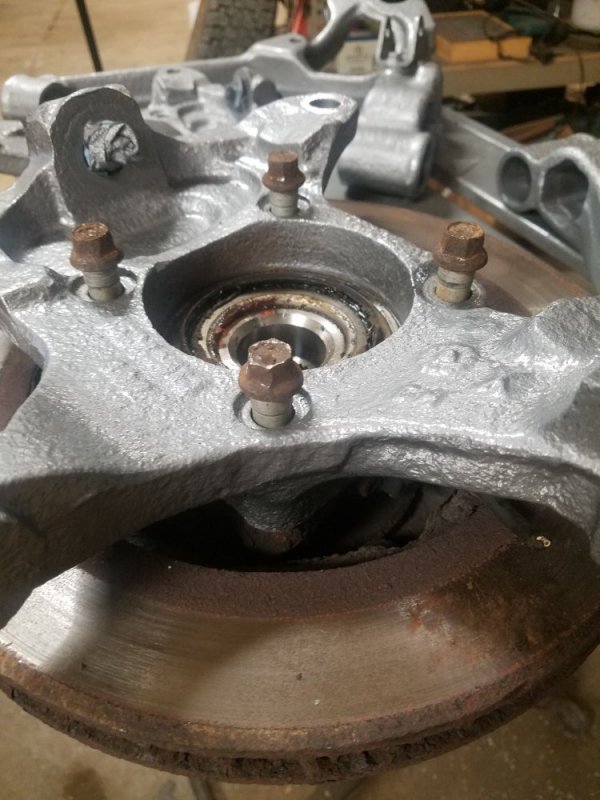
I had the day off today and my 10 degree taper showed up so up to the shop to see how it fits. Taper seems to be right on. Couldn't fit the knuckles in my drill press (not tall enough) so I mounted it in my 3 legged Harbor freight vise to try it out. Went on slow speed really carefully and kept checking fit. When you get to the point where the threads of the ball joint will just come through the hole, you're almost there. I went until I could screw on the nut by hand and see half the hole through the castle. wound up using the 10 degree on the tie rods too. Original tie rods are really loose in the knuckles (not what I had read somewhere) but the ball joint holes are smaller. Probably the ball joint itself is at least as large as the GMT400, maybe it's just the taper that's smaller. I literally had both upper holes and both tie rod holes done in 20 minutes. The "Speedway" taper I got went through that cast like butter. Now I have to replace the ball joints and bushings in the lower control arms and then I can install everything! I'll probably burn out the old bushings.
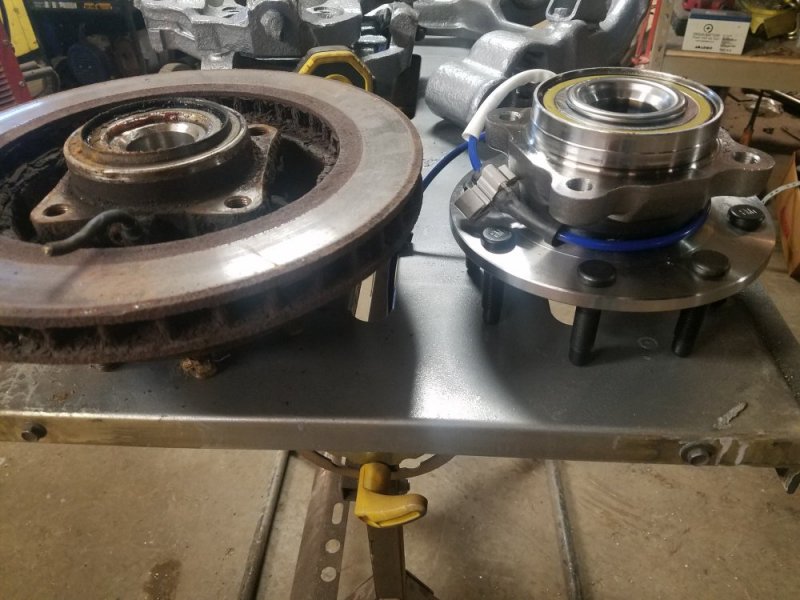
Do the 8 lug 1995 2500 4x4 wheel bearings bolt into the gmt800 spindles? My bearings are pretty new. Contemplating doing this mod. Thanks.
1994 and earlier only had rear wheel abs so those should work. I think 95 and up did have sensors in the front.Yes and they all had ABS, so no way around that.