• Welcome to The Truck Stop! We see you haven't REGISTERED yet.

    Your truck knowledge is missing!
    • Registration is FREE , all we need is your birthday and email. (We don't share ANY data with ANYONE)
    • We have tons of knowledge here for your diesel truck!
    • Post your own topics and reply to existing threads to help others out!
    • NO ADS! The site is fully functional and ad free!
    CLICK HERE TO REGISTER!

    Problems registering? Click here to contact us!

    Already registered, but need a PASSWORD RESET? CLICK HERE TO RESET YOUR PASSWORD!

Fluid Dampnr install

Messages
23
Reaction score
69
Location
Northern Virginia
Brothers and sisters,
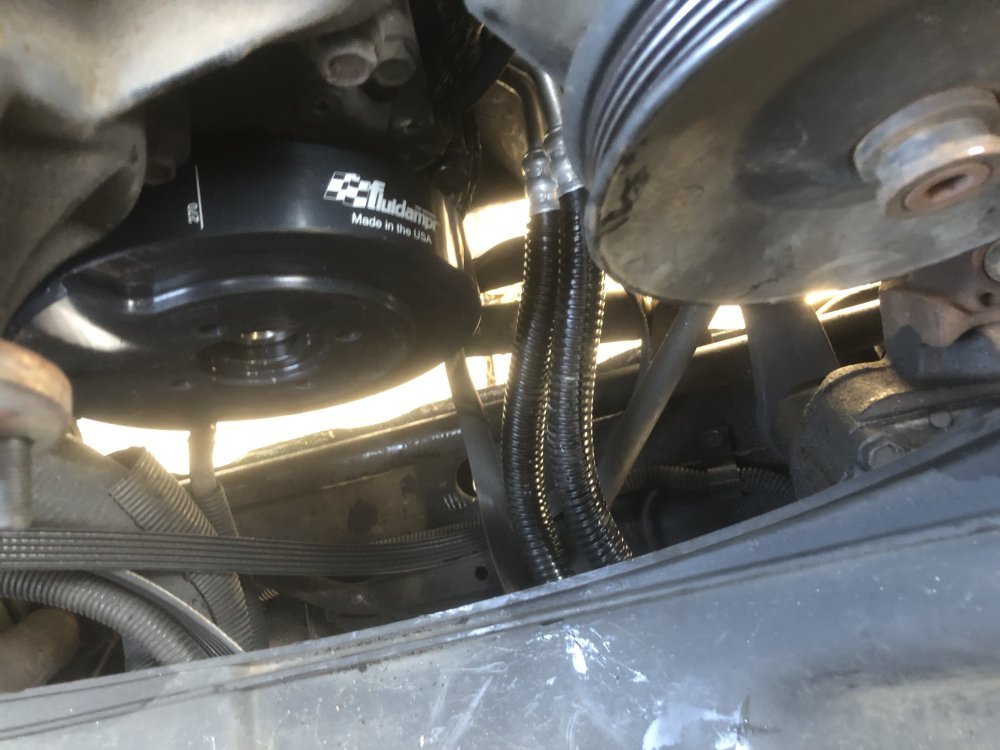
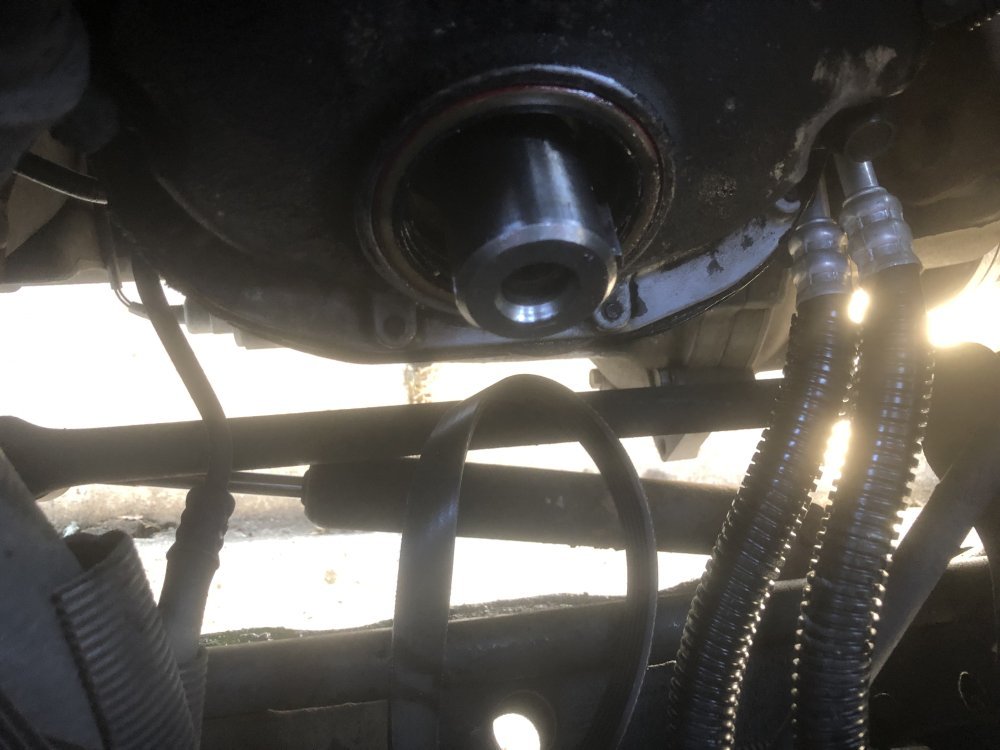
I am ready to tackle the next project on my 95 suburban. She has been coming along great thanks to your timely bestowed wisdom. That being said, its time to pull the old balancer. I have a fluid dampner and leroys billet crank pulley ready ready to roll, I just have a few questions or those who have done it. The tools needed..... My research has yielded that pullers are available everywhere but the install tool with the correct thread is a little tricky to find. Looks like by best and most fiscally viable bet is renting leroys kit that comes w puller and install tool with it ( 40 bucks). There is a 250 deposit saddled up with that because apparently hes got a handful of units out there that have not been returned. If there are any better and cheaper I am all ears! Behind the balancer is a seal, ive seen some replace it, some dont....how vital is this? Last, ol gingersnap on youtube mentions putting a little grease on the new one to ease installation. What say you, the general counsel? Thank you in advance!
 
I got the installer tool years ago, on eBay. I believe from a link posted here.

I've been in the middle of this project for a week or 3.

Next step is to determine what socket I need and find my puller and installer.

I'll probably plug the block heater in for a couple hours before trying to remove the bolt.

Work on the seal - only if it's leaking.

I usually put blue or green locktite on seals.

I have the Fluidampr in the heated fridge. I will let the engine cool down before trying to install.

I'll take any tiny help I can get

Torque to 200 ft lbs.
 
Last edited:
Harmonic balancer bolt head size 24 mm. Thread pitch M16x1.5
200 ft. lbs.

Pulley bolt head size 15 mm torque 37 ft lbs.

To make an install tool the threads need to be at least 6" long. M16x1.5

If I have anything wrong here, would a mod please correct me/edit the post

 
Could a mod edit my posts?

Incorrect information.

The torque for the pulley bolts is 30 ft lbs - as I thought. I don't know where I read 37 ft lbs

TORSIONAL DAMPER AND FRONT CRANKSHAFT SEAL REPLACEMENT }*•-•{ Remove or Disconnect (Figures 19 and 20) Tool Required: J 39046 Torsional Damper Puller

1. Negative battery cables. Refer to SECTION OA.
2. Accessory drive belt.
3. Bolts and crankshaft pulley.
4. Torsional damper bolt and washer.
5. Torsional damper. Use J 39046 (figure 19). 6. Front crankshaft seal. Pry out with a screwdriver. -•« Install or Connect (Figure 20) NOTICE: For steps 3 and 4, refer to "Notice" on page 6A6-1. Tool Required: J 22102 Seal Installer
1. New front crankshaft seal. Use J 22102 (figure 20). Lubricate the seal lips with engine oil. 3106r4578 • Apply engine oil to the crankshaft stub.
2. Torsional damper. Tap into place with a mallet. Make sure the key is in place. Make sure the damper is all the way on the crankshaft.
3. Torsional damper bolt and washer.
3. Clamp and bolt. Tighten • Bolt to 42 N.m (31 lbs. ft.).
4. Wiring harness.
5. Air cleaner.
6. Negative battery cables. ft Tighten • Bolt to 270 N.m (200 lbs. ft.).
4. Crankshaft pulley and bolts. Tighten ft.). • Bolts to 40 N.m (30 lbs. 5. Accessory drive belt. 6. Negative battery cables.
 
Leroy’s is a good option. Not sure if Chris does, don’t think so.
Another member here @Hink has a site he sells a couple things from but isn’t a paying vendor so no posting working hot links. But he has website and YouTube videos of it. Definitely he tries to help folks out and he supports Leroy in selling stuff and sends Leroy customers so I don’t think any bad blood there in mentioning it.
65turbogarage .com a simple tool descrbed as above but with a thrust washer.
This is a balancer install tool only- you still need a puller, but many folks have that laying around or get if from local autoparts store as free rental without shipping headaches.

I will suggest replacing the front main seal at the same time. And if you can do the double lipped seal instead of single= more gooder in my mind. Check that crankshaft for fine scratches- get a speedi sleeve if needed. A tad annoying to install but completely eliminates leaks.

That front seal is stupid cheap and you are right there and it takes a few minutes more is all if it goes easy and an hour if it is a pain for you to learn.


Beyond that because I am worlds worst for hating pulling things apart later-
How old is your water pump? How old is timing chain. Balancer has to come off for those as well. So personally I rather rip the whole front of the engine apart one time then not again for many many miles. Those two things are a ton more work though. They don’t fall into the “while you are at it” category but that front seal absolutely does. Imo if you have 75,000 miles on the front seal and don’t swap it while balancer is off= mistake.
 
Thanks Will,
every other project you guys have helped me on has ended in success....I wont say gone smoothly bc well i'm def that guy who pulls his hair out!
I'm researching pulling/installing the seal and it looks like i can get by without buying those specific tools( $$$). Pry it out with a screwdriver and tap back in w a 2x4 and rubber mallet, after lubing it up that is ( so says 65garage ). What say you?

I'll tackle this project once i'm done sweeping up the pieces of my broken heart from that NFC championship game
 
If you don’t understand what jrsavoie is saying about the grease- ask.

Here is a video where the guy is just replacing his seal- different engine than ours but principle is the same. When it gets to 8:35 STOP!! He does the rest wrong. Getting a balancer started by tapping with wooden or plastic hammer handle a couple times to know it is going onto the keyway a little is ok. Then use the harmonic balancer install tool.

Post a link to the way you saw-

What kind of video is that?
 
What kind of video is that?
Random one I found- just trying to show screw & prybar technique.
His pvc pipe trick is same one many diy guys do- just get the pipe that fits the seal diameter and cut so that it is longer than the crankshaft snout. Use any big washer and pull in seal with balancer install tool instead of crank bolt.
I say if ya own a couple 6.5’s buy the $30ish tool from @Hink .
 
Back
Top