• Welcome to The Truck Stop! We see you haven't REGISTERED yet.

    Your truck knowledge is missing!
    • Registration is FREE , all we need is your birthday and email. (We don't share ANY data with ANYONE)
    • We have tons of knowledge here for your diesel truck!
    • Post your own topics and reply to existing threads to help others out!
    • NO ADS! The site is fully functional and ad free!
    CLICK HERE TO REGISTER!

    Problems registering? Click here to contact us!

    Already registered, but need a PASSWORD RESET? CLICK HERE TO RESET YOUR PASSWORD!

Banks 6.2 Sidewinder Manifold Upgrade

DieselAmateur

She ain't revved 'til the rods are thrown...
Messages
619
Reaction score
1,555
Location
Upstate NY
After sitting on my shelf for 2 years, I finally got around to making this upgrade happen. Sadly the Sidewinder manifold is discontinued and no longer available from Banks, but hopefully this helps the few who already have one or are lucky enough to score a used one.

There are several others who did this upgrade years ago so credit goes to those who paved the way. I hope this can help folks in the future too.

Parts needed:

Banks Sidewinder Manifold, #51002-00
Van/ Hummer exhaust manifold, RH #10238373
GM EVO delete tube, GM #19168825
Power steering pressure hose from 97+, I used GATES 365460
2" vband connectors and clamp
2" 3 bolt exhaust flange
1 3/4" short sweep elbow
1 3/4" 45* pipe mandrel bent
One 1 3/4" to 2" exhaust coupler
Two 2" 60* mandrel bent exhaust pipes, 1' length each
Extra 2" pipe
2" stainless exhaust bellows

I live in the salt belt, so I elected to make the entire crossover pipe out of stainless. It will get exhaust wrap which I consider a necessity given how close it runs to the power steering line.

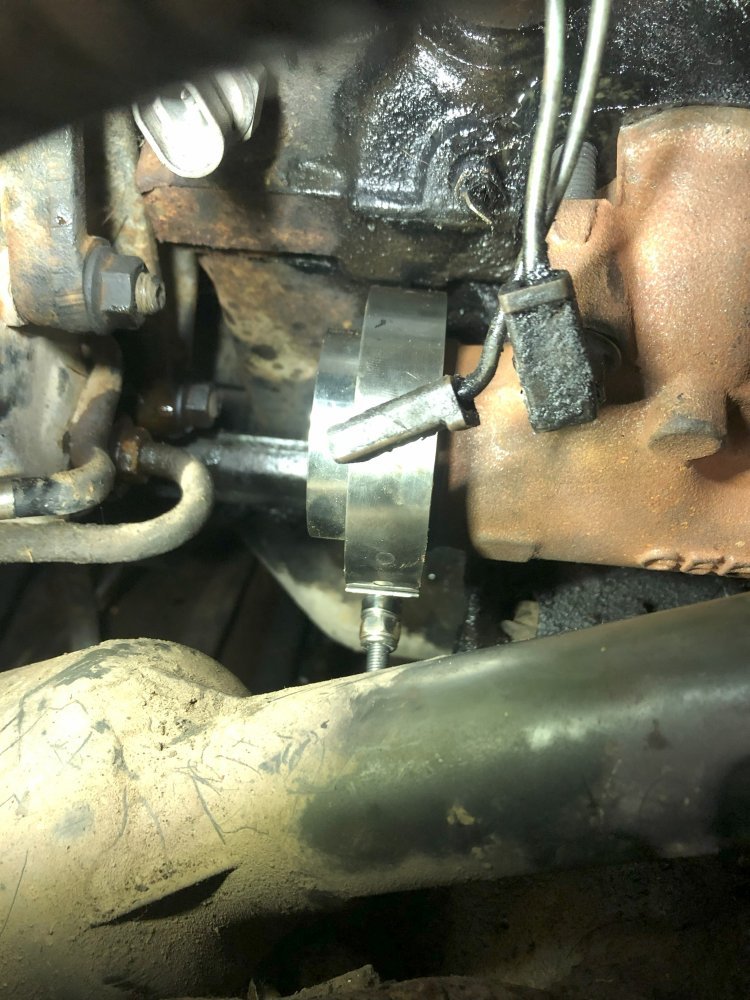
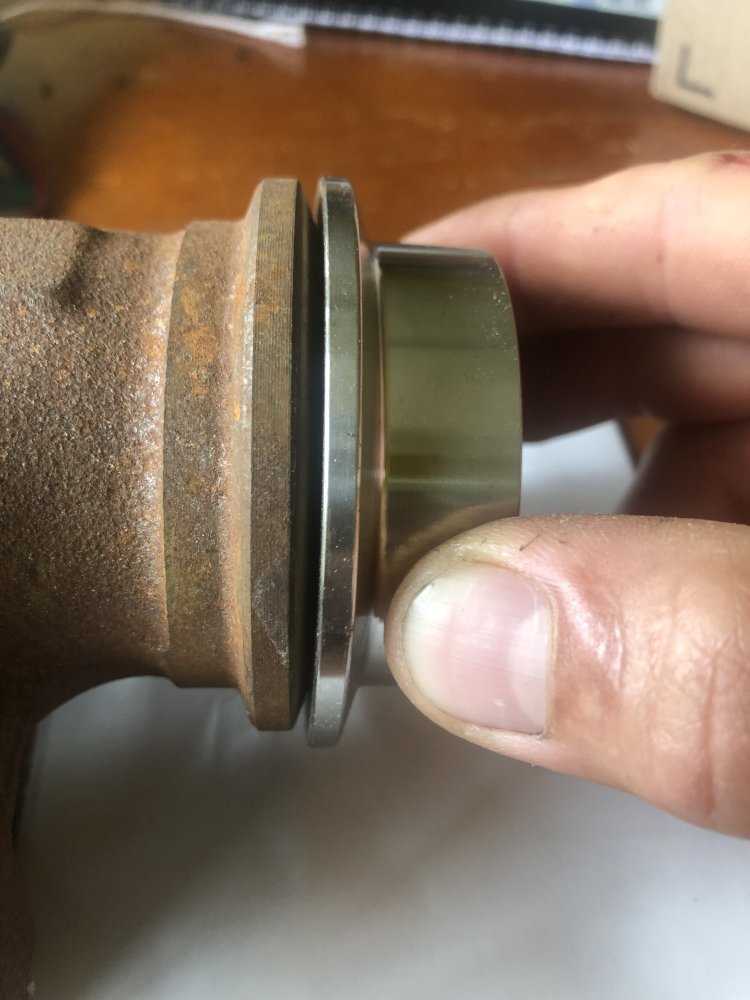
The first thing I addressed was the van/ hummer exhaust manifold. It has a tapered sealing surface to accept a flat face flare, like a turbo to a downpipe. So mating up to a vband flange out of the box is a no go
IMG_9082.JPG


So what I did was take the manifold to a machine shop and have the flange milled down flat. I went this route because I wanted to be able to use a vband connection, and I wasn't sure stainless could take a flat face flare without cracking. Furthermore it proved difficult to find a shop around here that could do a flat flare, and given how I was going directly from the manifold to a short sweep elbow, flaring a curved piece of exhaust seemed more challenging than getting a face milled down.
 
I didn't get any pictures of the milled face, but will add later.

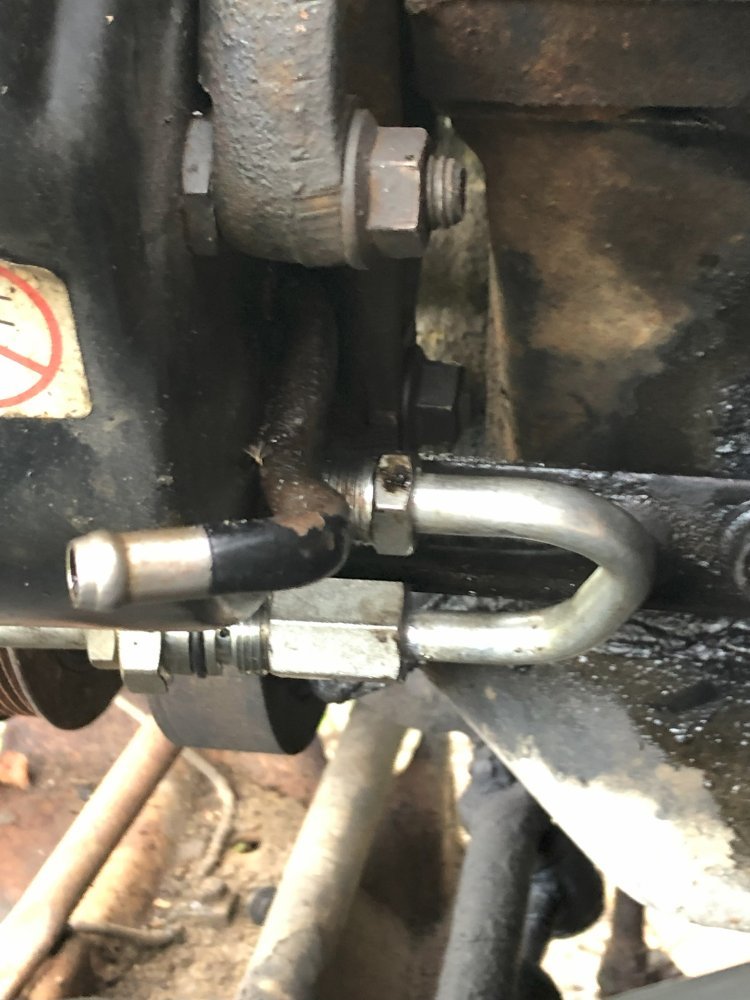
Next up was to figure out the power steering. On the 92/95 trucks, the pressure hose from the pump to hydroboost sticks out pretty far behind the pump and points directly at the van manifold

IMG_9113.jpeg

There are several workarounds to this. Others have used the driver's side manifold, which has an elbow on it already, albeit in the wrong orientation. In another thread on here this elbow was cut off and re- positioned to point down and clear the power steering line without issue. Another option is cutting off the flange of the manifold back to nearly the first bolt on the #1 cylinder and welding on a short sweep elbow.

Both of these options consisted of cutting and then welding cast iron, which I wanted to avoid. While doable, I did not want to change the continuous nature of the metal as I plan on getting the manifold ceramic coated and didn't want to go through that additional expense only to have a weld crack/ fail in the future.

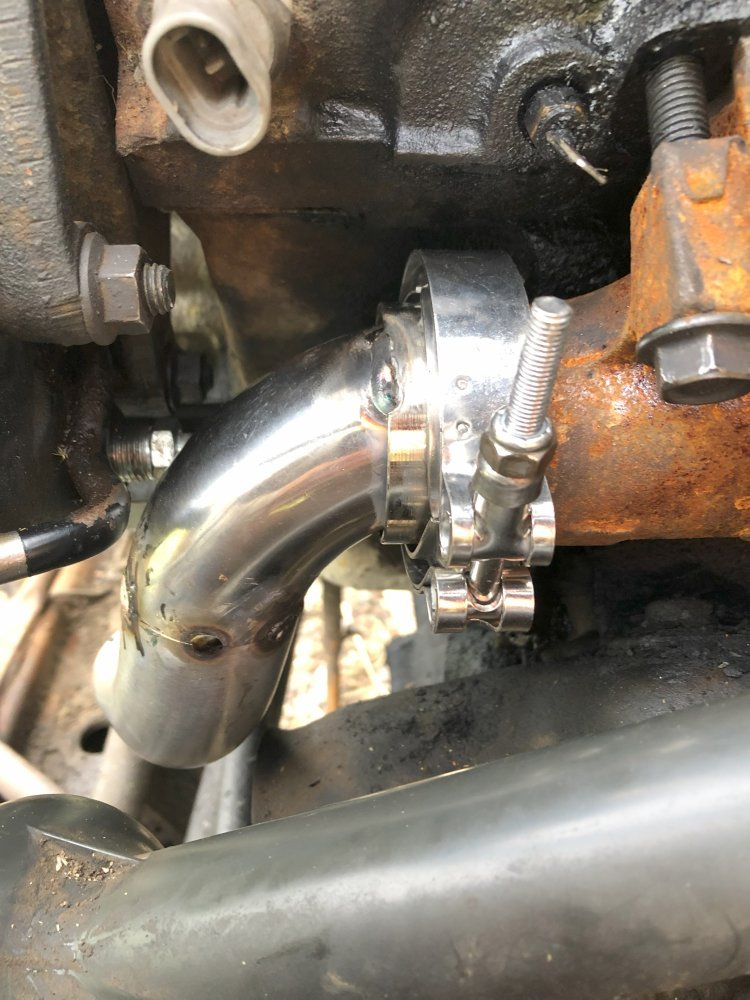
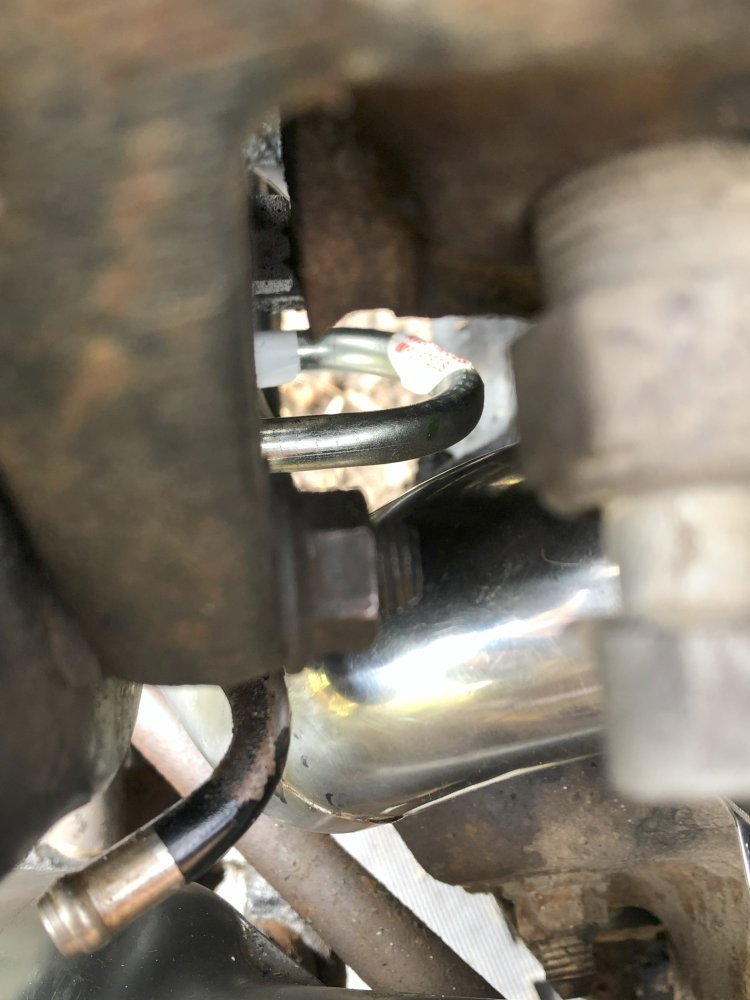
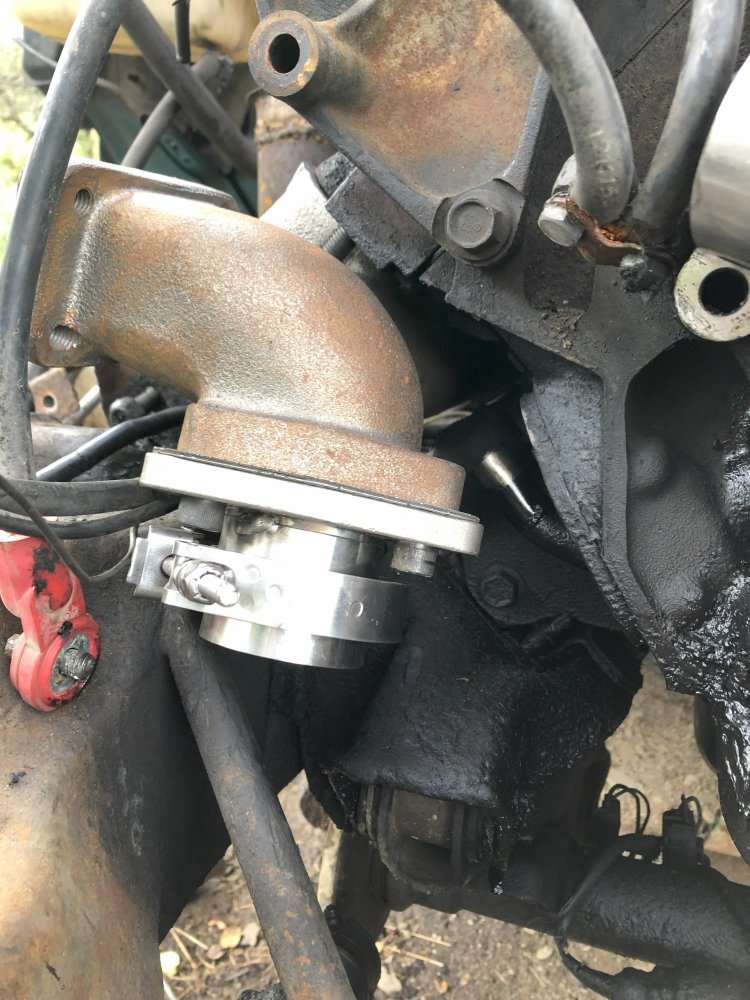
So what I did was use the GM EVO delete kit coupled with a later model power steering pressure hose. Credit goes to @dixiepc for bringing this little piece of hardware to my attention. It's an expensive little tube, but it allows for enough clearance to sneak a 1 3/4" elbow past the power steering pump without having to modify the manifold outside of machining it flat

IMG_9176.jpg
 
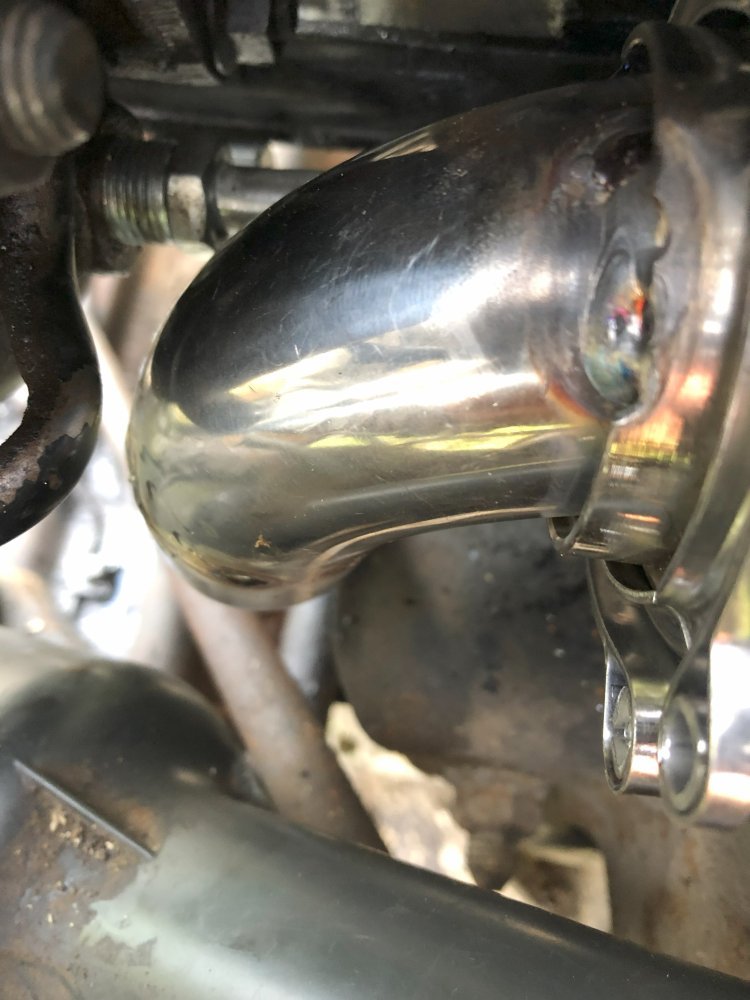
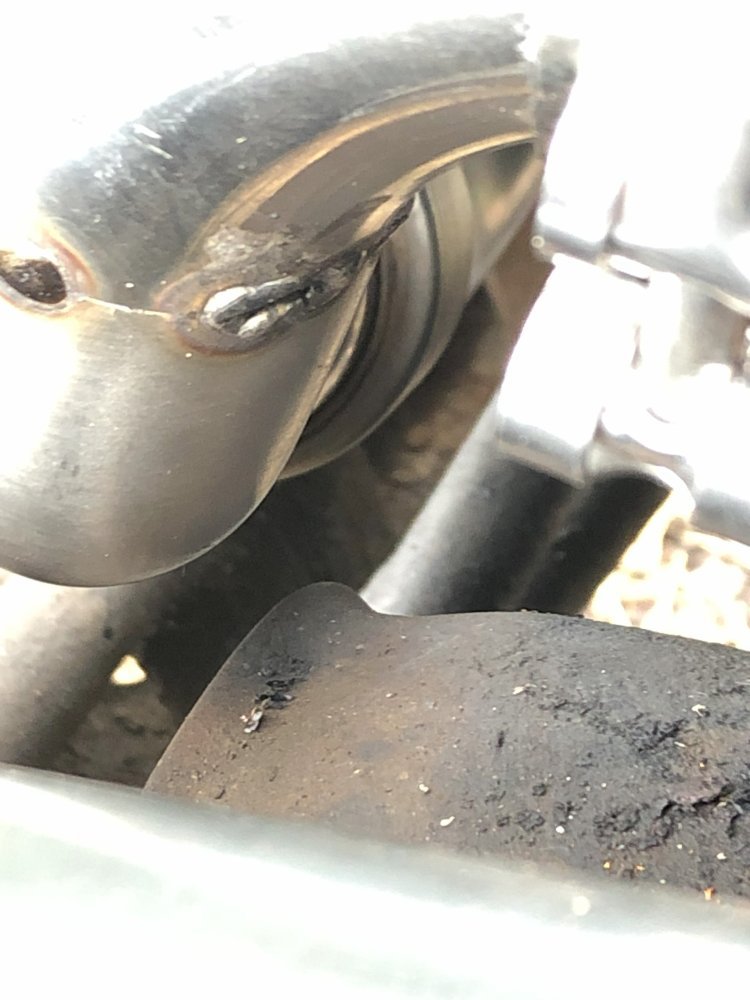
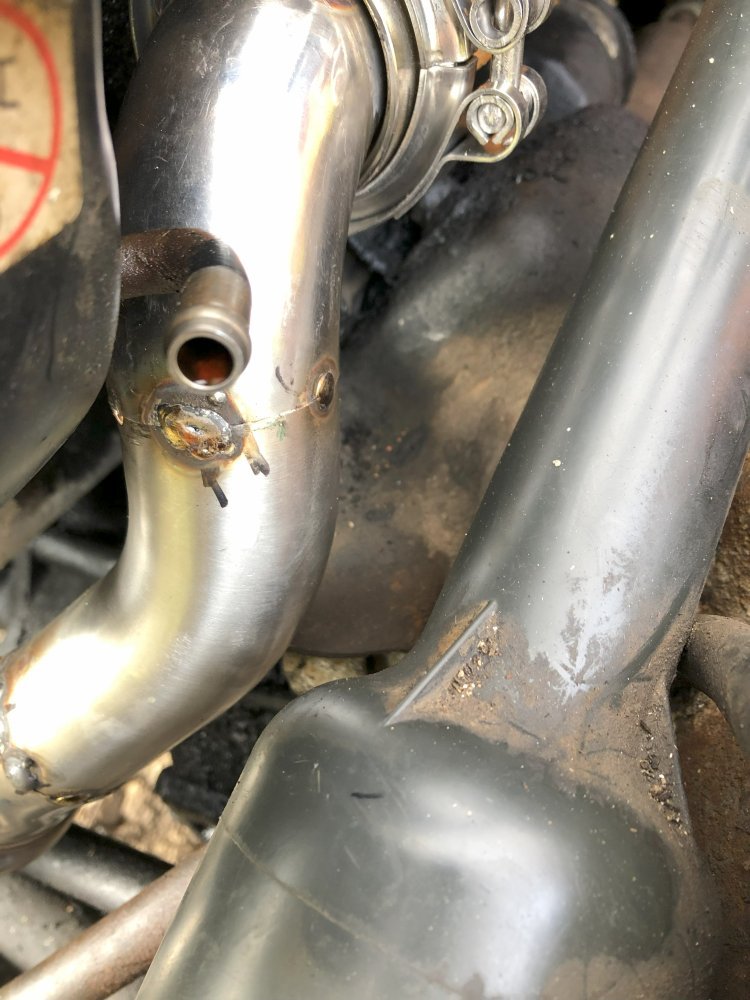
Additionally, even though the manifold is 1 3/4" in diameter on the inside, the flange accepts a 2" vband clamp. So without milling it smaller a 1 3/4" vband wont work. This proved helpful though, as to gain all the clearance I needed I slipped the 1 3/4" elbow into a 2" vband and made something akin to a cobrahead elbow. I'll have to weld the inside of the connection for the smoothest transition. I tried using a 2" short sweep elbow and it just didn't have the clearance.

IMG_9180.jpeg
 
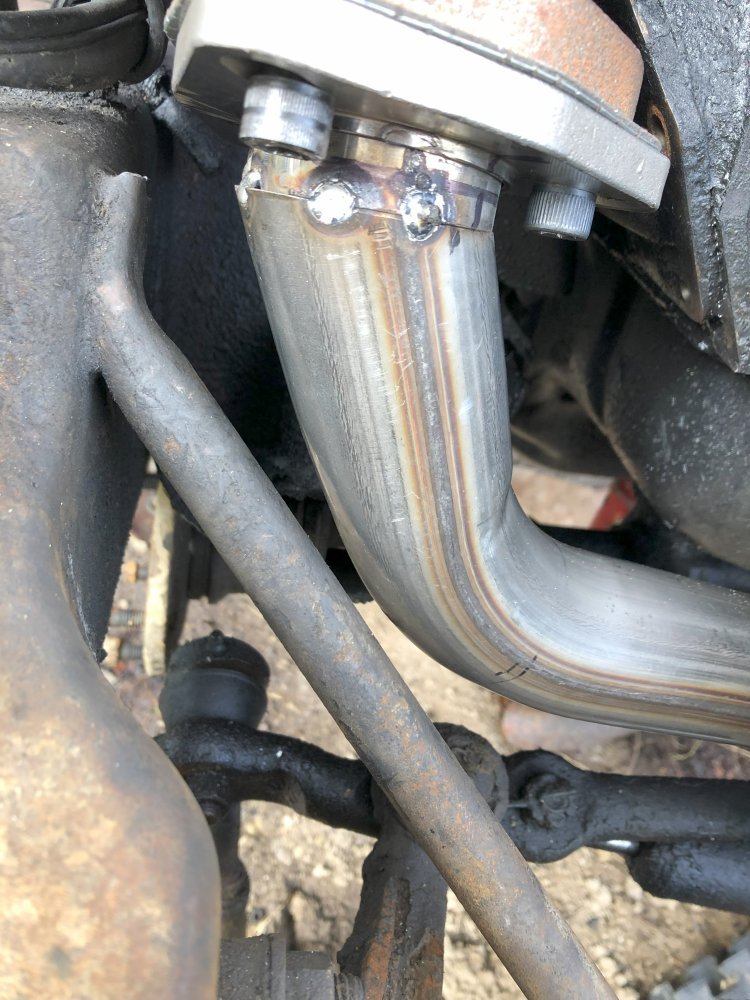
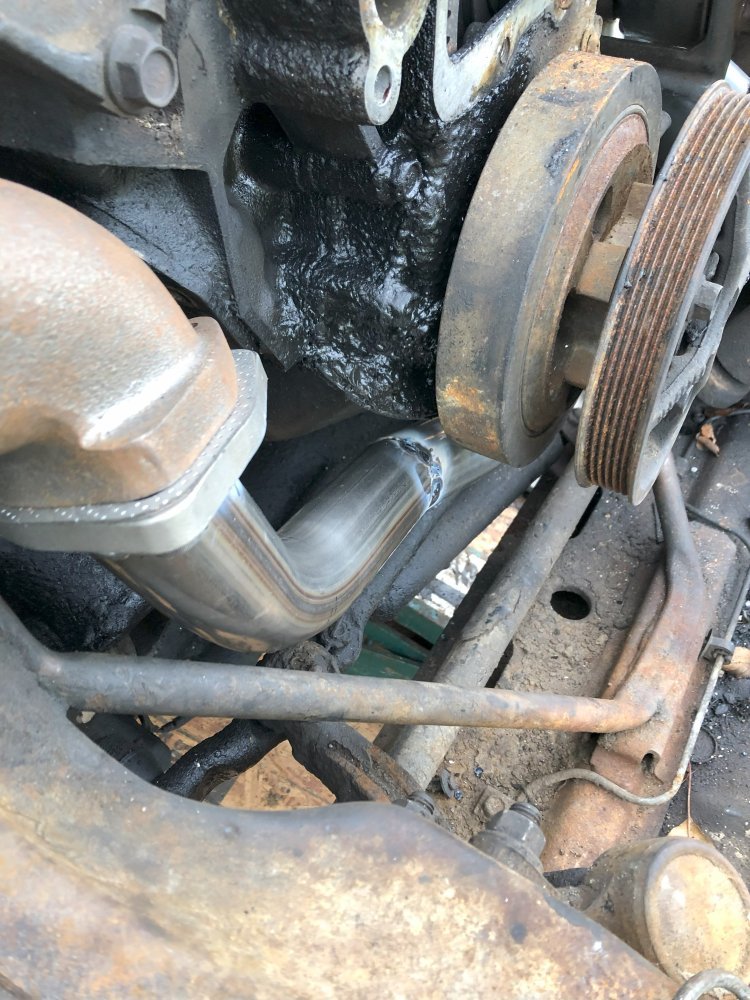
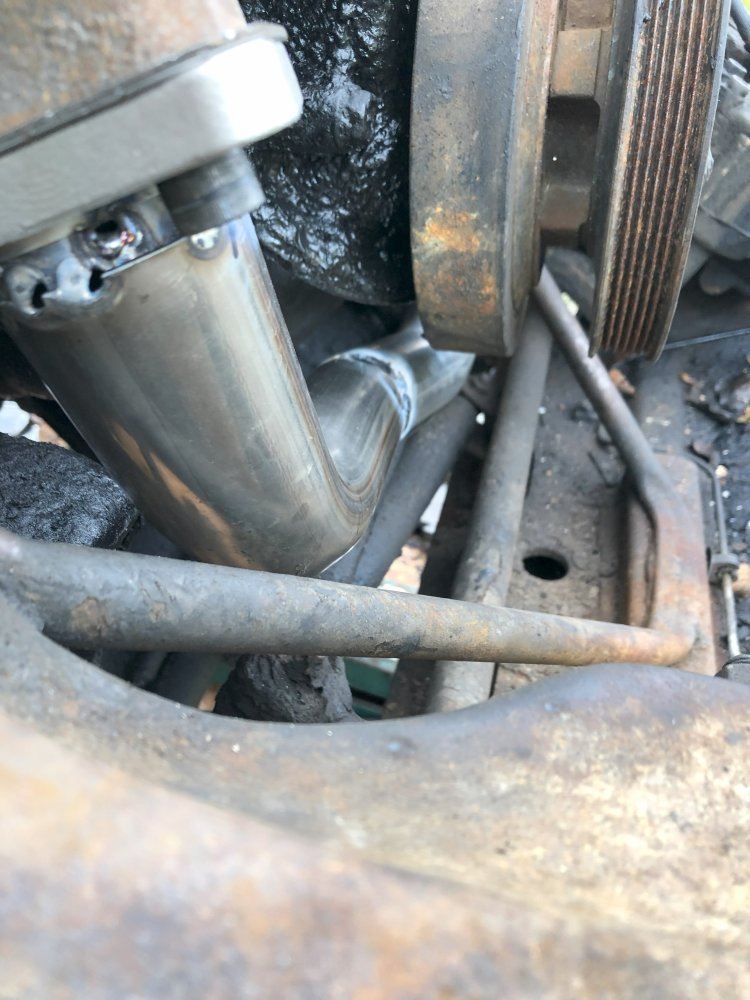
The goal of this upgrade is better exhaust flow, so stepping up to 2" as quickly as possible is the goal. On a whim I had purchased a 45* piece of 1-3/4" pipe, and I'm glad I did as it allowed for a smooth transition around the front diff mount and good orientation towards the passenger side destination

IMG_9212.jpeg


IMG_9218.jpeg

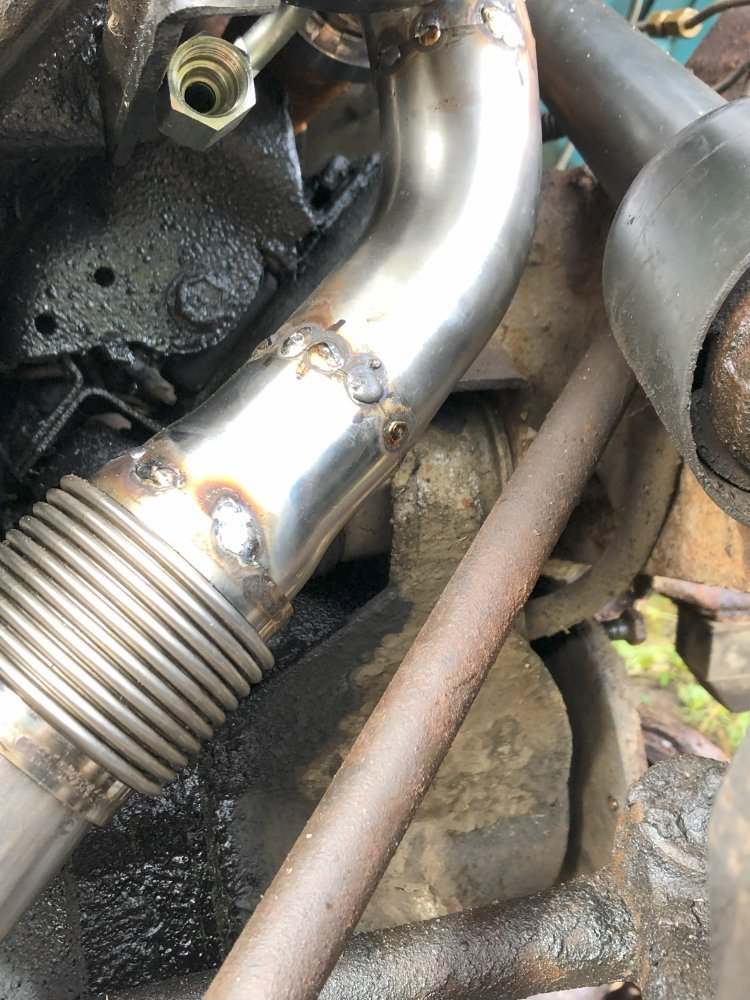
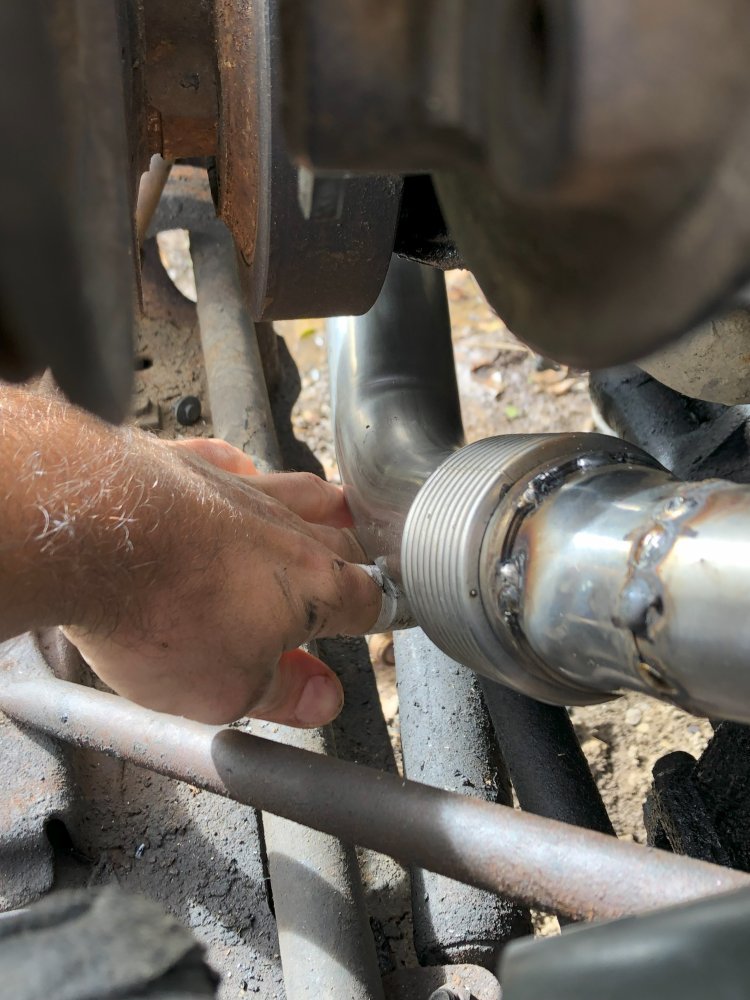
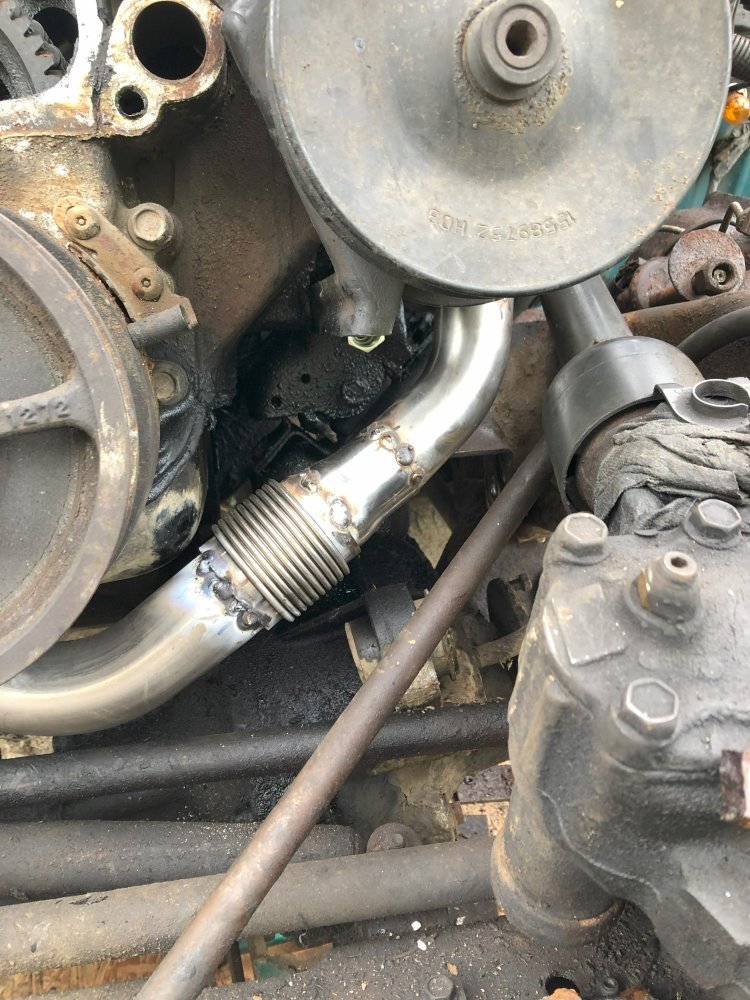
As seen in the above picture, I transitioned from 1-3/4" to 2" right after the 45* elbow. I purchased an extra thick adapter from CX Racing which was probably overkill but helped with the welding.

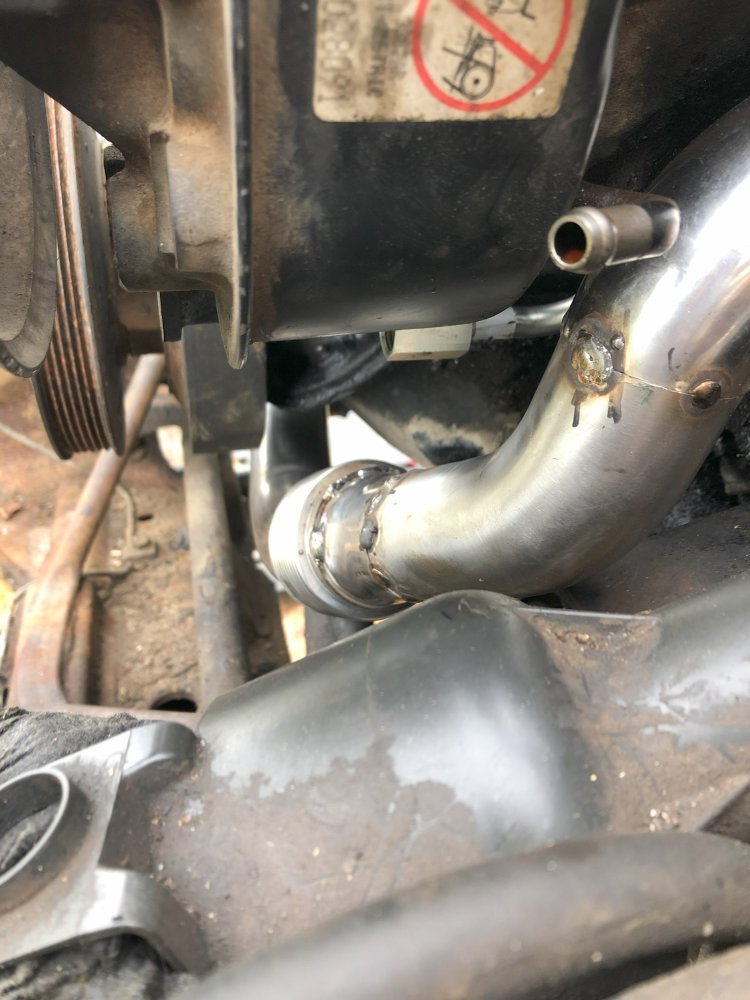
I also put in a bellows as soon as I got to 2". I think a bellows is necessary for this upgrade especially when using stainless. It also served as an easy coupler piece that gives some flexibility in positioning and orienting the next piece of pipe under the engine.
 
On the other side, I really wanted to use another Vband connection. The Banks manifold comes with a 2" 3 bolt flange cast into it, so I welded a 2" vband directly to a stainless 3 bolt flange. Getting away from the factory 3 bolt flanges was a goal here as well

IMG_9178.jpeg

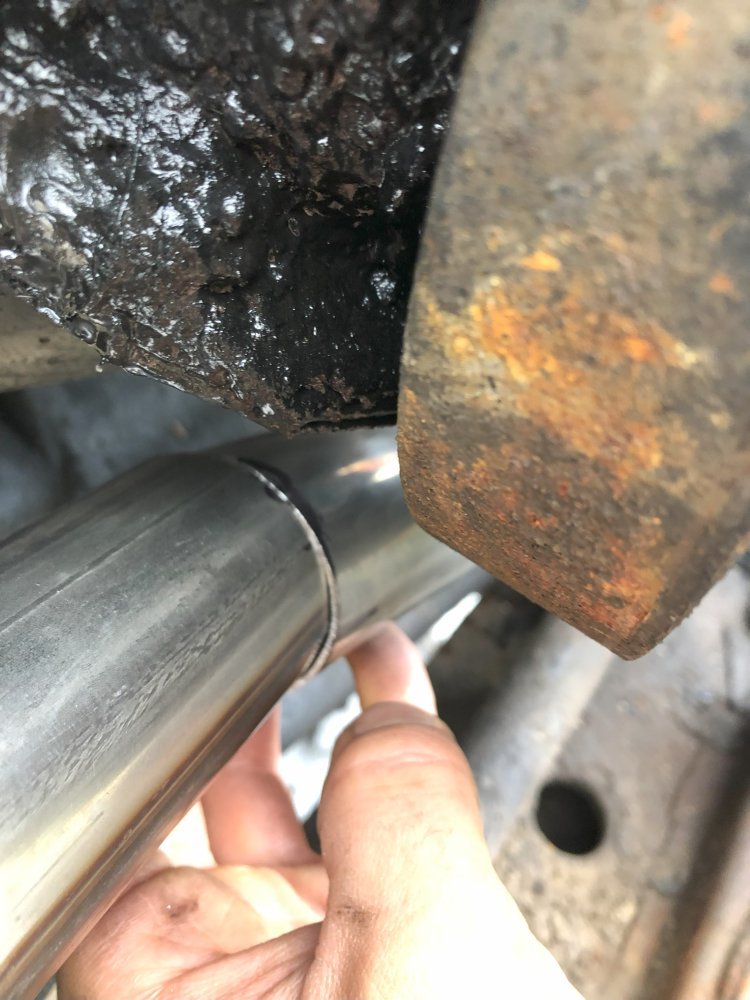
However, when trying to add in the next piece of pipe, it became clear that I couldn't go this route. The frame brace is in the way and every last bit of clearance is needed. So with a heavy heart, I had to remove the vband and settle for one side having a 3 bolt flange

IMG_9211.jpeg

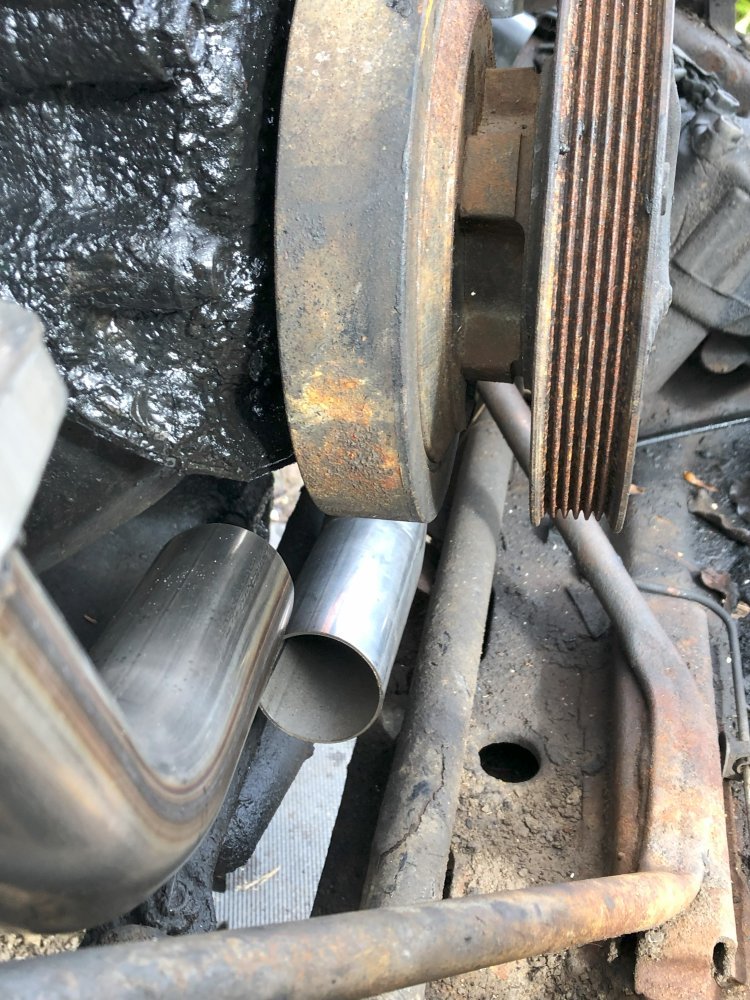
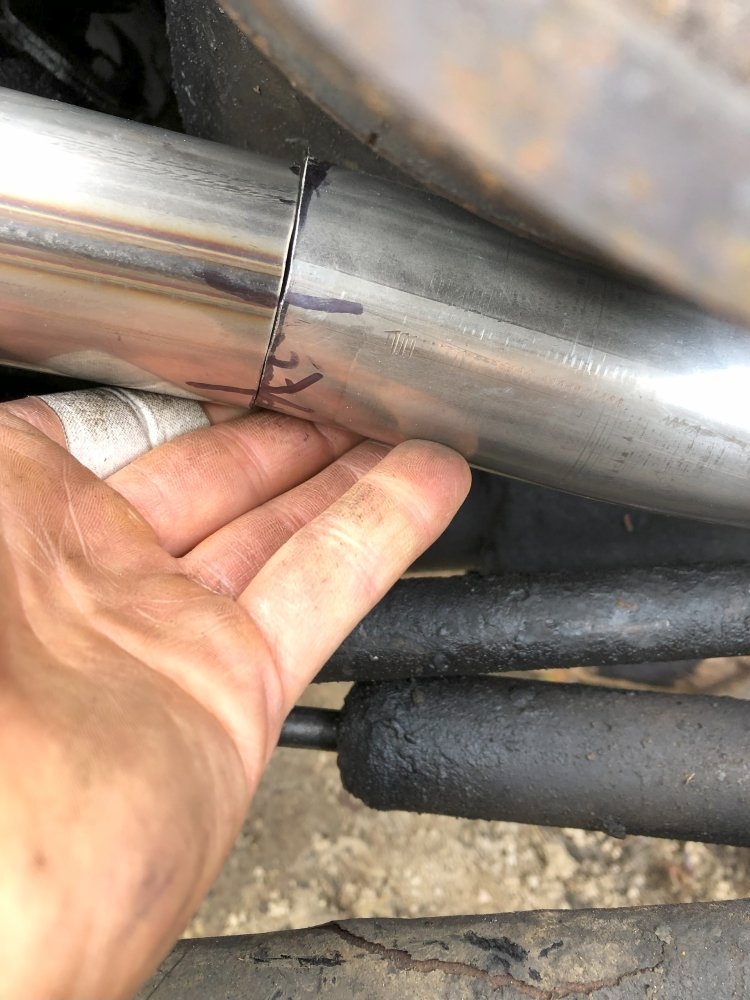
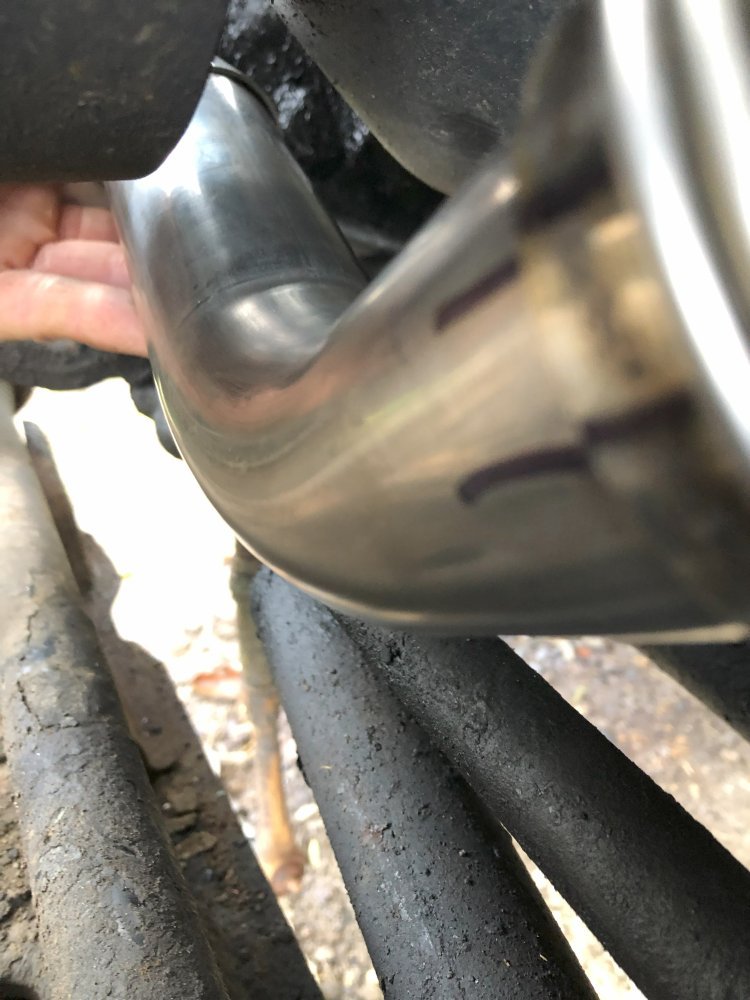
After that, it was simply a matter of getting the other 60* bend to mate up under the engine. This is where having the bellows on the other end greatly helped with the extra wiggle room

IMG_9219.jpeg

IMG_9220.jpeg

IMG_9221.jpeg

IMG_9223.jpeg

IMG_9227.jpeg
 
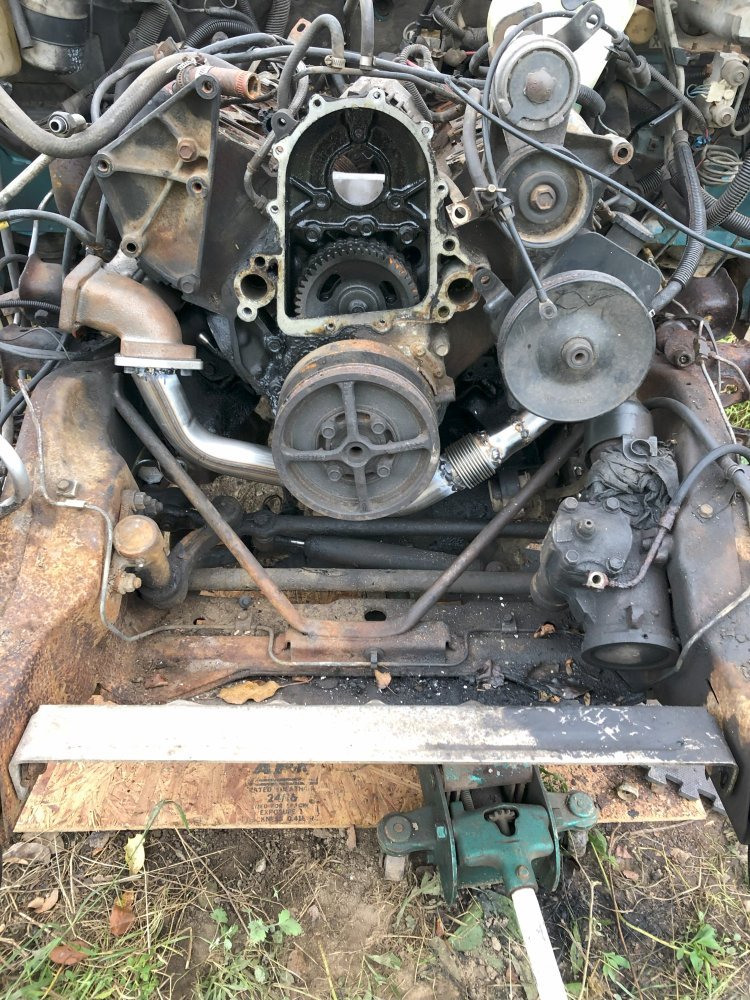
The crossover is all tacked up. I really recommend doing this with the engine in the truck. Doing so on a stand it would be really hard to account for all the frame clearances. The mock up engine is in a 1993 K3500 Cheyenne 1 ton dump with a blown engine. The new heart for the vehicle is currently in Chris' shop and will get its own thread when it's all ready to go. I was first thinking of doing this upgrade to my P400, but with the extra space taken up by the girdle I was unsure whether there would still be space for the crossover under the engine. So when the time comes the P400 will get my attempt at a centermount. But that's another can to kick down another road 🙃

Here's a few more pics of the complete piece in the truck. I took the tacked up manifold to a friend's shop earlier in the week to get tig welded together and...no argon, just 3 empty tanks :banghead: Hopefully it will get welded up in the next week or so.

IMG_9259.jpeg

IMG_9261.jpeg

IMG_9262.jpeg

IMG_9263.jpeg

IMG_9258.jpeg


I can't wait to see how the truck performs with this shorter and more direct exhaust and how EGT and drive pressure will compare. With the stock setup cramming all of the driver's side exhaust into the #6 and #8 cylinders it's no wonder the #8 cylinder sees so many cracks. The original engine in my '95 threw a rod in #8. Even with the manifold no longer available, it is simple enough that someone with enough motivation could fabricate a similar manifold by hacking up a driver's side unit or making a stainless one from scratch using the same design as driver side exhaust directly into the turbo.

I still have to fabricate a short section of exhaust from the new turbo location to the stock downpipe. And this mod requires relocating the battery and making a custom cold air intake in the battery's old location. But for now I'm happy to wait until the new engine is in the truck and everything is pretty much back together. I've still got to get to the GMT800 front brake upgrade on this rig before the snow flies.
 
I saw your earlier posts and picked up a set of the exhaust manifolds from RA . They were around $200 plus shipping . I wanted them new so that I wouldn't have to deal with the slime and grime when welding/hacking the apart . Still thinking about which way to go as maybe Muggy Weld rods are in my future .
 
They all fail, just these last longer
Those 8.2 fuel pincher diesels the state had, they had the flex accordion exhaust connector between the exhaust manifolds and the turbo.
I did replace some, how many ? 🤷‍♂️ For as many of them trucks as they had with that engine, I may have replace three total.
I think it would be beyond COOL to install one of them 8.2 Detroit's in my one ton K3500.
I do know how to set the racks on them engines.
The people that was assigned to one of those trucks, after I did the tune up, they would tell Me, I dont know what You did to that engine but it really pulls now.
I would tell them SHHHHHhhhhh.
Nothing outrageous, just set the governors to the max allowable by the book. Well, maybe plus 100 or so RPMs. 😹😹😹😹
 
Color me jealous.
I think I'm dumping my 6.2 if I can't locate that manifold. I lost mine when I moved...
Shame. I liked the diesel. Its o.k. for sea level, but I just completed a 3300 mile trek in my K5. My diesel never would have made it through the mountains without a turbo....
 
Fwiw, the Marine Corps AV-8 Harrier uses those joints for their reaction nozzles. Those allow the aircraft to rotate while hovering.
We were constantly repairing the tubing and replacing those joints. They crack soooo easily.
 
I saw somewhere thar Leroy Diesel hisself did something wrong similar. Used a passenger side manifold from a van on the driver's side as I recall. Already set up for V clamps.
 
Back
Top