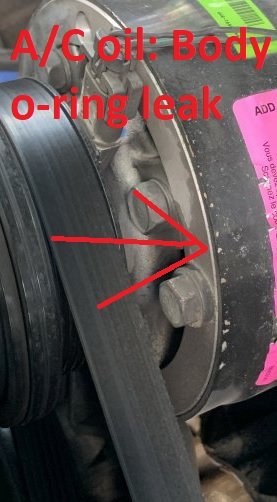
• Welcome to The Truck Stop! We see you haven't REGISTERED yet.

    Your truck knowledge is missing!
    • Registration is FREE , all we need is your birthday and email. (We don't share ANY data with ANYONE)
    • We have tons of knowledge here for your diesel truck!
    • Post your own topics and reply to existing threads to help others out!
    • NO ADS! The site is fully functional and ad free!
    CLICK HERE TO REGISTER!

    Problems registering? Click here to contact us!

    Already registered, but need a PASSWORD RESET? CLICK HERE TO RESET YOUR PASSWORD!

AC questions and opinions

Just found the switch. I must have replaced it lol. The one in my toolbox has a fudged up pin!

I decided to vacuum down the system and pull the vov out. Having a look at it. It’s clean with the exception of a couple of very tiny particles and it’s dry on the filter side no oil! I know I charged it and added the proper amount of oil when I installed this (8oz). Does this mean I need to add some more oil??
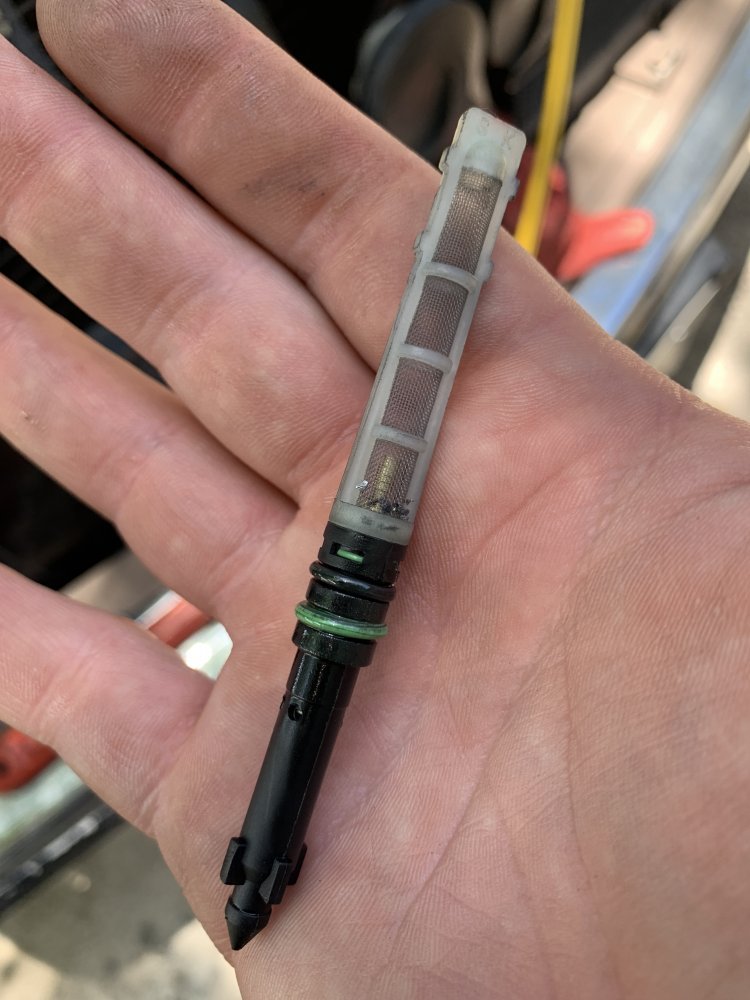
image.jpg
 
I ended up adding about 2 oz more of oil just to be safe. Went to the auto parts store and picked up an oe fixed orifice tube and recharge it. Pressure looks better but a little on the low side according to the chart I linked before with 36 oz of 134a and seems to be cooling good. I’ll know more in a few days as I drive around

Since the pressure switch is still a question I’ll probably order a new Delco one to use.

I did do some research online for these trucks for the office size across different years. Everywhere I looked it seems they all use a .072 orifice tube. Even the older R12 systems used the same one. Advance auto was the only site that showed in the notes that the oe one was a red orifice but I couldn’t find anything on what size it was. I can’t believe that both older R12 systems and newer 134a systems would use the same one. I looked up applications from 92 all the way up to 99. I feel like this is one of those “one size fits all “ things the auto parts did and now there’s nothing online referencing the original ones anymore!
 
That first link is one I found also. I may go this route when this pancake compressor 💩's the bed!

I was searching the web today looking at 134a pressures to vent temps and came across this troubleshooting site (linked below). according to the pressures it shows compared to ambient temps outside, my system is low on 134a although I'm sure it's overcharged with about 40 oz or 3-1/2 cans! with 95-100 degrees outside and rpms up around a grand (high idle switch on) pressures are right at or a hair under 30 low and about 225 high, blower on max. holding at 2k to 2500k rpm will make the compressor begin to cycle dropping the low side down to 26 when the switch turns it off for a second or two.

I'm really skiddish of adding any more 134a. I really think there is something up with this vov orifice tube. I am leaning more and more towards evacuating and installing the oem fixed orifice tube then trying it again. only draw back is loosing all that 134a again!

maybe if I can fignagle my vacuum pump with exit port fittings so I can pump it all into a holding tank, plus weighing the tank before and after to see what I really had in there.

here's the link...

and another link showing a pressure chart confirming my system is low!

I must be skipping this over and ASSuming you have the proper damn refrigerant charge in the system. Come to find out you are guessing and worse falling for the "add refrigerant via a WAG". :facepalm: My bad.

However THIS EXACT SITUATION is why you recover, vacuum, and charge BY WEIGHT, the A/C system. Don't guess. Rent a shop tech time and or equipment to vacuum and charge the system by weight. It's like $100 an hour plus the R134A ... Vs. the $50 cans you are guessing with plus a system rebuild from not getting it correct or missing a leak.

The high side cut-out switch missing makes me suspect the system vented through the relief valve. Or the seal on the high side hose to compressor blew out and resealed like it did on mine with a cloud...

The OT being dry is a BFP. It indicates being run on a low refrigerant charge where all the oil is sitting in the evaporator and bottom of the accumulator. You may as well start over with a new compressor, new condenser, and flush the evaporator out. The R4 is NOT forgiving of a low charge oil starvation situation what-so-ever. OTH it's toast anyway so who cares how much longer it does or doesn't last. It will just glitter bomb the system until failure. (Other systems ARE more forgiving of a low refrigerant charge like the Sanden compressor on a Dodge Cummins.) Think of the R4 as a 2 stroke engine - where no oil mist coming in from the accumulator is like running straight gasoline with no oil in it.

The system is charged so that the evaporator is completely full of liquid refrigerant with 1/4 LB in the accumulator: some as a leakage reserve. You got ~1/4 LB accuracy to play with: the level in the accumulator changes with this. Liquid refrigerant level drops below the oil return hole in accumulator (generally missing the ~10% of the flow being liquid coming out of the evaporator = poor or no oil flow from the evaporator) the R4 becomes an oil starved glitter bomb. Too much refrigerant reduces system capacity, Same with too much oil although OT replacement calls for addition of oil.

This POS R4 is ONE reason the import vehicles with a TXV with better compressors for the A/C system kicked the Big Three's ass like a no-contest out west.
 
Last edited:
Unfortunately I have no way to charge by weight but only by the 12 oz cans. There’s no decal anywhere on the truck indicating what the factory charge amount was so I’m going off info online and by pressure readings though that hasn’t gone well for this vehicle. Any other vehicle I’ve done has been on spot with reading the factory charge label amount multiplying the 12 oz cans and watching pressures compared to the charts I have. This truck has been a thorn in my side getting it right
 
I wonder if you can still order the label from GM that went on top of the accumulator? Why GM, why did you put an important label on a frequently replaced part? Have you had any luck with finding a GM shop manual for the rare for the era crew cab you got?
 
IMG_4377.JPG

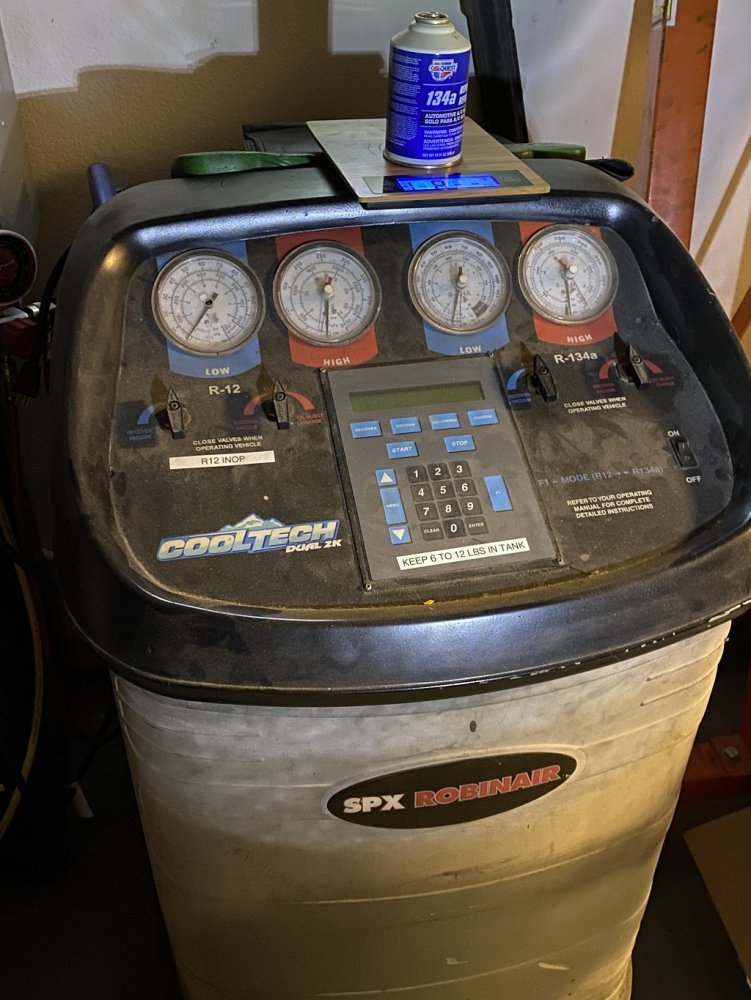
After fighting cans and a scale for ~20 years ...

These should be available used as their accuracy isn't high enough for the new vehicles. I paid over $1500 to overhaul this one where maybe a new one would have been a better choice. Regardless with the higher cost of R134A today a recovery system should pay for itself. Mine has already paid for itself just on the junk I used to run nevermind the side jobs. Even under a new vehicle warranty it's cheaper to DIY than the fuel to get to the dealer. 🤔
 
The only shop manual I found is the one that’s posted in one of the forums. Can’t remember if it’s here or on DP

I need to look for a used recovery system. Years ago I had built one using parts from a junk one that didn’t have the scale ( pump was out ). Used a compressor from a mini fridge lol. My vacuum pump I have now is just a compressor from an old window unit. Lol talk about redneck engineering haha!

I know it’s very dangerous to just connect a tank to the other side of a pump like that without the safety switches along with the needed filters and condensing unit so the tank only gets liquid and not over pressuring to go boom 💥
 
(I have always thought the 1993 model year R134A numbers being the same as R12 was a screw up. Without looking at evaporator part numbers I can't confirm.)

Page 29. has the 1995 numbers. https://www.4s.com/media/7228/capacityguide_4season_2020.pdf

95-94
Std Cab / Ext Cab - 32.00 Oz. R-134a; 8.00 Oz. PAG-150

Crew Cab - 36.00 Oz. R-134a; 8.00 Oz. PAG-150
 
That’s what I thought I remembered too. 36 for a crew cab. I dropped in three 12 oz cans when I was finished yet both low and high pressures on my gauges look to be still showing it’s low charge according to the charts I linked further up in the thread. My gauges should be reading right because just last week I replaced the high side schrader on my dodge truck (garbage black rubber ball) when I vacuumed and recharged it with the proper amount going off the label the pressures were dead on with the chart and was pushing dam cold air!
 
Lets see some pictures. Accumulator may be in backwards.

Again I am not 100% on the numbers for a crew cab and without a recovery machine I would hate to waste another can just adding more. I would expect the outlet of the evaporator and bottom of the accumulator to be cold (sweating if humidity is high enough) indicating enough refrigerant in the system.
 
(I have always thought the 1993 model year R134A numbers being the same as R12 was a screw up. Without looking at evaporator part numbers I can't confirm.)

Page 29. has the 1995 numbers. https://www.4s.com/media/7228/capacityguide_4season_2020.pdf

95-94
Std Cab / Ext Cab - 32.00 Oz. R-134a; 8.00 Oz. PAG-150

Crew Cab - 36.00 Oz. R-134a; 8.00 Oz. PAG-150
Talking about the R12 and R134A screw up. I can’t understand why they all, all years, cab sizes from 90-99 all use the same orifice tube as well. Somethings not right there.
 
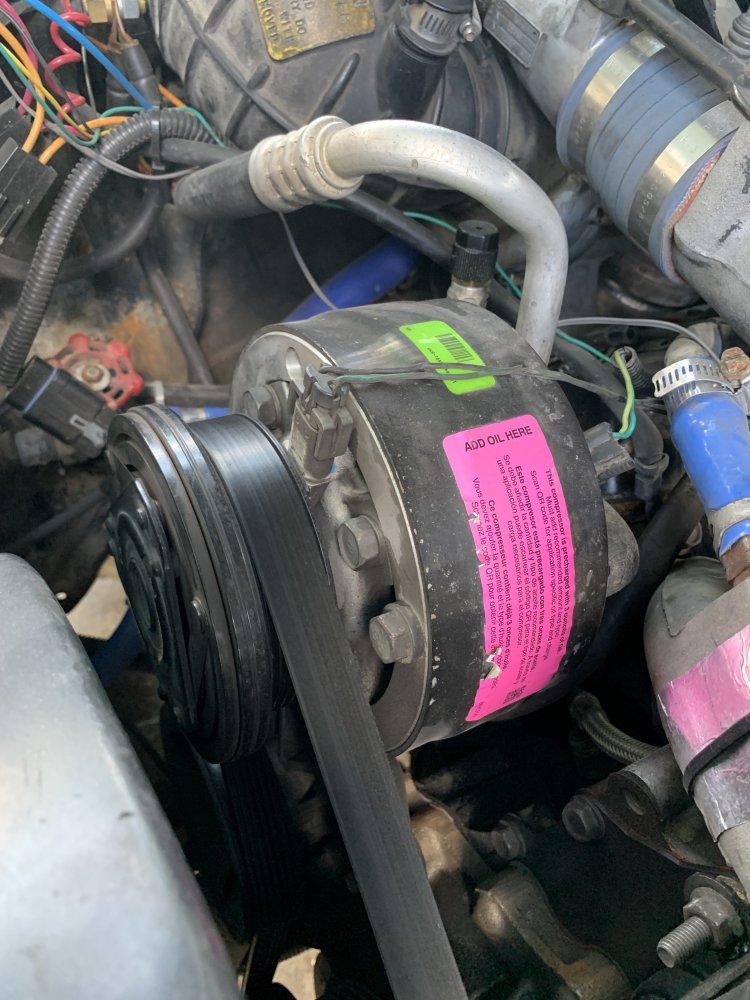
Here’s the accumulator and compressor. The accumulator only goes one way with the male and female fittings. It all sweats and seems to feel the same temp by touch. Haven’t strapped a temp probe on them though

I can take a pic of the gauges connected if you want

DA03F408-1F57-4D60-B527-EEB1F8E06DA5.jpegC5ADAE01-B5F9-4B10-B877-9032F51109E3.jpeg
 
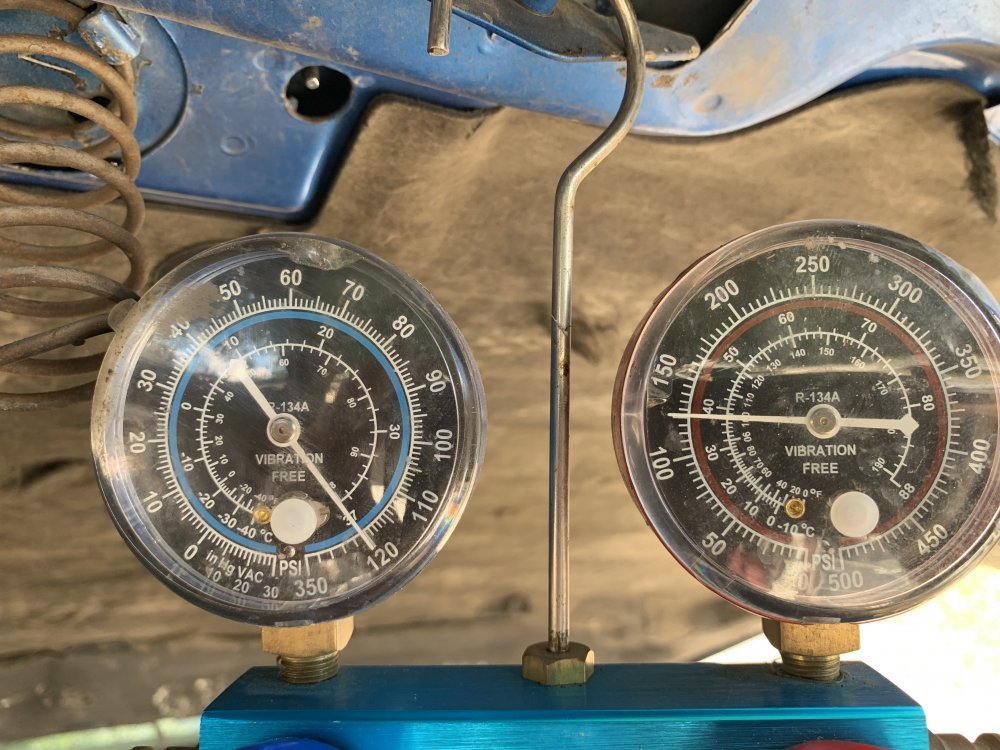
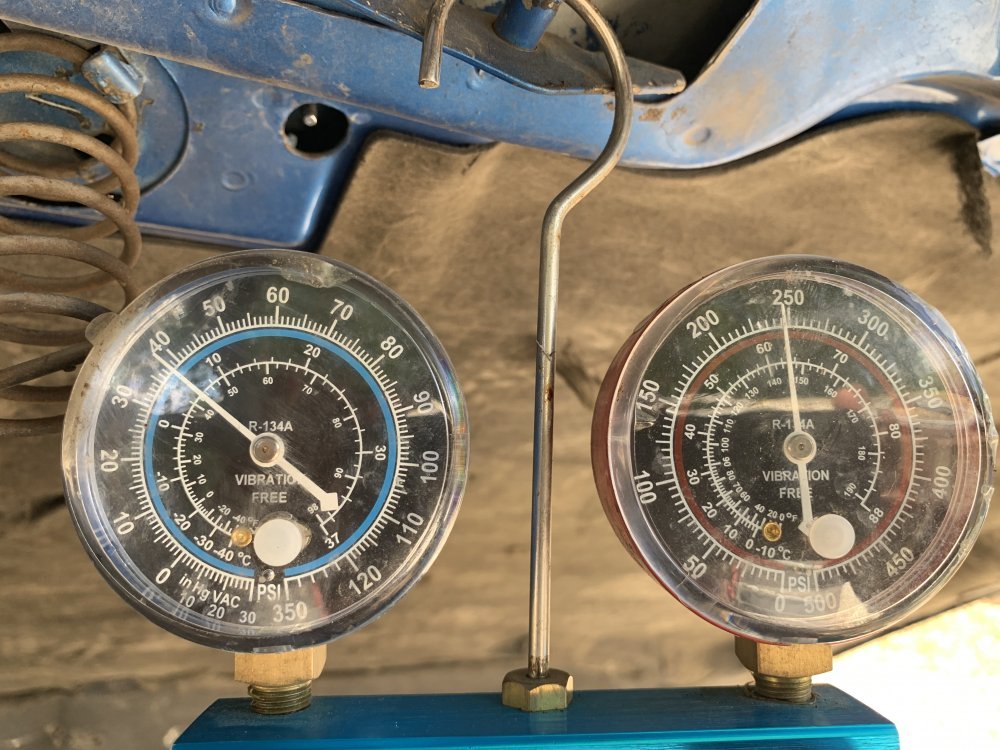
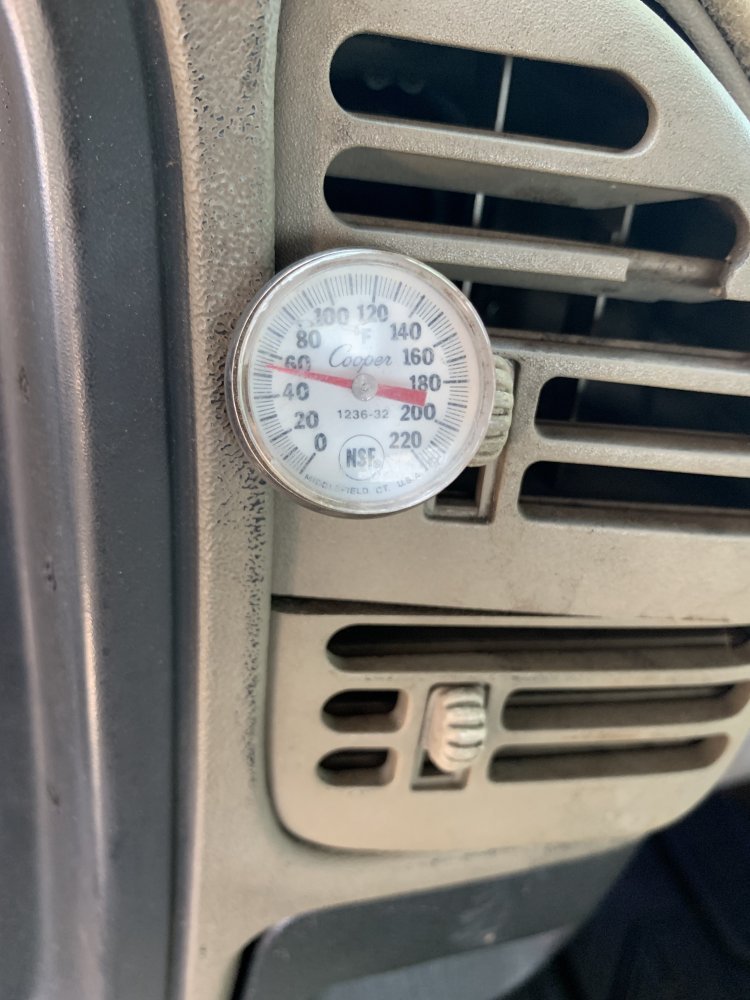
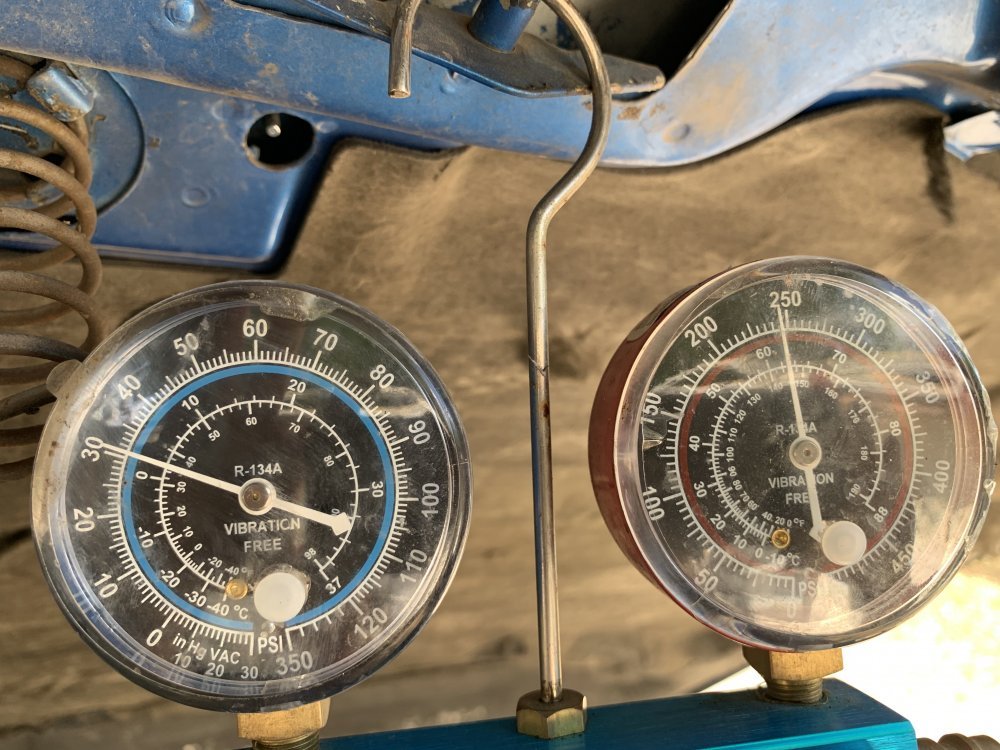
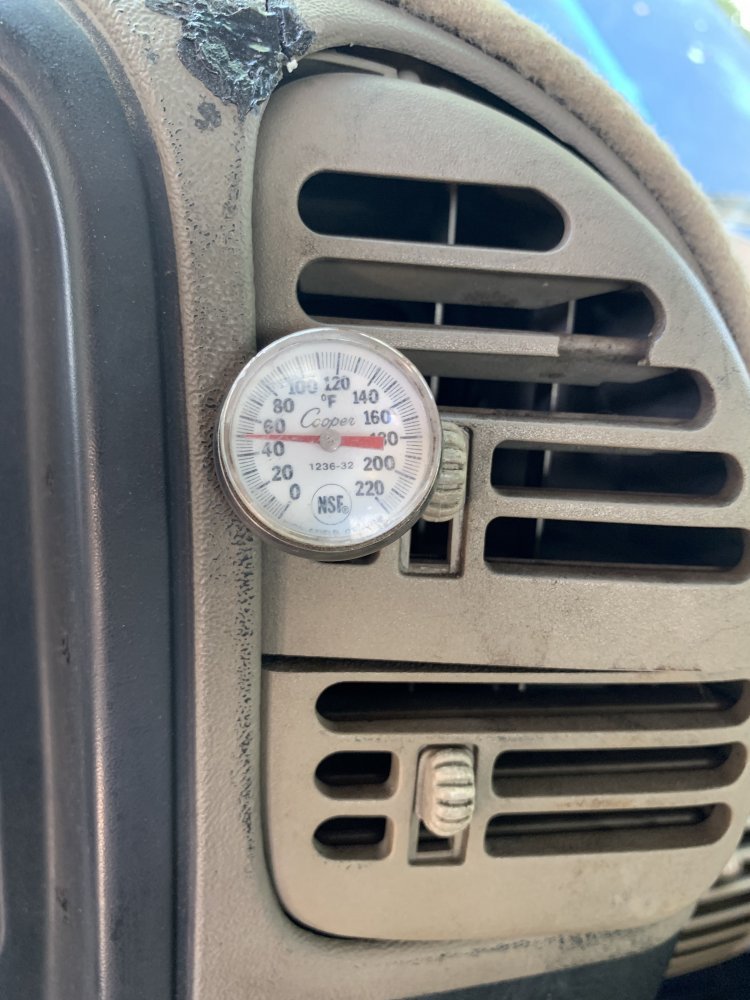
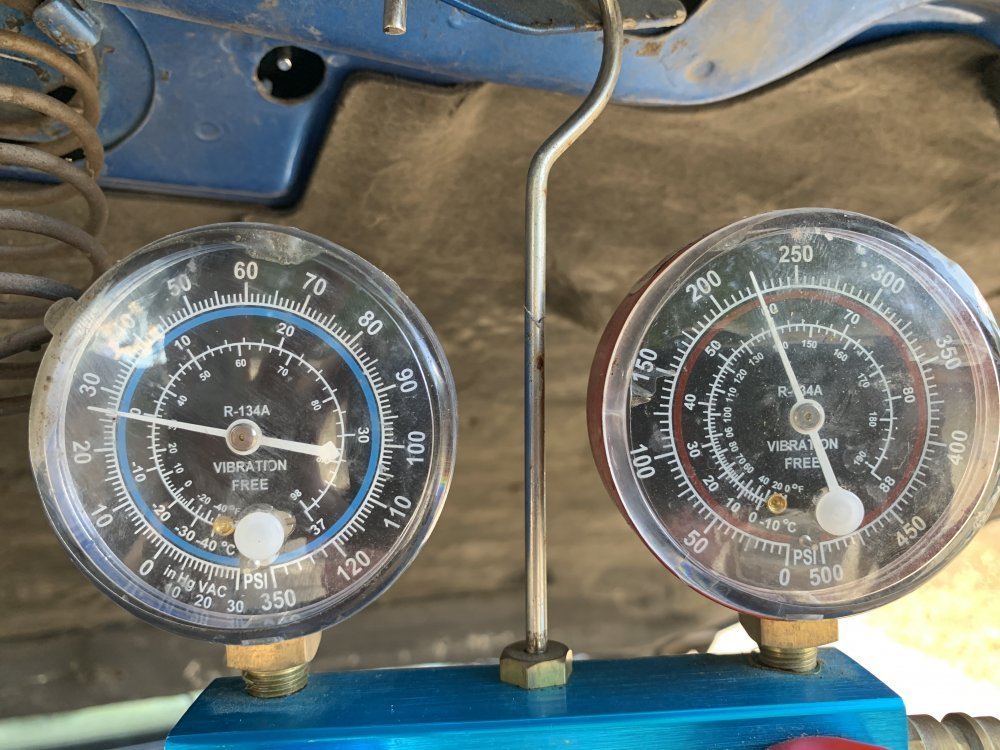
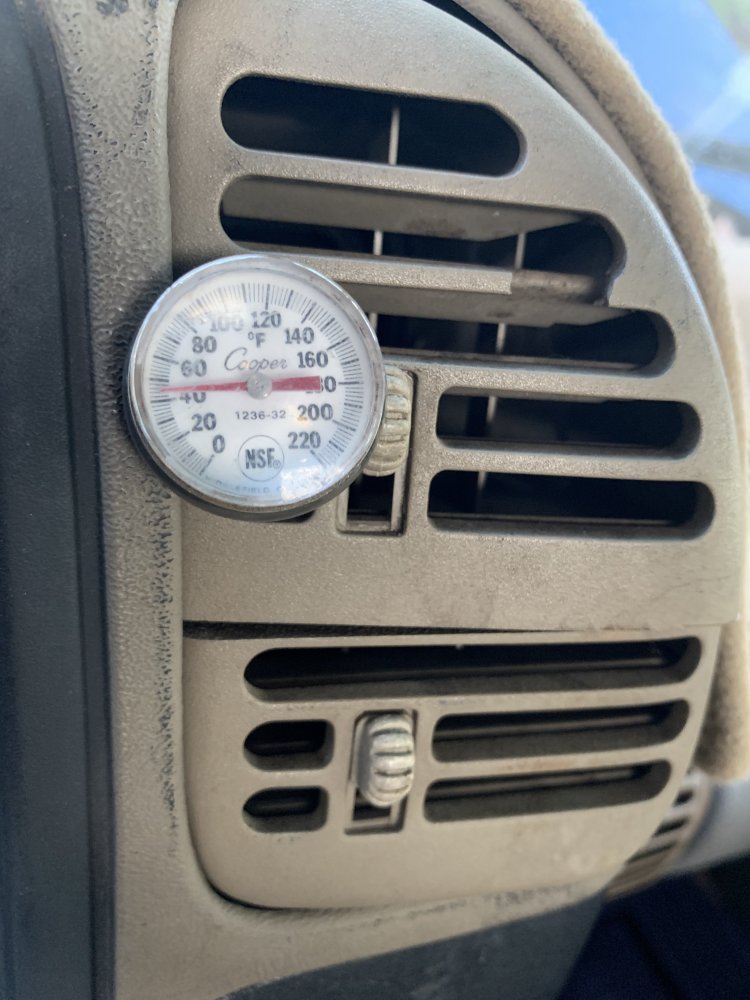
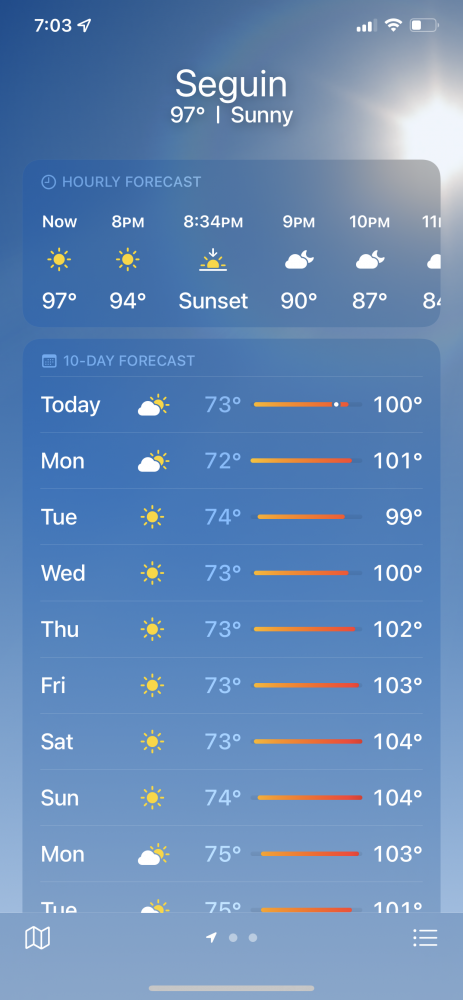
Here’s some running pics. I looked at the outside temp. My watch says 99 degrees but my thermometer shows 97

Pressure off just connected the gauges
98ECC722-B88B-4A0F-8968-95EFA71966D2.jpeg
Running at idle after about 8 minutes
FE604630-0BDF-4906-9510-0B875858B6AF.jpeg

1739F254-C20C-481E-966B-5ED3E67858F1.jpeg

Running for about 10 minutes and with the high idk switch on (1100 rpm)
466BF2C0-589C-47FC-A5EA-590EE0D1365E.jpeg
139122D1-5AD2-4703-BD59-6A5B8F15F9C1.jpeg
 
And still with the high idle switch on after about 15 or more minutes Mind you the blower is on high this whole time

View attachment 75422View attachment 75423
That’ll freeze Yuhr balls off.
Thats where the wifey would be running it, whilst I huddle down in My Carhart Arctic Extreme bibs and coat, thinsulate boots and gloves too. Stocking cap anyone ? 😹😹😹😹
 
It seems to cool good now. Only time will tell if I have a leak. Now that I’ve pulled the vov and put the regular orifice tube in if it starts cycling again like it was before I’ll know it’s a slow leak.
I need to clean up around the high side port now that when I disconnected the gauges it spit green dye on that area
And so how often does the AC clutch cycle with it cooling that good ?
 
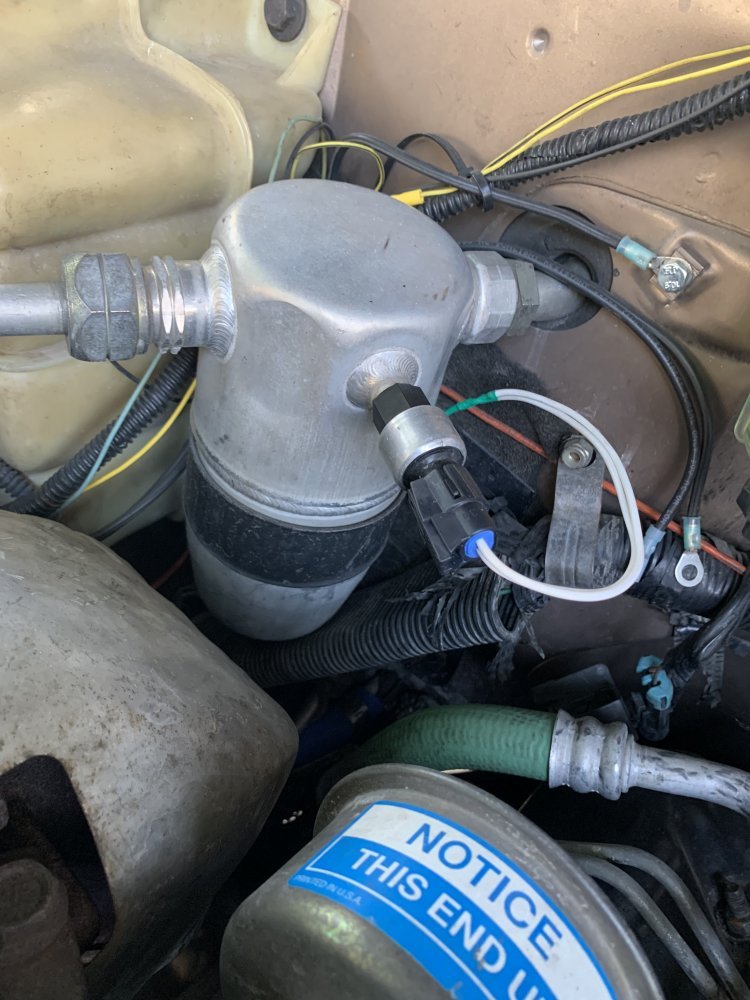
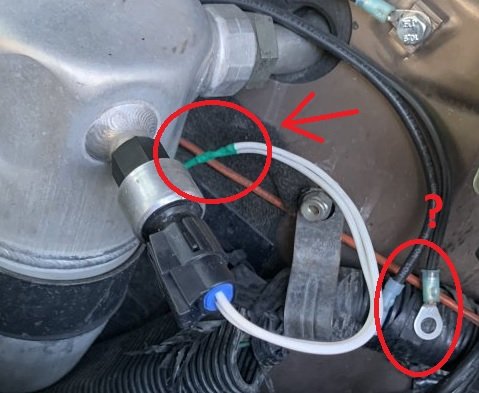
Do you have both wires from the low side cut off switch spliced together?

Also what's disconnected?

View attachment 75429

no there spliced into the original two wires that feed the switch. I had to replace that connector due to the pins were worn out and the clip holding it in place was broken. the angle of the photo looks as if they are, but there's two separate wires there lol

the other wires are from when I had installed the electric fans before I did the cooling upgrade. that was where the relay was and the ground was connected. there is a threaded stud there on the firewall that held the relay and a bolt where I had the ground, you can see the bolt with a eye terminal there still. thats the ground for the ev fan clutch controller still connected on the firewall. fans have been since removed along with the relay, just didn't remove the wires. left them there incase I needed to go back with one fan. I need to pull them out and clean that area up.
 
Back
Top