88gmctruck
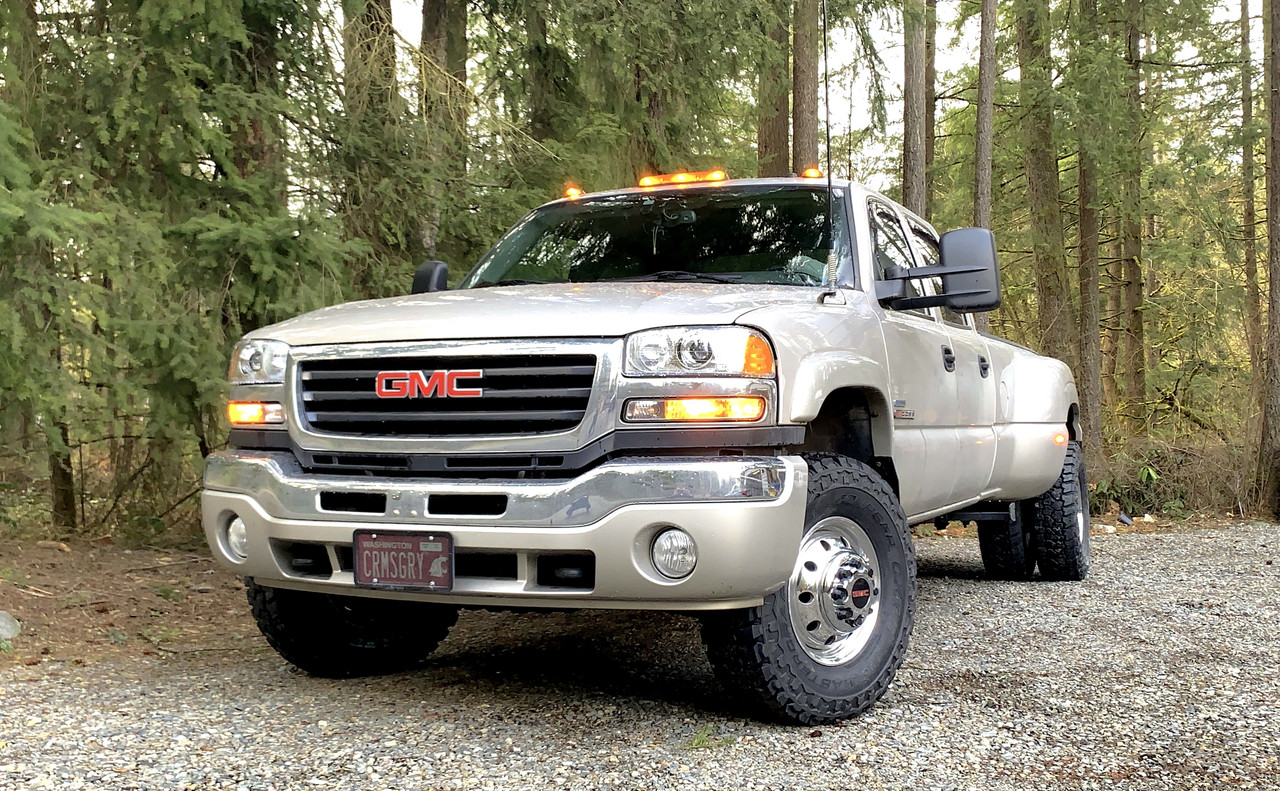
02GMCtruck
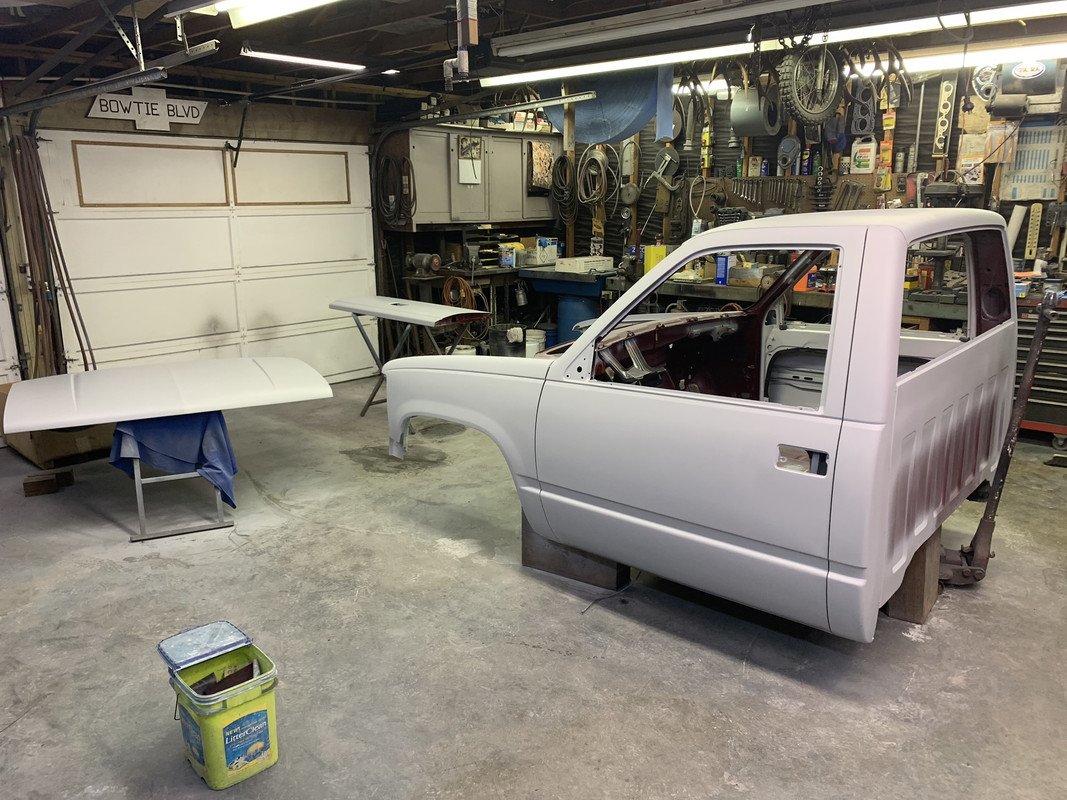
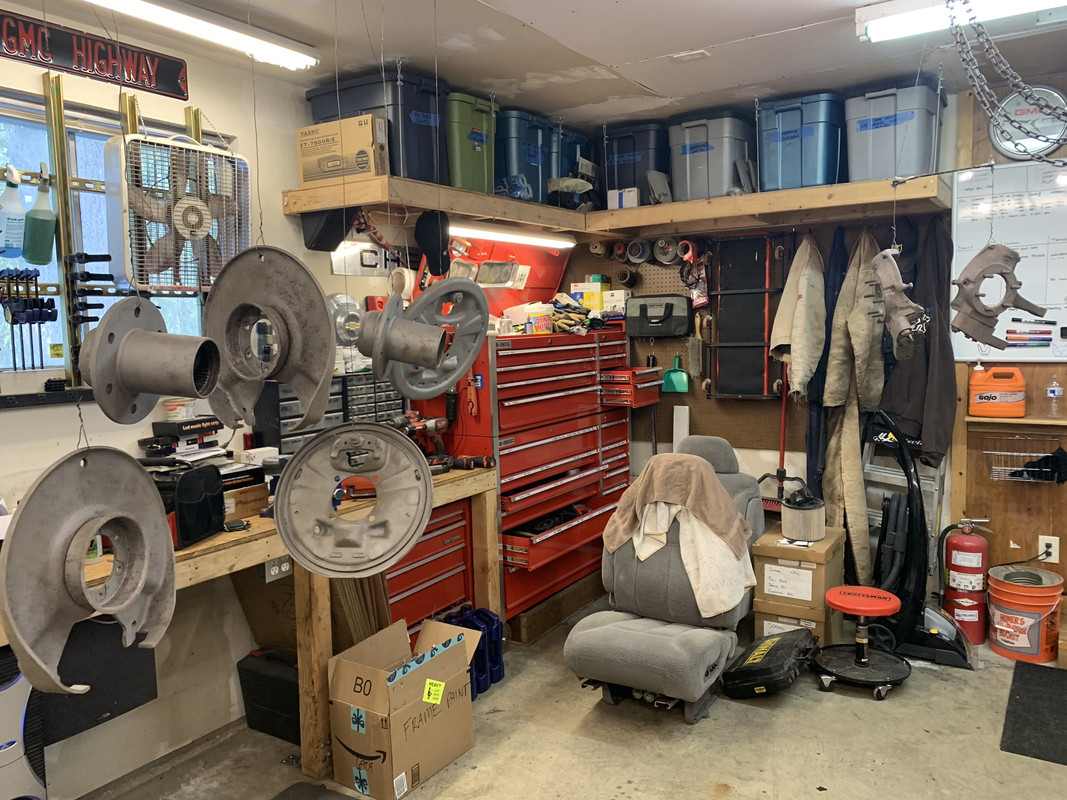
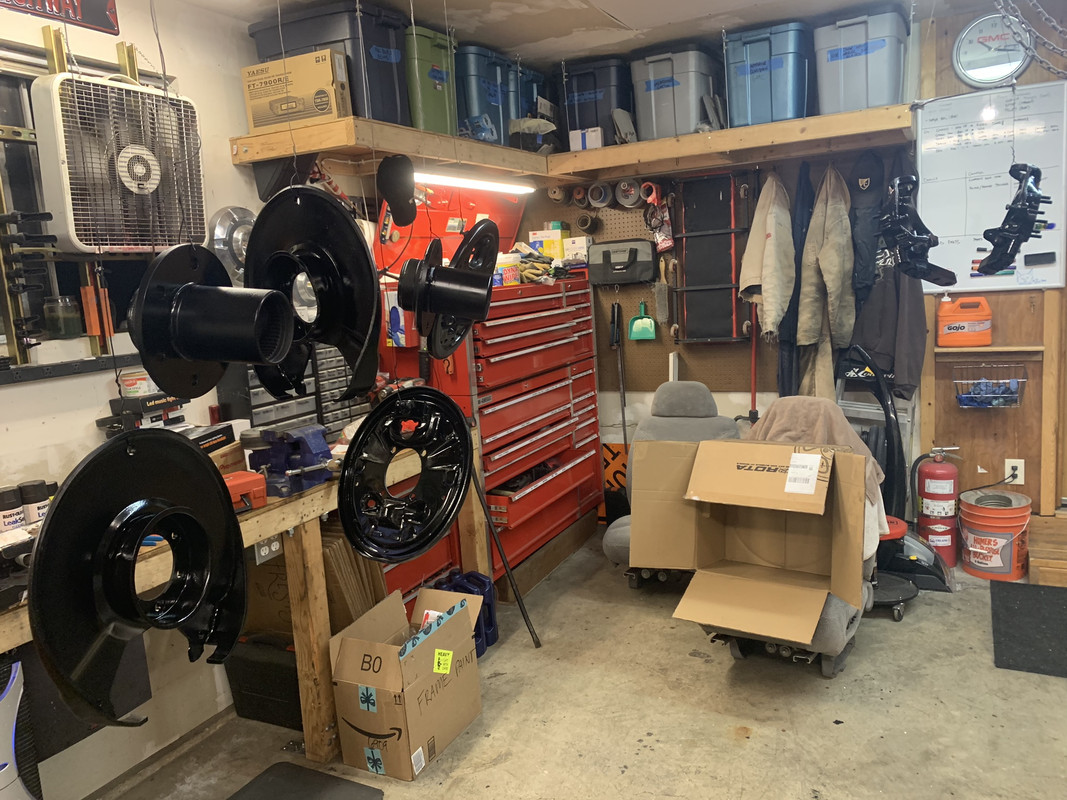
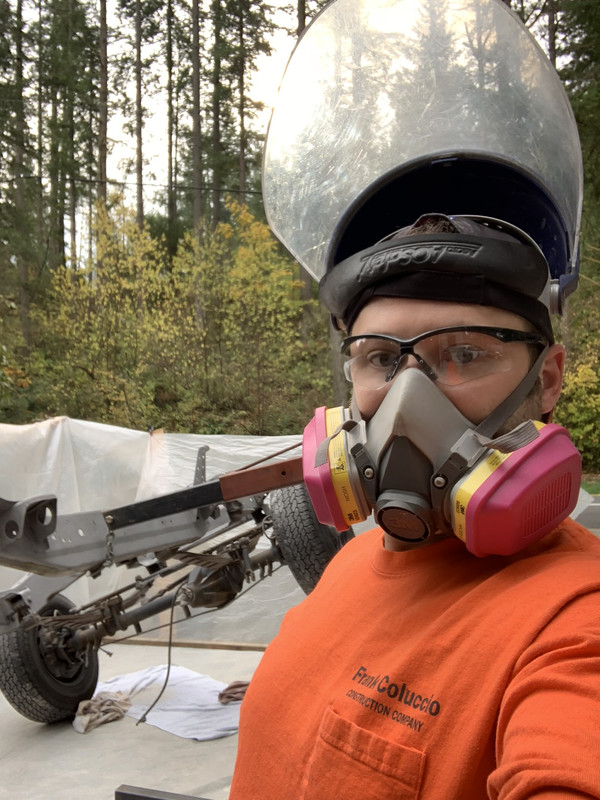
The mad scientist :lol:
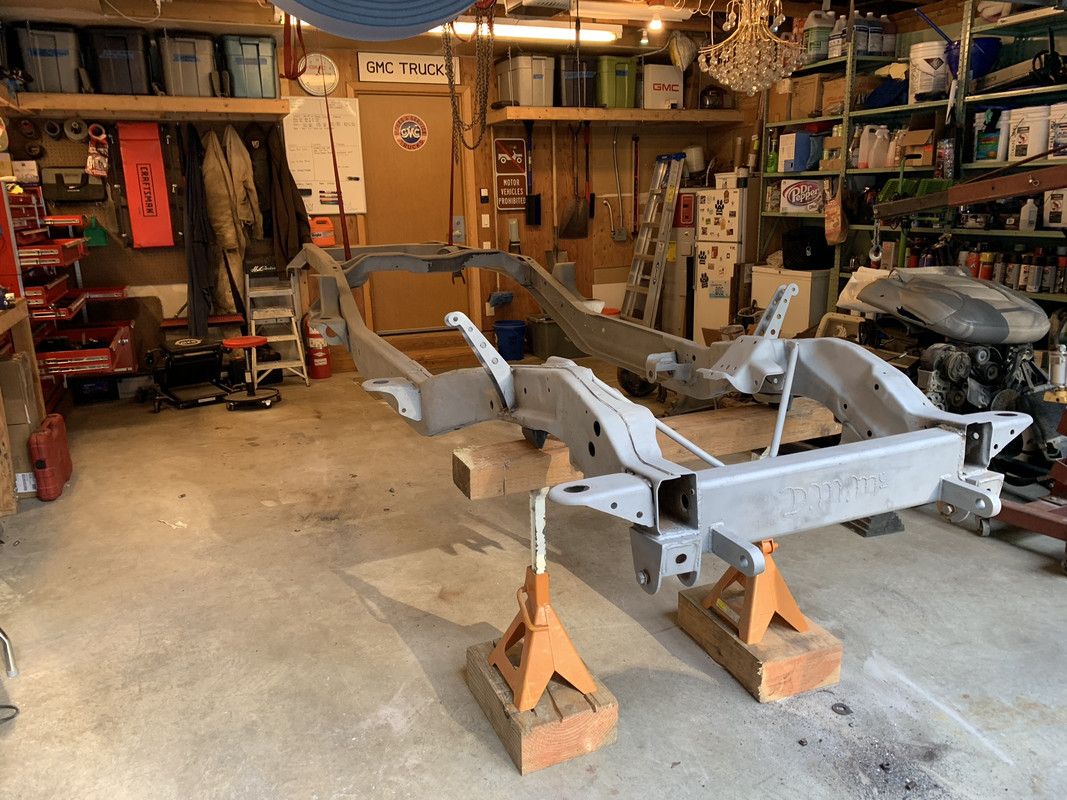
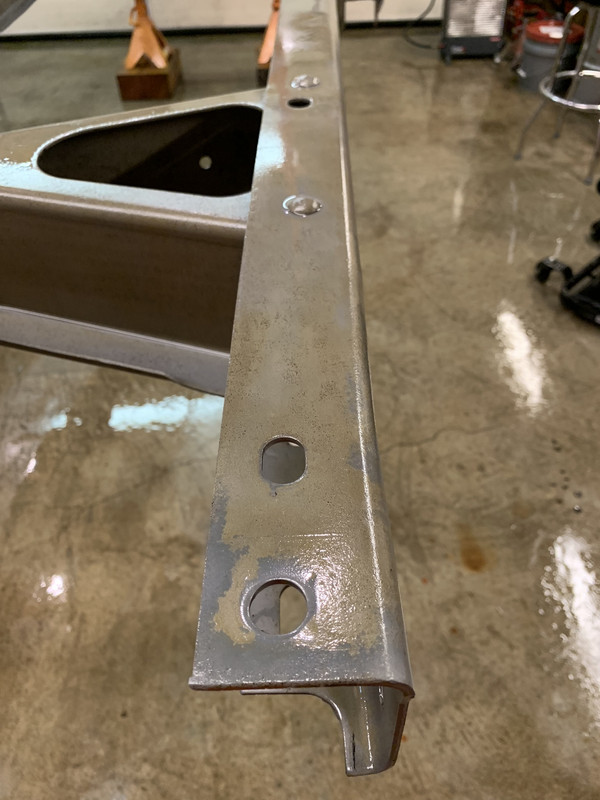
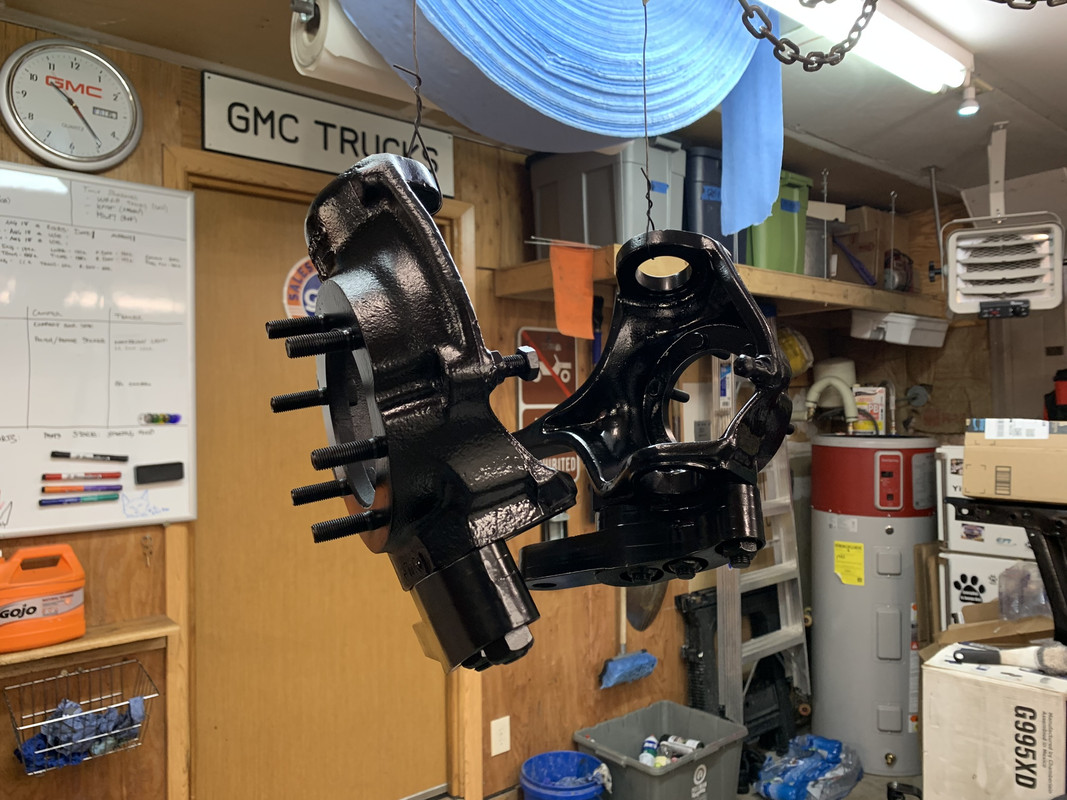
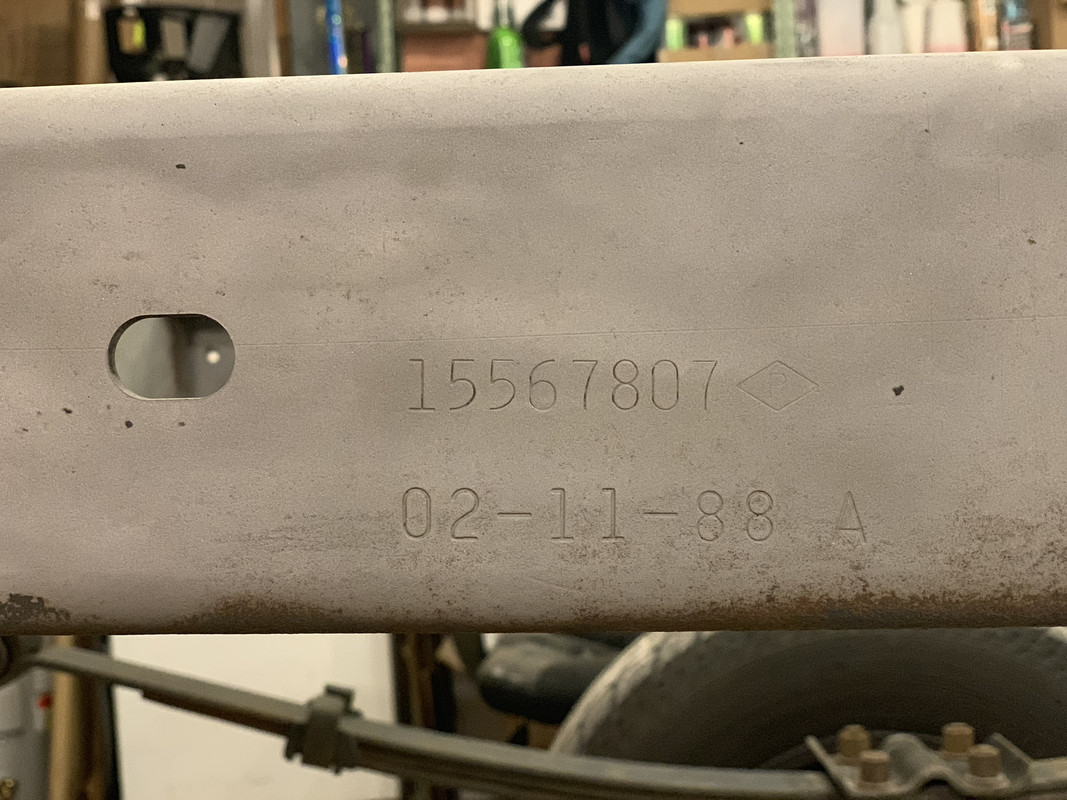
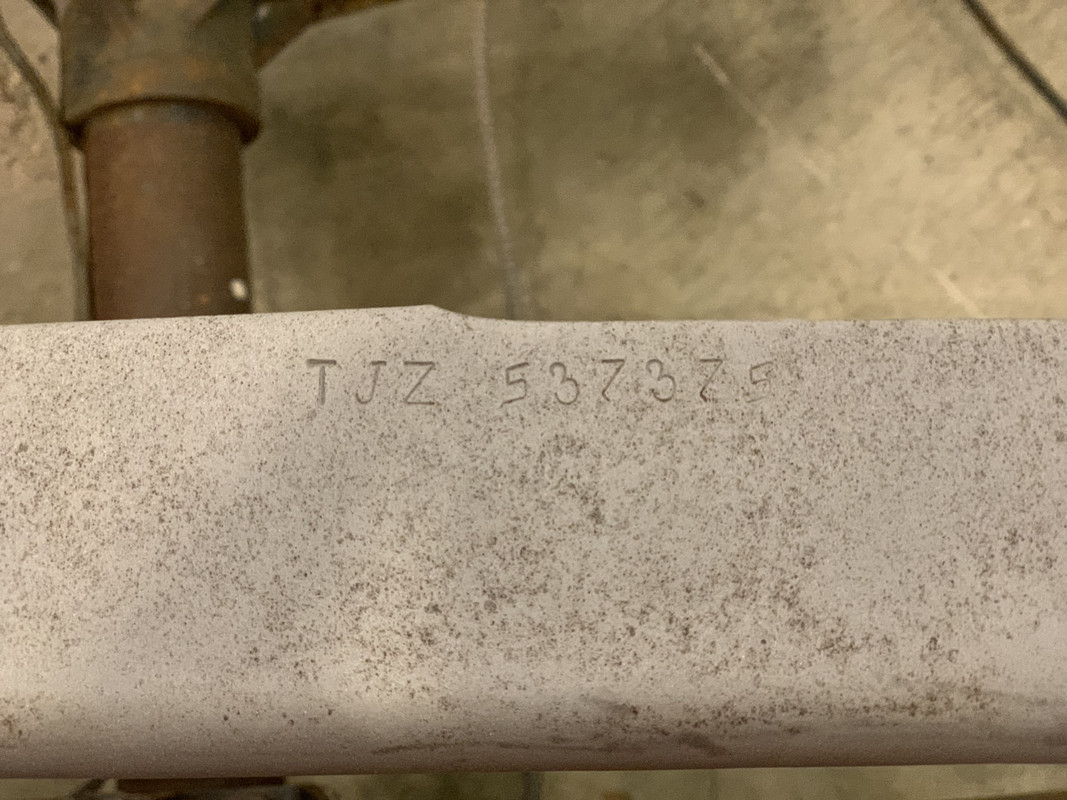
And just because it's cool, GM part number, date stamp and stamped VIN in the frame.
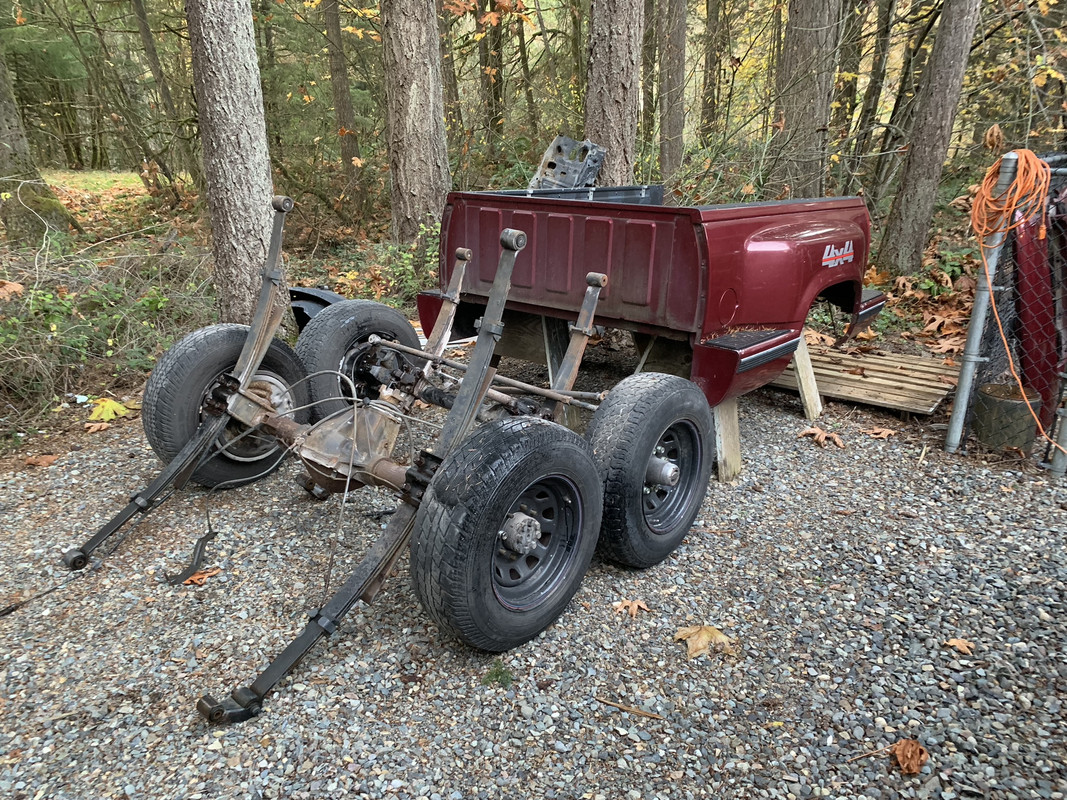
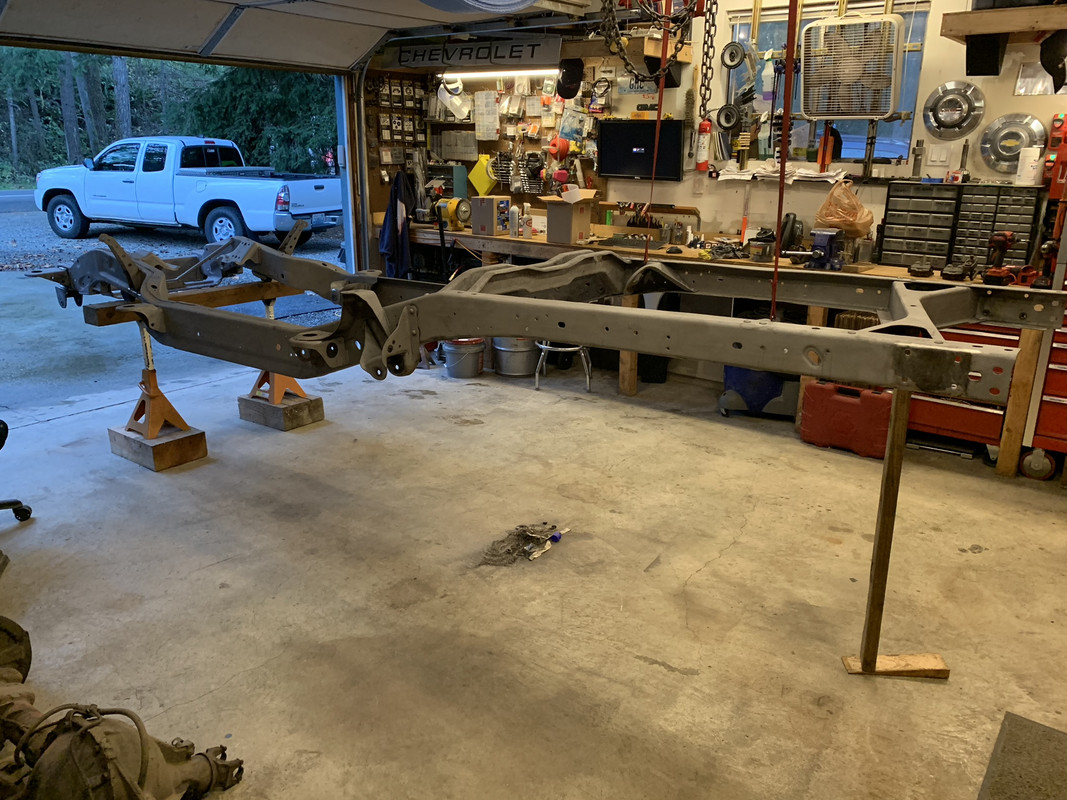
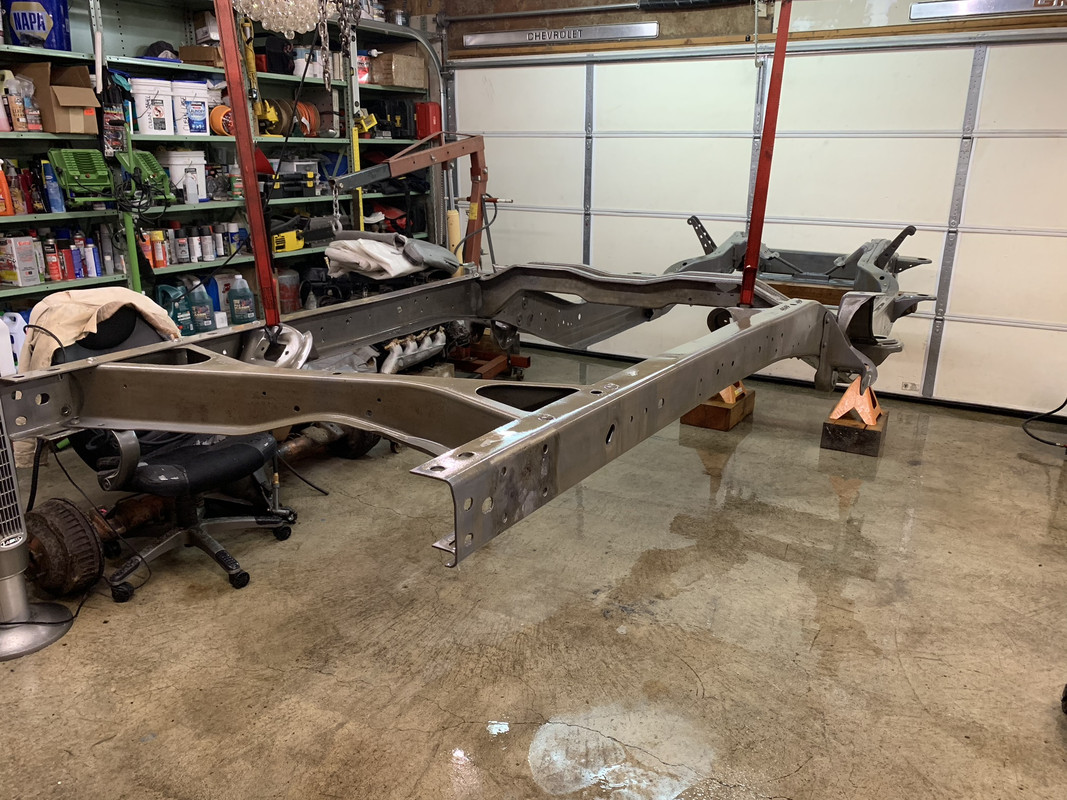
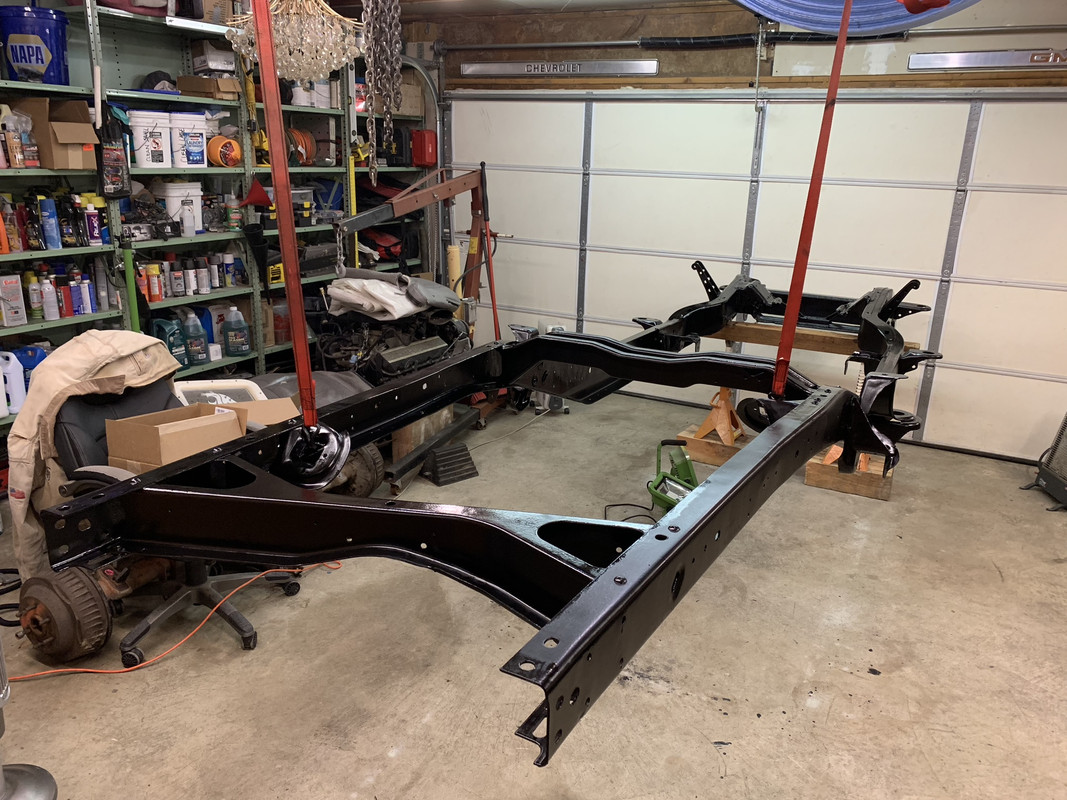
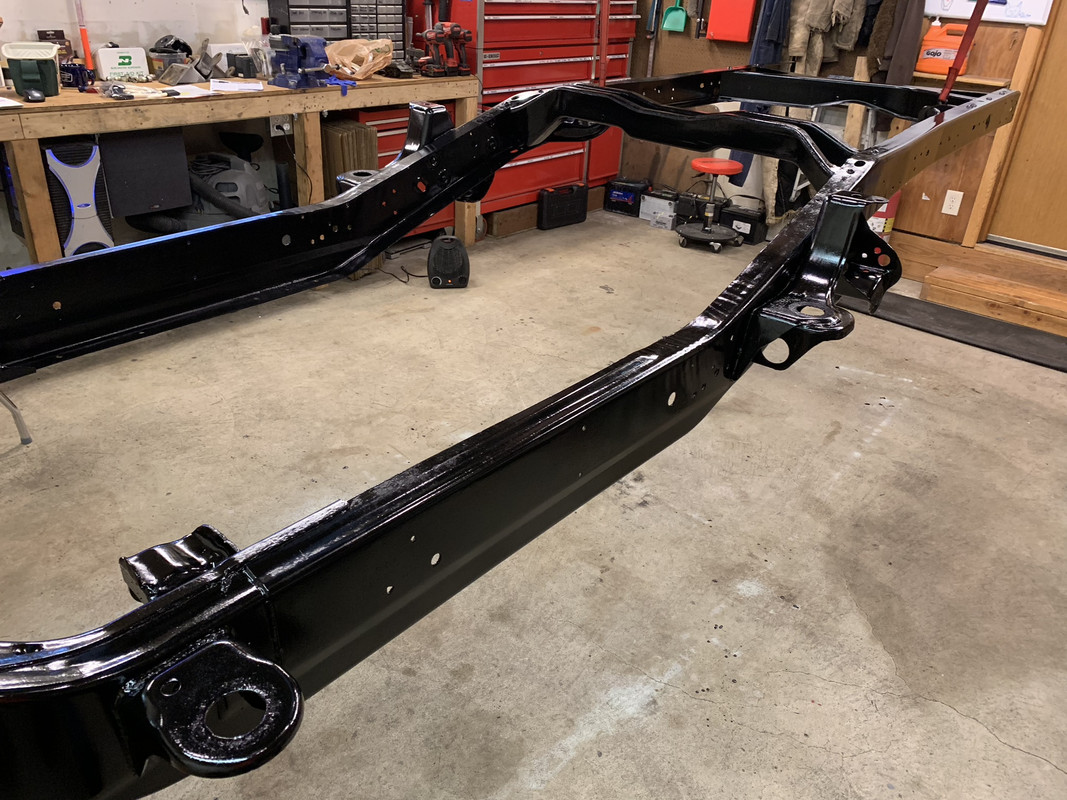
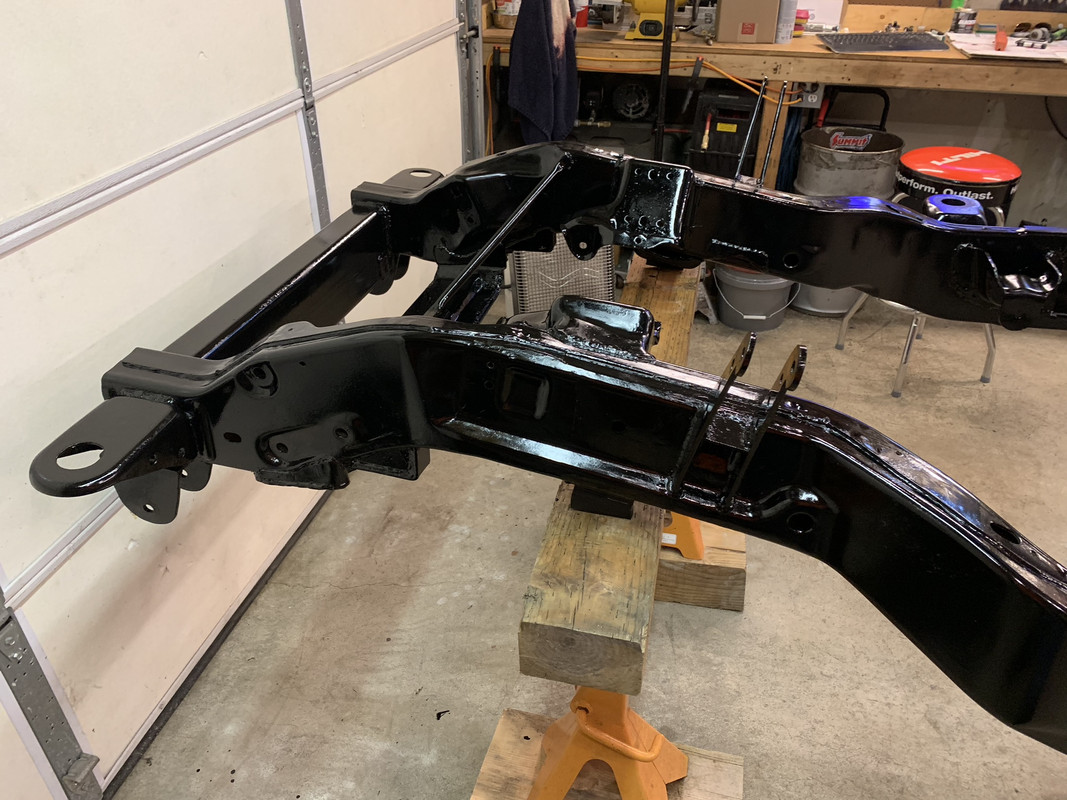
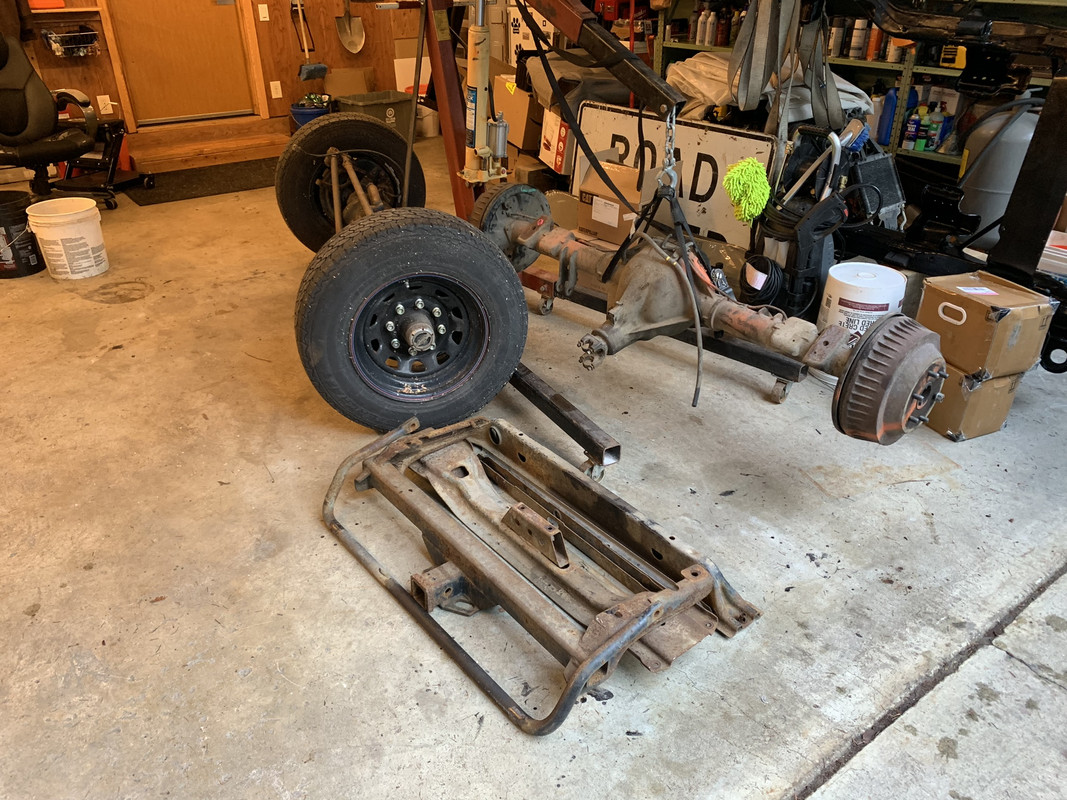
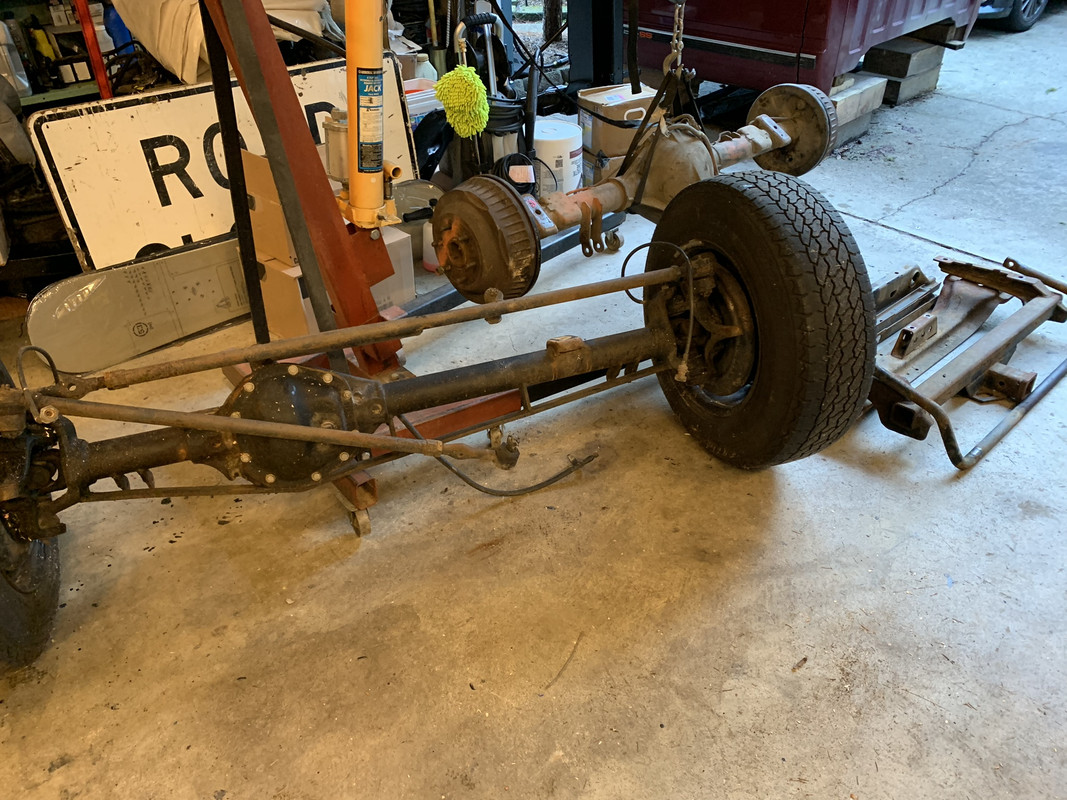
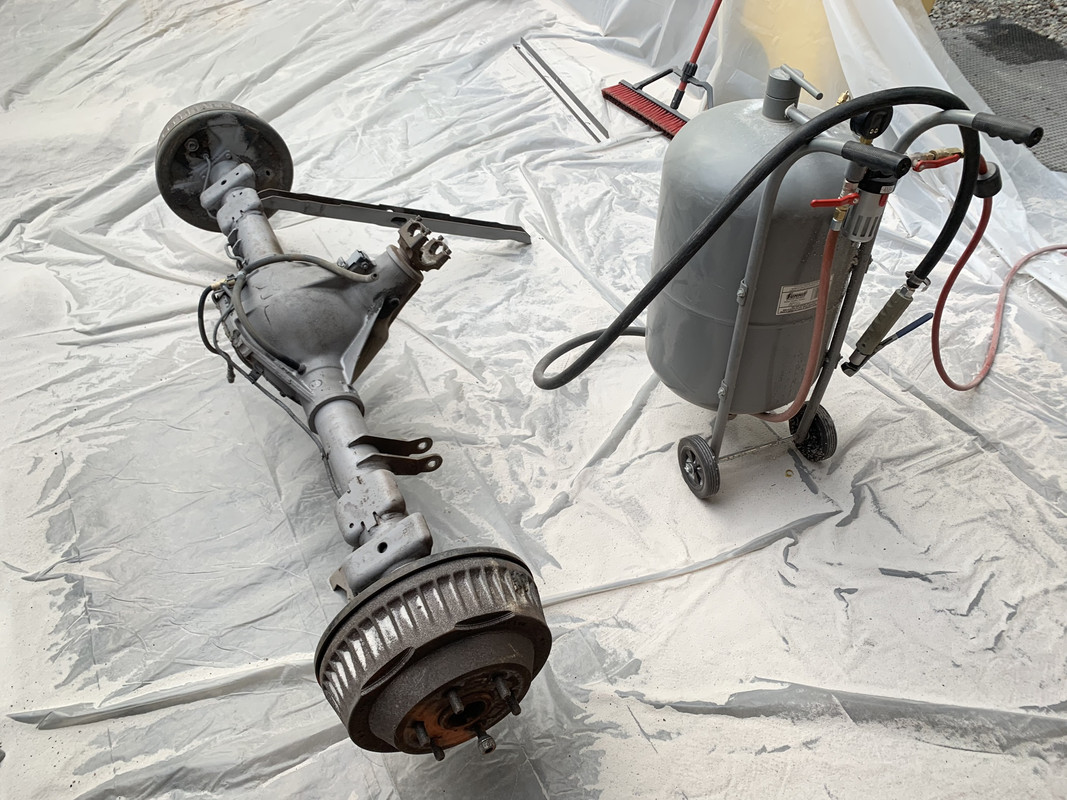
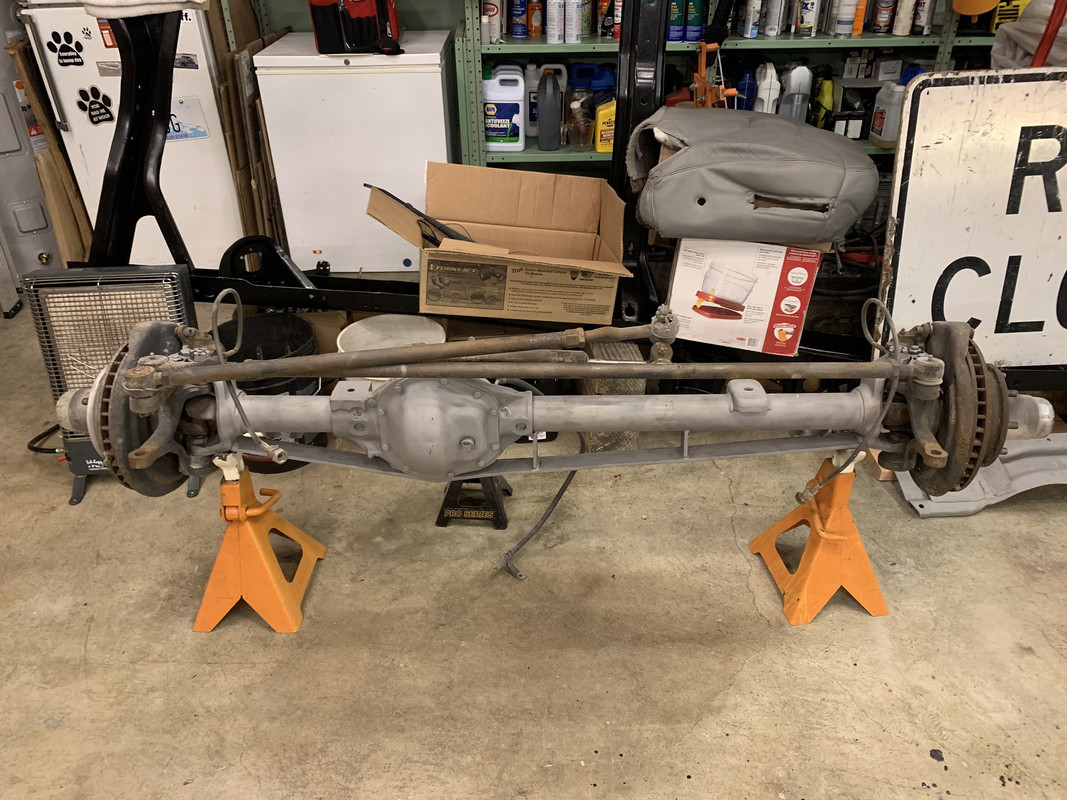
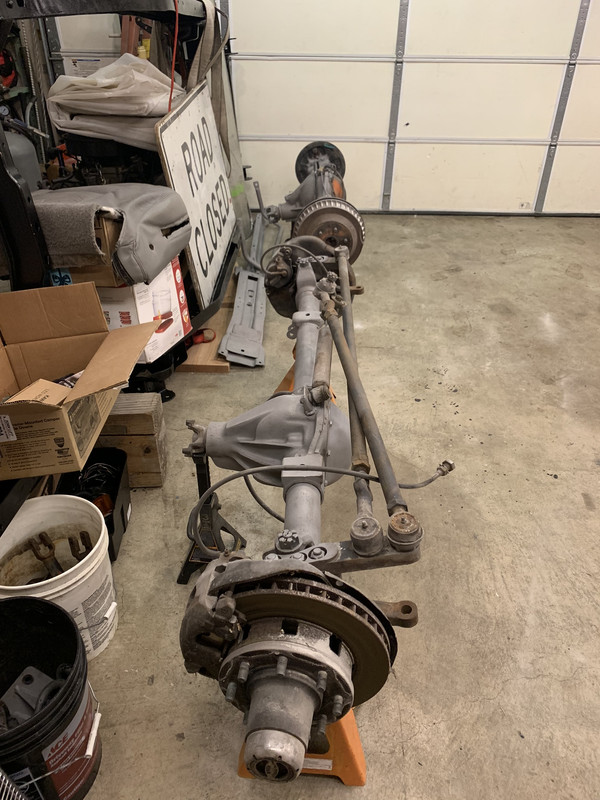
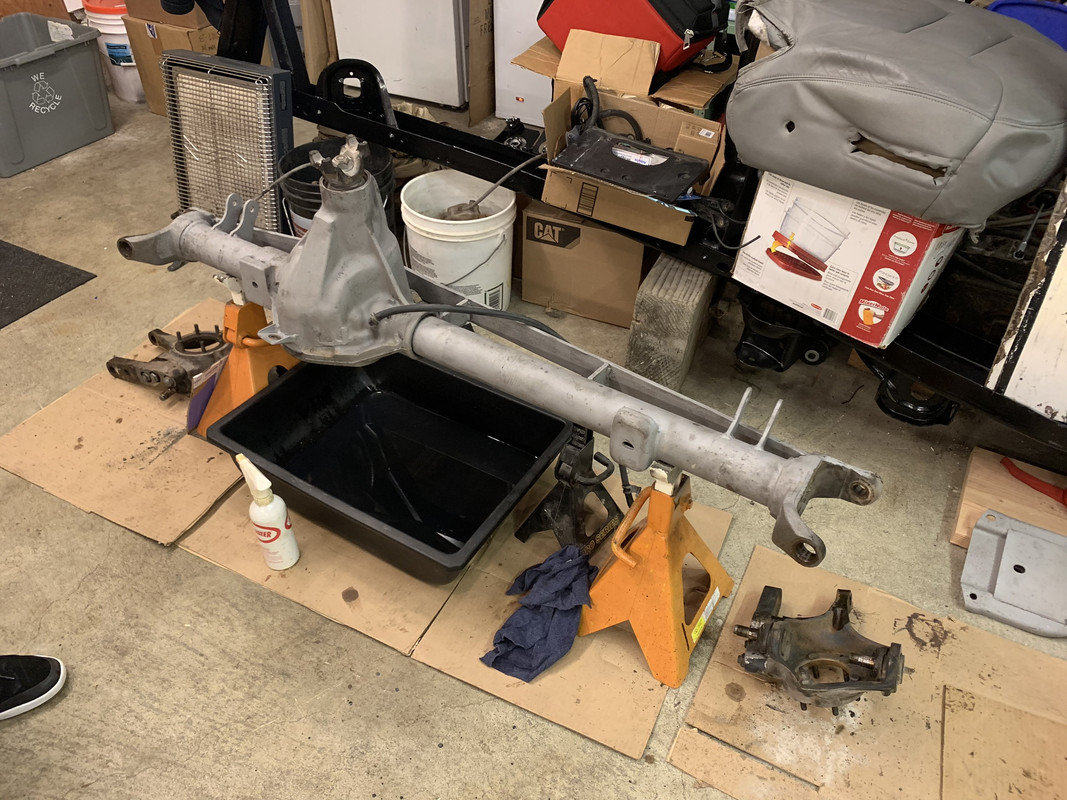
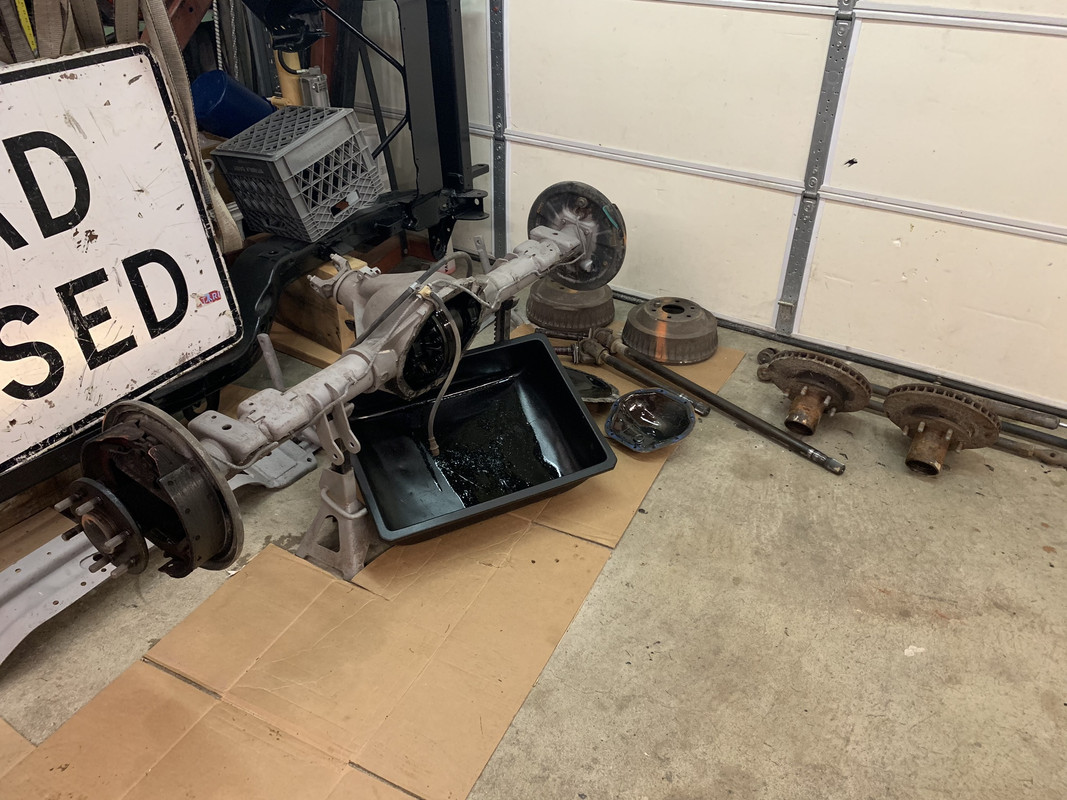
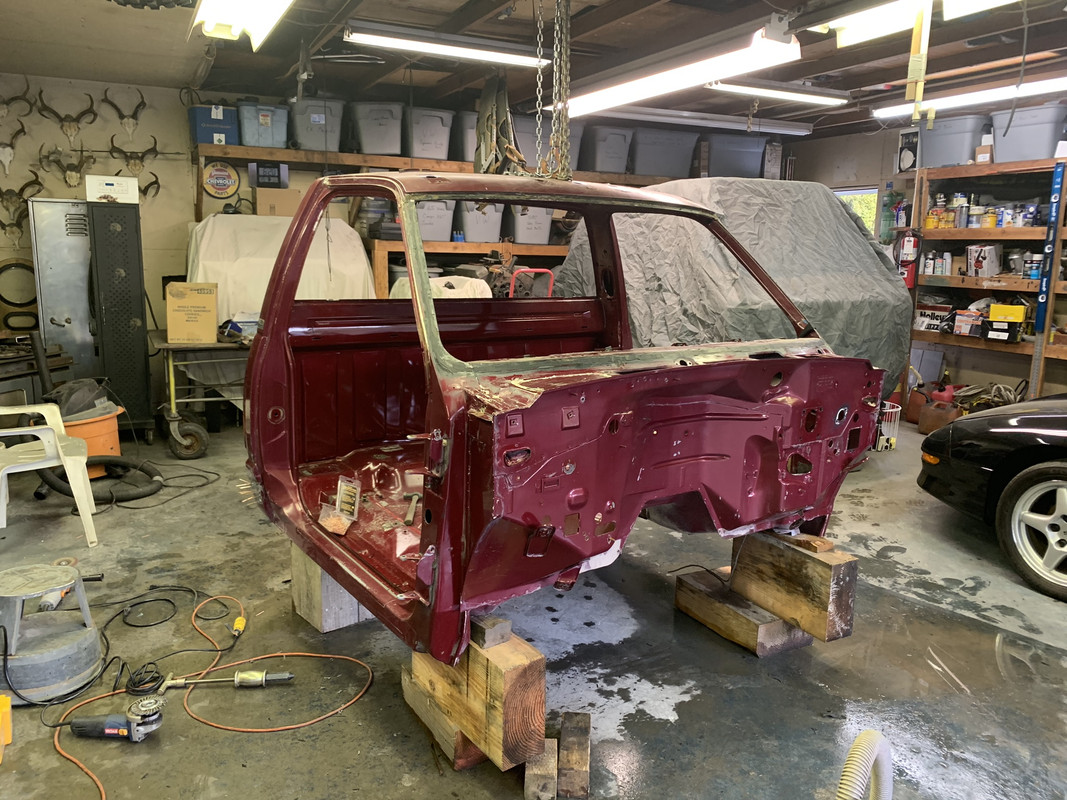
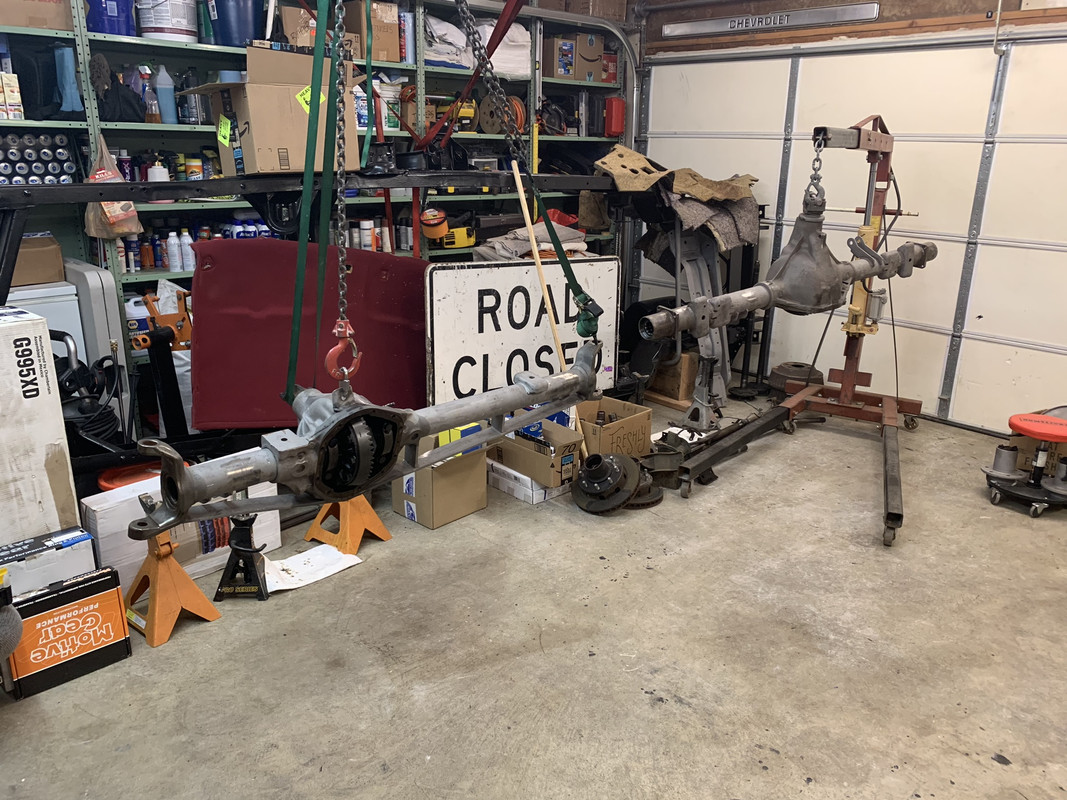
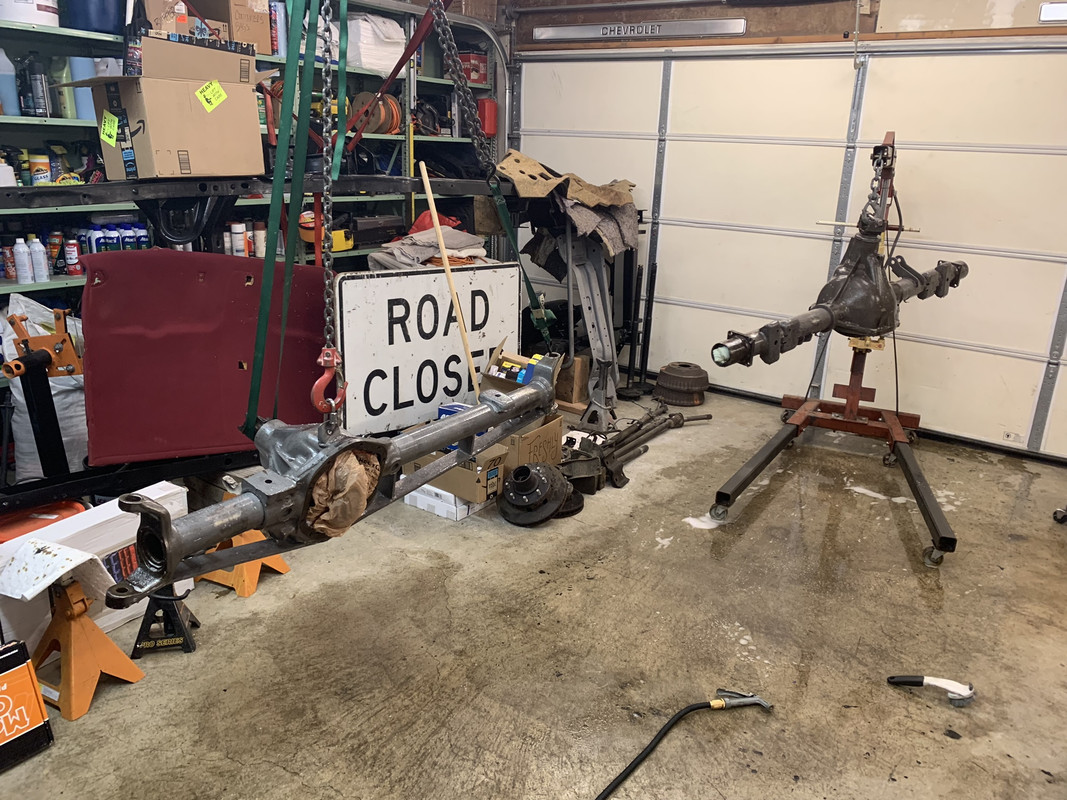
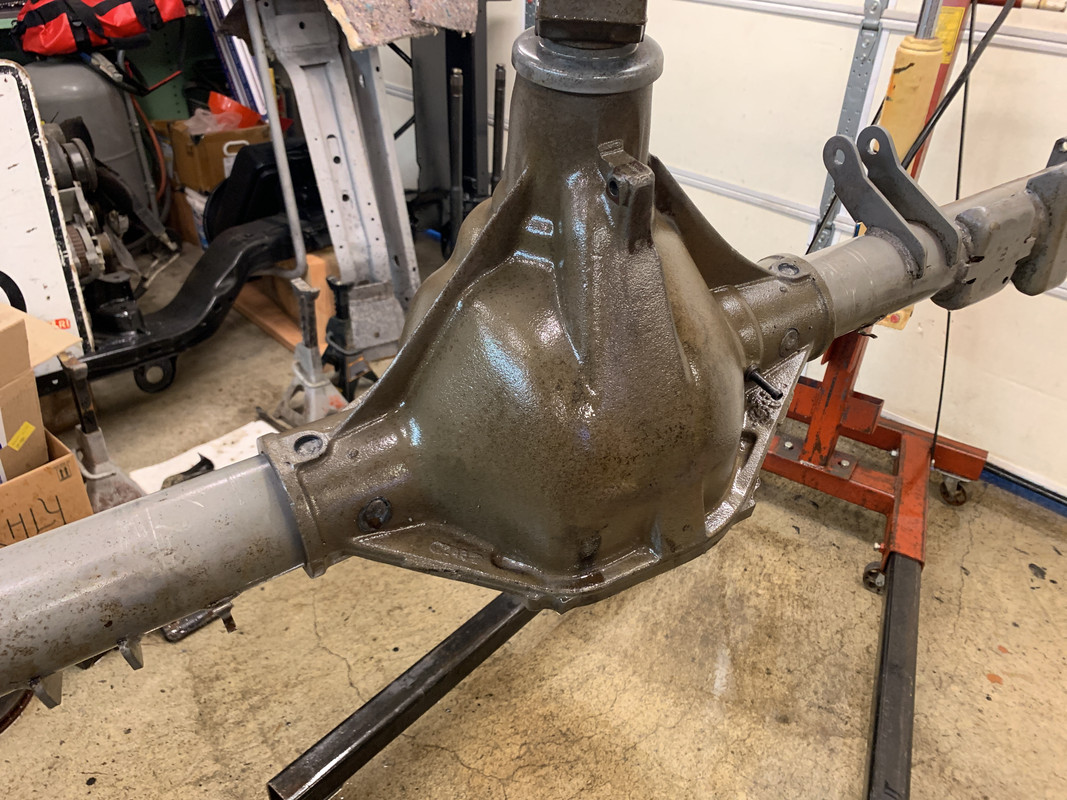
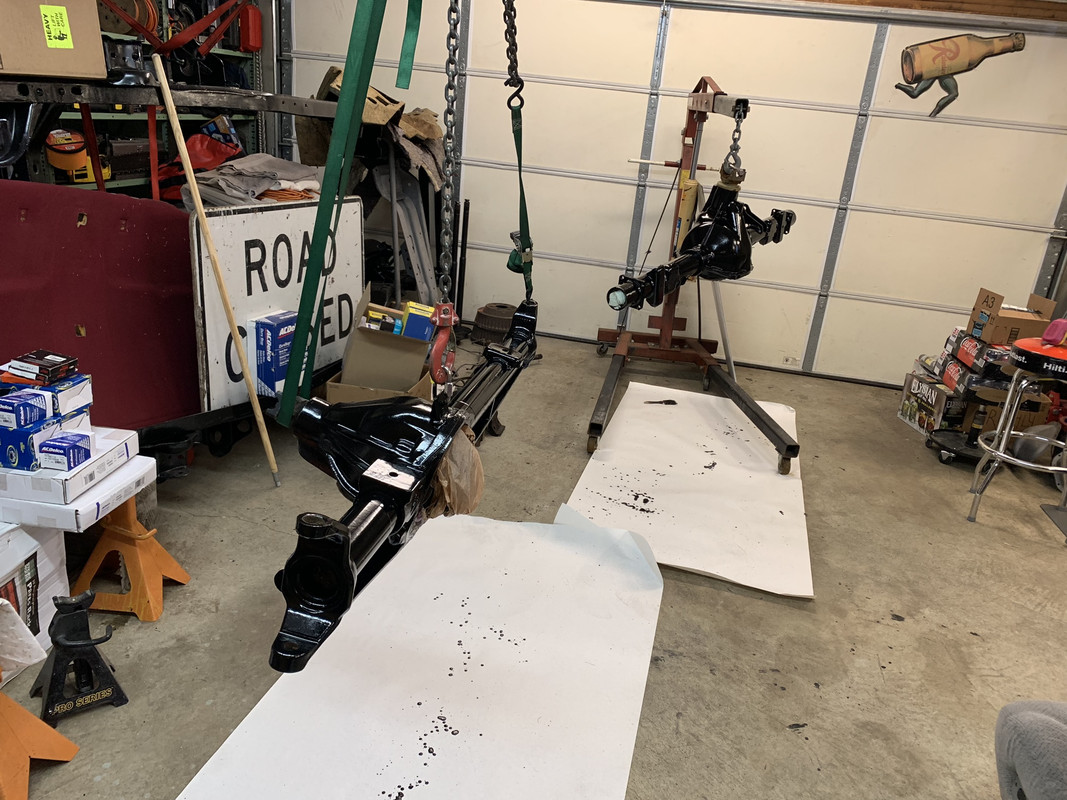
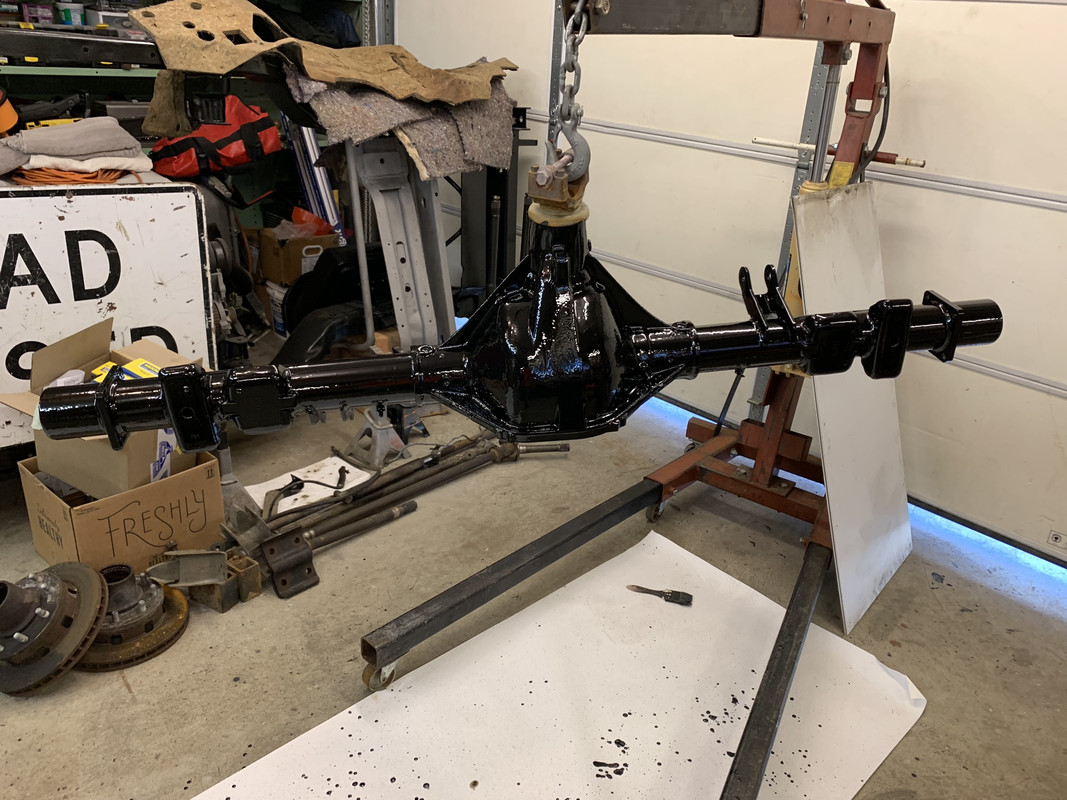
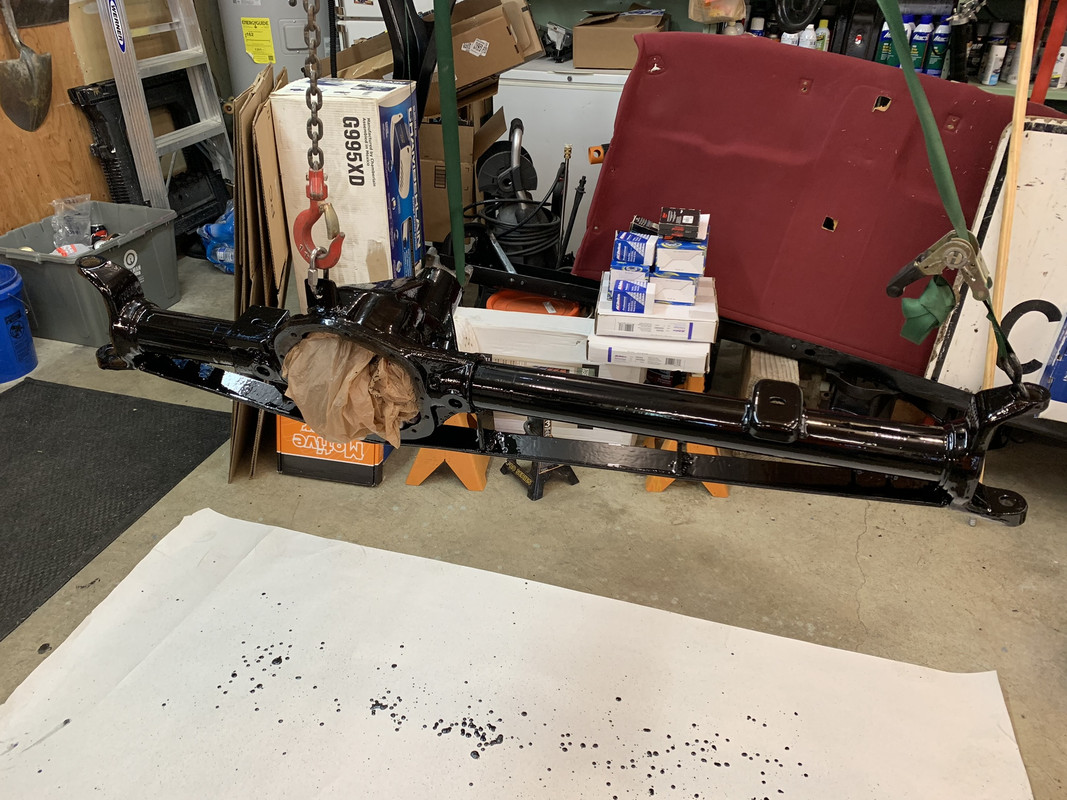
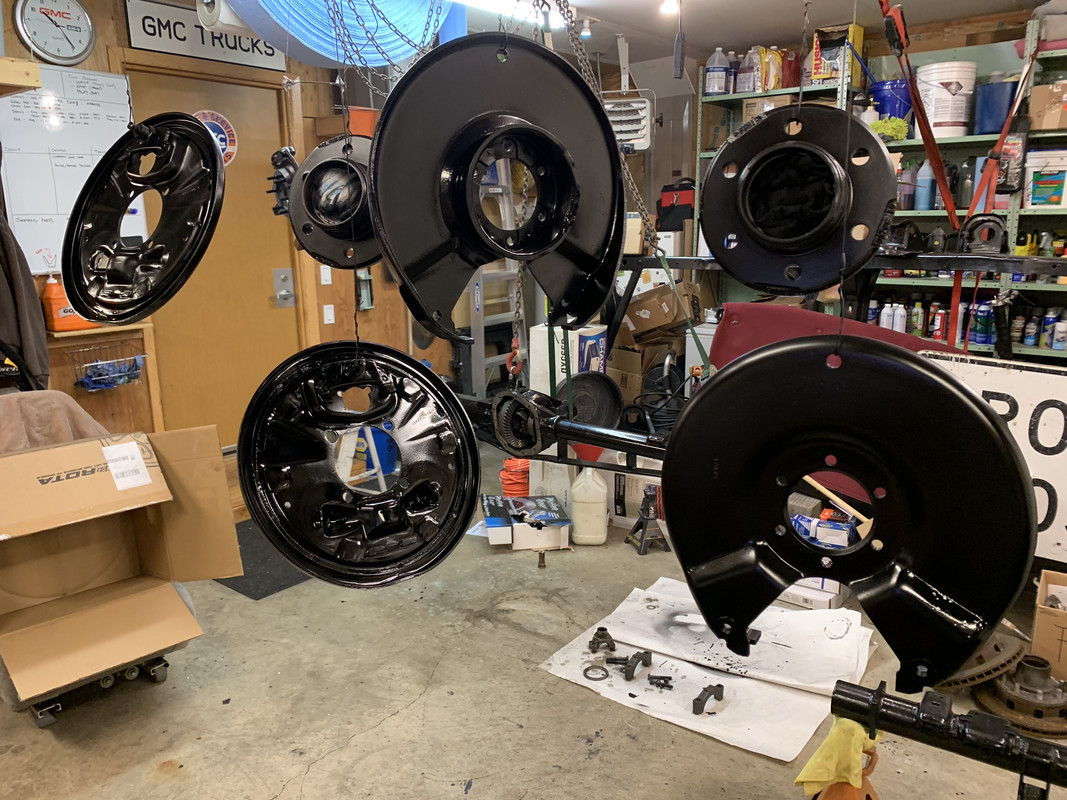
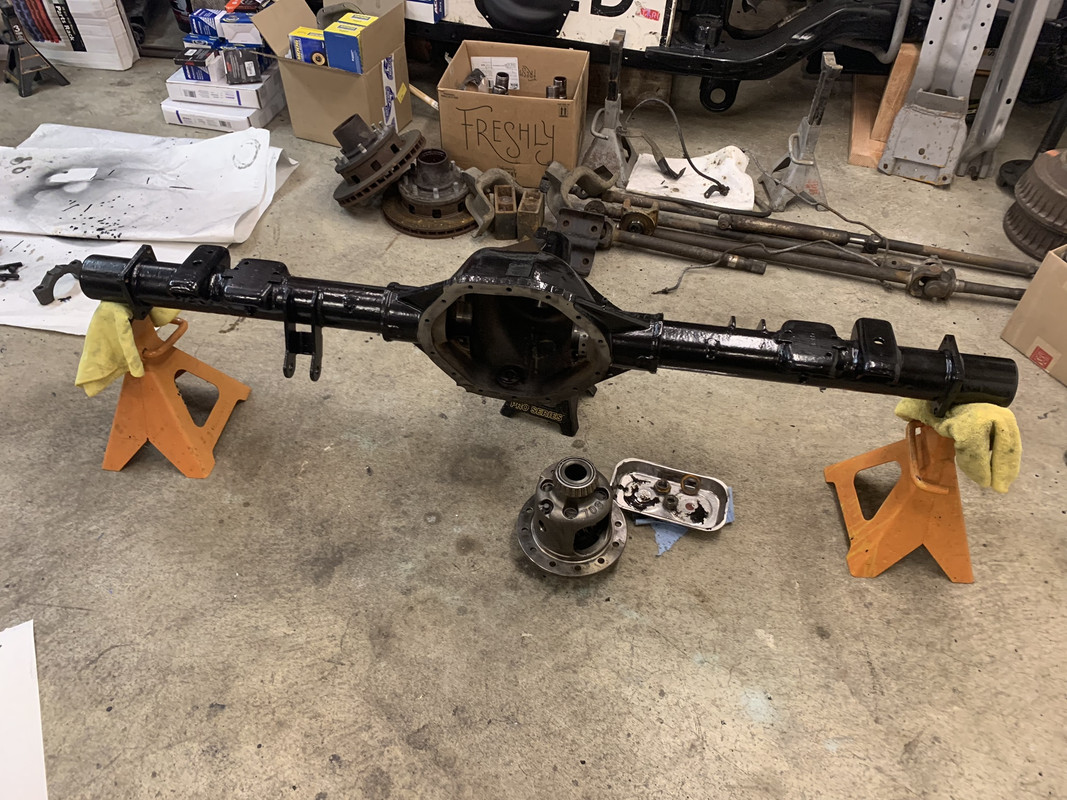
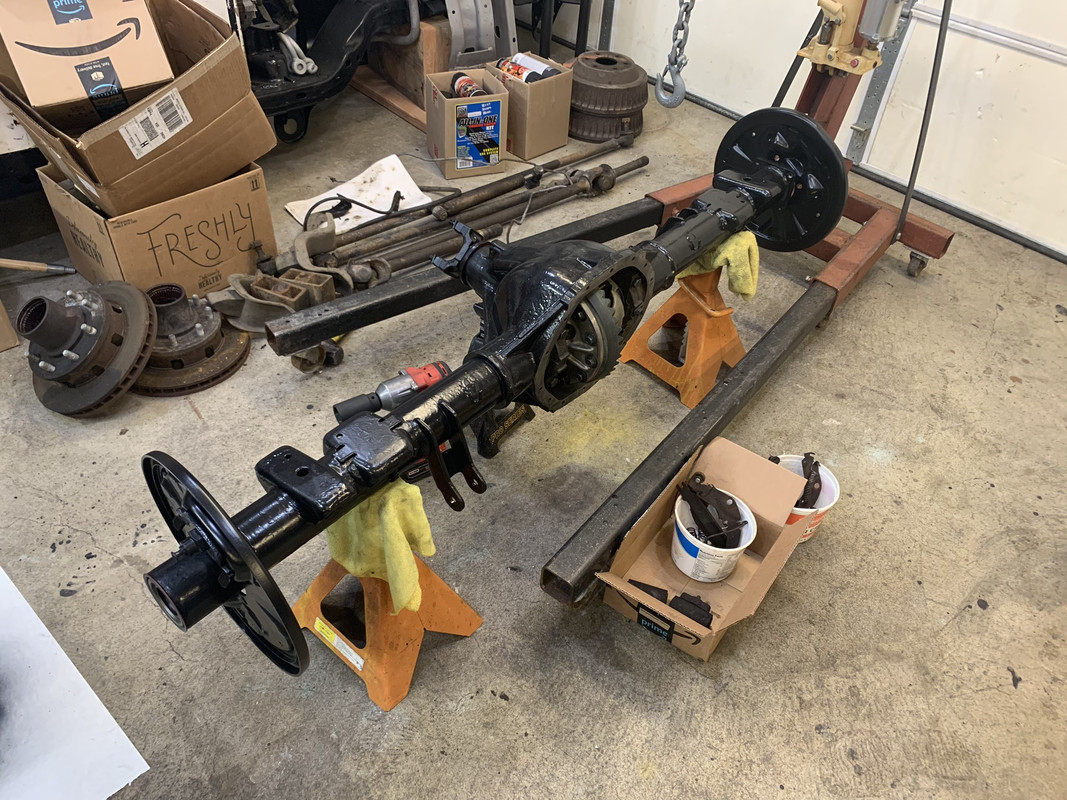
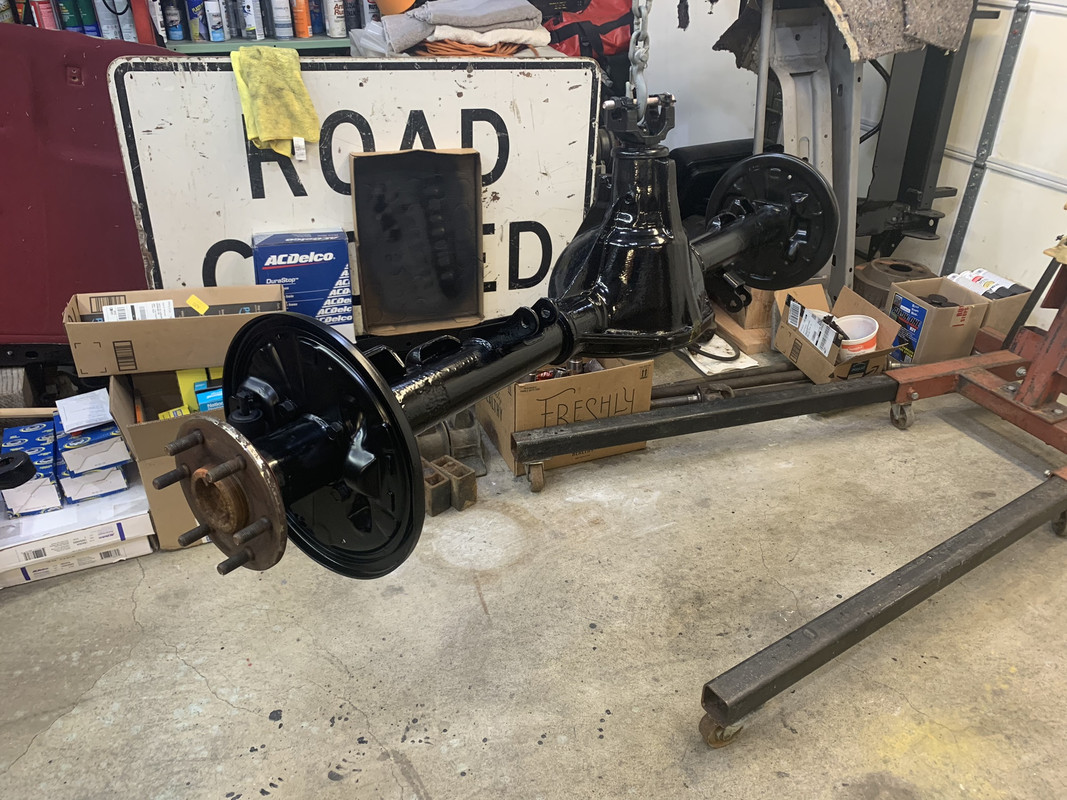
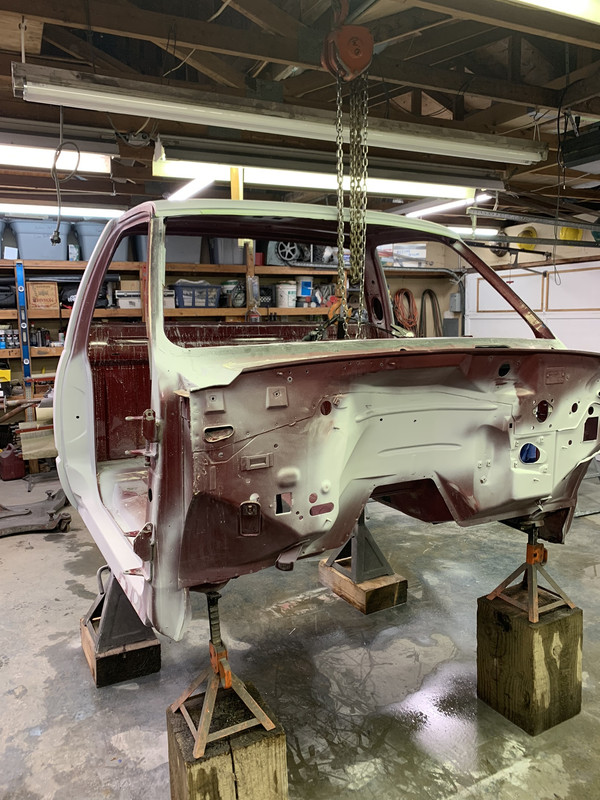
Now you are up to date") Next step is pulling the springs and axles and coating the frame, then blasting and cleaning the axles, and re-assembly will start.
Next step is pulling the springs and axles and coating the frame, then blasting and cleaning the axles, and re-assembly will start.
And just because it's cool, GM part number, date stamp and stamped VIN in the frame.
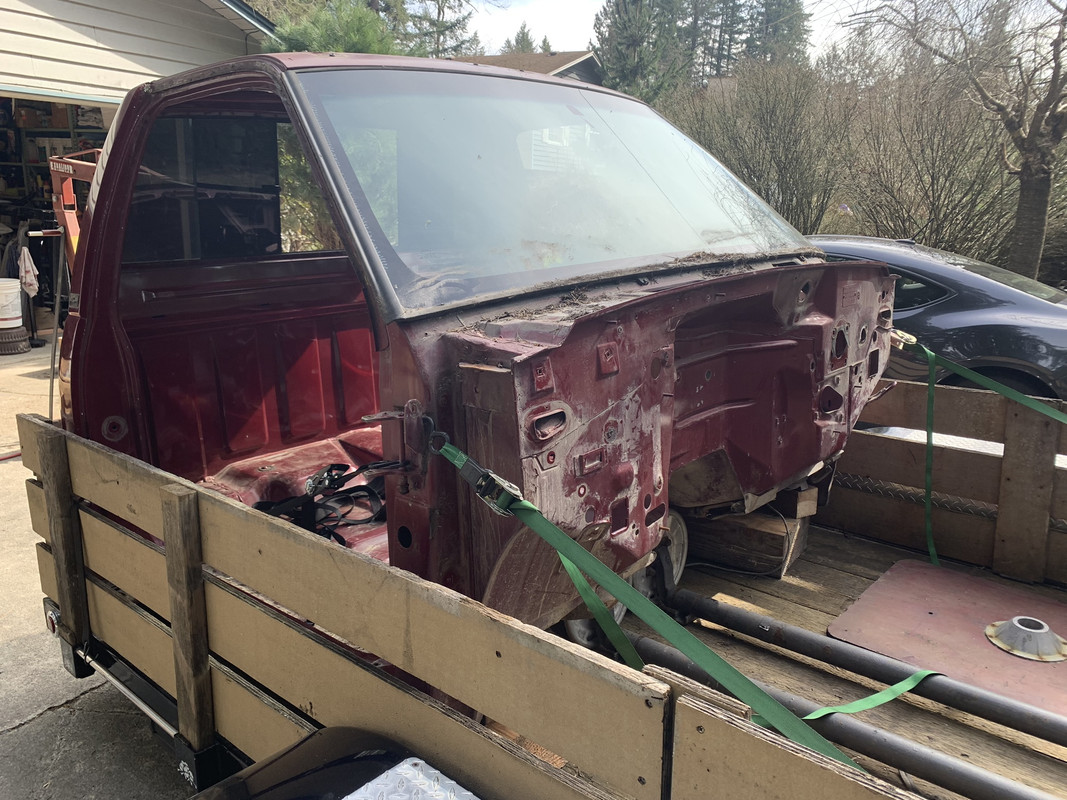
Now you are up to date
Next step is pulling the springs and axles and coating the frame, then blasting and cleaning the axles, and re-assembly will start.