• Welcome to The Truck Stop! We see you haven't REGISTERED yet.

    Your truck knowledge is missing!
    • Registration is FREE , all we need is your birthday and email. (We don't share ANY data with ANYONE)
    • We have tons of knowledge here for your diesel truck!
    • Post your own topics and reply to existing threads to help others out!
    • NO ADS! The site is fully functional and ad free!
    CLICK HERE TO REGISTER!

    Problems registering? Click here to contact us!

    Already registered, but need a PASSWORD RESET? CLICK HERE TO RESET YOUR PASSWORD!

PTWS glow plug harness install questions

floyd400

Member
Messages
181
Reaction score
19
Location
Northern Indiana
I started installing the harness this afternoon after it's been sitting in the box since the summer and the instructions have me confused.
First off, how do you go about removing the old harness? The instructions only say to remove the old harness and nothing else. Do you just unhook the connectors from the glows and chop it off somewhere? It looks like it goes deep into the main engine harness. I'd like to completely remove the old harness so everything looks cleaner.

Next, how should I route the driver side harness? The pictures in the instructions were useless. The new harness is much, much longer than stock so I couldn't find a decent way to route it and have it look clean. I'd appreciate any help. Pictures would be a huge help.

Thanks!

Oh, and merry Christmas, everybody!
 
Last edited:
"The new harness is much, much longer than stock...." If you can't get the old harness out...?
Sorry, not busting your balls, just poking a little fun as I get that it is frustrating when the instructions don't seem to make sense. Trust me, I'm far from intuitive.

Unfortunately, I can't get my camera into the tighter spaces on the DS side to get good pictures and it has been a while since I did mine. So memory will have to serve along with the "1000 Words".
Removing the old harness was challenged only by trying to get my fat hands into the tight spaces between the engine, firewall, steering, frame rail, Turbo downpipe etc. But, patience, flashlights and some 550 cord to use as a guide will help
- Trace the wires back and remove them carefully from the where they enter the protective plastic of looms.
- Remove the PS & DS leads from the GP Relay.
- Before pulling the harness out after disconnecting the leads from the Relay, attach 550 cord to the ring terminals and, when you're ready, pull the leads out from the bottom so the 550 cord will trail out as a guide to help you re-route the new lines.
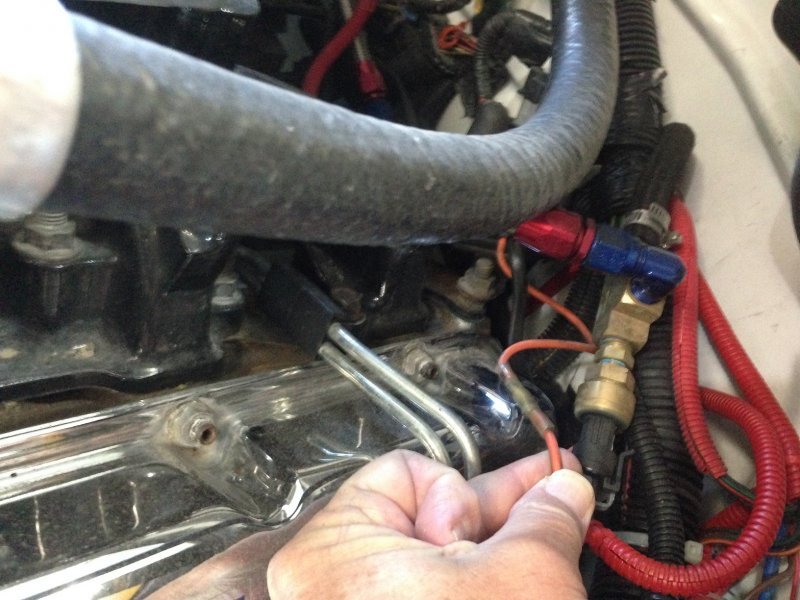
- DS side, there is an orange wire leading off the GP harness into the main wiring harness that goes to the underhood fuse box, GP signal Circuit for the ECM...this is where you splice in the orange wire from the new DS PTWiring unit.


- Routing the new harness:
Both sides have sufficient length to run from the Glow Plugs, down to the top of the frame where they will run happily along to the back of the motor. I ran the leads under/through existing wire loom hold downs on the frame and zip tied them at the back of the frame to existing wire looms.
I then ran my leads up the back of the motor, the 550 cord only really helped as a reference (trying to pull the new lines up by the ring terminals wouldn't be my recommendation) paralleling existing wiring to avoid the exhaust manifolds and then up to the GP harness.
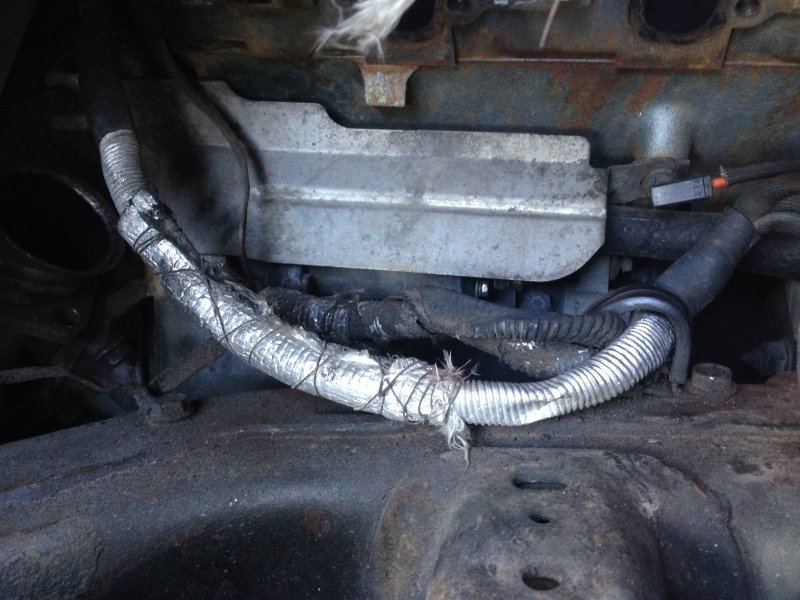
To ensure heat protection, I did add some heat wrap to the PS given the proximity of the downpipe and exhaust manifold.

Hopefully, a couple of pictures will help a little.

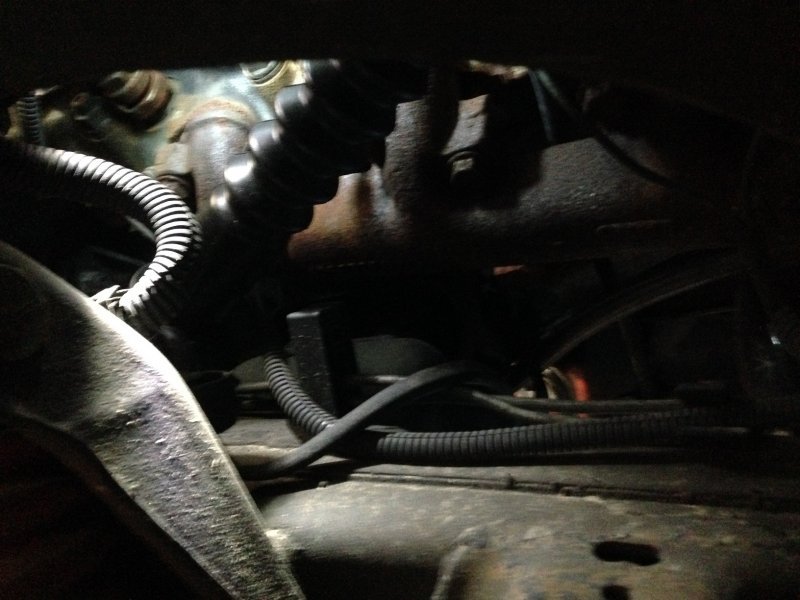
DS, Frame Rail with GP and other wiring
IMG_4471.JPG

PS Frame Rail (note: a lot of removed parts and harness is disconnected from 2, 4 & 6).
IMG_4469.JPG

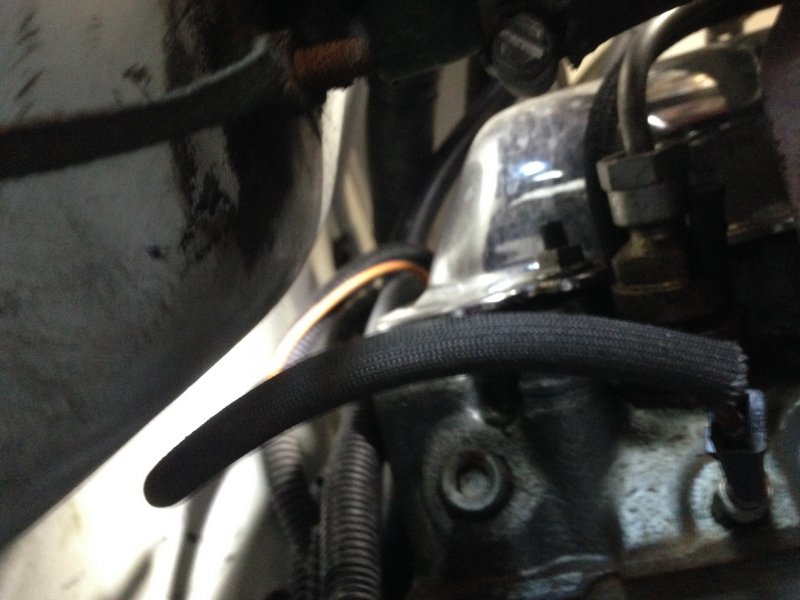
PS, back of the motor (GP lead #8 separates up between the firewall and cylinder head)
IMG_4470.JPG

GP Harness, DS lead can be seen with closer look to be running down the back of the motor at the DS Cylinder head.
IMG_4473.JPG

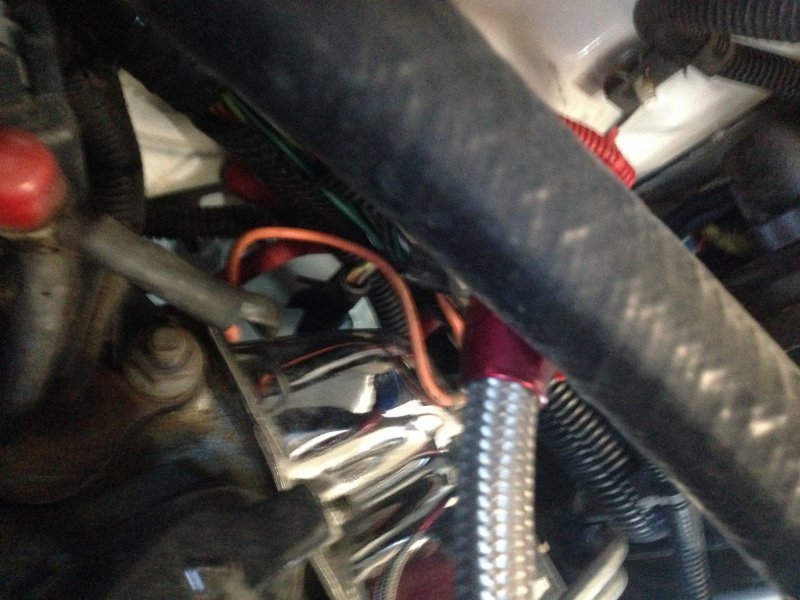
DS side, orange wire splice leading into the harness (ultimately running through the Underhood Fuse Box and on to the ECM).
IMG_4472.JPG
 
Back
Top