• Welcome to The Truck Stop! We see you haven't REGISTERED yet.

    Your truck knowledge is missing!
    • Registration is FREE , all we need is your birthday and email. (We don't share ANY data with ANYONE)
    • We have tons of knowledge here for your diesel truck!
    • Post your own topics and reply to existing threads to help others out!
    • NO ADS! The site is fully functional and ad free!
    CLICK HERE TO REGISTER!

    Problems registering? Click here to contact us!

    Already registered, but need a PASSWORD RESET? CLICK HERE TO RESET YOUR PASSWORD!

Hot Wire Innovations Glow Plug Harness

MrMarty51

Well-Known Member
Messages
16,992
Reaction score
39,280
Location
Miles City, Montana
Guess there is no real answers to the best way of routing the PT GP harness to the right side cylinder head glow plugs.
The original harness was run under the intake manifold for the forward three, then down and to the right then plugging into each GP. The rear GP wire was run downwards behind the cylinder head then plugged into the no. 8 GP.
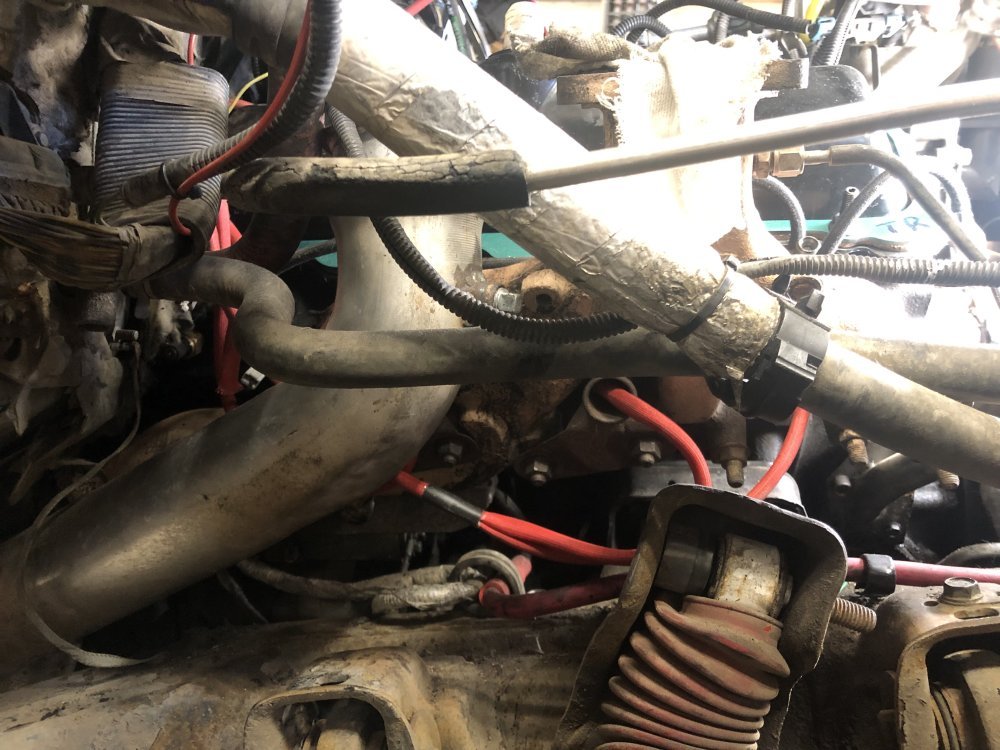
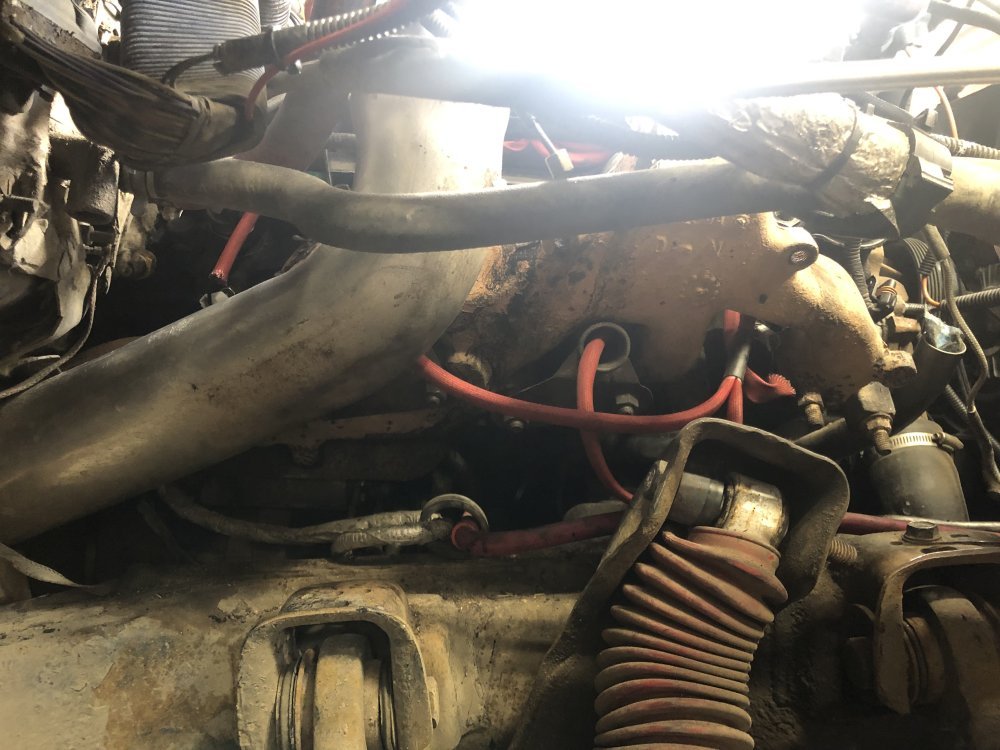
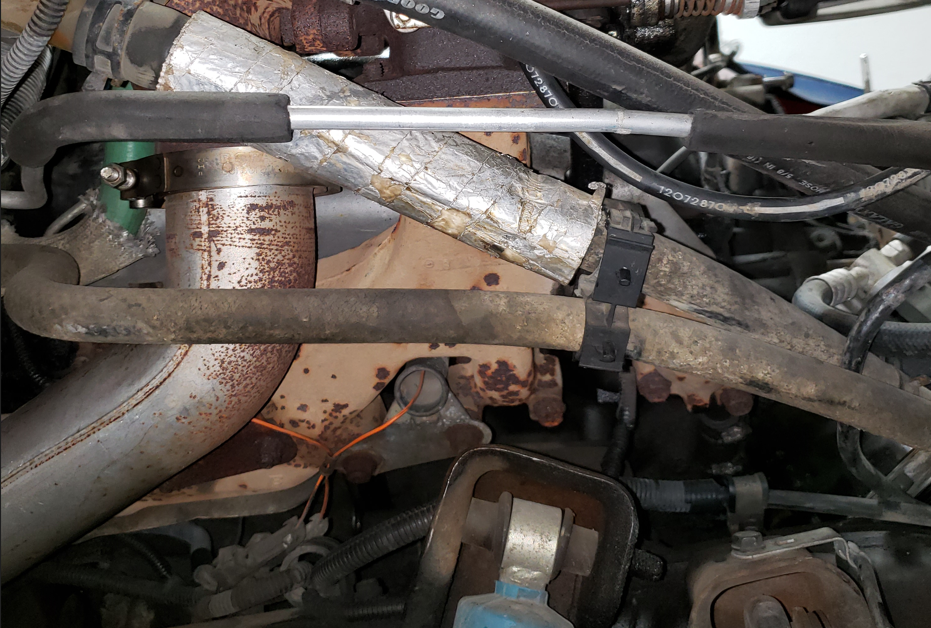
The instructions for routing the PT solutions harness is rather vague, at least in My head and so here is how I routed the harness. Dropped it behind the cylinder head, trying to avoid the exhaust manifold, then forwards between the down pipe and the manifold.
I know this is going to be mighty hot in the no. 6 and no. 8 areas of the harness so I might try running along the top of the cylinder head, just below the rocker cover, under the injector pipes and drop it through the exhaust manifold at the no.1 GP.
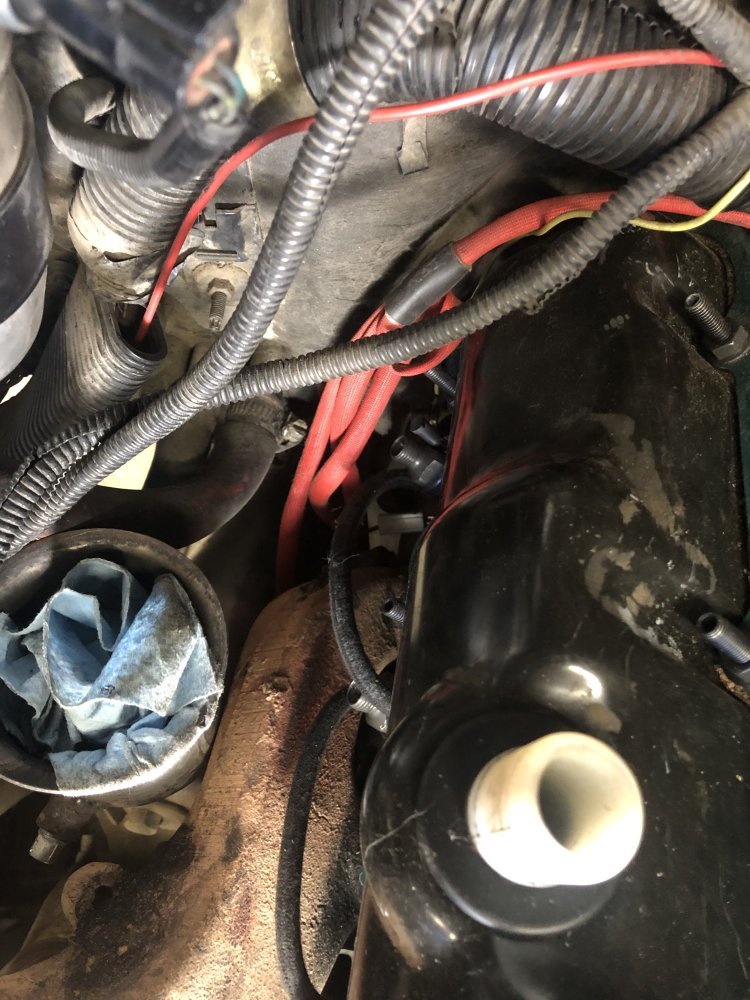
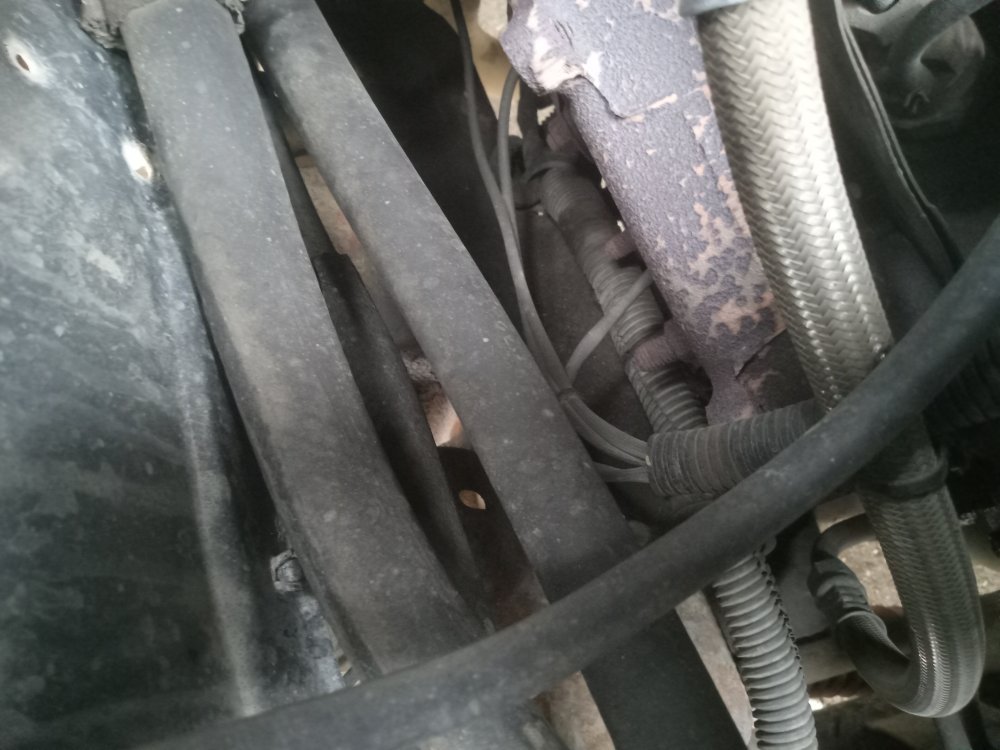
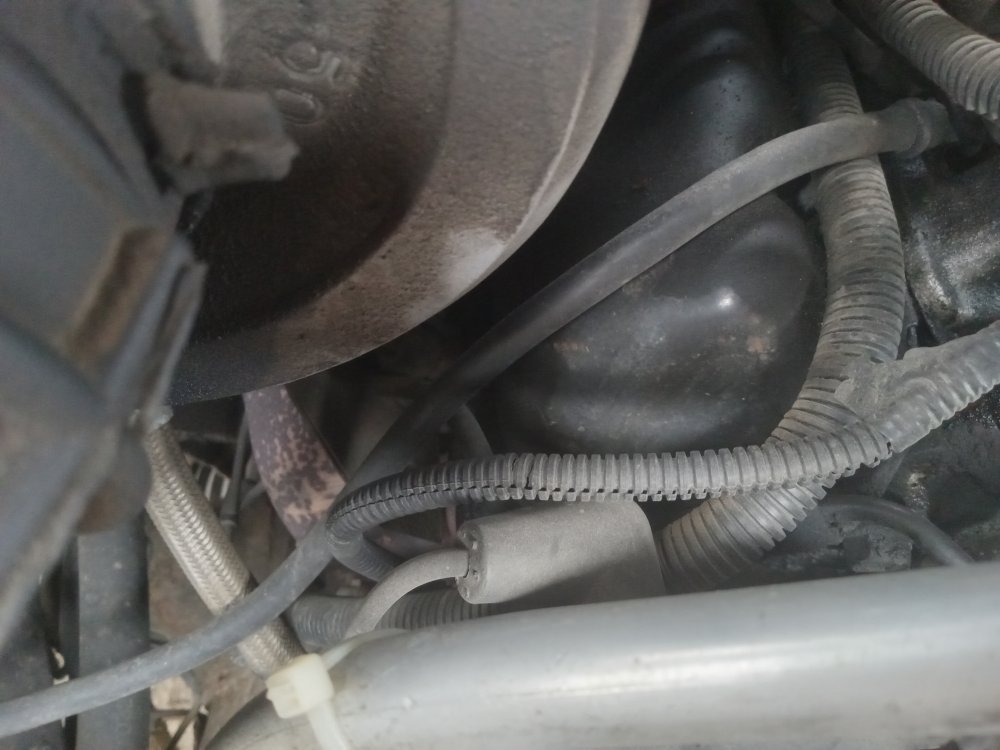
Here is a couple pics of how it now is routed.
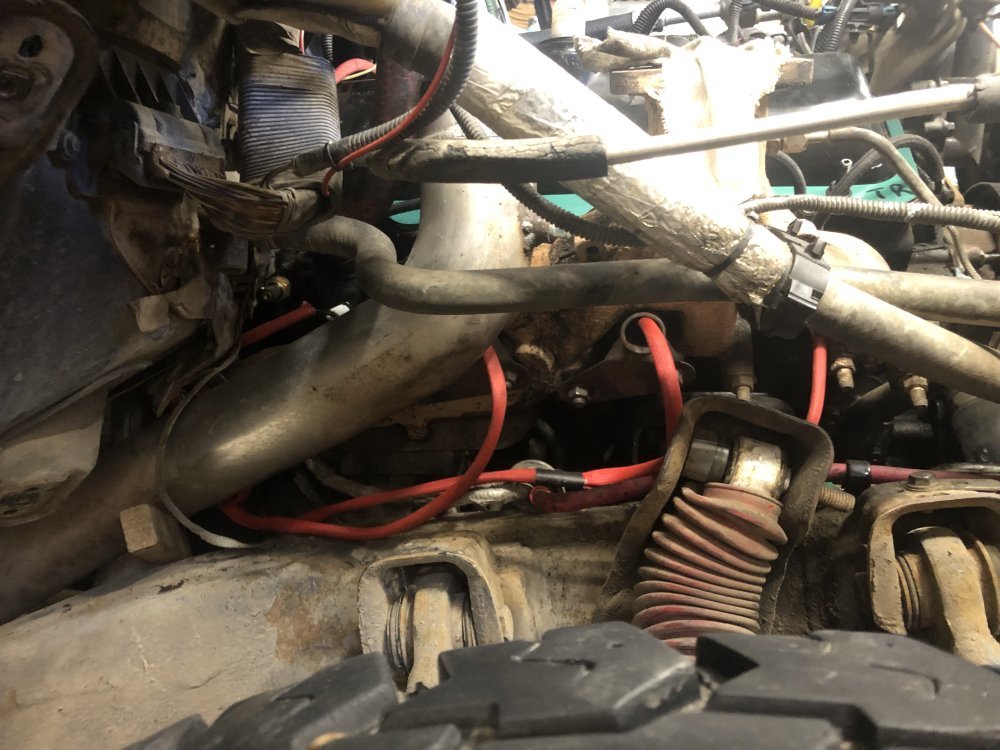
IMG_6309.jpeg
IMG_6310.jpeg
IMG_6311.jpeg
 
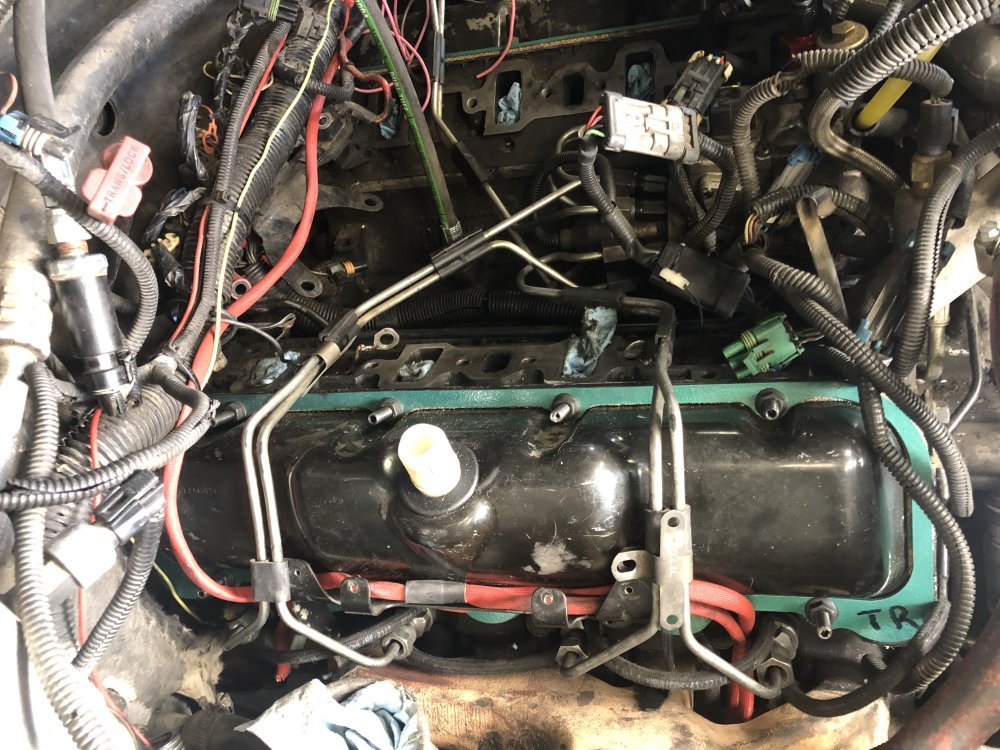
Got the harness pulled and laid in like @ak diesel driver described. I think. 😹
At the GP level.
IMG_6314.jpeg

And on top of the RH side.
IMG_6316.jpeg
I laid the wires between the rocker cover and the bracket that the injector lines is attached to and also the heat shield.
 
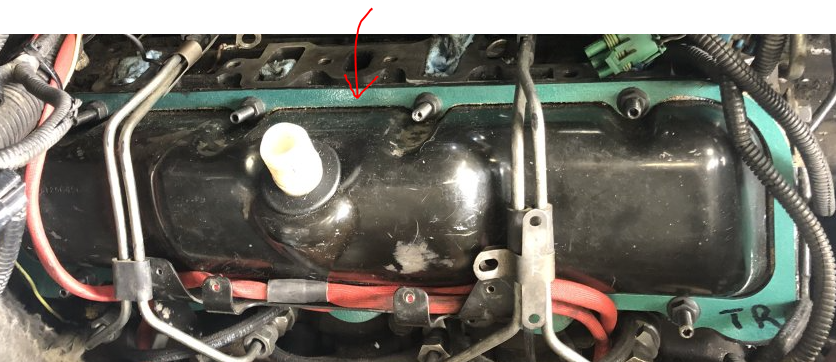
What is the green border around your valve cover?
View attachment 81393

Valve cover girdle to give more even clamping force to (hopefully) prevent oil leaks.
Also an item from Leroy Diesel.
The kit comes with studs, nuts a set of rocker cover gaskets and the girdles.
The gaskets goes between the rocker cover gasket and the girdle that also helps apply a more even clamping force without distorting the cover. Just be careful how tight You turn the nuts to. Dont want to distort the girdle too, like I did then have to remove it.
A bit of a bear getting the left side cover set down into position with the AC compressor and bracketry in position.
If I was going to go another round with it, I’d remove those items just to make sure I could get the rocker cover into position without disturbing the gasket sealer applied to the cover.
Thats why I have such a concern about the cover, especially the LS cover leaking.
 
With my PT Solutions harness I added EDI Spark Plug Heat Shield tubes to a couple of strategic locations just to be on the safe side. Wasn't needed and I soon removed them. Still, not a bad Idea if you're still concerned about proximity to the manifolds.
 
With my PT Solutions harness I added EDI Spark Plug Heat Shield tubes to a couple of strategic locations just to be on the safe side. Wasn't needed and I soon removed them. Still, not a bad Idea if you're still concerned about proximity to the manifolds.
I seem to have a very bad habit of over thinking, over building every thing I touch.
A lot of times, after the task is accomplished, and the made up unit is tried, I realize how unnecessary it all had been.
But then at times, after its all built and together I realize why I had not done that sooner.
I too had thought about adding more heat shields to the GP harnesses where they route so close to the manifold, but then realized, with the way I have them routed it will most likely be another 25 years how they now are and then it will be someone elses problem and I most likely will not care at all. 😹😹😹
I should be about 96 by then. 😹😹😹
 
Also an item from Leroy Diesel.
The kit comes with studs, nuts a set of rocker cover gaskets and the girdles.
The gaskets goes between the rocker cover gasket and the girdle that also helps apply a more even clamping force without distorting the cover. Just be careful how tight You turn the nuts to. Dont want to distort the girdle too, like I did then have to remove it.
A bit of a bear getting the left side cover set down into position with the AC compressor and bracketry in position.
If I was going to go another round with it, I’d remove those items just to make sure I could get the rocker cover into position without disturbing the gasket sealer applied to the cover.
Thats why I have such a concern about the cover, especially the LS cover leaking.
Given your experience with the girdle, I would place the cork gasket under the valve covers and the girdle directly on top of the valve cover. Girdle directly on metal valve cover for no distortion.

And yes, twice now getting the paseneger side cover slid into place undoubtedly disturbed the sealant on the lower rear corner. On the driver’s side the clearance issue is in the front.
Not yet sure what I’ll be trying.
I did have a set of gaskets and had them between the cover and the head, then installed the gasket between the cover and the girdle.
I’m not sure why I came to the conclusion that the gaskets between the head and the cover was not such a good idea, pulled it all apart and put it together the way Leroy subscribed in his directions.
There was some difficulty in getting the right side cover lowered without messing up the sealant applied to the cover, not near as much difficulty as the left side, There was sealant on several items getting that left cover lowered down and so far it seems to be holding.
After I get back home come Wednesday or Thursday I will take the truck for about a ten mile run then check to make sure that the left side sealant is holding before dismantling any components to rectify the right side sealant.
 
Permatex makes a spray on gasket adhesive/sealant that works perfectly for valve cover gasket applications. You spray the gasket and the inside edge of the valve cover, wait til it dries to tacky, then carefully lay the gasket in place as once they touch, they're stuck and sealed together permanently. Lay down your bead of The Right Stuff on the head and when it's ready, flip the valve cover over and maneuver/lower away without fear of the gasket shifting. I have done valve covers like that on my 6.5s, SBC's, Datsun/Nissans, Subarus, Toyotas, Fords, Dodges for years and haven't had leakage issues.
 
Permatex makes a spray on gasket adhesive/sealant that works perfectly for valve cover gasket applications. You spray the gasket and the inside edge of the valve cover, wait til it dries to tacky, then carefully lay the gasket in place as once they touch, they're stuck and sealed together permanently. Lay down your bead of The Right Stuff on the head and when it's ready, flip the valve cover over and maneuver/lower away without fear of the gasket shifting. I have done valve covers like that on my 6.5s, SBC's, Datsun/Nissans, Subarus, Toyotas, Fords, Dodges for years and haven't had leakage issues.
I thought about laying the right stuff on the head to cover surfaces but didnt know that I’d be able to get a nice bead on the back side of the right hand head surfaces.
I will now figure that out.
 
Back
Top