malibu795
misspleelleer..........
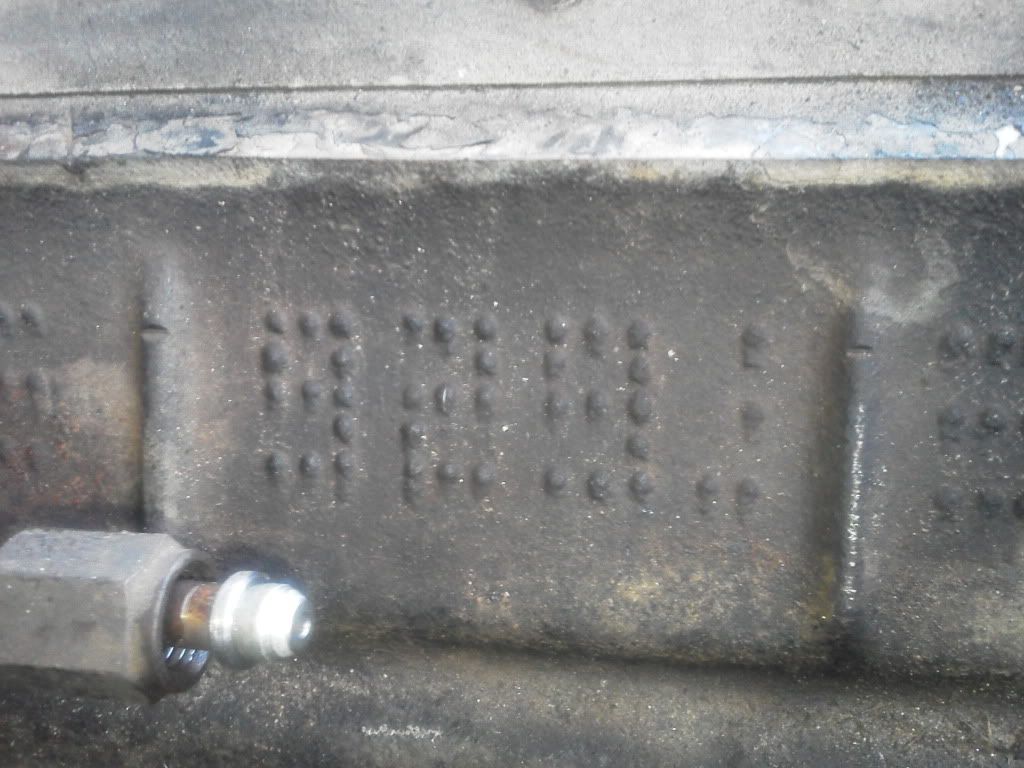
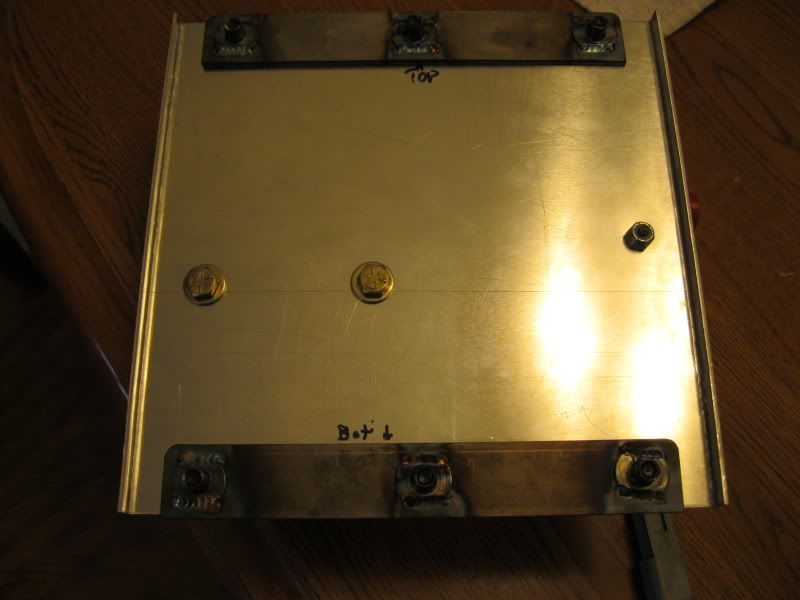
Got parts list for filter and heads? Kinda need it shortly

Follow along with the video below to see how to install our site as a web app on your home screen.
Note: This feature may not be available in some browsers.
Got parts list for filter and heads? Kinda need it shortly
sounds like a lil valve train clatter but otherwise sounds like a typical 6.5. be interesting to see if it changes
 )
)

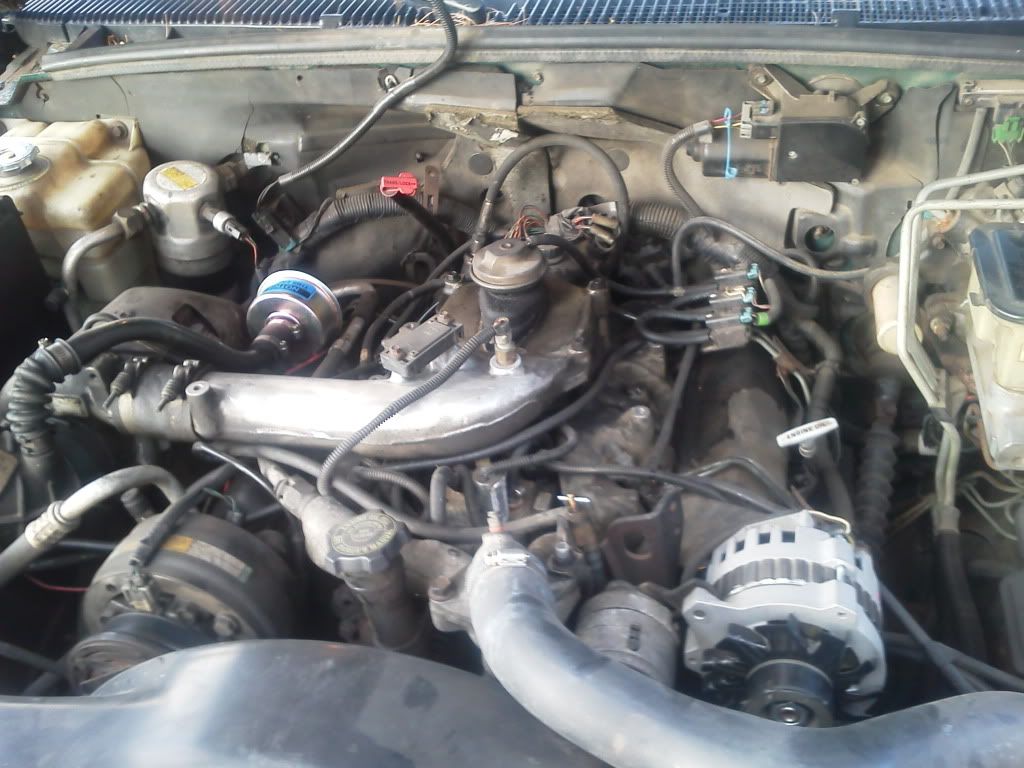
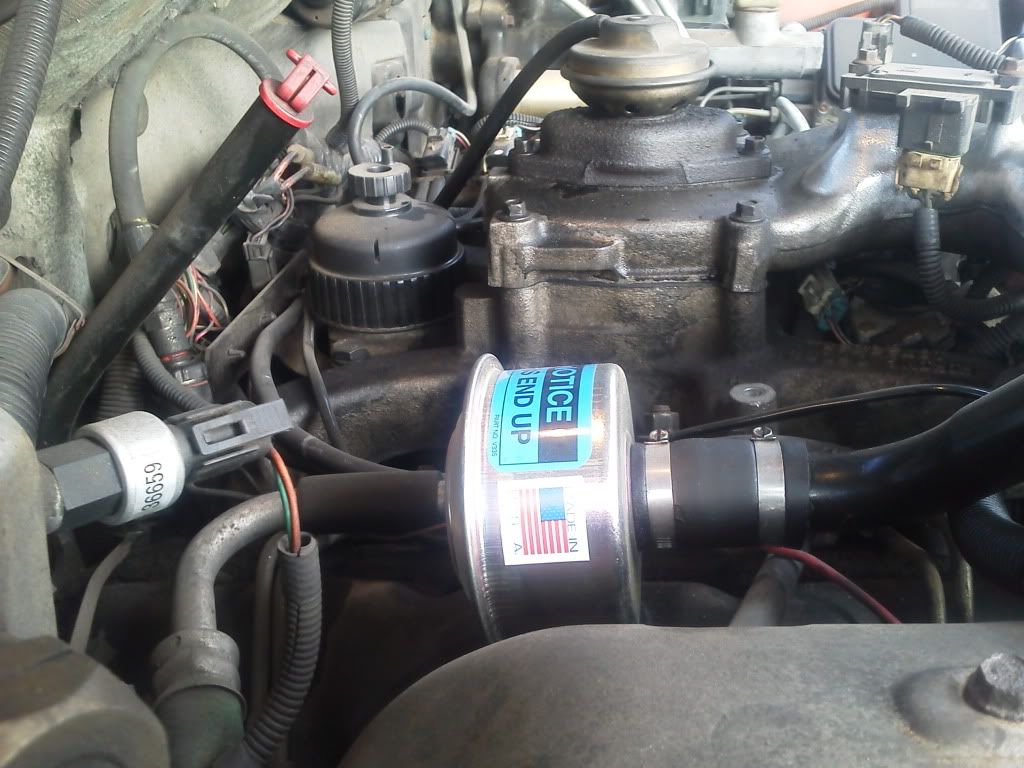
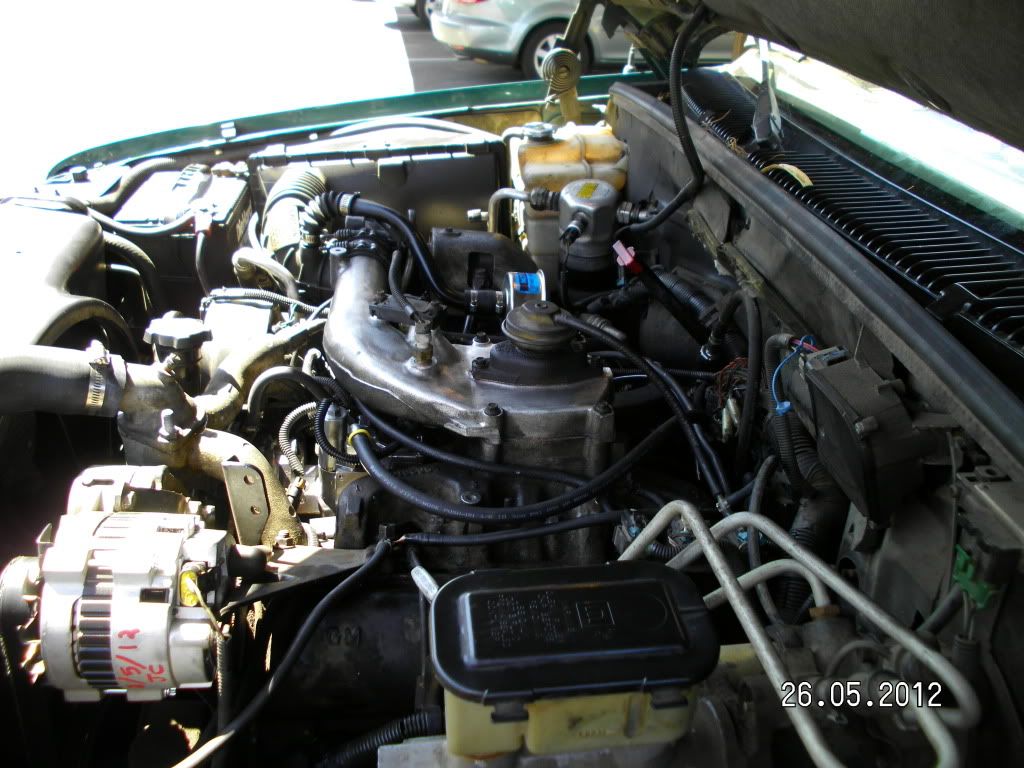
Honestly, the EGR system is one of those items on the truck (or any truck for that matter) that doesn't really bother me. I'm far from a tree hugger, but it does somewhat help control Nox out the tailpipe, with the exception of new hoses its pretty much maintenance free, and the system doesn't effect performance or give me better MPG's by removing it. If I ever get a hold of a good usable one, at some-point I'd even like to put an oxidation catalyst back in the exhaust. Something off of a newer truck that has a 4" inlet / outlet so it doesn't effect flow. Make it reversible too so that its held on by either v-band clamps or band clamps so that you can just flip it around after every oil change or so to avoid it getting plugged up. But that's for another thread I suppose.Very nice! Any reason you still run egr? What mpgs you get in the little truck?


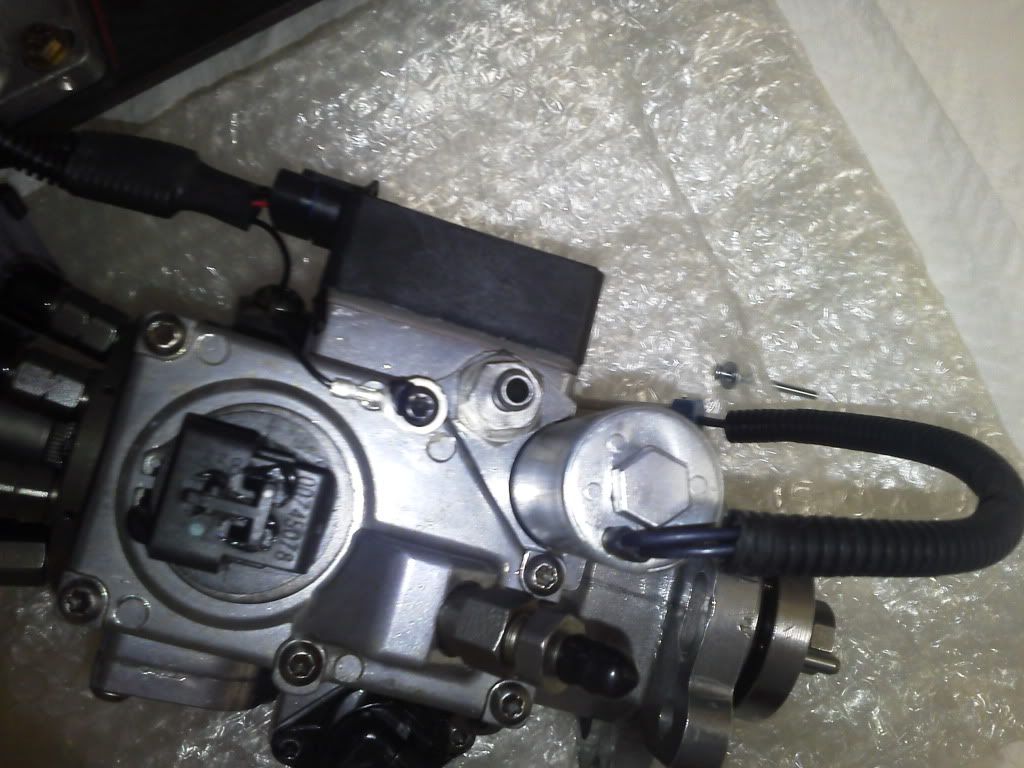
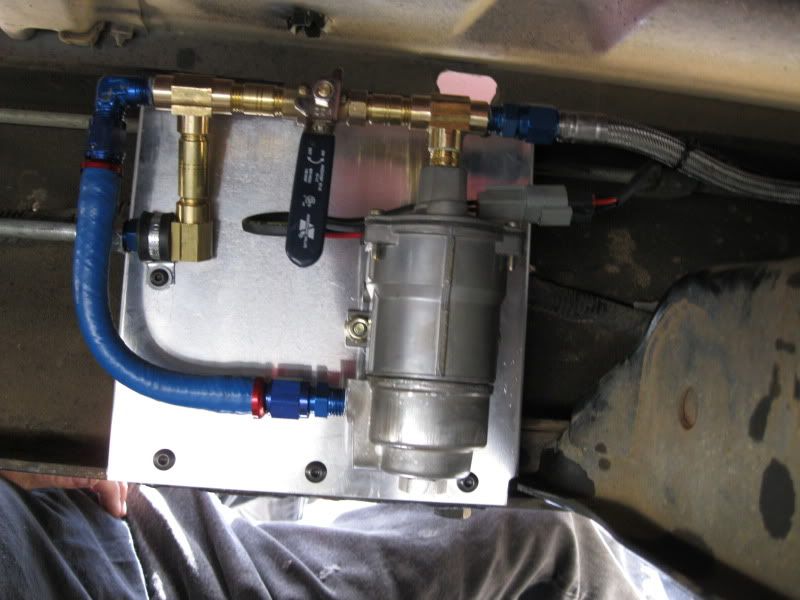
I have less than 10K miles on Bosch injectors.
I've used that screwdriver/hose trick for gassers, but never even thought about it for checking injectors. I'll do that just to be sure the injectors are working good/each cylinder is firing like it should. I've often wondered how to easily check injectors without having to get a wrench down past the turbo to loosen the injector lines.
Thanks for the idea.
Don
:rof: too true and too funny. :rof:.... if you drop them inside the gear case, even as a man, you are permitted to start crying..
I use my telescoping magnet for that kind of stuff. ...I'll usually back them all the way out, than run them in by about a thread or two, then put the magnet against the bolt head and spin the bolt back out. Works like a charm every time.