• Welcome to The Truck Stop! We see you haven't REGISTERED yet.

    Your truck knowledge is missing!
    • Registration is FREE , all we need is your birthday and email. (We don't share ANY data with ANYONE)
    • We have tons of knowledge here for your diesel truck!
    • Post your own topics and reply to existing threads to help others out!
    • NO ADS! The site is fully functional and ad free!
    CLICK HERE TO REGISTER!

    Problems registering? Click here to contact us!

    Already registered, but need a PASSWORD RESET? CLICK HERE TO RESET YOUR PASSWORD!

1996 K2500 “Krovvy”

Some more progress today.

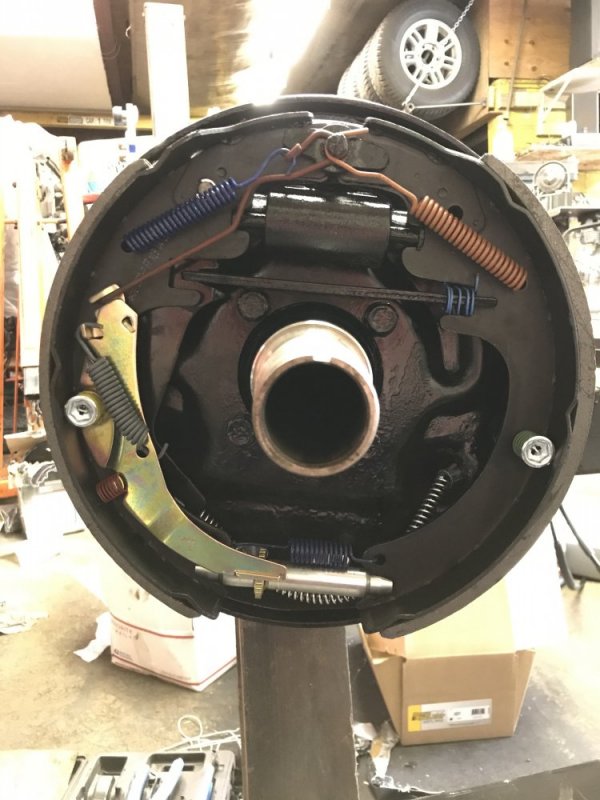
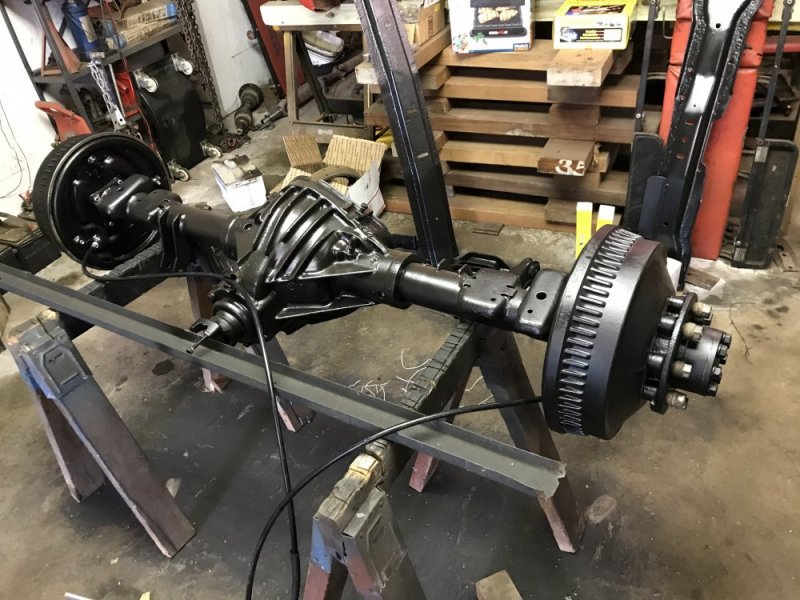
I got the rear brakes installed so now the rear axle is buttoned up.

DA0268DD-FC9B-49A4-BF7C-B7653FDD0AED.jpegF3B60107-84F1-4F86-BFF3-BC9DCB899B67.jpeg

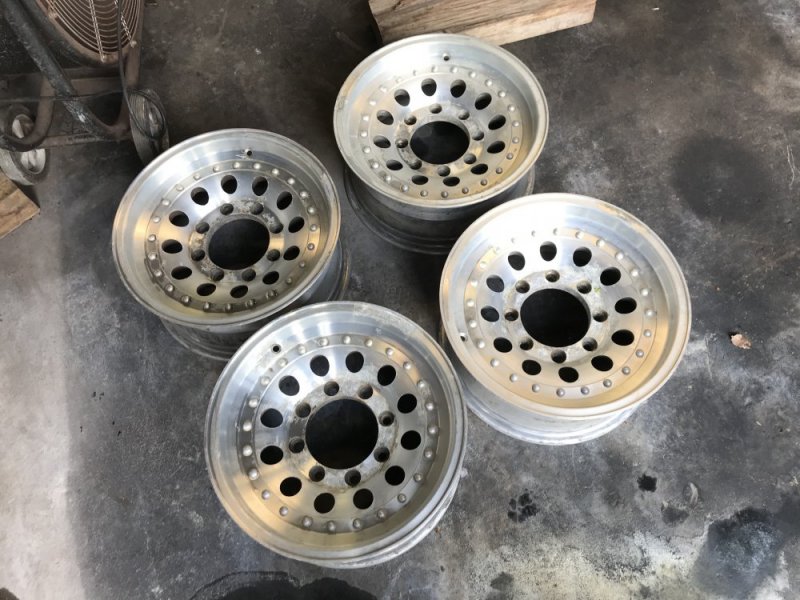
I also got the wheels that I’ll be running cleaned up. These came off an F250 I parted out almost 15 years ago and now I’m finally going to have a use for them.

7BB9FA7B-EED1-46DC-B342-6A4292441DD1.jpeg

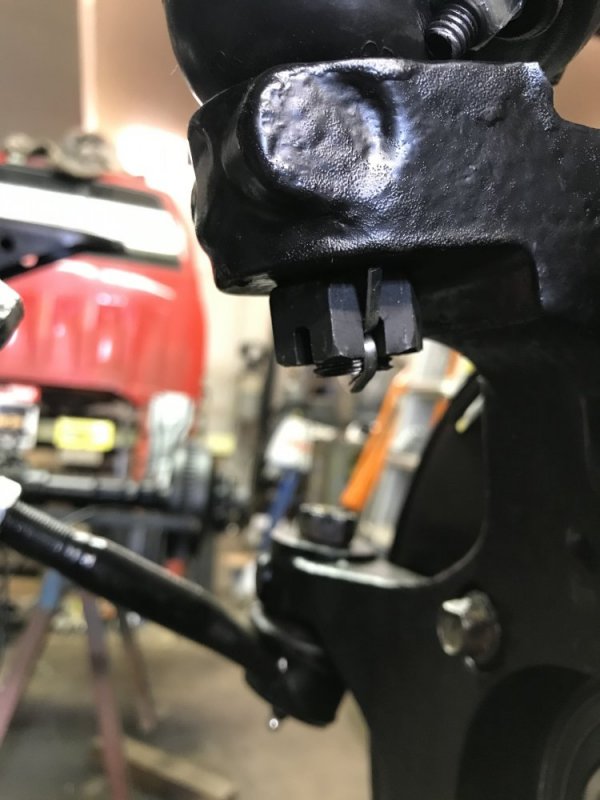
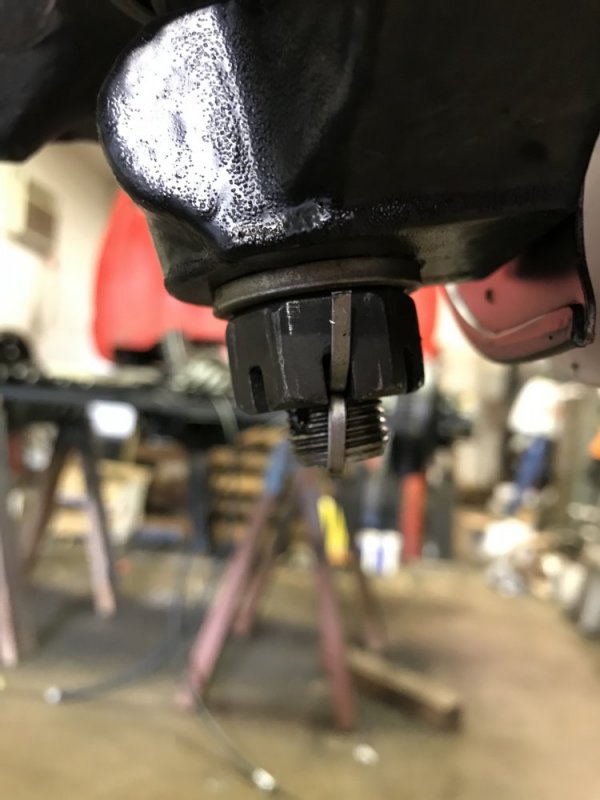
I acted on @Husker6.5 ‘s suggestion and redrilled the ball joint studs to eliminate the washers. The upper I got rid of all washers which moved the nut up a lot. I cut the stud off at the old cotter pin hole. I drilled the new hole with a 9/64” bit which is what the original hole size was.

89C98B5A-BD5E-4A2A-B279-750D431E7AD2.jpeg


For the lower I kept the thick washer because the stud is sticking out further than the upper, but I did get rid of the thin stainless washers. I did drill a new hole, but because there wasn’t as much sticking out I didn’t bother cutting the excess stud off.

5558C058-1163-4E44-A072-A45A02FD2472.jpeg

Tomorrow I should have the axle and wheels/tires installed so it should finally be back on all fours.
 
That looks so much cleaner of an install, too, @n8in8or without those washer stacks! More befitting of your build quality standards, also!
Thanks again for the thought. Oh I should point something out: I was able to safely remove the upper ball joint nut without a clamp or vice grips holding it together because I still had the torsion bars loose, if there was full tension on them that could get pretty unsafe without some kind of a safety.
 
Hit a nice milestone today.

7A56EAB1-DF25-42EE-AA1A-81DB81EC41A3.jpeg

It’s on all fours!! First thing I did today was mount the tires on the wheels. These are actually old tires off the Tahoe. These aren’t the ones I plan on running more than to get the truck on the road because they’re just load range C tires.

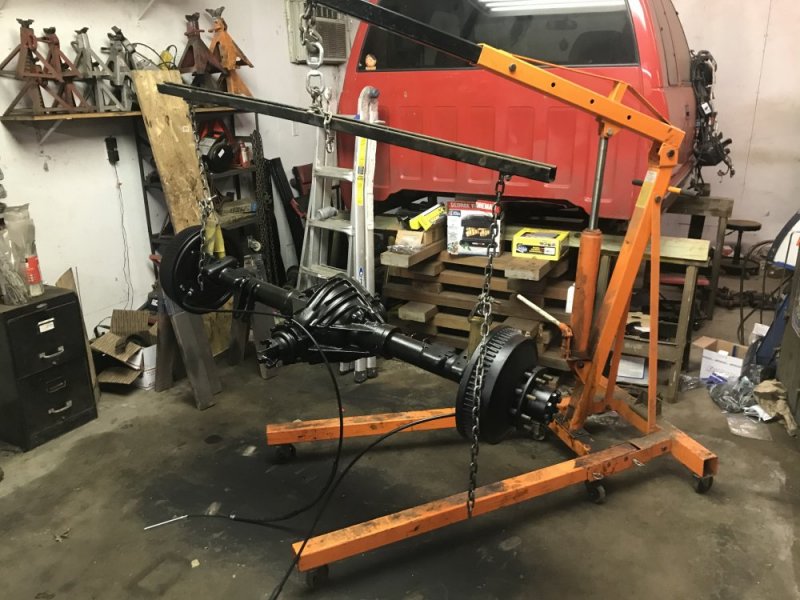
Then it was time to get the axle to the truck. I made a sling using axle straps, some chain and a piece of uni-strut.

5AC0AD06-9E89-4085-AA4B-E6D6F7304F20.jpeg

I thought this was pretty clever because I thought I would be able to attach the axle to the springs with it up on the stands and then lift it off the stands all in one fell swoop. Nope. Once up there I realized that wasn’t happening when I couldn’t install the outer U bolts due to the straps.

333173AB-7546-4A5A-B2B6-2DB98F36C706.jpeg
71E916FD-1A83-403B-A9B9-485A77C3301E.jpeg

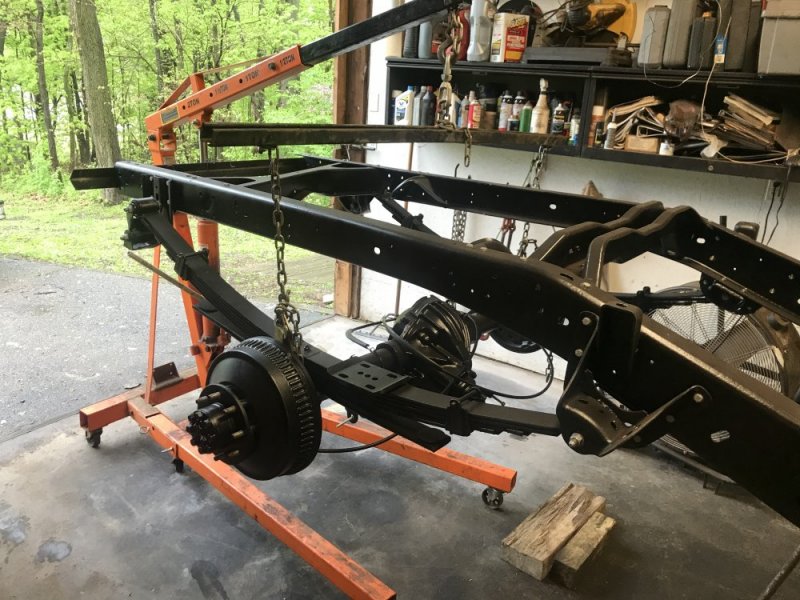
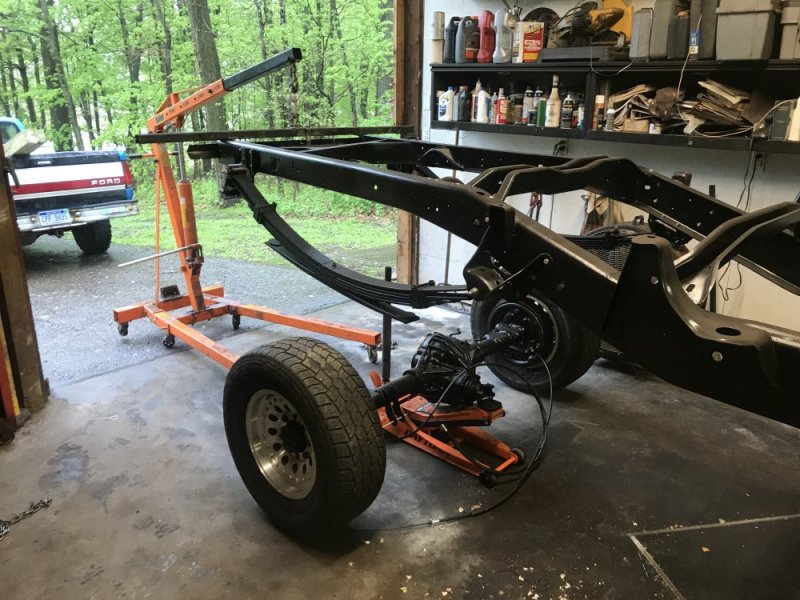
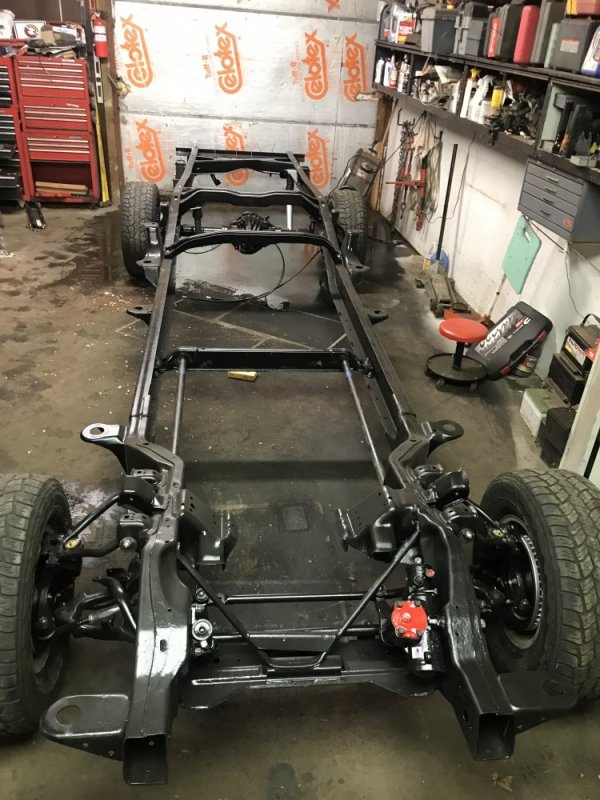
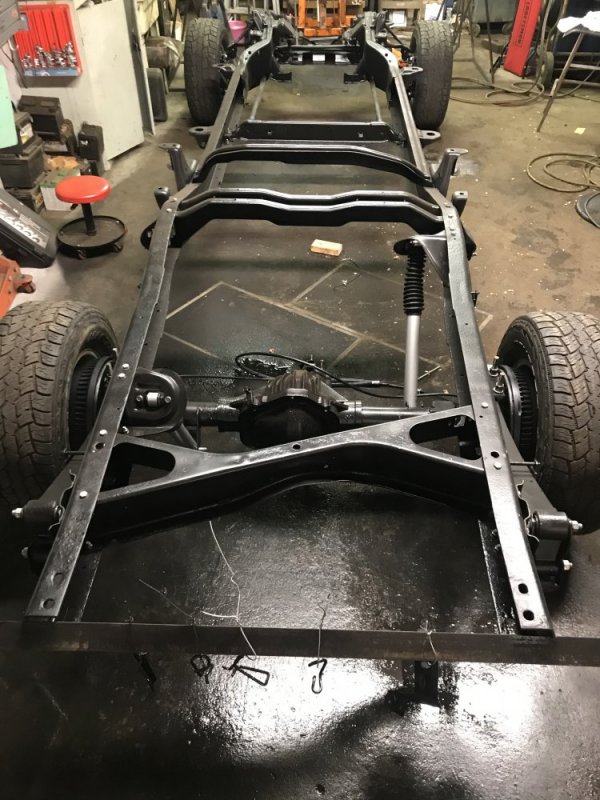
So plan B. I put the wheels on the axle and put it on the ground. Then I used the hoist to lower the frame to the axle. Worked like a charm.

9BB608CE-CD83-4E16-9AB1-D620185B1E98.jpeg1E11DC7F-D693-46B7-B594-3B01E55BCFF8.jpegC8A233BA-97A8-4D8E-8D11-1535D824A219.jpeg

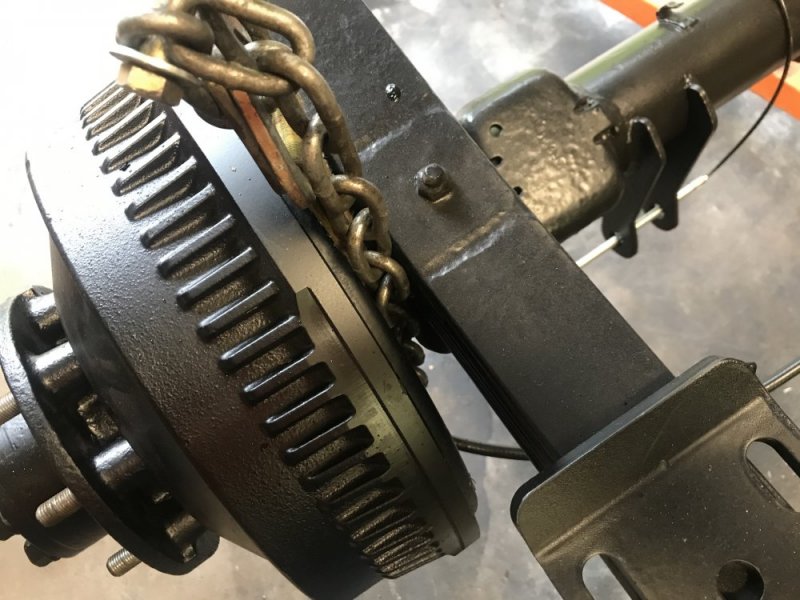
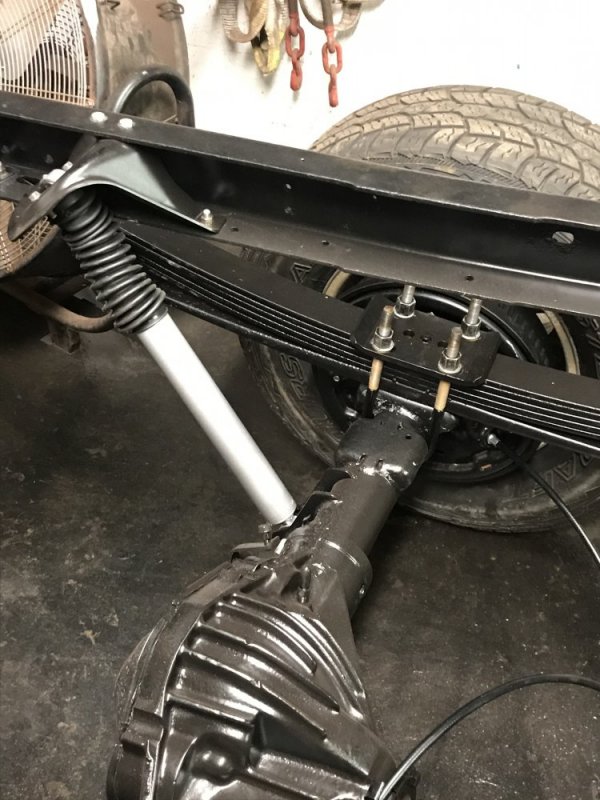
I installed Barnes 4wd u-bolts and plates to replace the GM lower saddle that loves to collect dirt and salt and then rust the axle tubes out. You can also see the Gavriel Control Max shocks that @ak diesel driver has been liking on his truck.

5B5A3157-A3FC-486C-9B3C-A60E4C326760.jpeg

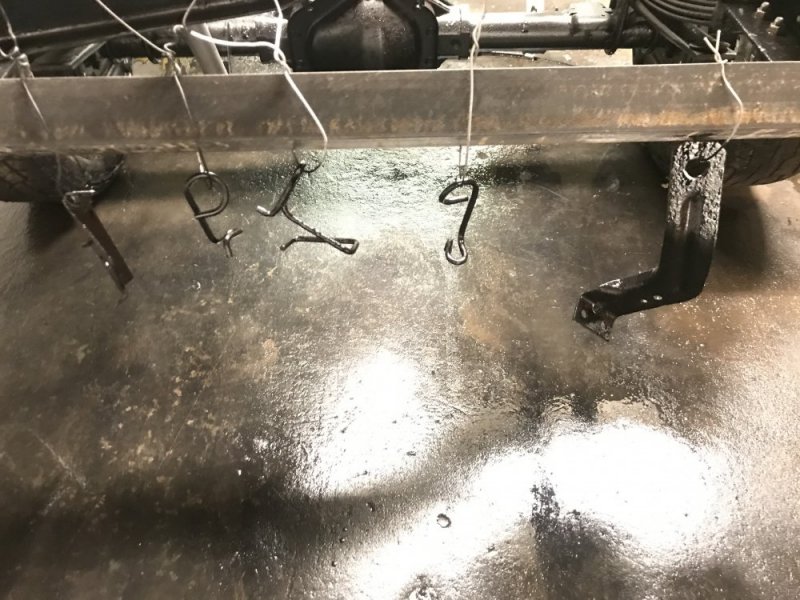
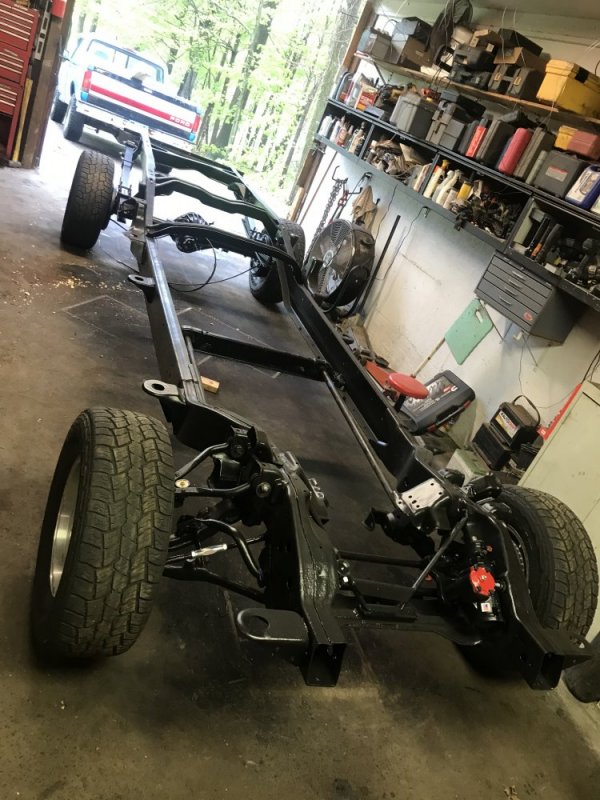
Then OF COURSE I found more parts to paint! I had to paint the rear brake hose and parking brake cable brackets so I can get those things buttoned up tomorrow. Tomorrow will be the brake line and the rear harness and then once I have the firewall insulated it will be time to put the cab back on the frame.

8B860565-E879-4F8A-ABFE-CB748B6CA109.jpeg
 
I’m on vacation this week so I figured either Monday or today I would have the cab installed. No such luck. Yesterday’s tasks by the time I got out to the barn in the afternoon took longer than expected. First thing I did was slather a coat of Rust Seal on all of the fasteners I have installed since assembling the chassis (except for the leaf spring and lower control arm bolts that won’t get final tightened until the truck is fully assembled and the upper control arm bolts that won’t get painted until after the alignment) and on any touch points from the stands. This took MUCH longer than I expected - over an hour. After that I dug out the rear harness because it needed some repairs and to pull the fuel pump wire out so I can use it to trigger a relayed circuit. After that was a second coat of paint on the fasteners. The final thing I did was start to route the harness and make my plan for the harness and rear brake line hangers.

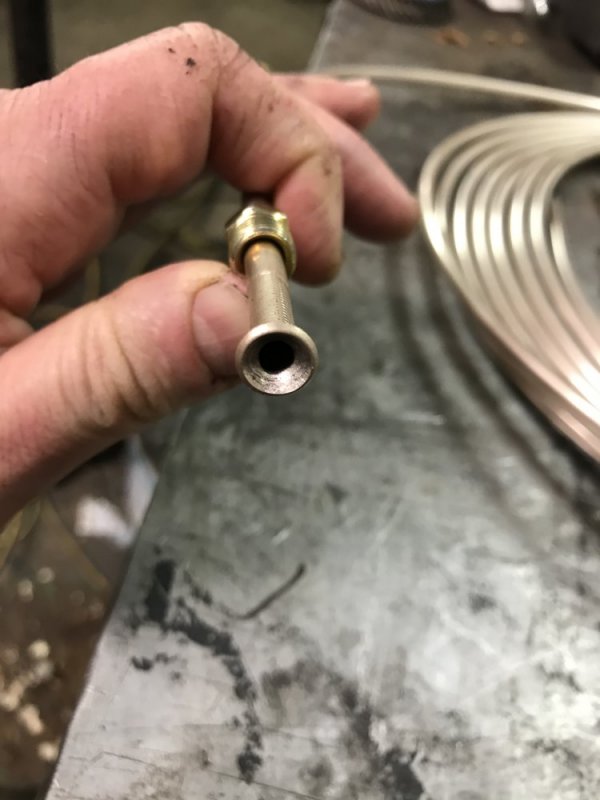
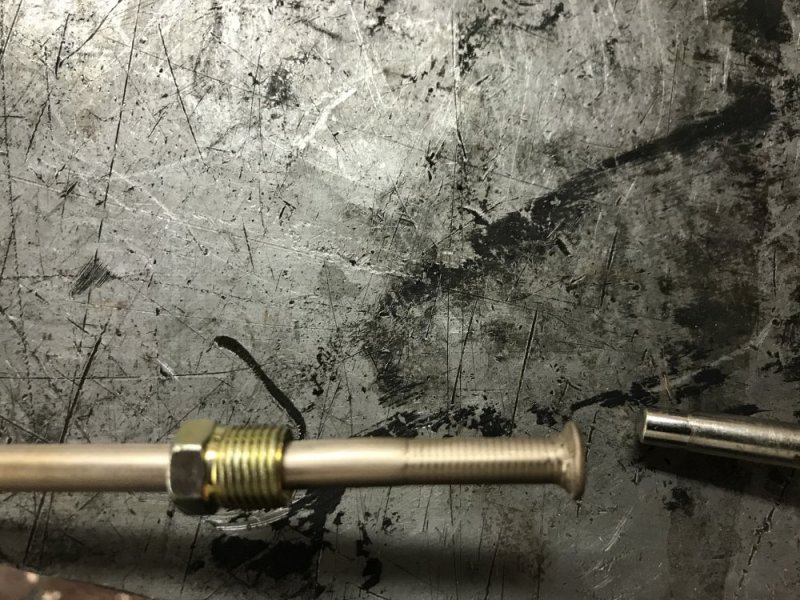
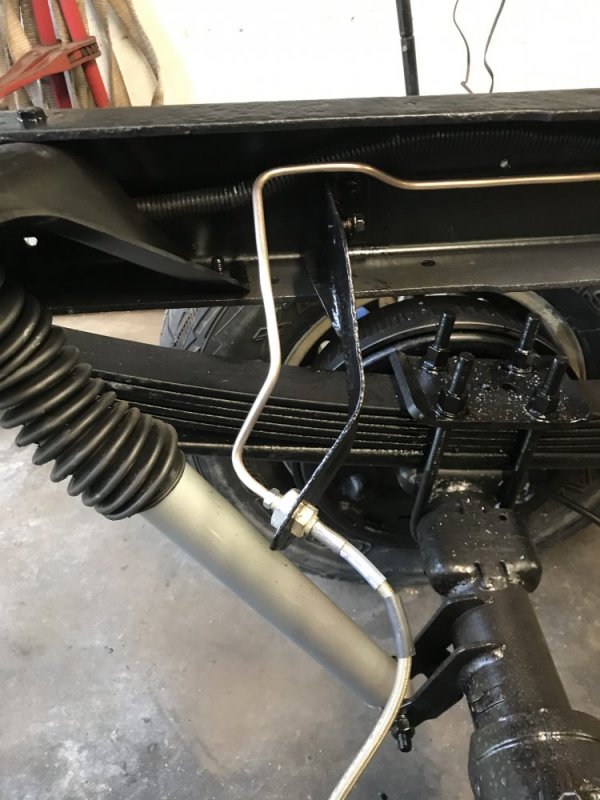
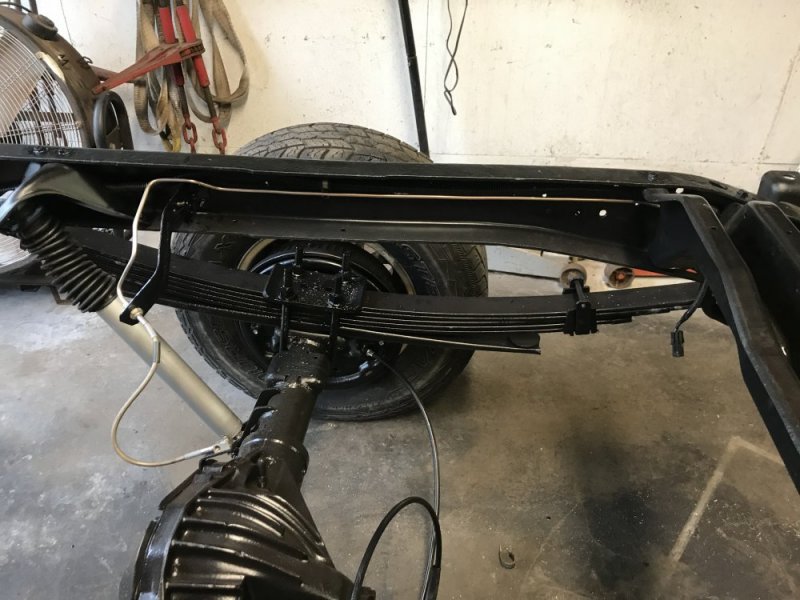
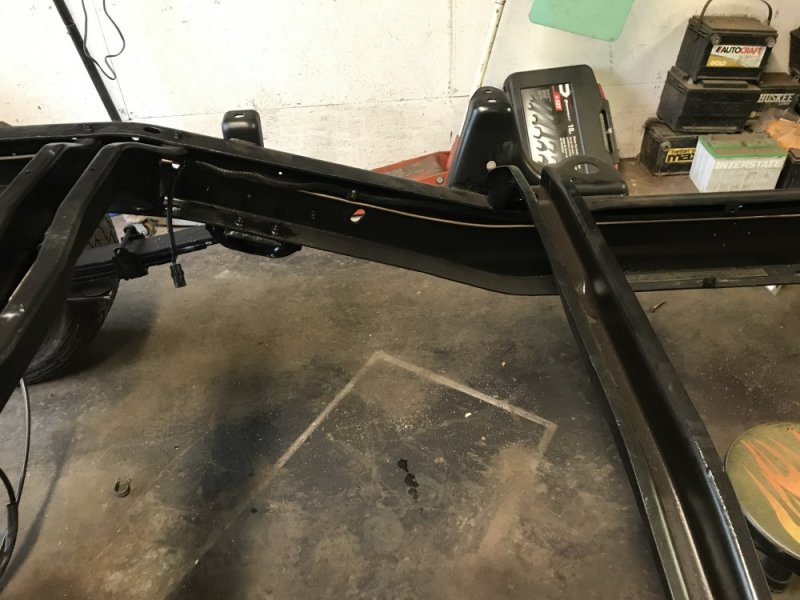
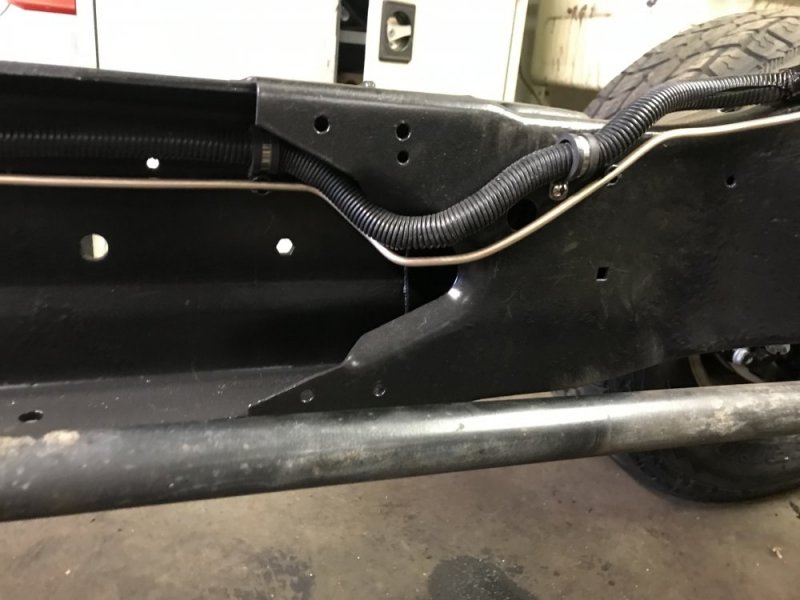
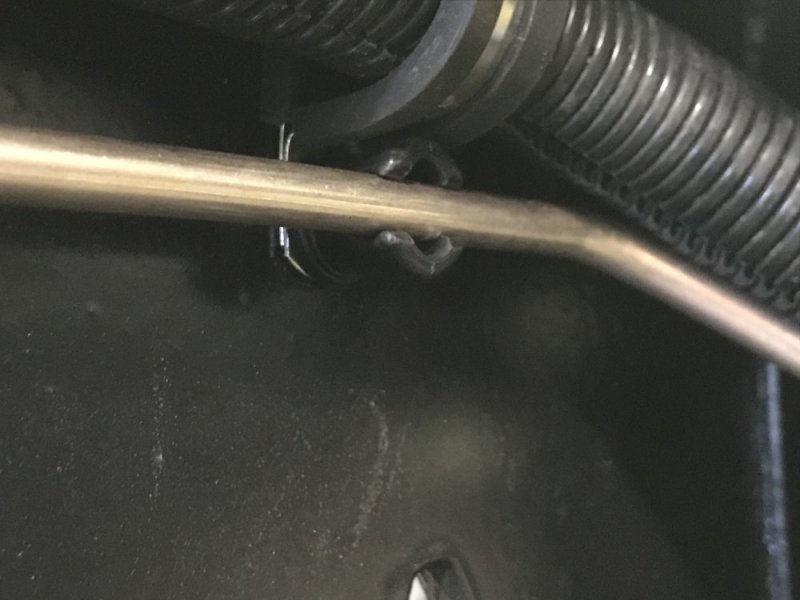
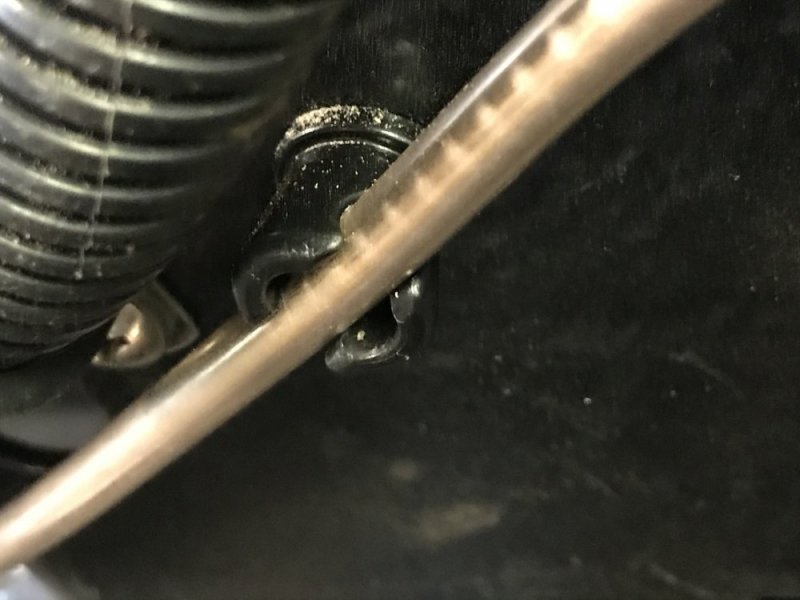
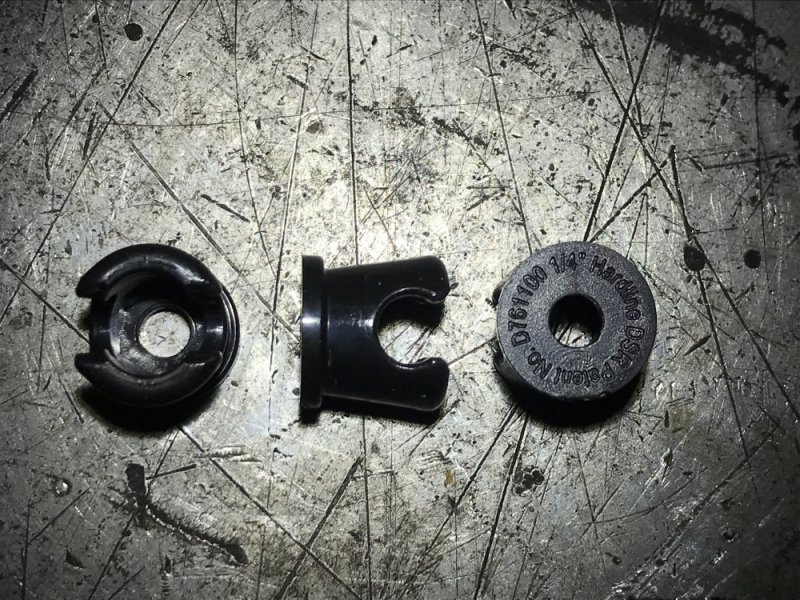
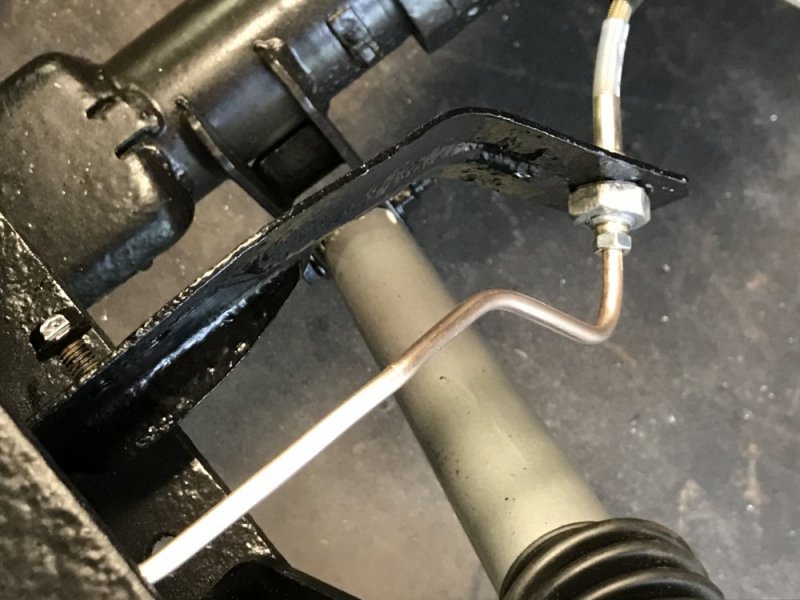
I got out here a little earlier today. First thing was fastening the harness and brake line hangers. I didn’t use any of the factory stuff because over half of them broke during disassembly. For the harness I used straps with a rubber cover - you’ve all seen them before. However I didn’t want to use those for the brake line because it seemed like a good way to trap gunk to cause corrosion on the brake line. Instead I found some clips called Notchead. Kinda pricey, but they’re really neat. I hope they prove to be durable. After that it was time to run the rear brake line. I decided to take my time and do some nice bends. It turned out pretty well.....a couple spots I would have liked nicer, but it’s more than good enough for this truck. It was good practice. This was also my first time using the nickel/copper line. The stuff is really nice to work with. It flares nice and bends nice also. The fact that it will stand up to the environment better is also a bonus.

191C22E9-1467-4DE1-B74A-2FAA3BED22CA.jpeg3873C650-F595-4C88-9D88-E7535671E5F8.jpegBE76BDC6-6B3D-4133-A26C-47A4A3E4C00E.jpeg5F47AA3C-B66D-446B-B996-9312A89D4B81.jpegB196CC58-1912-4A26-A2A4-5510946E1BDF.jpeg3606E66A-C0D4-41B8-9CE7-4BB0A520E594.jpeg09E75839-8DE1-424B-9761-8D8A1F09D9A2.jpeg0D971A9F-1721-4868-9CB1-CA100E75D35A.jpegD8B10546-88C7-4843-8979-B1315DBDD301.jpeg369E1BC7-9543-4A1B-B0C2-33ACC3FDA41E.jpeg

After that I moved on to the final thing I needed to do before putting the cab on the frame - applying the firewall insulation. So I started cleaning the firewall so the adhesive would stick well. As I’m cleaning I notice some scaly/crusty paint on the inner rockers and bottom of the floor right above where the frame will be. Ugh. Well, better take care of that now. So I spent the rest of the afternoon wire wheeling. Luckily it’s all just surface rust, so no metal repair is required. Today ended with step 1 of paint prep. Step 2 will be tomorrow and then paint Thursday. Looks like Friday is going to be when the cab gets installed now. I love it when a plan comes together........
 
Nice looking bends!! What brand line did you use? NiCopp or SUR&R? I'm bias towards SUR&R because it's made in Ohio.
Thanks! I had to look up the order from Amazon. The vendor was The Stop Shop and they claim to be the manufacturer as well? Not sure on that. It did have some ink stamping on it and I noticed DOT, but didn’t noticed a manufacturer....I’ll have to look again.
 
Nice work on the brake lines.

I have a bunch of mirrors left over from a home remodeling project. I'll send them your way so you can lay them under your truck at Cars and Coffee. :D
Thank you!

I feel like with the way this project has evolved I should go hang out somewhere with something a little stronger than coffee......maybe a Trucks ‘n’ Tequila??
 
I haven't tried that line before. It looks like it flared well.

Honestly I'd clear coat the brake lines if you want them to stay looking that nice. They turn green after a while. Just like a old penny. Just what you need. ...More things to paint 😂
 
Back
Top